Snowdrop craft with our new native nanny

Spring has arrived and brought us a new nanny, L. from California. Unfortunately, how long she’ll stay is uncertain, but even a few months will do. Here is a fun craft activity they did together.

I found this snowdrop idea on pinterest:

http://krokotak.com/2015/02/three-ideas-with-eye-make-up-remover-pads/

While E. was in the nursery I prepared the following:

The quality of the pictures are so poor… sorry.
  • 15-16 cotton pads cut-outs
  • blue construction paper
  • green construction paper (the leaf cut-outs)
  • glue
  • green markers
L, our new nanny came at 5 and they immediately sat down to make the snowdrops excitedly. I made an example for them to follow to make the whole process easier.

They started with drawing the stems and gluing the leaves.

They also coloured the snowdrops’ top green:

Some cutting and gluing:

“I need more snowdrops”


Adding some more snowdrops:
 
We displayed them on the living room door:
Of course, this wasn’t their first occasion to meet but the 3rd or 4th. However, E. and L. hit it off at the very beginning. E. needed time to realise L. doesn’t understand when she mixes some Hungarian in her talk. I’m glad to say E. uses less and less Hungarian when she speaks English, and not only when our new nanny is around. Thanks, L! We’ve really needed the native input.

If you liked this flower craft have a look at other flower projects we’ve had:

Flower flashcards
Colour changing flower experiment
Flowers made out of crepe paper and bottle tops

5 + 1 tips to sneak in some English time

With a newborn in the house it’s extremely difficult to spend time in English with E. It’s challenging to spend time with her at all when L. needs me 7/11.

Here is a few tricks we sneak some English time in our weekdays:

1. E. goes to the nursery and comes home in the afternoon. Whenever she enters the door I greet her in English. Sometimes she doesn’t want to speak English at all, at other times I tell her that Mommy has been in English with L. all day then she is more likely to give in and we spend the evening (playtime, video time, dinner, bath and bed/story time) or part of it in English.

Bedtime reading – Picture Atlas

2. I rely on her new interests., i.e. at the very moment wind types and the Beaufort scales. She got a book for Christmas from her Godparents (in Hungarian):

She loves the Beaufort scale in the book, so with Daddy’s help we made our English version of it.

3. New nanny: Although our new nanny is only temporary (for max. 2 months as she’s returning to the US) her visits have increased our English playtime.
Making snowdrops with or new native nanny, L.
4. Holidays: preparing for a birthday or St. Patrick’s day for instance has also given us a chance to practice our in English
Heart garland for Valentine’s Day
5. Helping around Baby Sister: E. helps a lot with bathing, dressing or entertaining Baby Sister. Every now and again I manage to convince her to use English in these situations.
Helping Baby Sis get undressed

+1 Cooking/baking together is always a hit with E. She is always happy to help me in the kitchen and it goes without saying we do things there in English most of the time.

String the mixture

Life seems bright again 🙂

Pin the heart

E. found a small box of thumb pins before Valentine’s Day and went back to it time and time again. She was asking how we use them and what they are for. So I decided to put together an activity in which she can use thumb pins and also connected to the upcoming Valentine’s Day.


I printed a do-a dot heart from the net and picked one our IKEA cork trivet. I coloured the dots so it would be more fun to use the right colour thumb pins.

While doing the pinning you can revise the colours and learn the word “cork” itself.

When finished she put more pins in the middle. The next day she pulled them all out and packed them away.

This activity helped her muscles strengthen in her hands as well. We’ll do more of this kind of activity as E. loved it and it’s a great pre-writing task. (We can revise shapes or have a shamrock to pin for St. Patrick’s Day etc.)

Baking and reading (with recipe)

We’ve been cooking and baking with E. a lot ever since she could sit on the kitchen counter safely. (Check out my housework fun or Christmas gingerbread baking blog posts on our cokking adventures)

This week one day there was one of the rare occasions that L. (E.’s baby sister) was not sleeping in a sling on me so I managed to put her down and I could prepare a baking activity for E. while she was at the nursery.

As E. is familiar with the alphabet (check out this post on the alphabet activities and other ABC posts) and quite a lot of sight words (I haven’t written about it separately but I should) and E. has been handling picture and story books since she was born, it is no problem for her to recognise/read certain words.

I wanted to expand her knowledge of recognising words in a fun way.

Here is our oat and pumpkin cookie baking and reading fun:

I prepared everything beforehand (maybe next time it’ll be a measuring activity, when SHE can prepare all the ingredients).

Whoops… the R is missing from “butter” – sorry about the poor photo

Ingredients:

  • 150 g oat flakes
  • 100 g flour (I used oat and wholemeal flour mixed)
  • 100 g sugar (I use Xylitol)
  • 100 g butter or margarine
  • 120 g pumpkin purée (pre-baked)
  • 1 teaspoonful of baking powder
  • 1 egg

    optional: 

  • 5 g dried fruit of any kind (I use cranberries and raisins but you can add chocolate chips too)
  • vanilla extract
I made little cards for her to read and I placed them in front of each bowl. The twist was I mixed them up before she started the activity. 
First, she needed to swap the cards around to place them in front of the right bowl.

After that she cracked the egg.

Then the mixing could start. She added everything in a big bowl. I asked her to report me what she was doing as in a cooking show.
– I’m putting the flour in.
– Now comes the butter.

After all this, I made little balls out of the mixture (she doesn’t like to dirty her hands) and placed them on a tray covered with baking paper. Finally, I managed to convince her to flatten the balls with her fingers and palm.

It was a lovely treat after dinner time and we practised a lot of English. (Unfortunately the cookies were gone so quickly I couldn’t take a photo of them)

Do you cook or bake with your little one(s)? Let me know what in the comments.

Valentine’s Day sensory bin

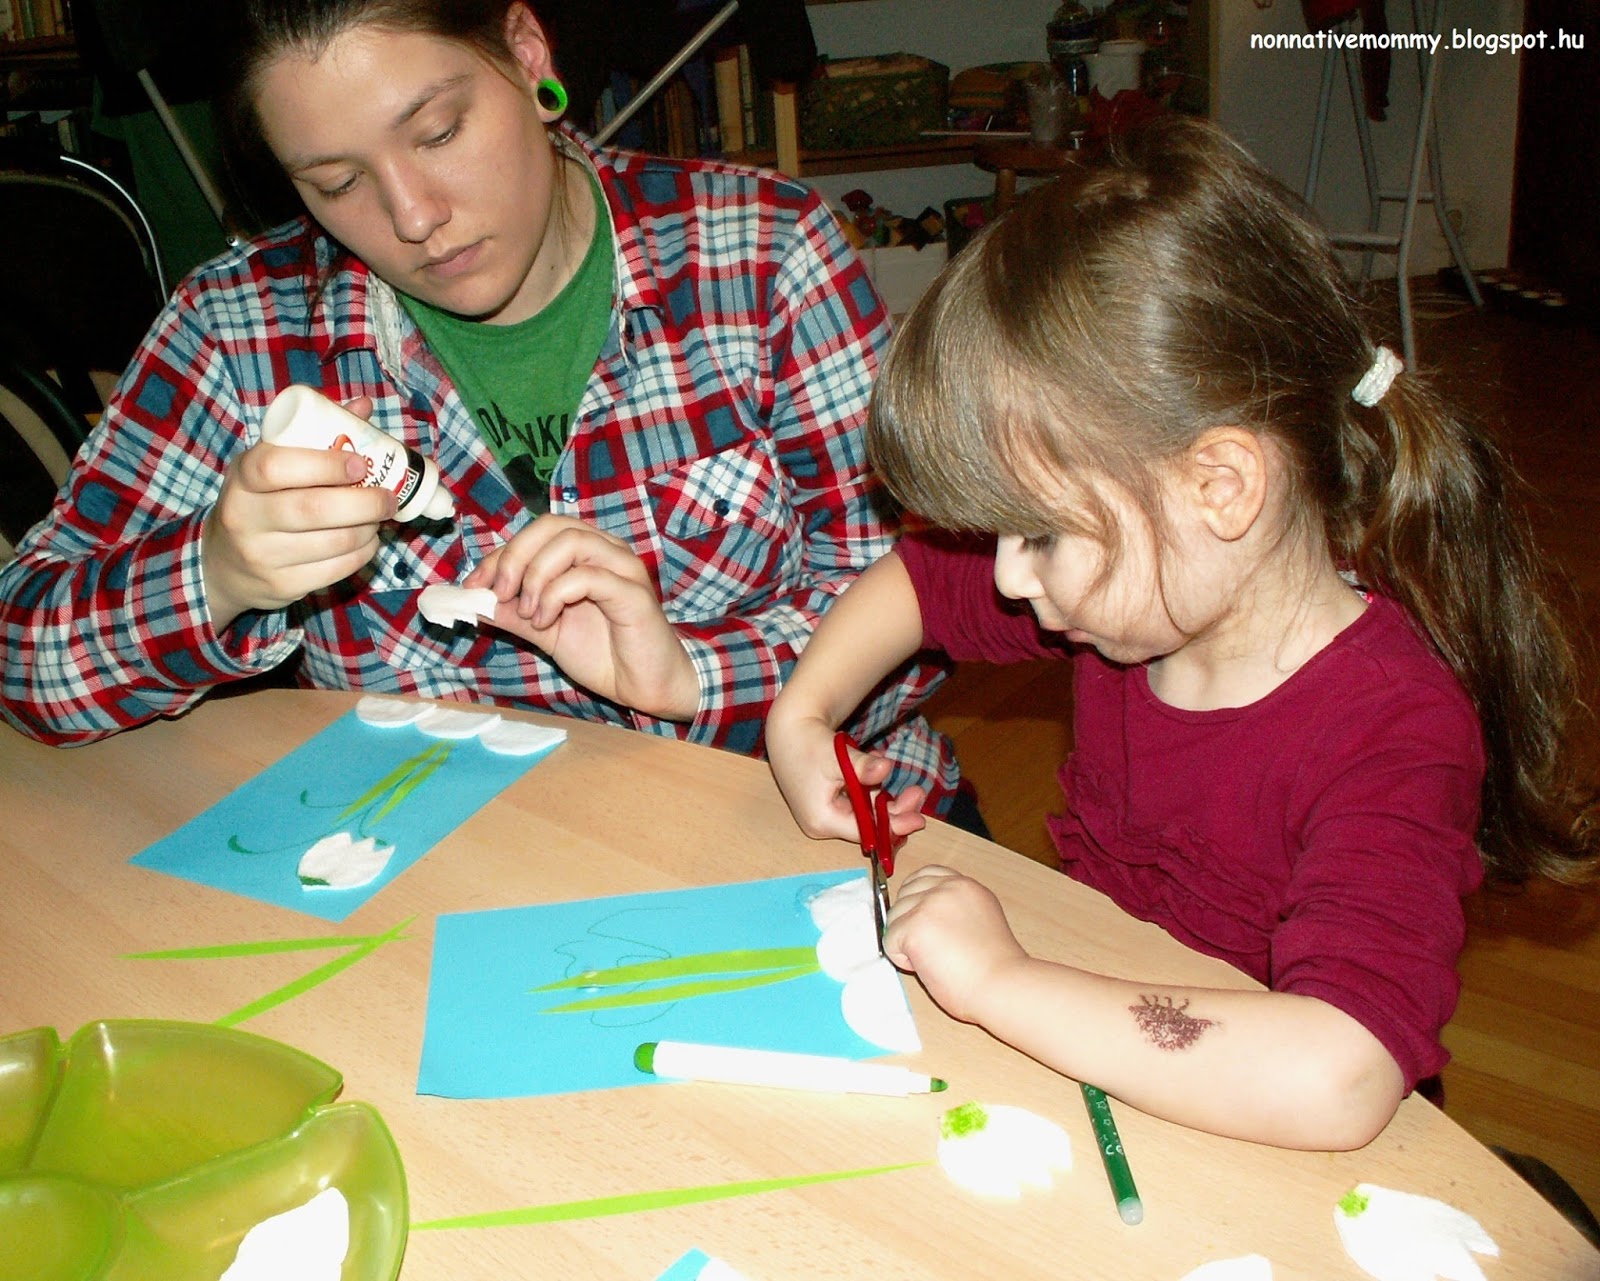
Last year we didn’t really celebrate Valentine’s Day but used the opportunity to do a lot of fun crafts and activities with the symbols of Valentine’s day, like hearts, candies, chocolates etc.

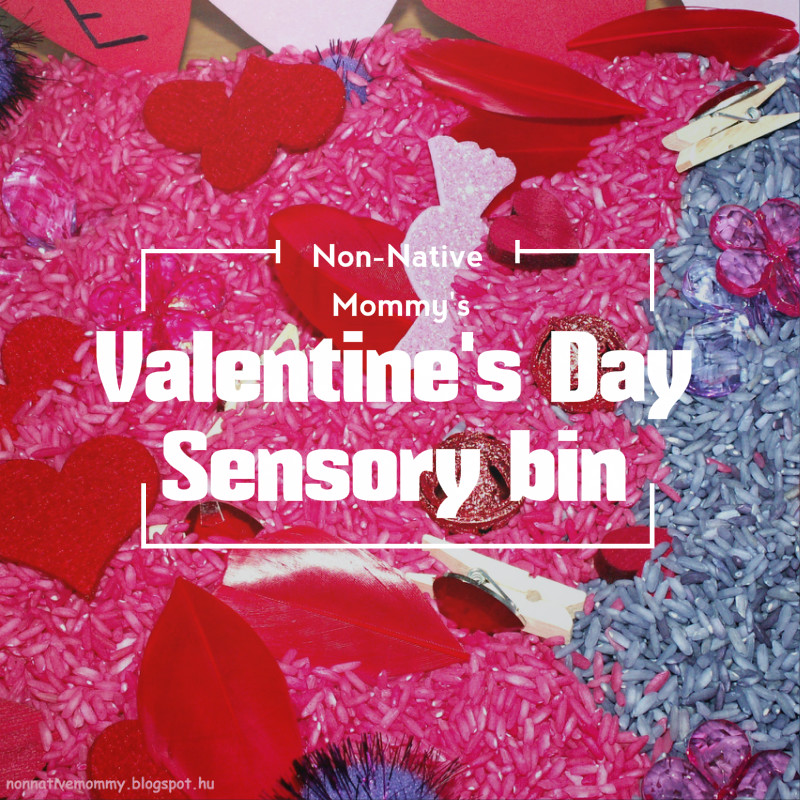
This year I’ve come up with a sensory bin idea for this occasion.
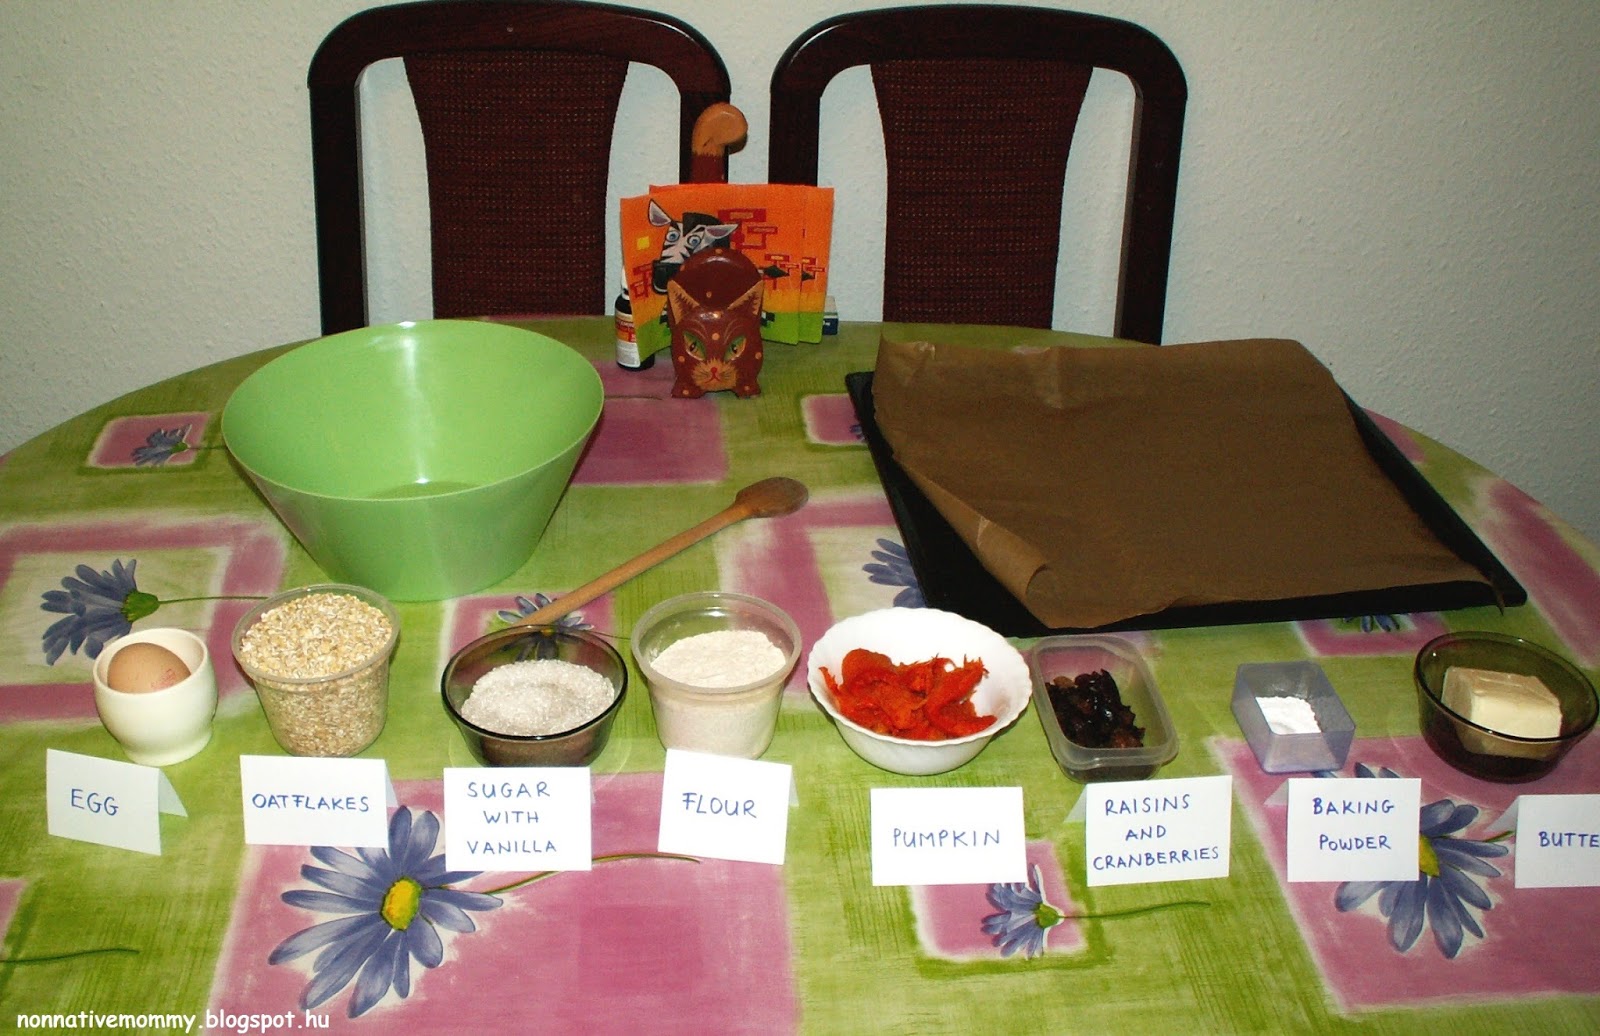
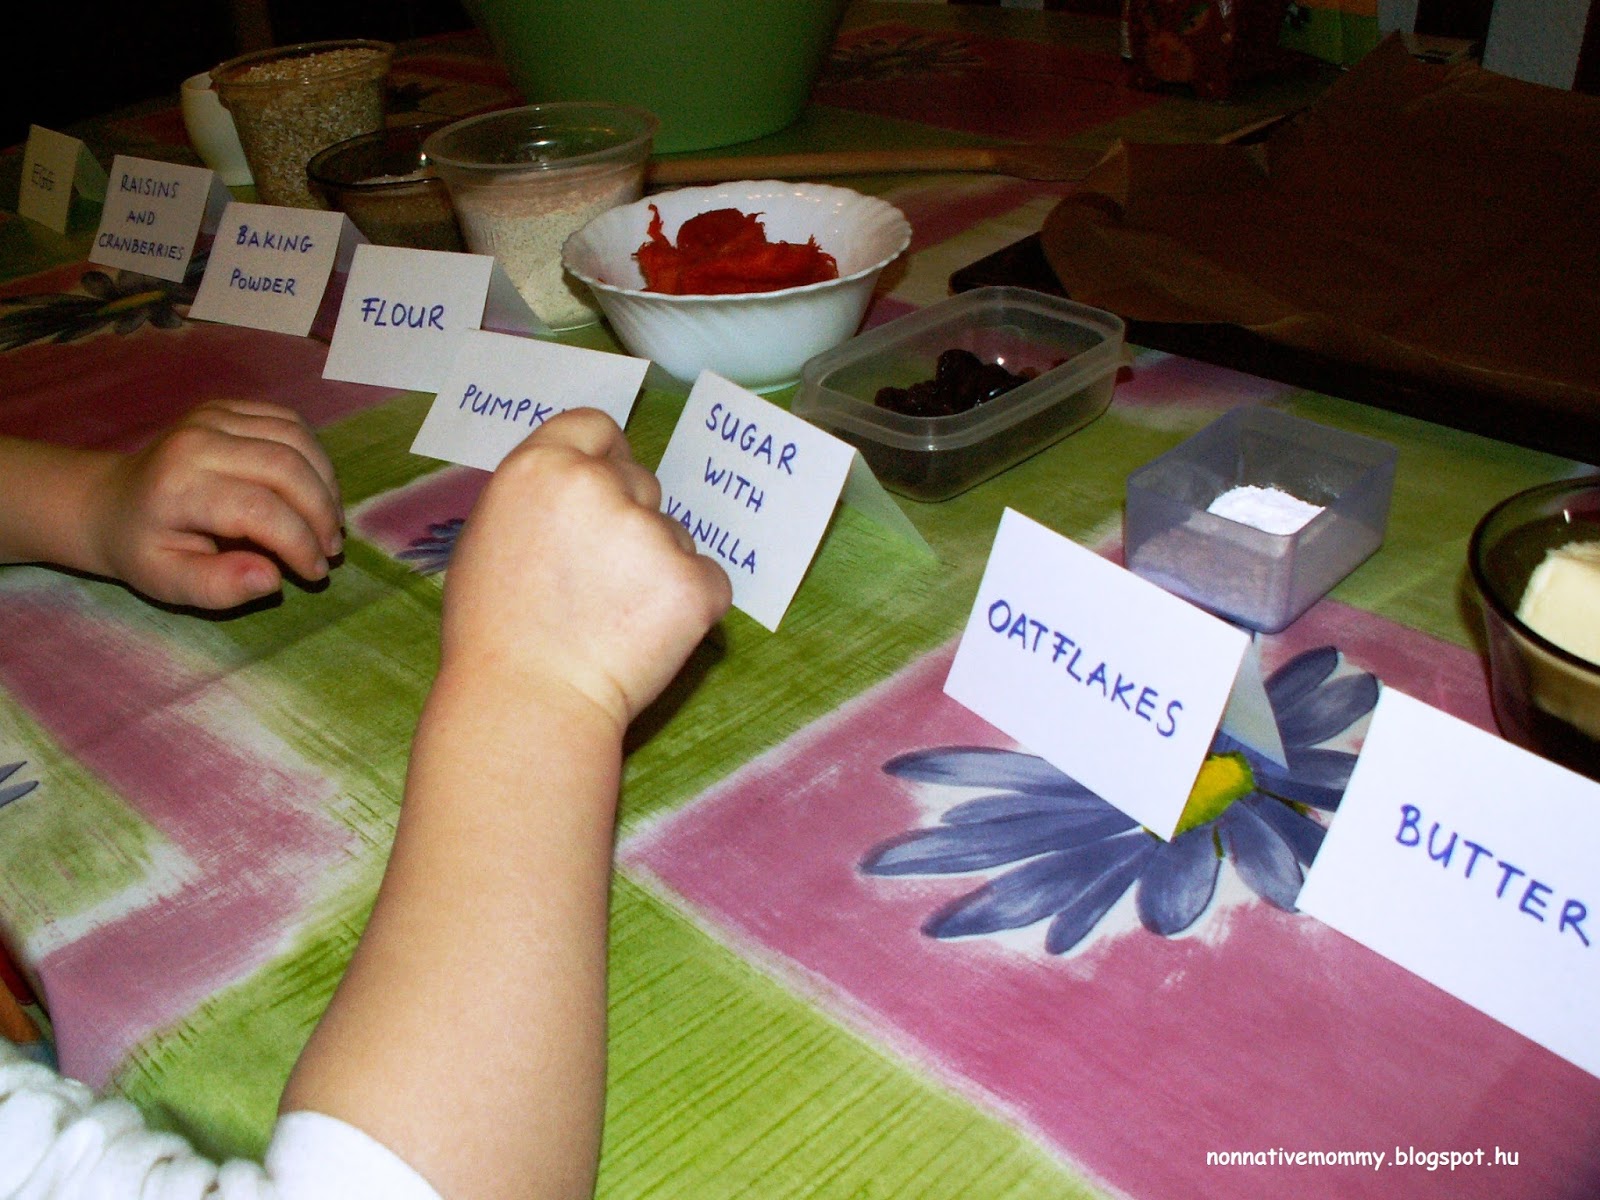
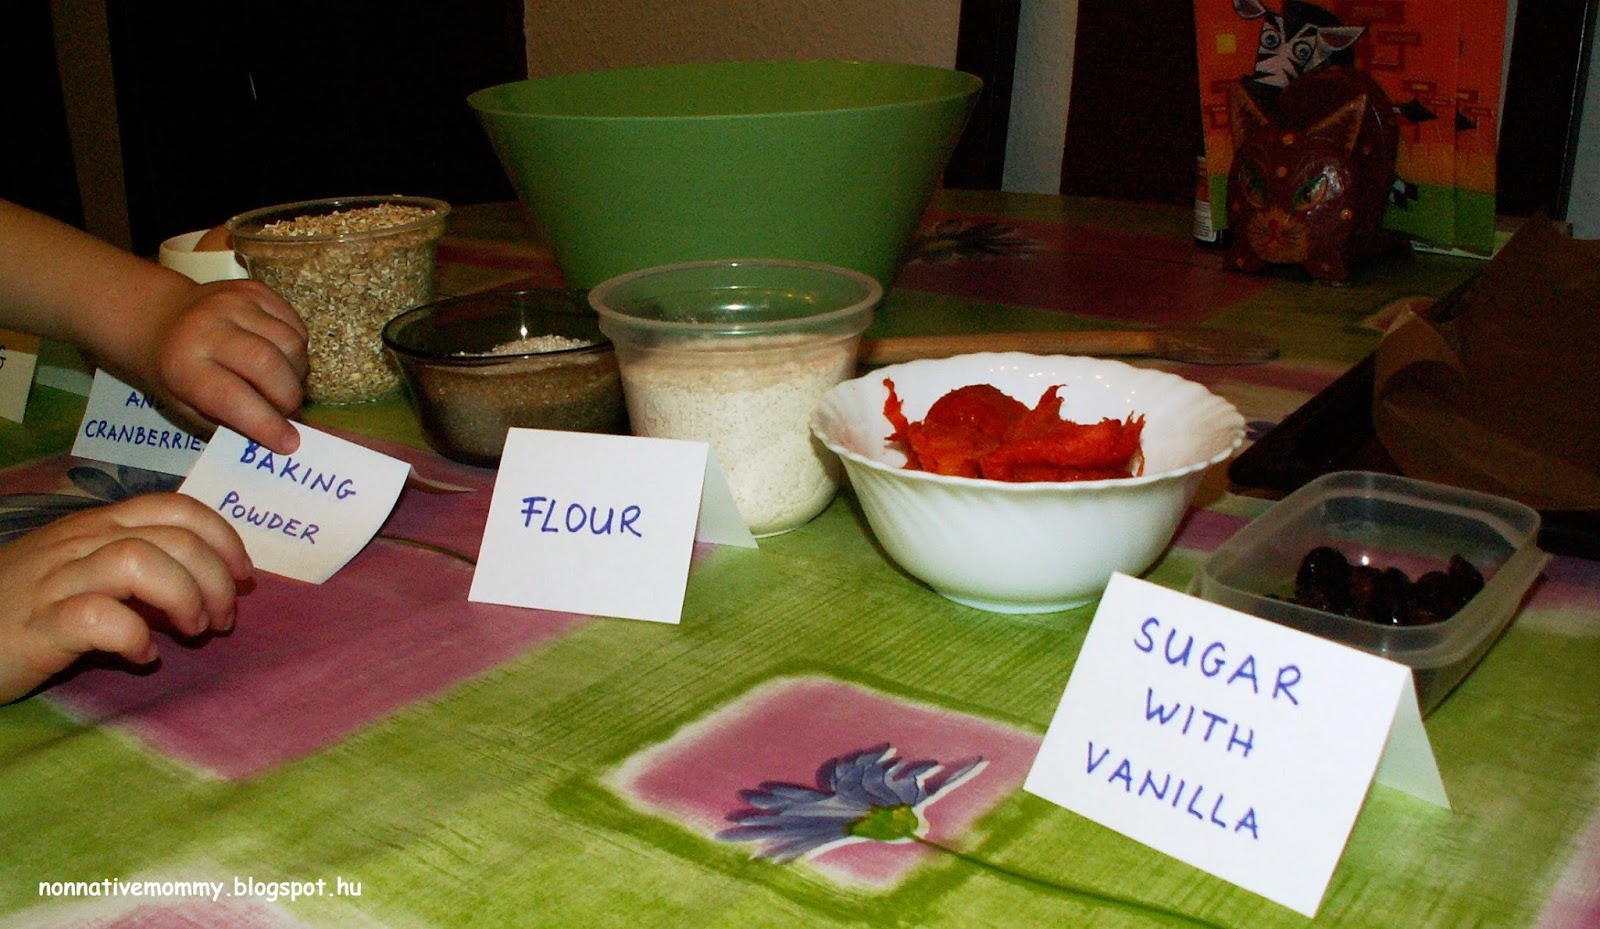
What I used:

  • one big container (IKEA)
  • coloured rice – red, purple, and white (see how to make it below)
  • hearts, candies, feather, beads (whatever you have) to search for in the bin hidden in the rice
  • cups and bowls
  • tools like ladle, tongs, tweezers (I couldn’t find the tweezers 😦 )
How I coloured the rice:
You need:
  • a zip lock bag (IKEA)
  • 2 cups of rice (any kind of white rice will do)
  • food colouring (liquid type is better than the gel)
  • a bit of alcohol (optional)
How to do it:
Put 2 cups of rice in the zip lock bag, add 1 teaspoonful of red (or any other colour) food colouring and half a teaspoonful of alcohol. The latter is optional. It helps to get brighter colours plus your rice will last long if not forever…
Now give it a shake until the colour is everywhere on the rice. (I didn’t but you can do it with your child. It must be fun for them to see how the rice changes colour)
I did the same with the purple rice. As I didn’t have purple food colouring I mixed it out of red and blue beforehand.
I dried the rice on baking paper to make sure it won’t stain my hand and to get rid of the smell of alcohol.
I put the rice in the container (half red, half purple – my daughter did the mixing) and I also provided some white rice for extra fun.

What I put in the bin:

  1.  wooden muffin
  2. purple butterfly beads
  3. sparkly candies (cut out of a foam sheet but you can add real candy, too)
  4. red jingle bells
  5. wooden hearts
  6. pegs with hearts on
  7. purple pompoms
  8. pink flower-shaped beads
  9.  red feathers
  10. felt hearts
I hid them in the rice as much as I could.
Extras: I cut out 6 hearts and wrote the letters of my daughter’s name on them. I also put them in the bin so she can make her name when she finds them. (The easiest way to make the foam hearts is to use a heart-shaped cookie cutter. I pressed it on the foam sheet and cut along the print it made.)

E. was pretty excited about the bin as soon as she saw it.

She poured in the extra white rice.

She happily used the ladle and the tongs.

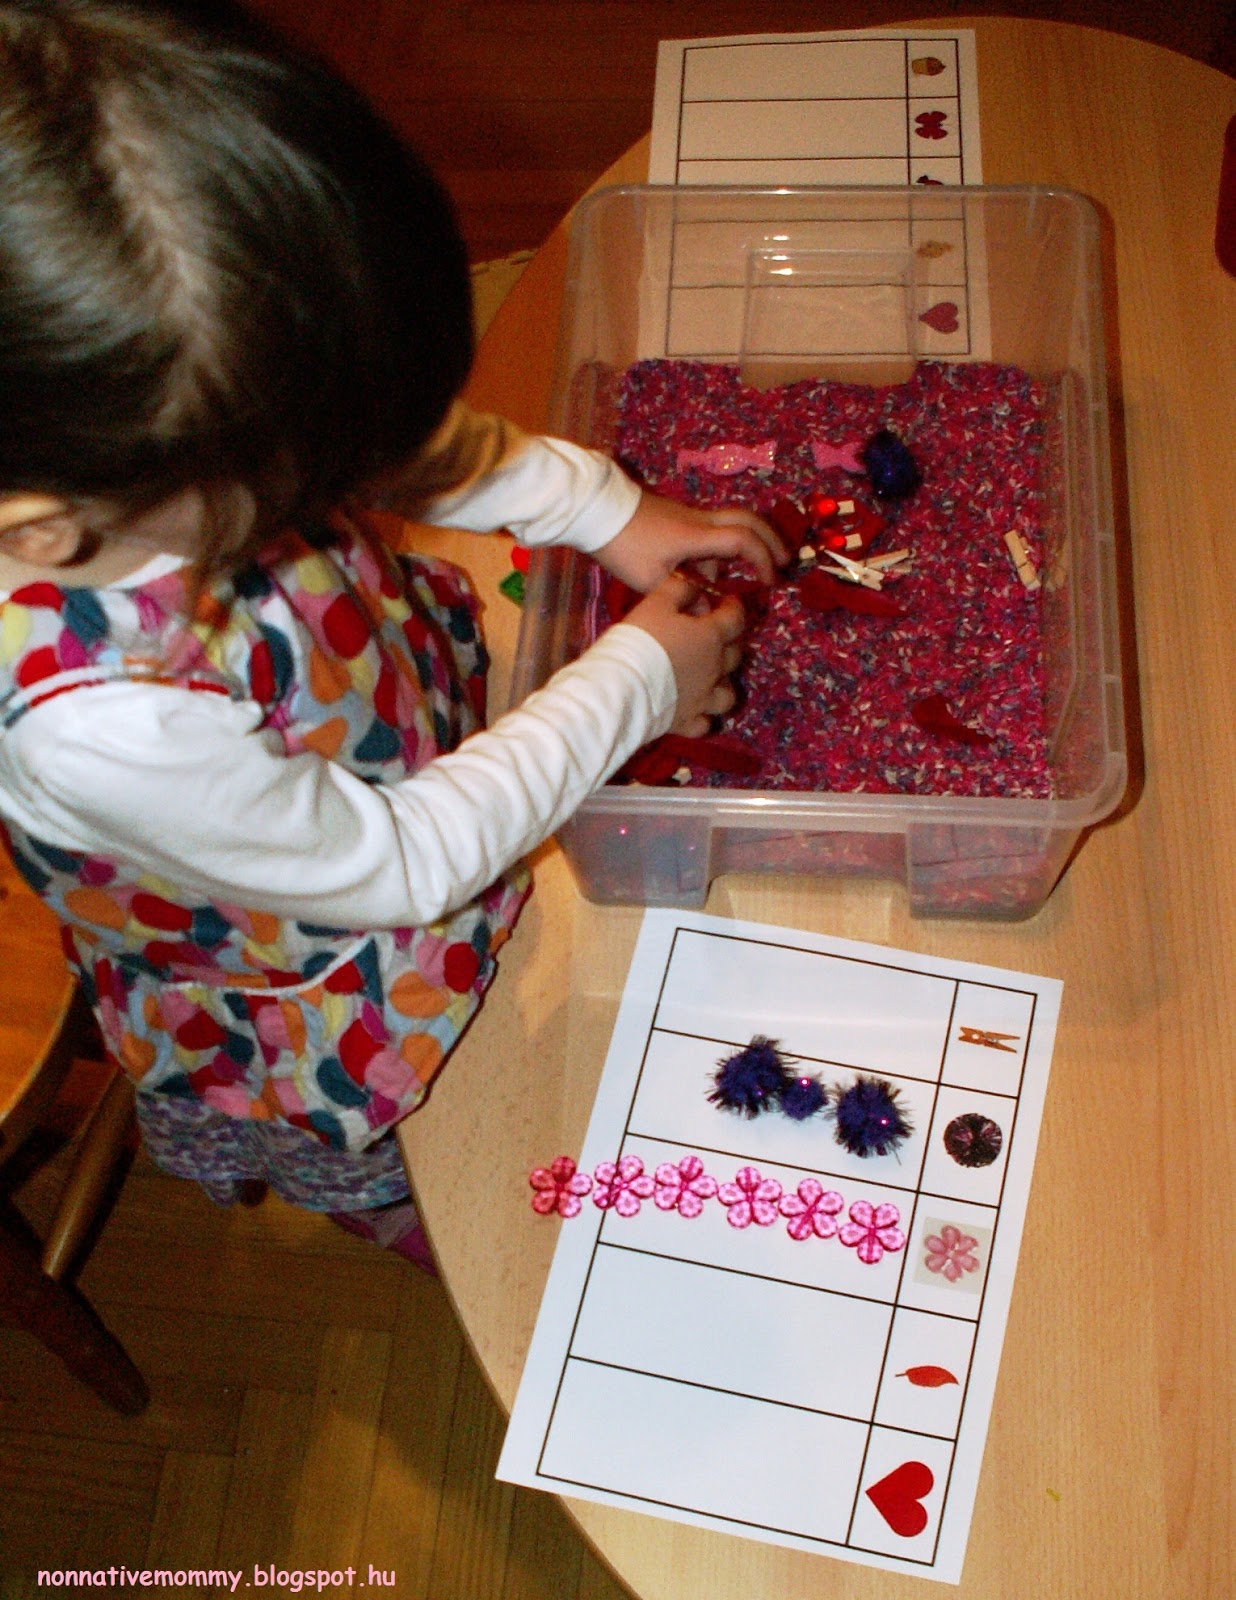
She used the bowls to put in whatever she found. (It was interesting to see that she separated them like hearts, round things like pompoms, bells, and beads all by herself)

She also enjoyed mixing the coloured rice with her hands.

After she’d found and taken out everything she asked Daddy to find what she’d hidden. Then they took turns and did the same again and again.

The next day I gave her 2 sheets with the objects she can find in the bin on the top and she selected them in each column. We did a little counting as well.

On the second day I also added the letter of “I LOVE YOU”
With a little help she could put it together.

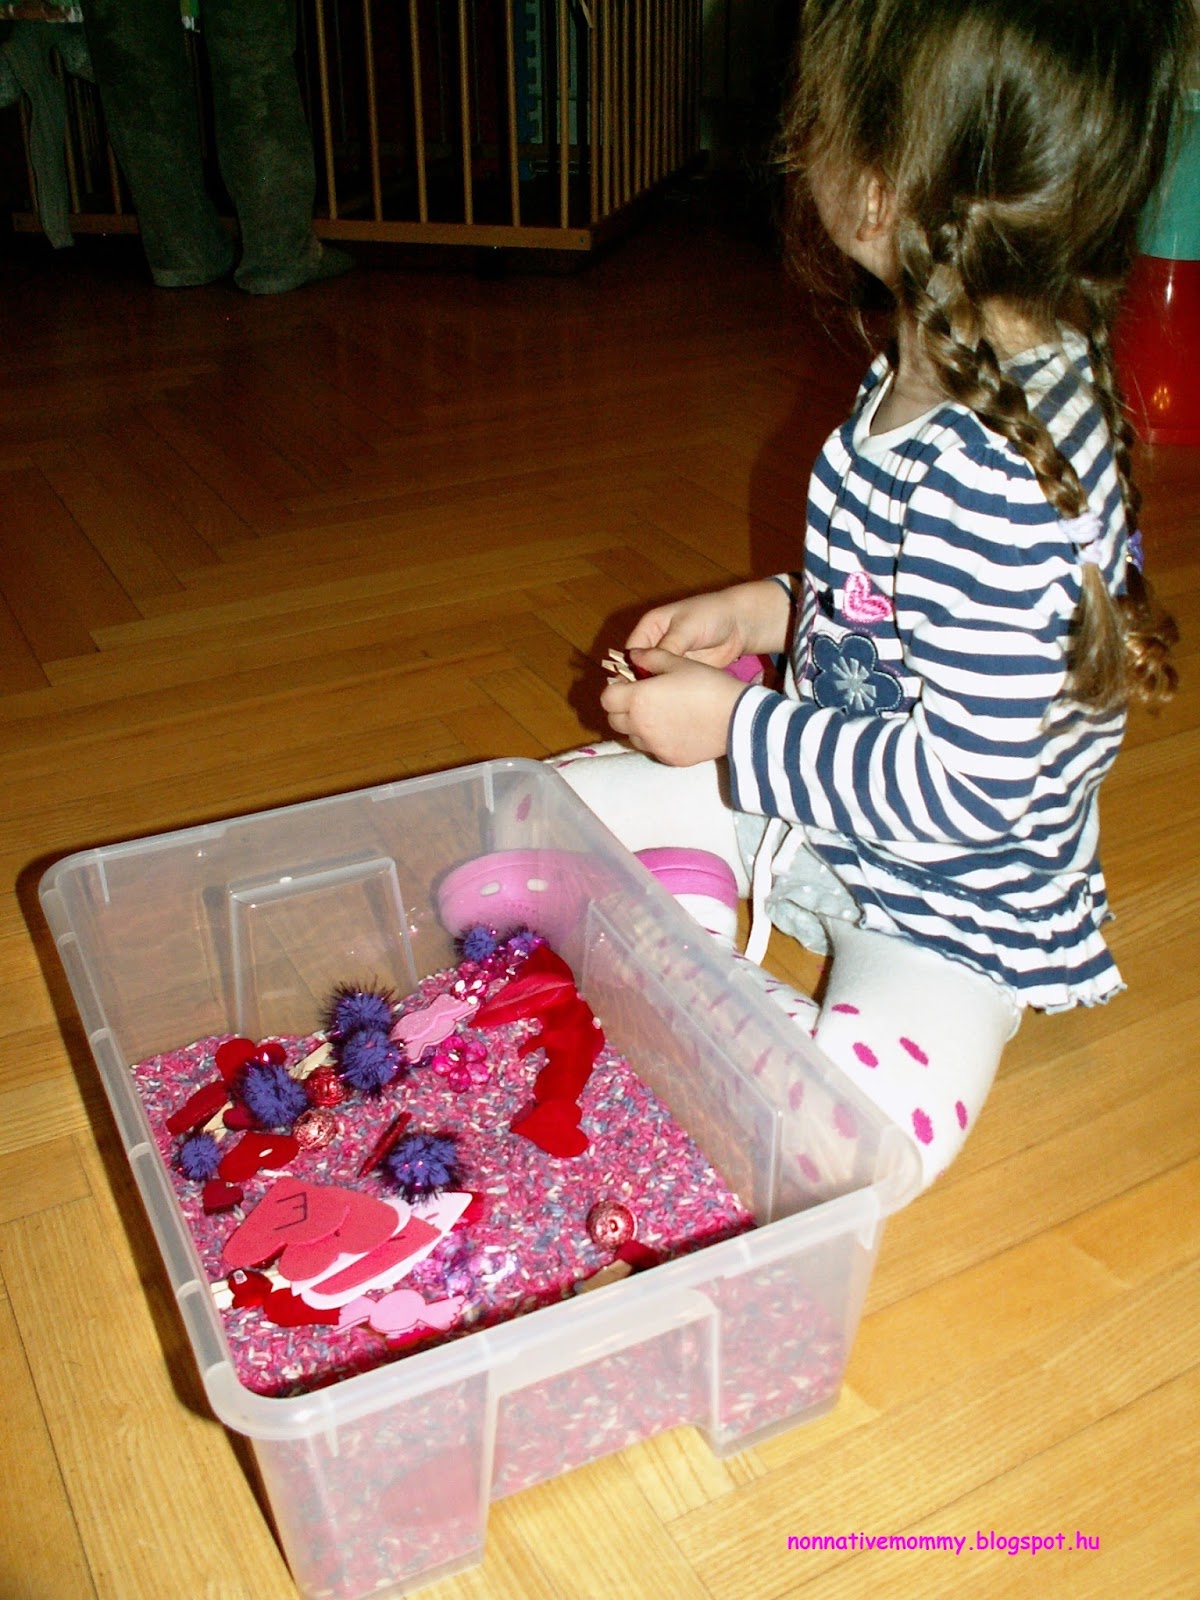
She’s been playing with it ever since.
-Mommy, we can play with it on the floor, too – she said and continued down there.

TWO other activities to do with the rice:

  1. write with fingers
  2. I spy bottle

What are these? Come back later to check them out. I’ll show them to you in another post.