Haunted Castle

There was a craze online about haunted castles made out of toilet paper tubes right before Halloween. I got carried away with the idea and I planned and prepared to do it with the kids. Well, Mommy plans it and the kids think differently.

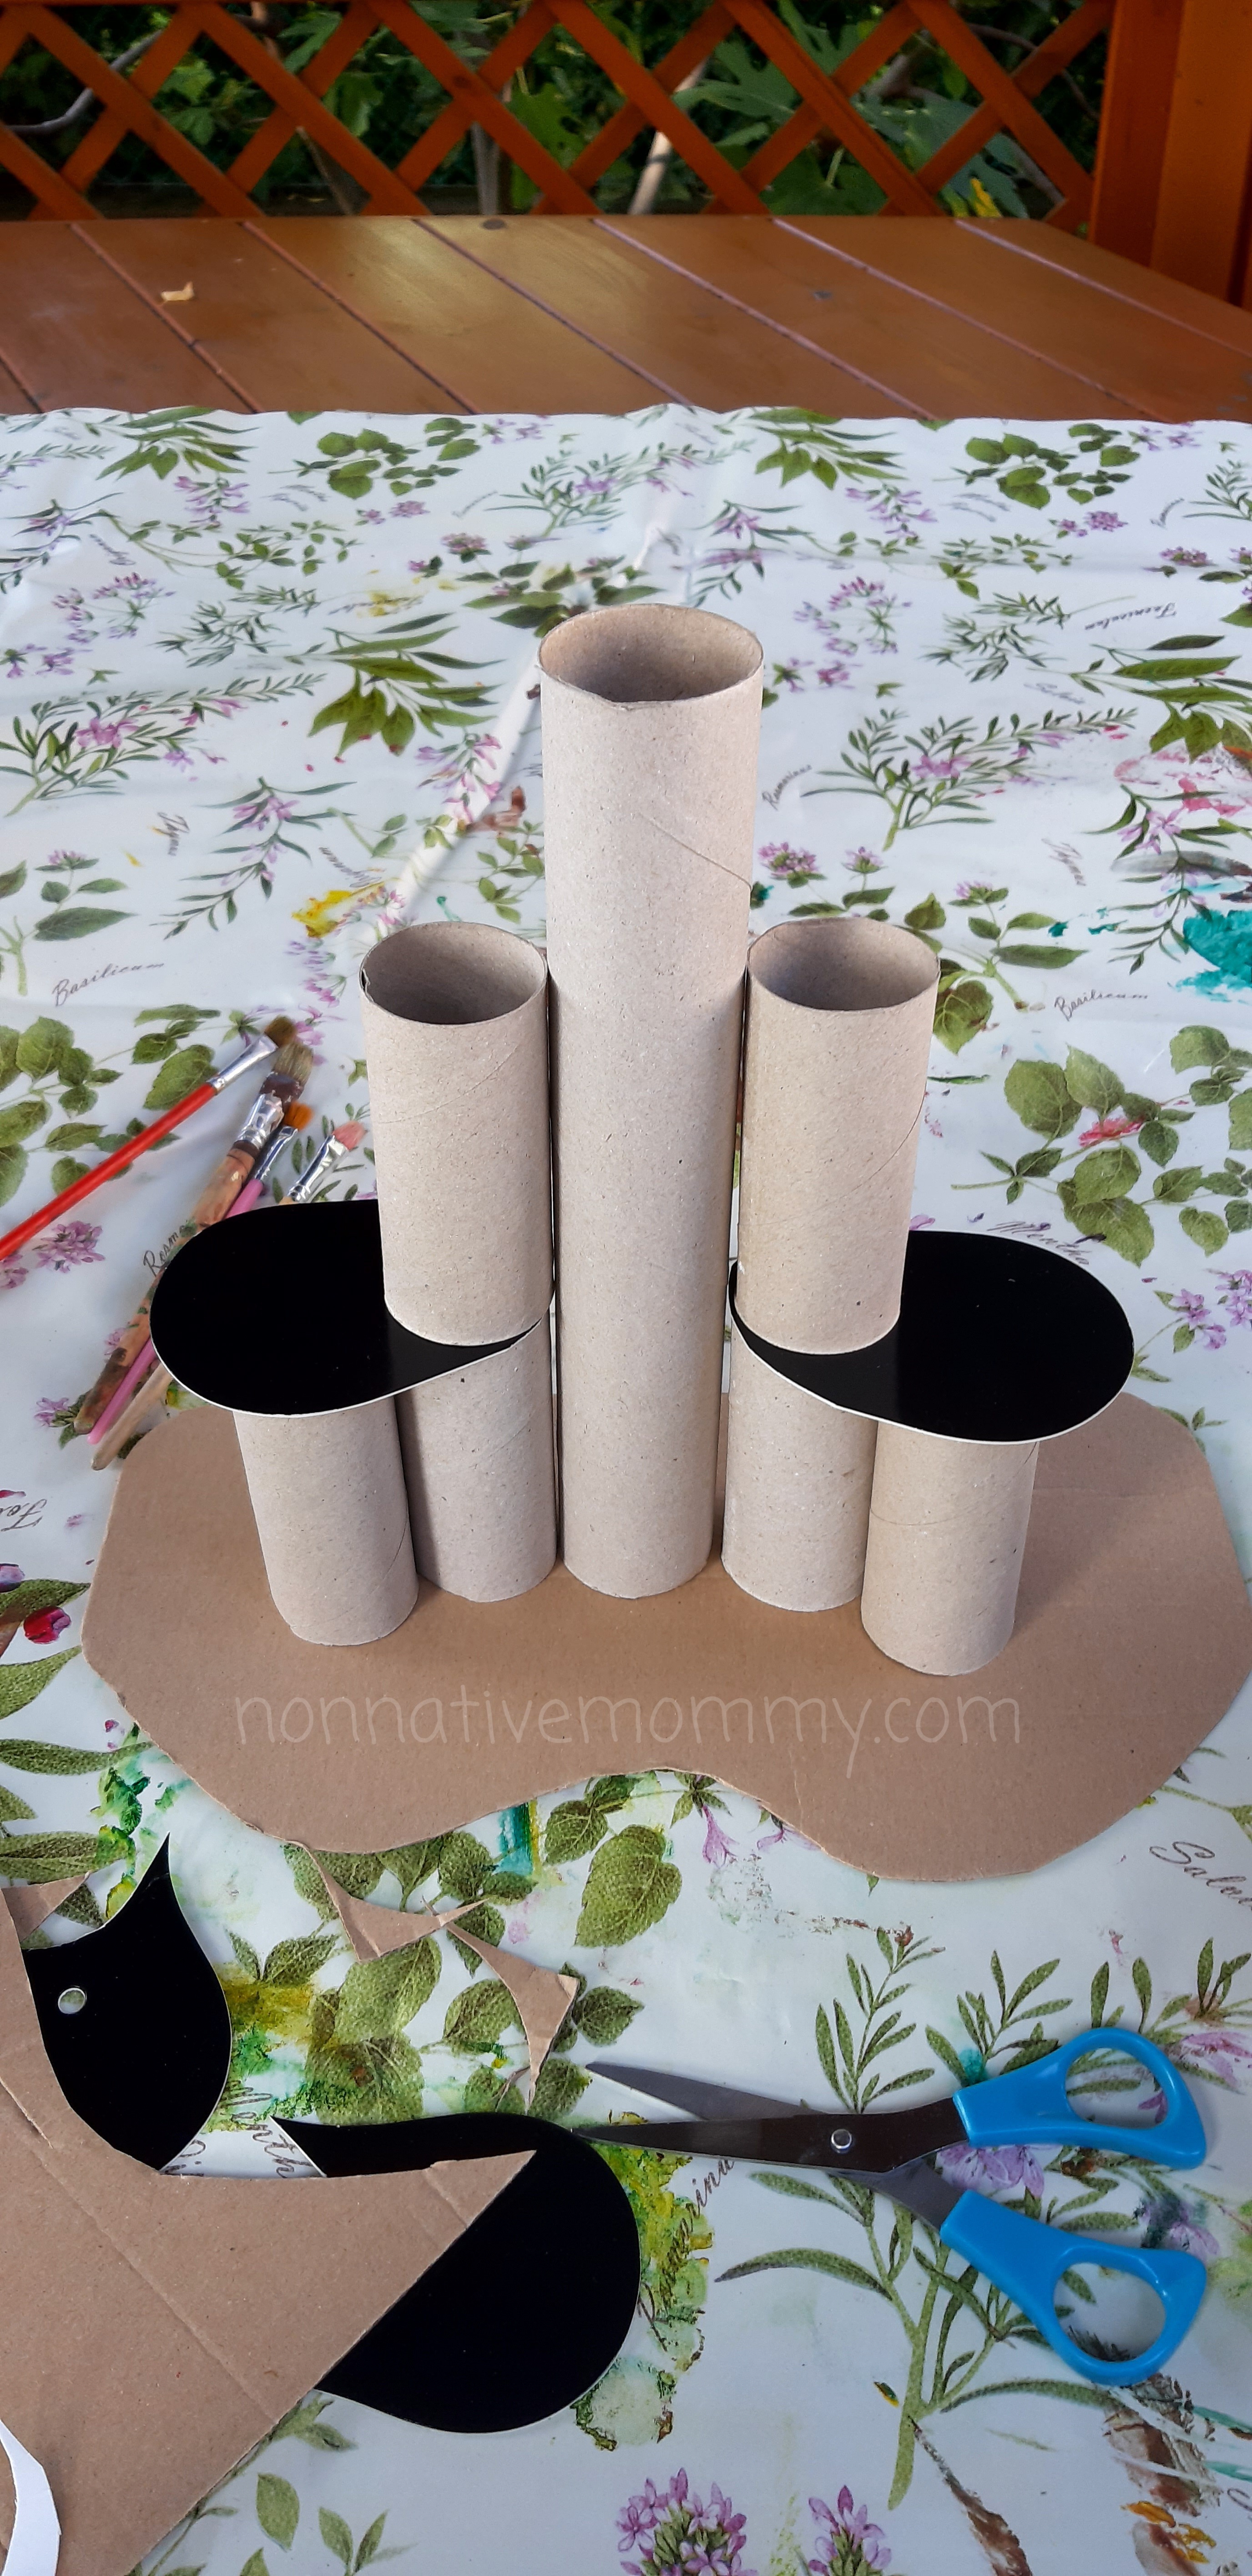
At the beginning E. and L. were interested and helped me paint the base green (a piece of cardboard box) and the tubes black. (We used a big paper towel tube and 6 toilet paper tubes, but you can make it bigger if you use more). Between the ground floor and the 1st floor towers I cut some black cardboard piece (It came with some socks and thank goodness I save everything ’cause it’ll be good for something)

The weather was kind to us and we could sit outside to do the messy work.

Then we needed to wait until the paint dried, so we went to have lunch and after that the girls got crazy. Therefore I needed to finish most of the castle by myself.

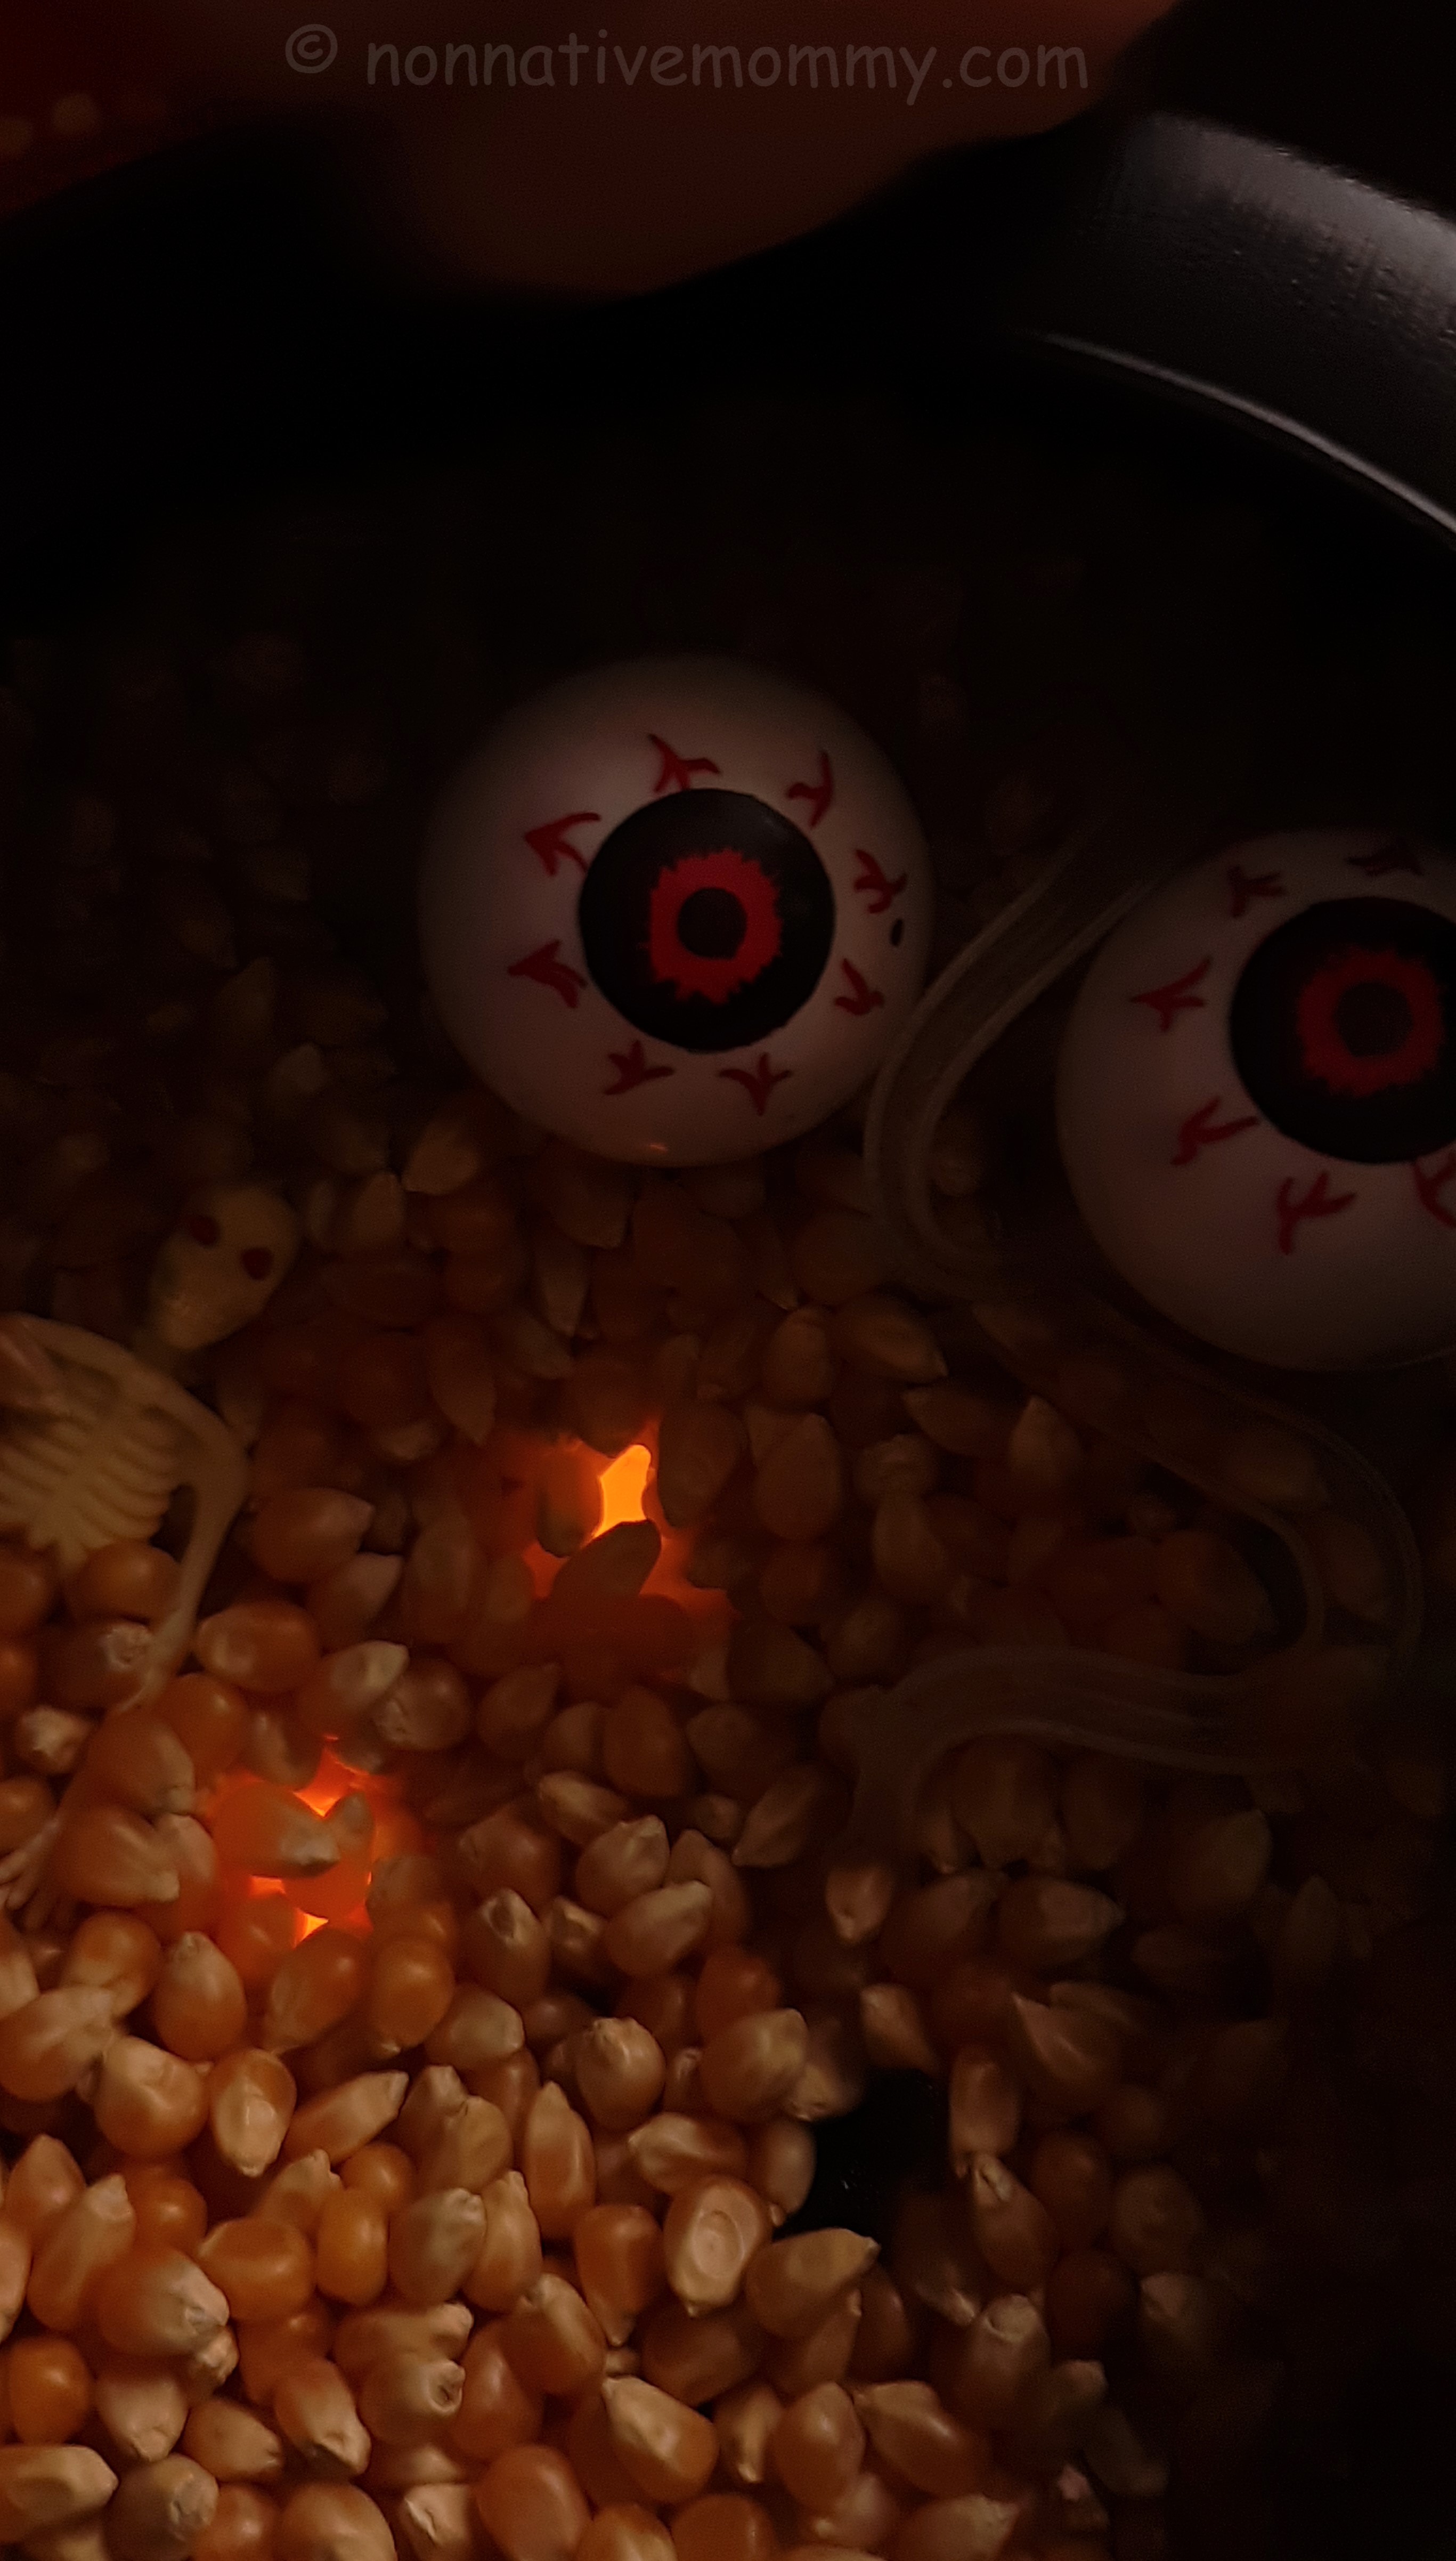
I drew a big door in the middle at the bottom, some windows, some bricks and a climbing rose. I cut the door and a window open so we could place led tealight in them but I’d found only pumpkin-shaped tealights which couldn’t fit in the window only through the door.

I used a hot gluegun to stick all the parts together.

Anyways, finally I added the rooftop. As I had no black cardboard the kids (who joined me towards the end) chose orange. I cut out a circle and formed a cone out of it. Then the kids placed the little fun details around and into the castle: black cats, bats, ghosts, pumpkins and jack-o-lanterns to make it even spookier.

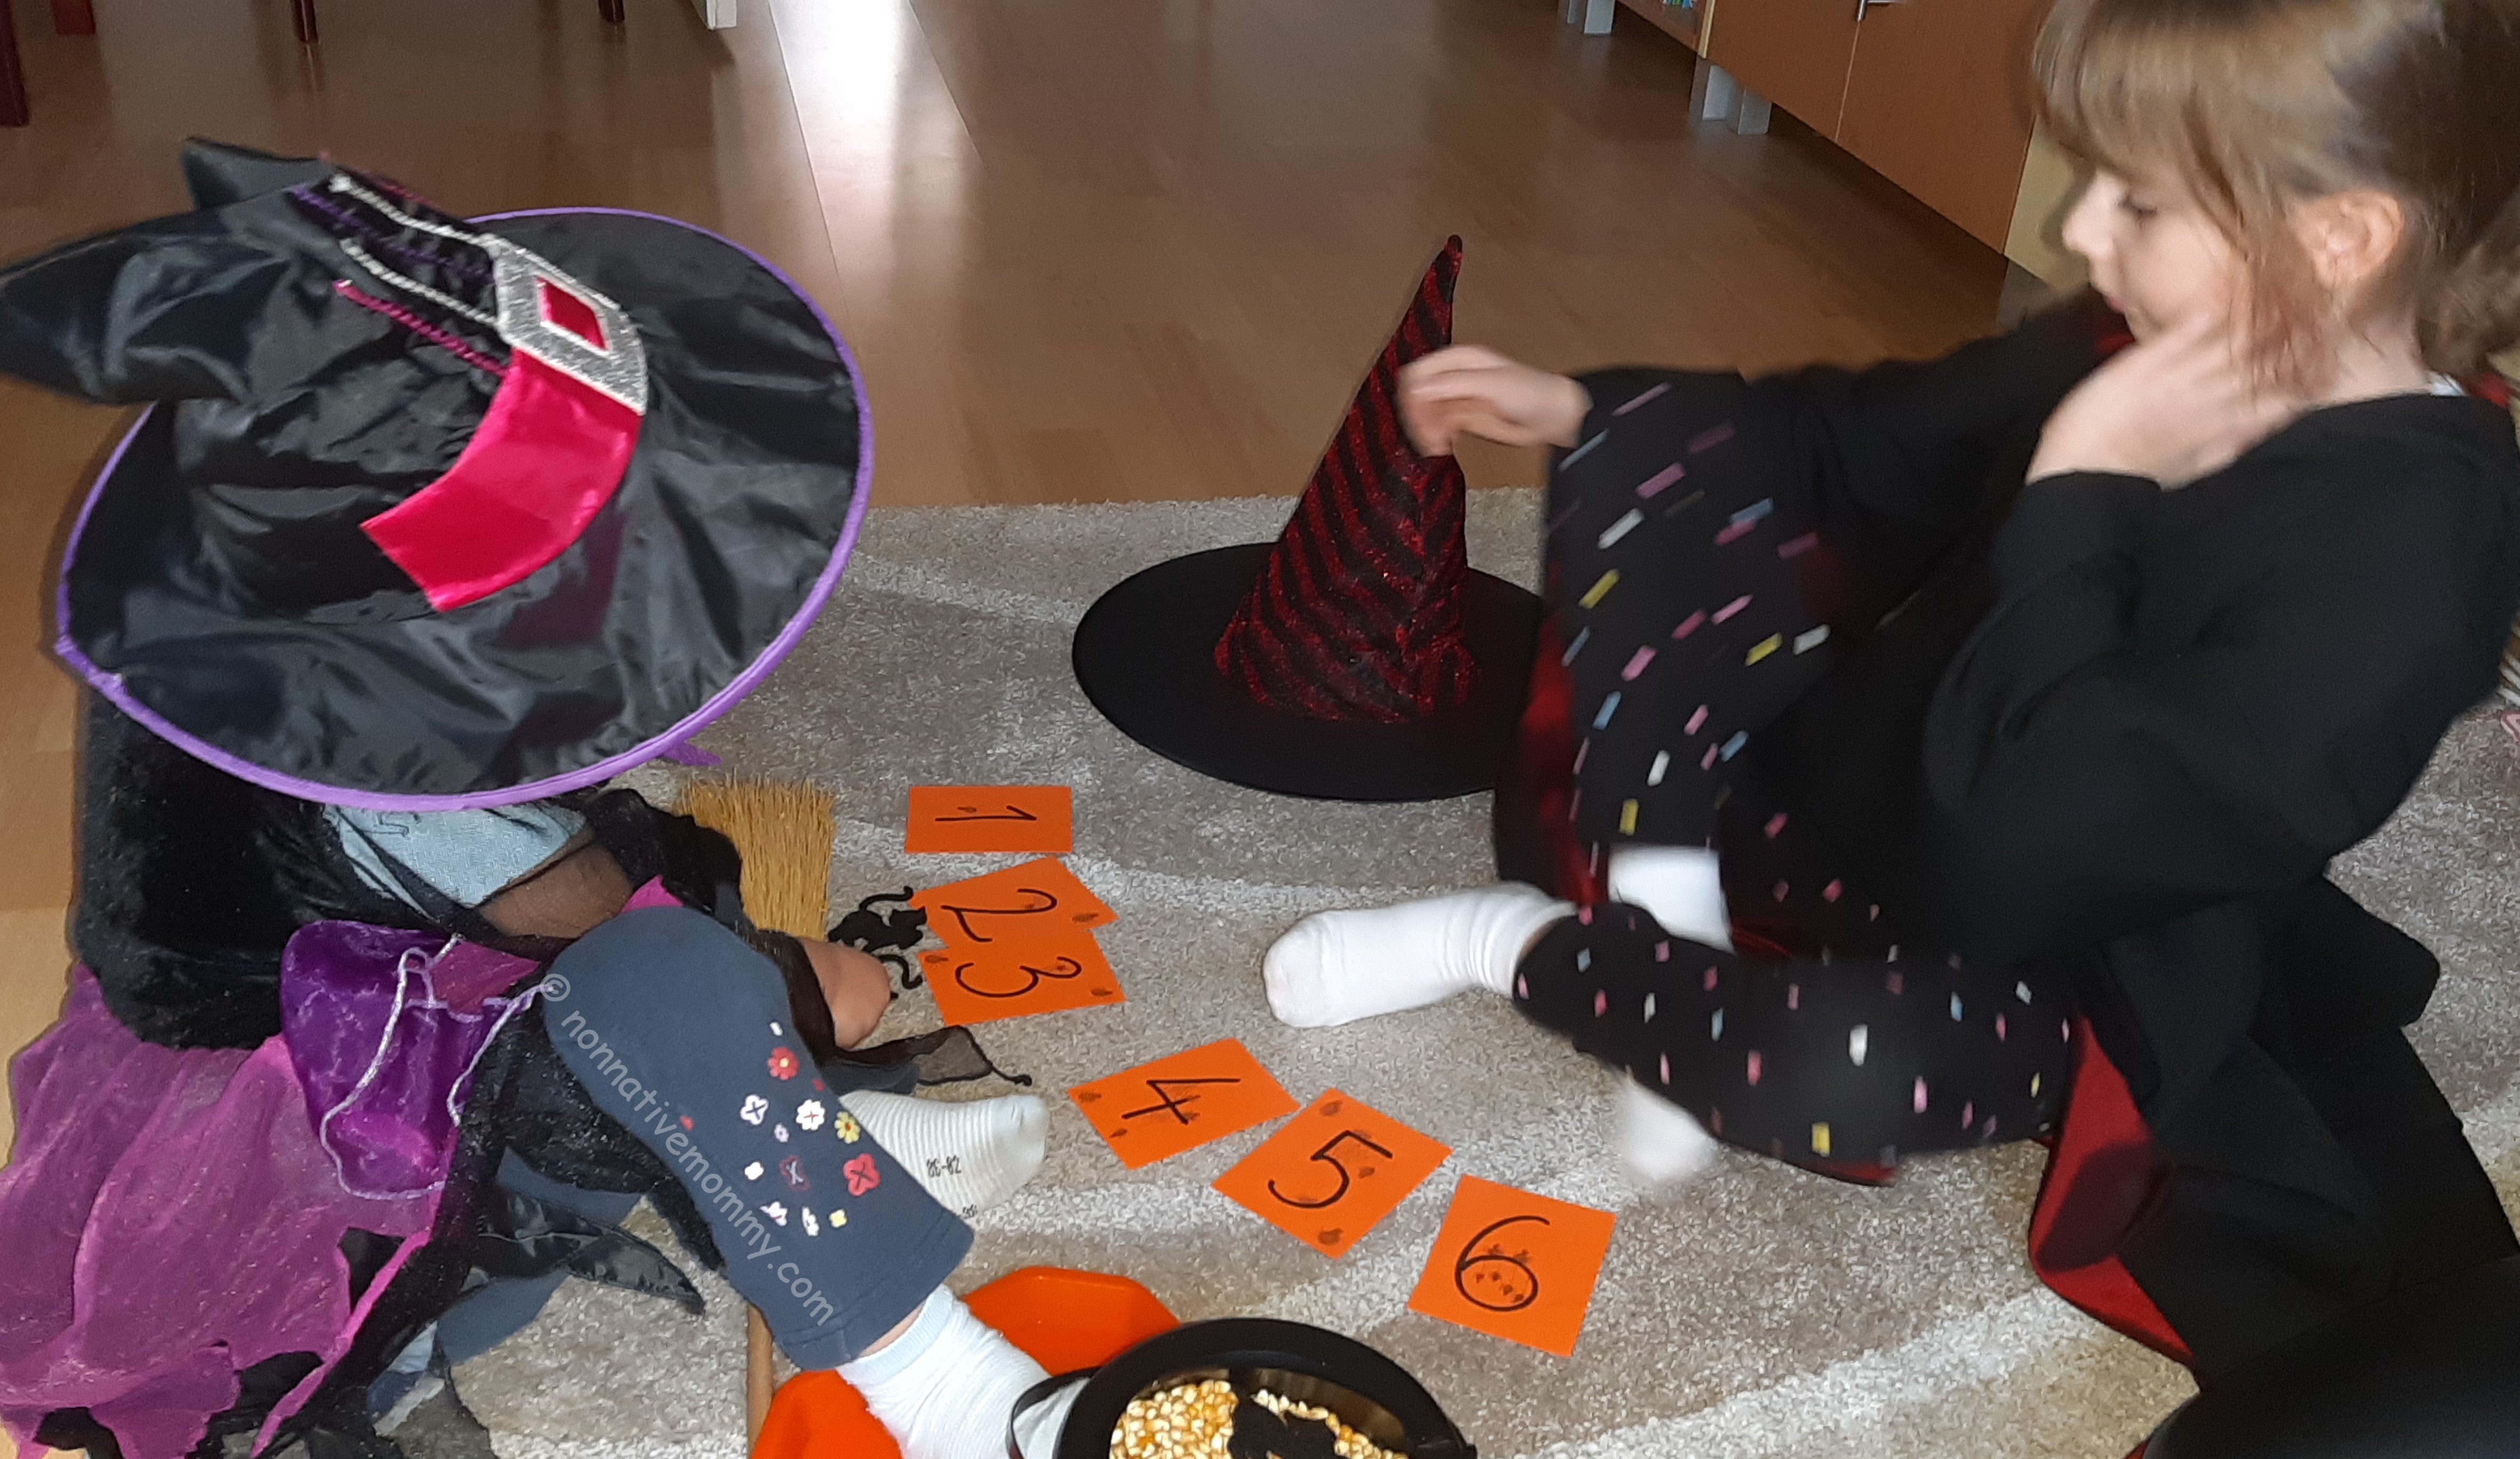
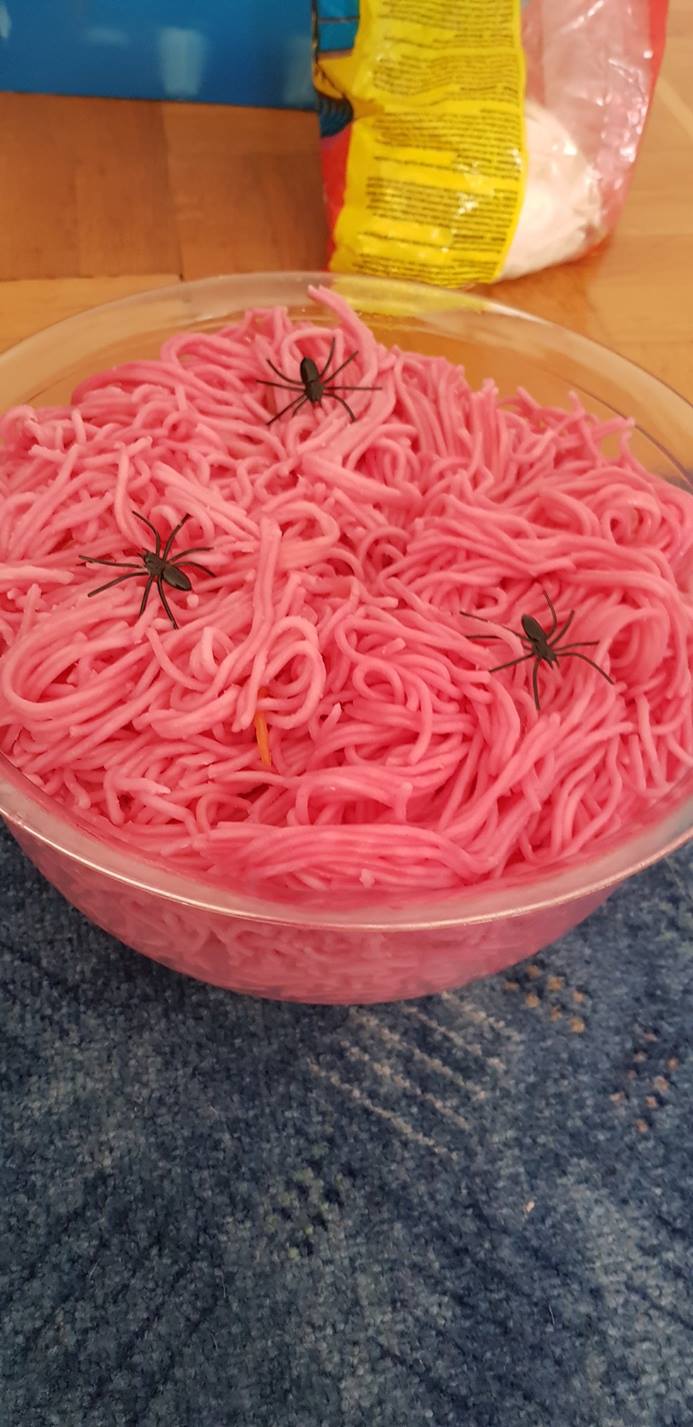
The castle served as a great place to role-play some spooky stories with the props. Mainly Little L enjoyed and played with it in English adding more characters like skeletons and spiders.

I suppose I’ll save it for next year so we can have some more spoky fun with it.

Happy Halloween!

Witch’s cauldron – sensory bin

October is all about Halloween. It is the time to do Halloween activities , listen to Halloween songs and decorate our house with scary things. This year we’ve been playing with the old games but I wanted something new. As Little L. wanted to dress up as a witch, I thought a cauldron sensory bin would be great.

What you need:

  • a cauldron (I bought ours in the Flying Tiger Shop)
  • corn kernels (I used 2 and a haft tubs of popcorn kernels)
  • “scary” manipulatives (plastic eyes, spiders, skeletons, pumpkins, snakes, black cats, ghosts etc. you can see my choice of manipulatives in the video below)
  • cards with numbers on (I used cards from 1-6)

How to prepare it:

I poured one tub of corn kernels into the cauldron and added some of the manipulatives then added another tub of kernels and placed in some more scary figurines. It wasn’t enough to cover them all, so I added another half tub.

I presented the sensory cauldron to E. first, because I wasn’t sure how many creatures I put in and actually she tested the game.

She (at the age of 7 and a half) enjoyed finding surprises in the corn.

To be on the safe side, to save some time of cleaning up the kernels I put a tray under the cauldron.

She did the counting. That was when we realised I’d put in 6 different kinds of manipulatives. Originally, I’d made 5 cards only, but at this point I added another card, no. 6, instead of taking away something from the cauldron.

One of the manipulatives were pumpkin-shaped tea lights. E. turned them on and put them back into the cauldron. Spooky.

20191016_143611

After playing with the cauldron we put everything back and it was waiting for Little L. to explore.

She also took great pleasure in dipping her little hands into the full cauldron and find the creatures inside. And it goes without saying that you can do this activity only in your Halloween (witch) costume.

20191017_165345_

Our new nanny was around at that time so the girls were searching for the scary creatures with N.

20191017_165611_

It was real funny when Little L. called the eyeballs “bally eyes” 😀 Check the video on this link.

I wish you all a Happy Halloween with this fun activity.

Halloween stormed in 2018

After the spider costume last year I was really looking forward to what E. comes up with this year. As she’s been into a new topic: weather, she wanted to be something weather-related. And what else can be more frightening than a …..

.

.

.

tornado.

Challenge accepted. Again we just needed a black set (sweater and leggings). I found some old, white tulle curtain leftover. I cut a piece and sewed it on the sweater in a zig-zag and some more tulle down on one leg all around.

20181027_073804

I created little pockets so we could fill it up with pillow filling (I actually opened an Ikea pillow and used the filling of it) and some objects the wind could pick up while swirling around.

The full-dress rehearsal was at the drama class, but we didn’t add the filling as yet, just the objects.

20181027_112043

Later on, we added a little grey to the filling with a marker and tucked it in the tulle together with some plastic toys (spiders, cows, cacti). Some clouds on the face and some more tulle in the hair and it was all done.

20181031_175742

Little L. wanted to be a black cat. I bought her these cute cat ears, we added a sock tail to her one-piece cat costume, drew some whiskers on her chubby face and she was ready to purr.

20181031_162812

I myself dressed up as a were-wolf. I even bought gloves with claws but I left them at home before the party at the Helen Doron school.

Still, we were quite a sight on the bus on the way to the school. Haha!

At the Helen Doron School the usual unbelievable scariness welcomed us. Spooky decorations,

45237207_1836061579775638_7174821461574549504_o.jpg

Halloween treats,

45363187_1836065533108576_6240258632622014464_o.jpg
edible earth with worms

and games,

craft session,

20181031_172519

in one word: FUN!

I’d like to thank the teachers who always put their hearts in these parties, plus their dress-up ideas are magnificent.

45294652_1836067836441679_1167918220439453696_o.jpg

45329700_1836063386442124_6473050150737543168_o


45256742_1836068026441660_3441912513849982976_o

Pumpkin decoration

This year I wanted an easier pumpkin decoration than carving as my little one (almost 3) would love to work with the knife to crave and cut, however, I wouldn’t want her to.

As the girls love tattoos I though it would be great to apply some tattoos on pumpkins. Finding spooky spider tattoos for pumpkins in the Flying Tiger shop was real lucky.

DSC04782

The girls started the decoration with washing and drying their own pumpkins.

DSC04787.JPG

Then the decoration could start. We applied the tattoos and used a permanent marker to draw it scary face. While doing so we were singing Halloween songs like: Pumpkin pumpkin let’s give you some eyes or Can you make a happy face?

DSC04801DSC04797

In the tattoo set there were some shiny crystal-like stickers and silver/black paint pens. Of course, we needed to try them all.

DSC04831

DSC04830

Finally, E. found her pumpkin a little too over decorated but I loved her drawings and creative patterns. Her pumpkin even said Hello 🙂 it was a great crafty Halloween activity that both my 6- and almost 3-year-old could actively take part in.

Spider costume for Halloween

E. has been into bugs lately (the influence of some new kindergarten friends) so she decided to be a spider this year at Halloween. I was looking for a spider costume but couldn’t buy the right one hence I made a spider costume for her instead.

The most difficult part was finding a black long-sleeved top in her size (116). In the 3rd shop (H&M) I managed. The basic garment for the spider costume: black long-sleeved top and black tights or leggings with black socks.

What you need – legs:

  • black long-sleeved top in your child’s size
  • 2 pairs of black tights (I used 60 den tights adult size)
  • pillow filler
  • black thread
  • yarn (E. chose red as it’s more spooky and she said she was a black widow)
  • needles

How to make it:

  1. Cut off the tights as long as your child’s arms are or a little shorter (actually we cut off the leg parts at the bottom and after filling them half way we cut them in the right length)
    20171026_120627
  2. Fill up the tights with pillow filler (The thicker the tights are the more likely the white filling won’t be visible)20171026_115807
  3. Sew the openings on the four legs.
    20171026_142907
  4. Sew 2 legs on one side and the other 2 on the other side. ( I made E. put on the black top and checked where the legs should go so they are about the same distance from each other. I measured it only on one side and signed it with chalk. Then she took the top off and I folded it half and signed the places of the other legs on the other side too)20171026_150119
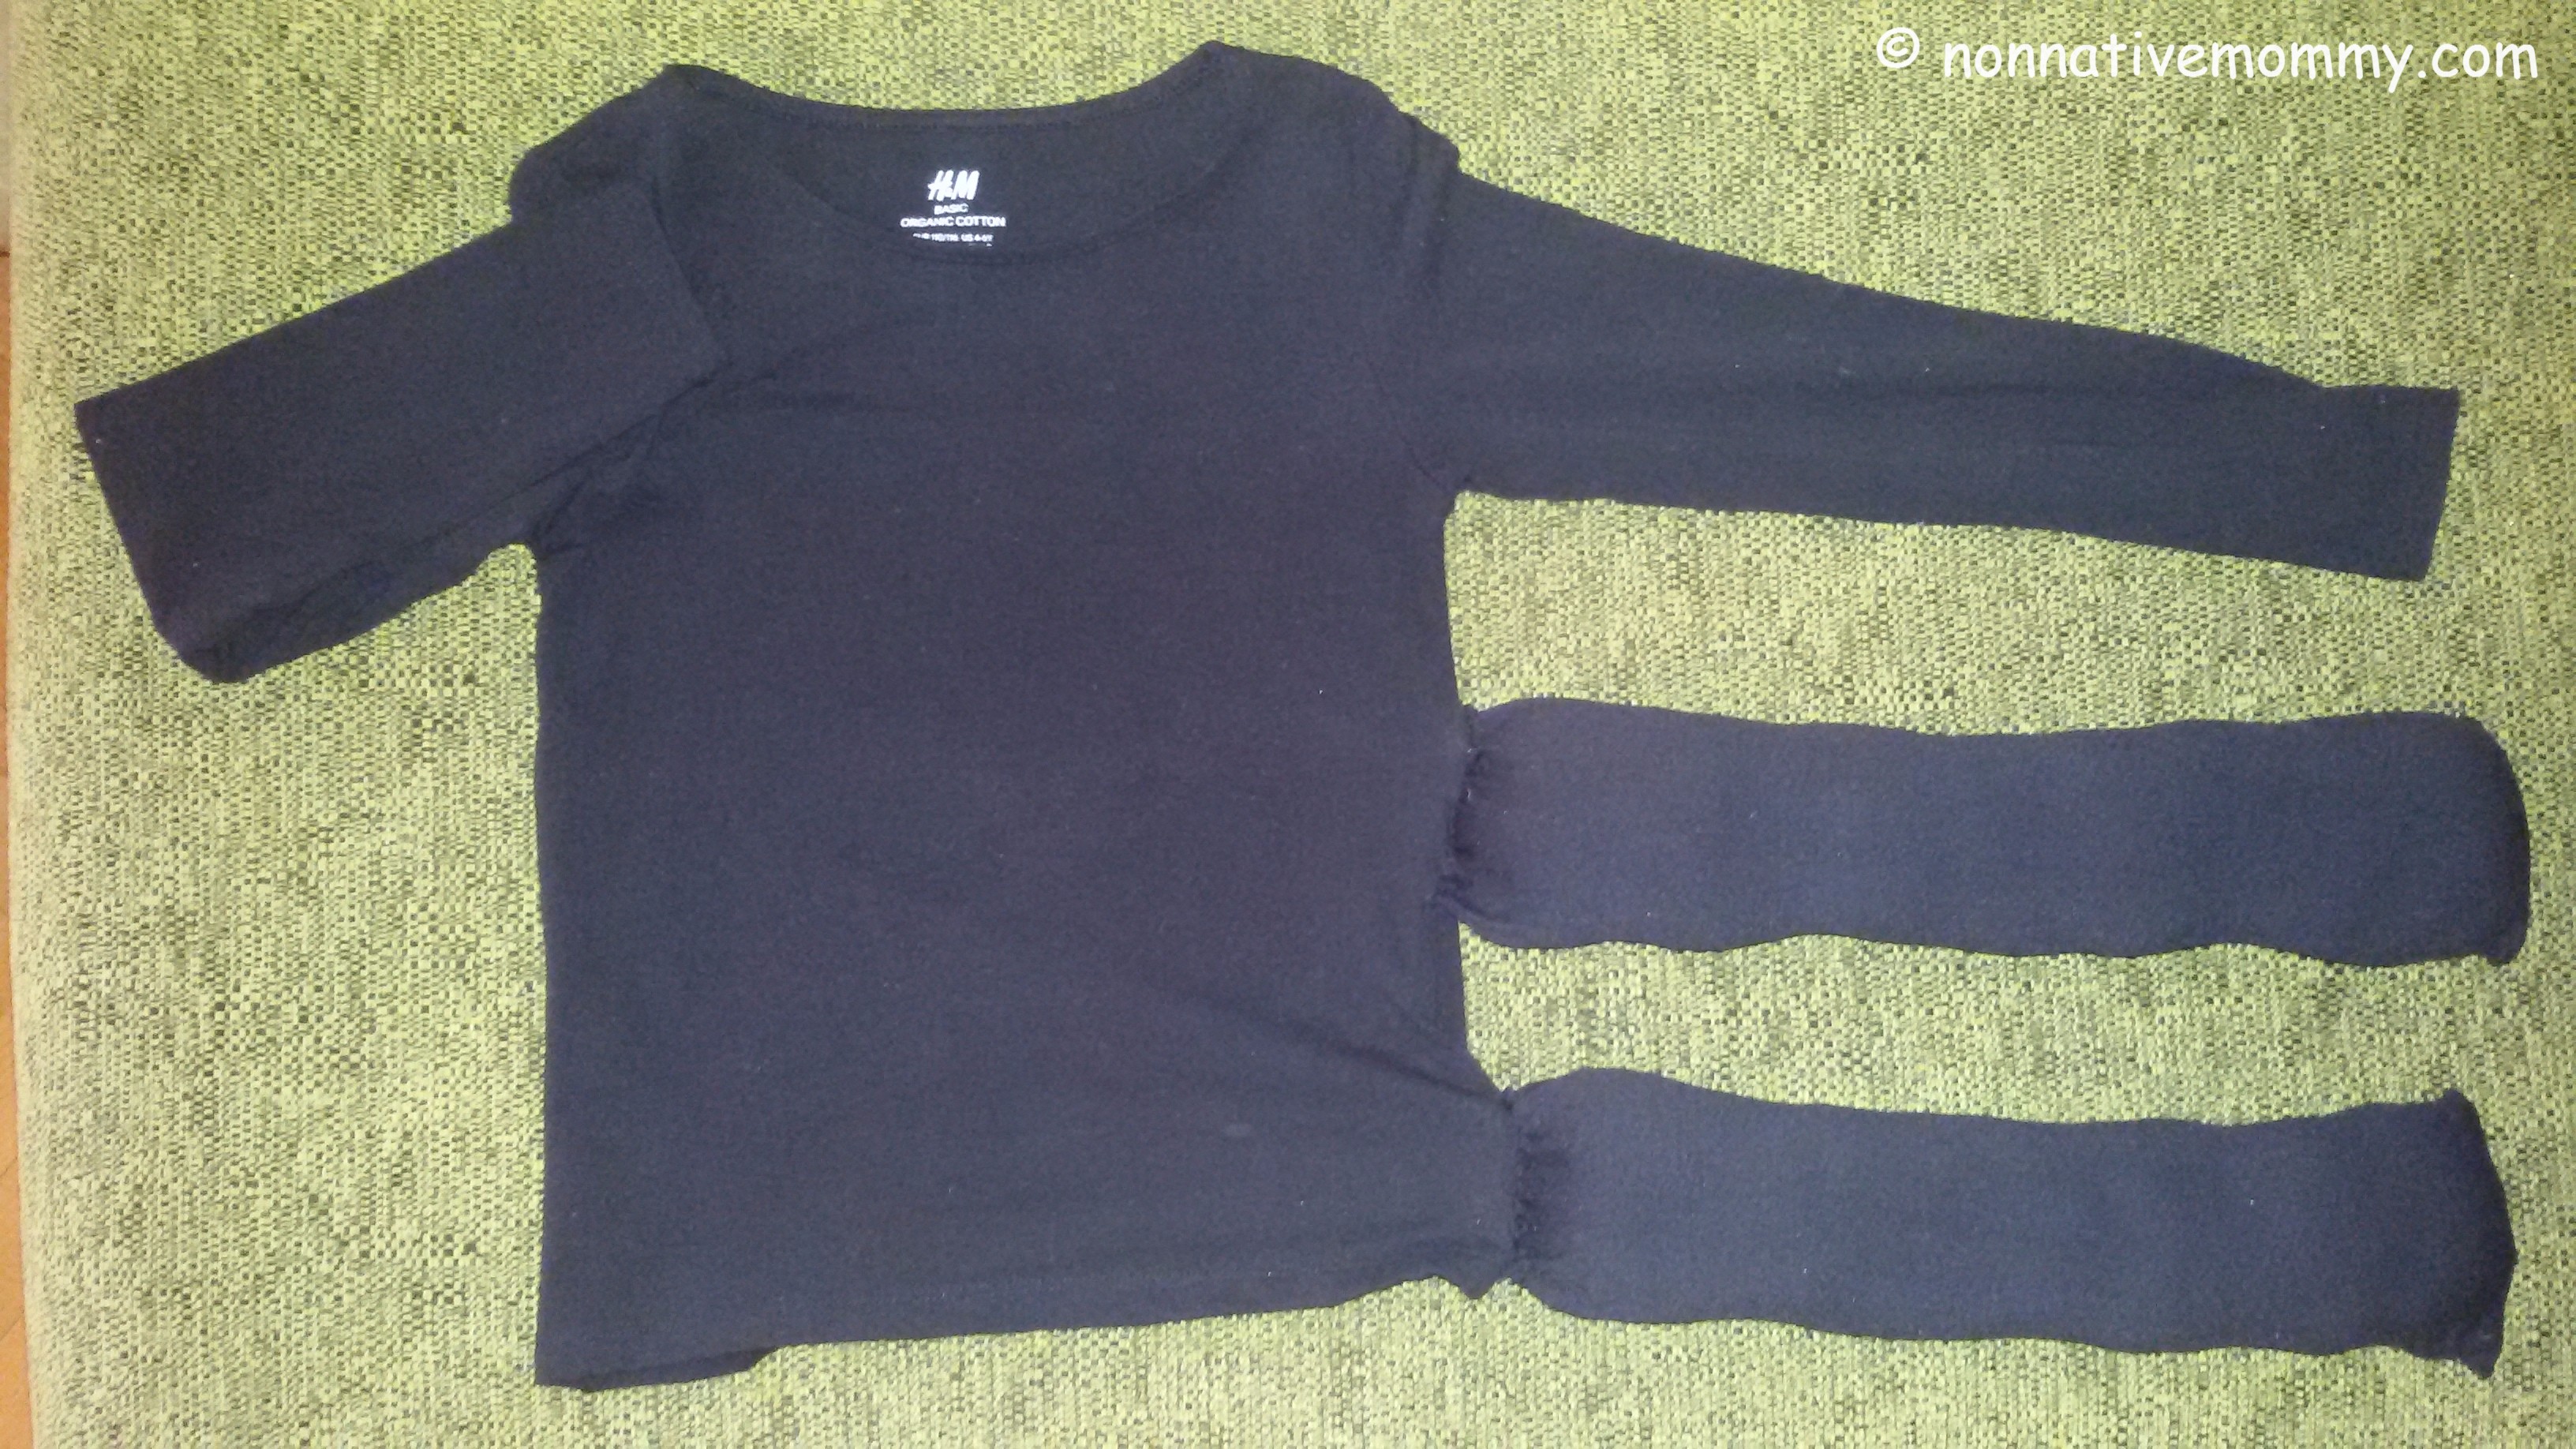
You can stop here but the legs will be hanging down on the sides.
  5. At the wrist and the elbow parts of the legs I pulled through a red yard (with a big needle) and sewed them to the top. After trying it on the legs slipped down on the yarn therefore with a small piece of red yarn I tied knots under the top legs to stop the slipping.20171026_181541

What you need – eyes:

  • hair band
  • black satin ribbon
  • 6-8 googly eyes (bigger ones, they can be different in size)
  • hot glue gun

How to make it:

  1. If your hair band is black go to step 2. if it’s not then cover the   with the black ribbon (use a hot glue gun and you’ll be ready in no time)20171026_140319
  2. Glue on 6-8 googly eyes on top of the hair band. E. wanted only 6 as she’s got 2 more that makes 8, just like the number of the legs. You see the logic?

    20171026_161744

20171026_161925

And you’re done. Now you can enjoy the spark in your child’s eyes. Don’t be surprised if your little one will wear it for one more week or even longer after Halloween. She was really proud of her costume in her own reserved way.

22861783_1434925303222603_1387808958071408428_o
With one of the Helen Doron teachers, Sz., who was also a spider

HAPPY HALLOWEEN!