Mother’s Day suncatcher

I really like suncatchers and they are easy to make even for the smallest hands. Here is what we made for the Grandmas this year.

DSC02240.JPG

What you need:

  • contact paper (self-adhesive cover for school books)
  • tissue paper (“selyempapír”) of any colours
  • other decorative elements that are as flat as a sheet of paper (We used hearts and flowers)
  • coloured paper

How to do it:

First, I cut a heart frame out of yellow coloured paper ( I used a template for the heart but you can try to draw a symmetrical heart with this technique). I also cut a piece of contact paper peeled of its back and stuck the heart frame on the sticky side. After that I cut along the outer line of the heart.

DSC02229

I prepared a lot of decorative elements on a tray for the girls to choose from. It could have been more varied but time was scarce.

DSC02238

They decorated their hearts as they wanted to. Even my two-year old could make a really nice present for the Grandmas.

DSC02232

Try it next mother’s day and let me see your decorated hearts in the comment section or on Nonnative Mommy’s facebook page . (This idea is also a great Valentine’s Day present by the way 🙂 )


Easter Scavenger Hunt

This Easter I wanted something different, something  that we had never done before. We’d done Easter crafts, Easter cooking, Easter egg hunt… but I was really glad to accidentally come across some Easter scavenger hunt on the net. I thought I could tailor it to the girls. So I did.

As they are still young and found Jesus’ crucifixion and resurrection too frightening (we read some simple books about it), I stayed with the bunny theme this year.

20180330_133914

Some presents (very few sweets and no chocolate treats at all) were hidden by the Easter bunny around the flat and the rabbit also made sure that the girls have some challenge. He left rhyming notes everywhere to give directions to the girls where they could find the next gift location.

Early in the morning we heard some bunny sounds (thanks Daddy and youtube). The kids jumped out of bed and started searching for the goodies.

DSC01668

E. read out the little poems and helped her little sister to find the places of presents.

DSC01669

They both enjoyed it a lot and were excited about the findings and the whole game. It was more fun that I’d thought.


You can download our Easter Scavenger Hunt Rhymes here. (It’s editable so you can alter it as you wish)

Thanks, Easter Bunny!

Everybody sing the planting song

Every year we plant flowers on our balcony with E. who loves spring and the revival of nature (and her coming birthday too).

Usually I buy some plants at the flower market and we plant them together, like last year or the year before. Last year we also tried to plant carrots, tomatoes, and ruccola. Well, apart from the tomato it wasn’t a successful year (we had 8-10 cherry tomatoes in September), but we’d started plating really late, at the beginning of May.

To attune the girls to the revival of nature and planting I collected some youtube videos for them, mainly songs. Here are their favourite ones (that they learnt by heart within 2 days):

The Planting Song

Parts of a plant

One seed

How plants grow

Peppa pig-Gardening

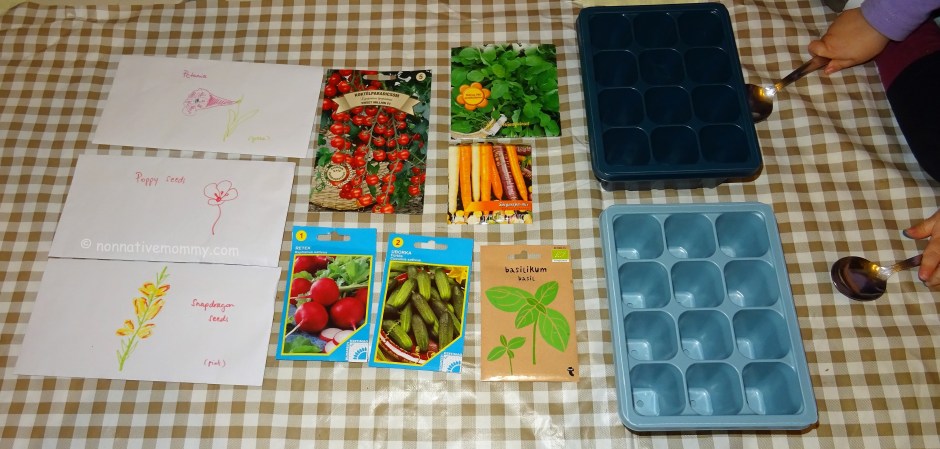
However, this year I was all prepared. I bought these cute plant nurseries at the Flying Tiger Shop and some seeds in one of the big supermarkets. (We collected some seeds from our balcony flowers, too, 2 years ago and I accidentally found the envelopes.) One of the ladies at the market who I get on really well with gave some spring onion bulbs to E. to plant.

We had a 4-day long weekend due to our national holiday, 15 March and we used one of the days to do the planting.

DSC01413

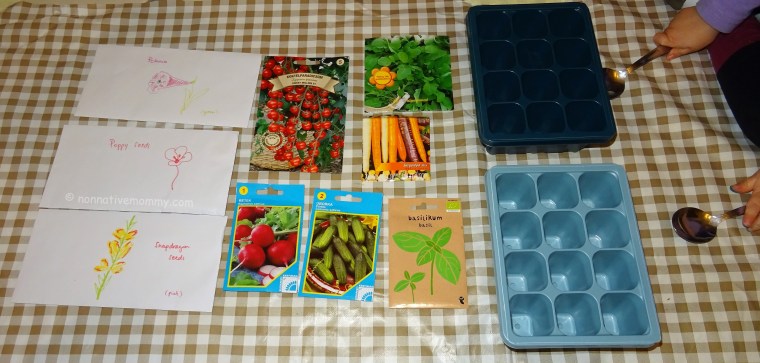
I put down and old wax table cloth on the floor and fixed it with painter’s tape. Then prepared all the necessary ingredients:

  • dirt (in another word soil)
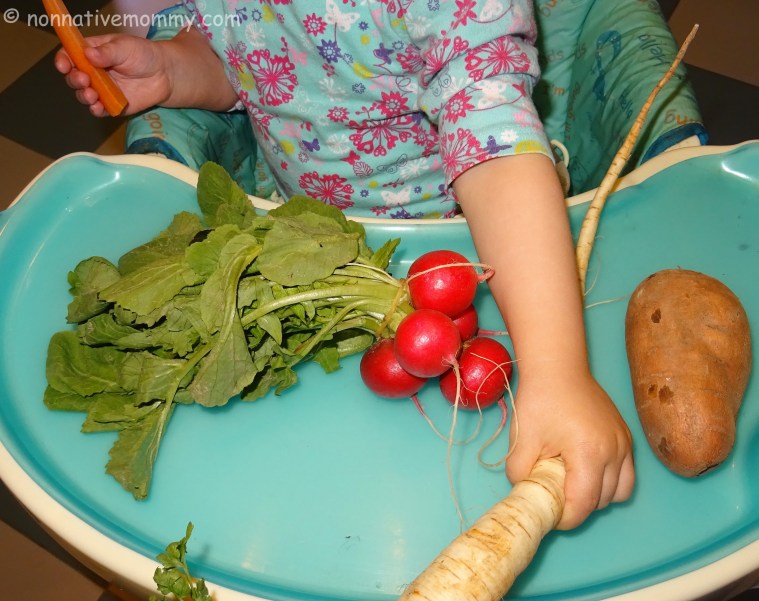
  • seeds (this year we planted radishes, gurkins*, carrots, basil, tomato, poppies, and snapdragons.)
  • spoons (next year a really need to purchase some kid-size gardening tools)
  • plant nursery

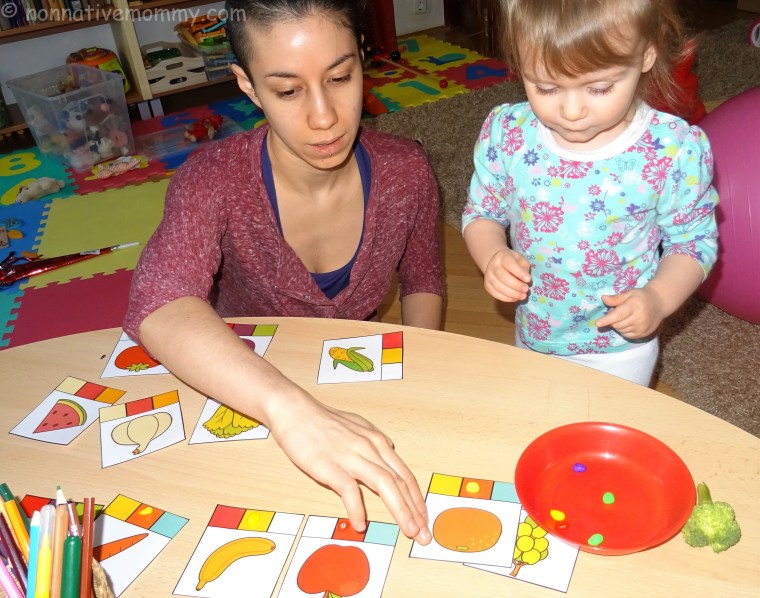
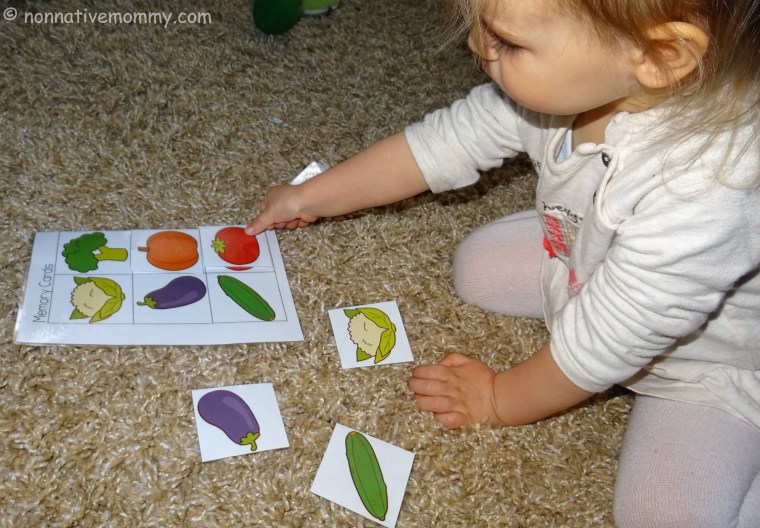
Before starting the planting procedure I showed them the parts of a flower cards and they put them in the right order: root, stem, leaves and flower. E. placed the word cards next to them. (The link above will take you to the site where you can download your own copy if you wish.)

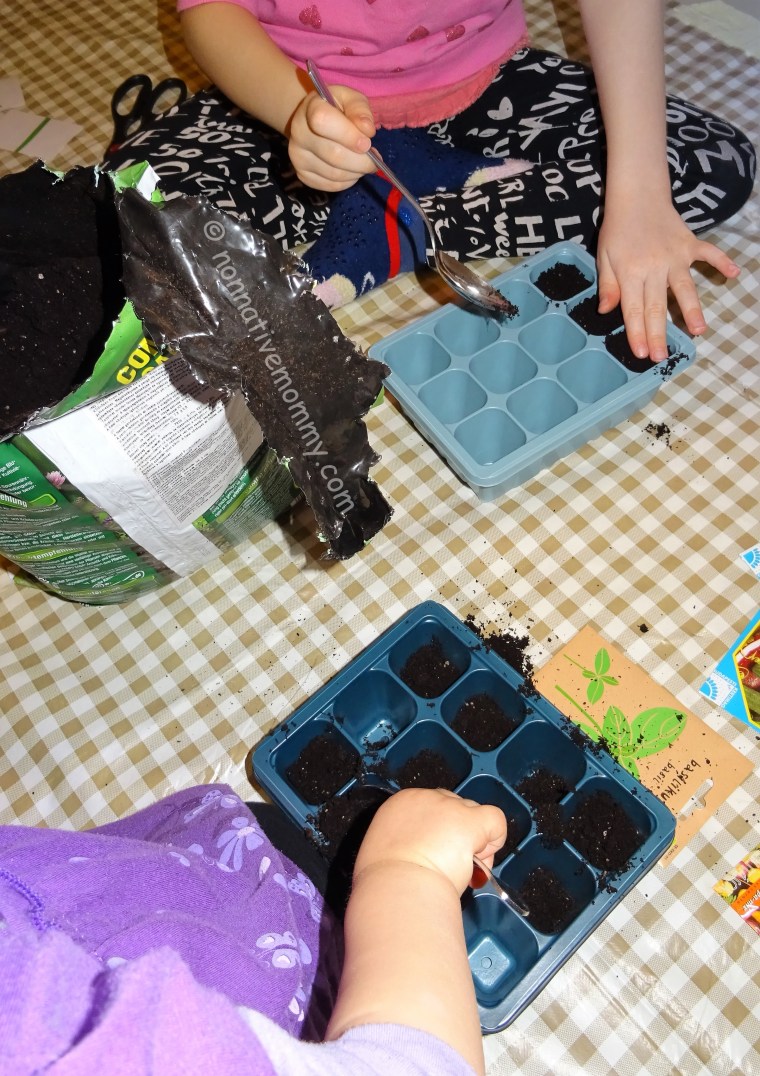
The girls scooped the dirt in the little holes. L. was making the sound of a digger while doing it. And for her that was it all. She lost interest in planting very quickly. She went to her little kitchen and cooked some food for Daddy.

DSC01420

But E. was really enthusiastic about it. She told me which seed to plant first , she opened the packets and envelopes that hid the seeds. She observed the seeds carefully noticing their different shapes, sizes and colours. (It was quite fascinating to see that the tomato seeds were blue and the poppy seeds were really tiny.)

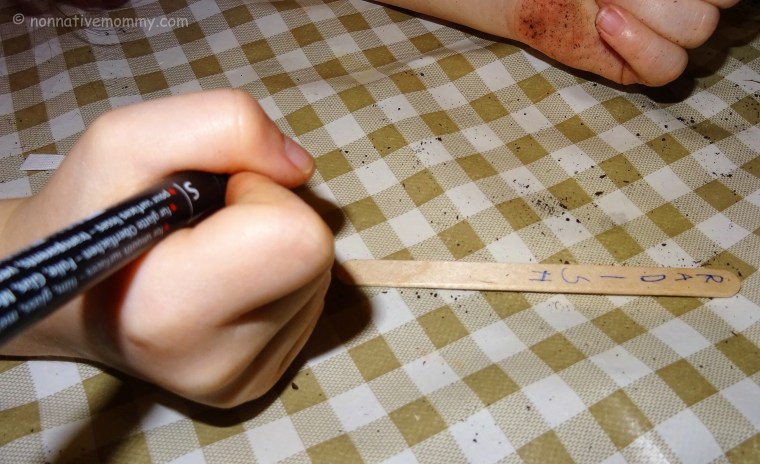
She also wrote the name of the plants on a wooden stick so we’ll know later on which sprout is which plant.

DSC01422

E. made holes in the dirt with her index finger and dropped the seeds, next covered them with some more dirt. When we finished with all of them she watered them lightly.

DSC01454

E. enjoyed it some much and was so excited about the planting that she was staring at the plant nursery nearly all afternoon. She was talking to them and wanted to water them more. This gave us an opportunity to talk about that giving the plant too much water or sunshine does no good.

The next day our radish and gurkin sprouted and E. saw a gurkin loop in the dirt. She started to call them Loopy and ran to find her Ikea plush gurkin/cucumber.

After a few days I offered her to draw what happens to the plant in a plant diary. She wanted to draw only the radish and the gurkin although every seed had started to sprout by this time. She measured them and drew how they changed size and colour, how they grew.

This slideshow requires JavaScript.

The next phase was to put them into bigger pots. Unfortunately we waited too long and planted the seeds too close to each other so we had a hard time to separate them. It might happen that they won’t survive as both the roots and the stems were rather weak. The radishes went to the balcony in a long pot, the gurkins were planted into bigger round pots with 2 wooden sticks and a string between them to provide support for the future vines.

Still E. is talking to them kindly and taking care of them with great care. Whoever comes to us has to have a look at the plants. Her plant diary is coming along really nicely. Soon we need to replace the other plants into bigger pots (we ran out of soil).

Stay tuned, there’s more to come, hopefully you can see beautiful flowers and tasty veggies.

*I found 2 ways of writing gurkin/gherkin. The latter is more common but I used the first version in this post. When I asked E. if she could spell it, she spellt it gurkin 🙂

Easter egg suncatcher

There hasn’t been much sunlight to catch this Easter but I’m hopeful that soon we can enjoy a little bit of sunshine after this long, gloomy and really cold winter.

DSC01649
The green is Little L’s and the orange is E.’s egg suncatcher

What you need:

  • contact paper (here in Hungary the best is the self-adhesive cover for school books)
  • colour paper of your choice
  • small items like paper strips, flower petals, paper cut-outs etc (I used tiny bunnies, flowers, hearts etc. having bought from Flying Tiger Shop)

Preparation:

  • cut out an egg-shaped frame and make frames out of your coloured paper
  • cut out a piece of contact paper and peel off its cover
  • place it in front of you sticky side up and put the egg-shaped frame on it. Cut it along the frame
  • place the tiny decorative elements on a tray or in little cups in front of your child together with the sticky egg

Your child will make patterns and decoration on the sticky egg.

When the artwork is finished you place another layer of contact paper on it (sticky side down) to seal it off.

Fix it in the window and wait for the sun to shine. Enjoy the beautiful colours and shapes.

DSC01655_

We did this activity with E.&L.’s Godparents and their kids. They all loved it and made fantastically decorative eggs.

DSC01657

This activity can be done not only with egg shapes but flower shaped frame too. Even if you are not very talented at drawing the easiest way to make a flower frame is to draw it. Have fun and enjoy the sunshine.

Happy Easter!


Fruit, veggies and colours

L. is always gets interested in whatever her big sister is crazy about. This time fruit and veggies.

Little L.’s attention span is still quite short so the long planting procedure was too much for her. Therefore I decided to make her busy with fruit and veggies in another way.

DSC01512.JPG

I found this lovely free printable on food at Life over C’s which is a huge pack of several activites. I chose the one in which the child needs to decide the colour of the fruit and veggies on the card. The original activity recommends using clothes pegs to mark the right answer but L. has difficulties in using it all by herself so I decided to give her decor stones of the same colours as she needed to identify.

DSC01502.JPG

She did this activity with me and with our native nanny too. She enjoyed it so much for quite a long time (8-10 minutes per occasion).

DSC01521DSC01526

After shopping at the market I gave her the real vegetables. She was fascinated to see, touch and even smell them.

DSC01509

The pack contains a memory game set. I used it a little differently. I cut up only the half of the cards and L. needed to recognise and match the fruit and vegetables on the bigger sheet. This activity was a hit too, although she is not like her sister, who could do educational tasks forever.

If your kid is bigger you can select plenty of fun activities (number recognition, puzzles, memory game) within the topic, food on the link above.

Enjoy you fruit and veggies.