Our first week of the quarantine

Due to the corona virus’ aggressive spread we’re all home to stay safe and decrease the possibility of infections in our community. Schools and kindergartens have closed down, most of my students have cancelled the lessons and my husband has been in home office.

In this post I’ll collect what we’ve been doing this week. Some activities will have a separate post, you’ll find a link attached. I hope this, and the following posts will give you ideas how to kill time if you’re also staying at home with your kids.

School stuff:

E. got her school material early, at the beginning of the week. We’ve been doing the tasks in Hungarian. We spent about 2 hours on tha tasks in the morning and another 1 hour in the afternoon.

Most of the tasks are paper based, supported with online videos, study apps like learning apps (e.g. German word cards), quizizz (e.g. Maths or reading) from the teachers. She does these game-like studying in the breaks of the paper-based tasks. I caught her doing English quizzes too. 🙂

20200316_160248

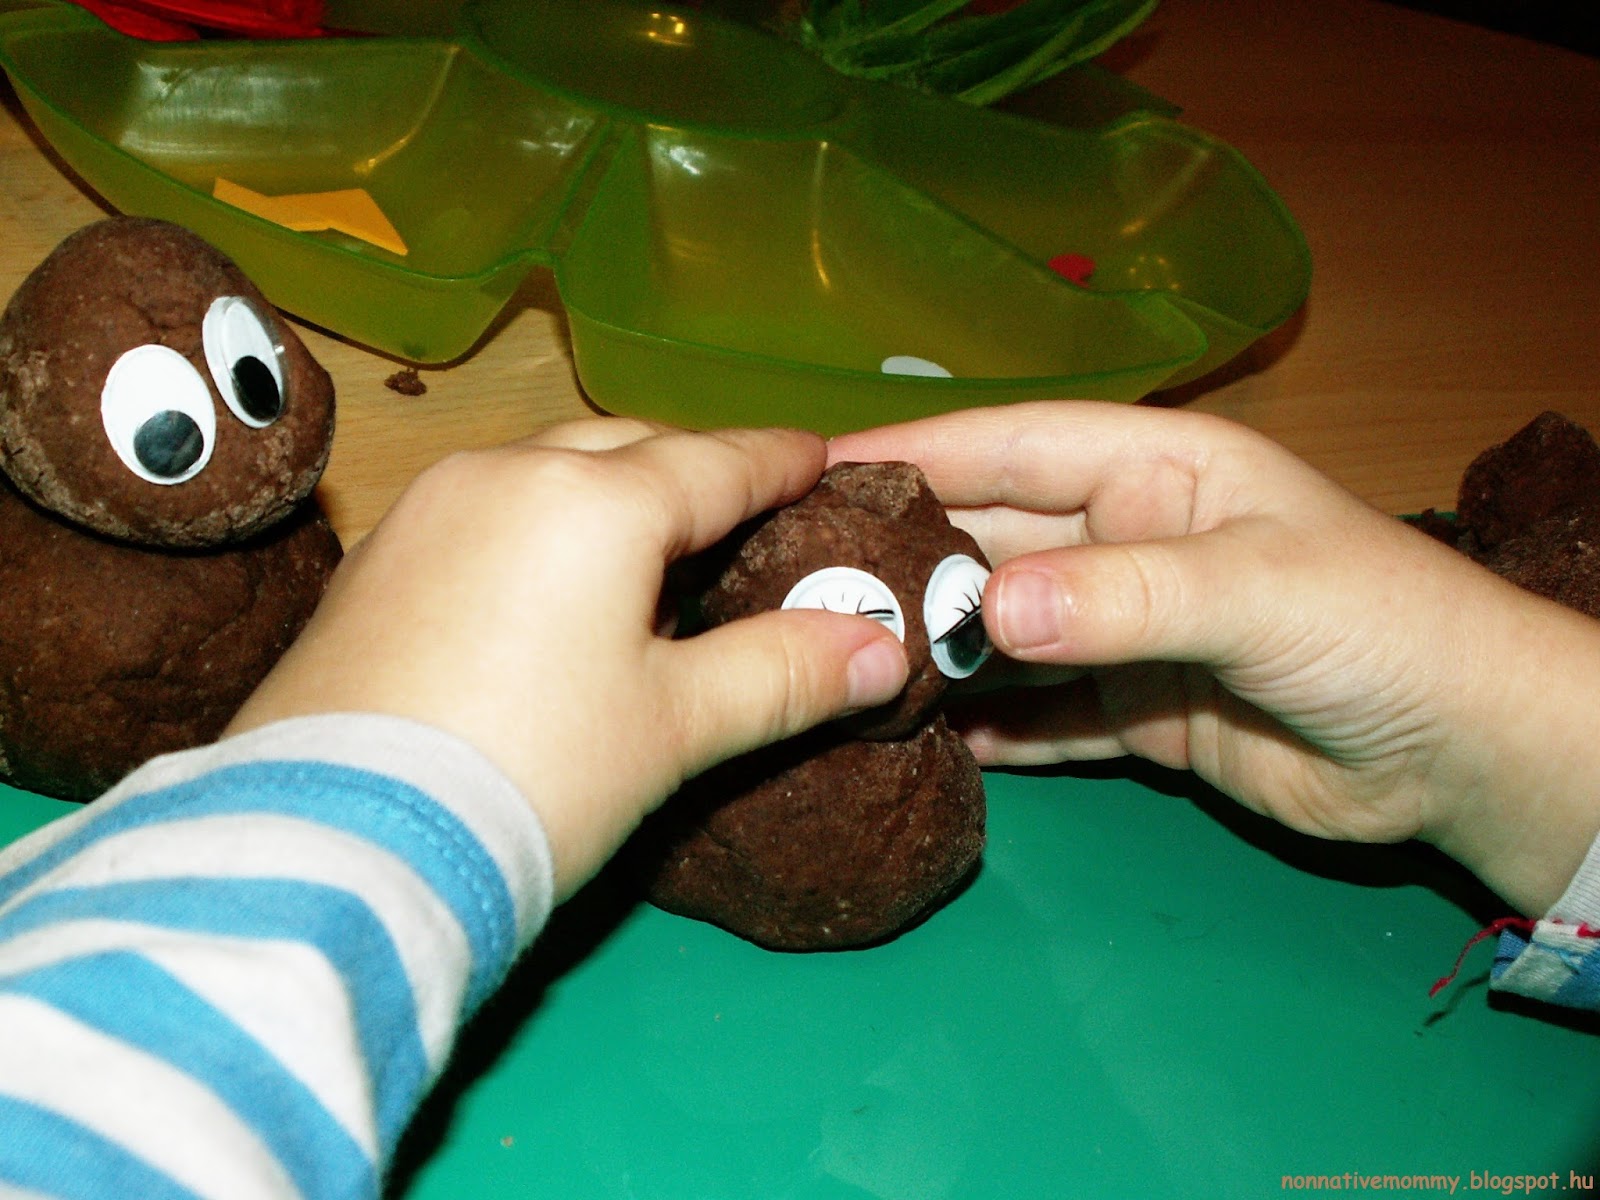
Little L. also wanted to do some “homework” so I took out some of the old activities I’d made for E. when she was little. Thank God, I have lots of stuff, L. was really busy and quick to solve the tasks. (counting, letter tracing, number recognition, sight words.)

E. and I also made her some new activities in her journal.

E. was more than happy to correct the otherwise perfect solutions. Little L. was very proud of herself.

20200316_160543_

While E. was working on her Roman numbers (put out with matches),

20200317_084316

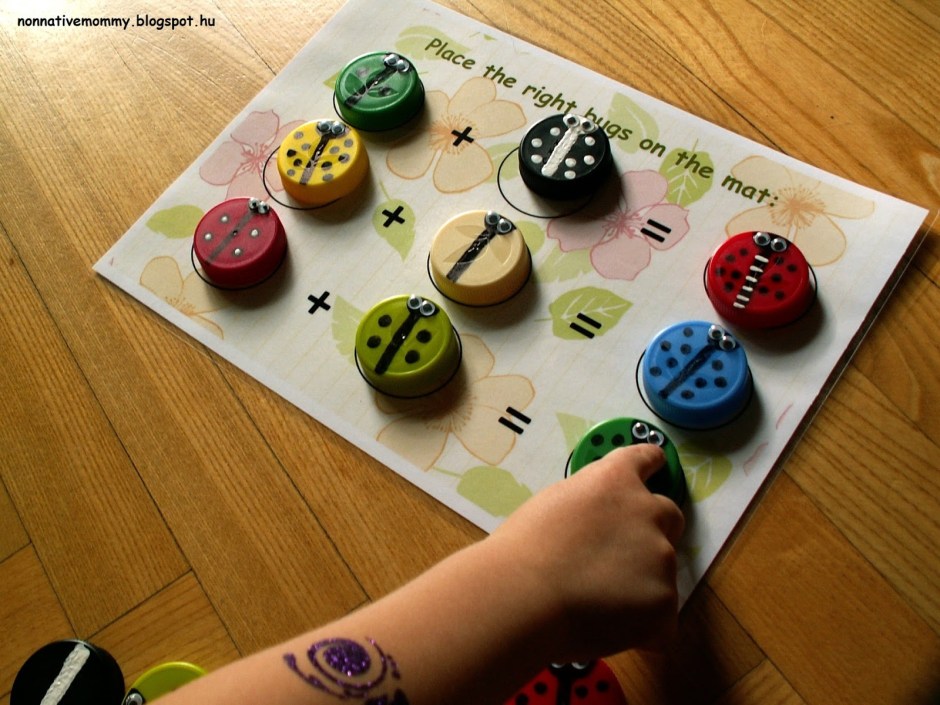
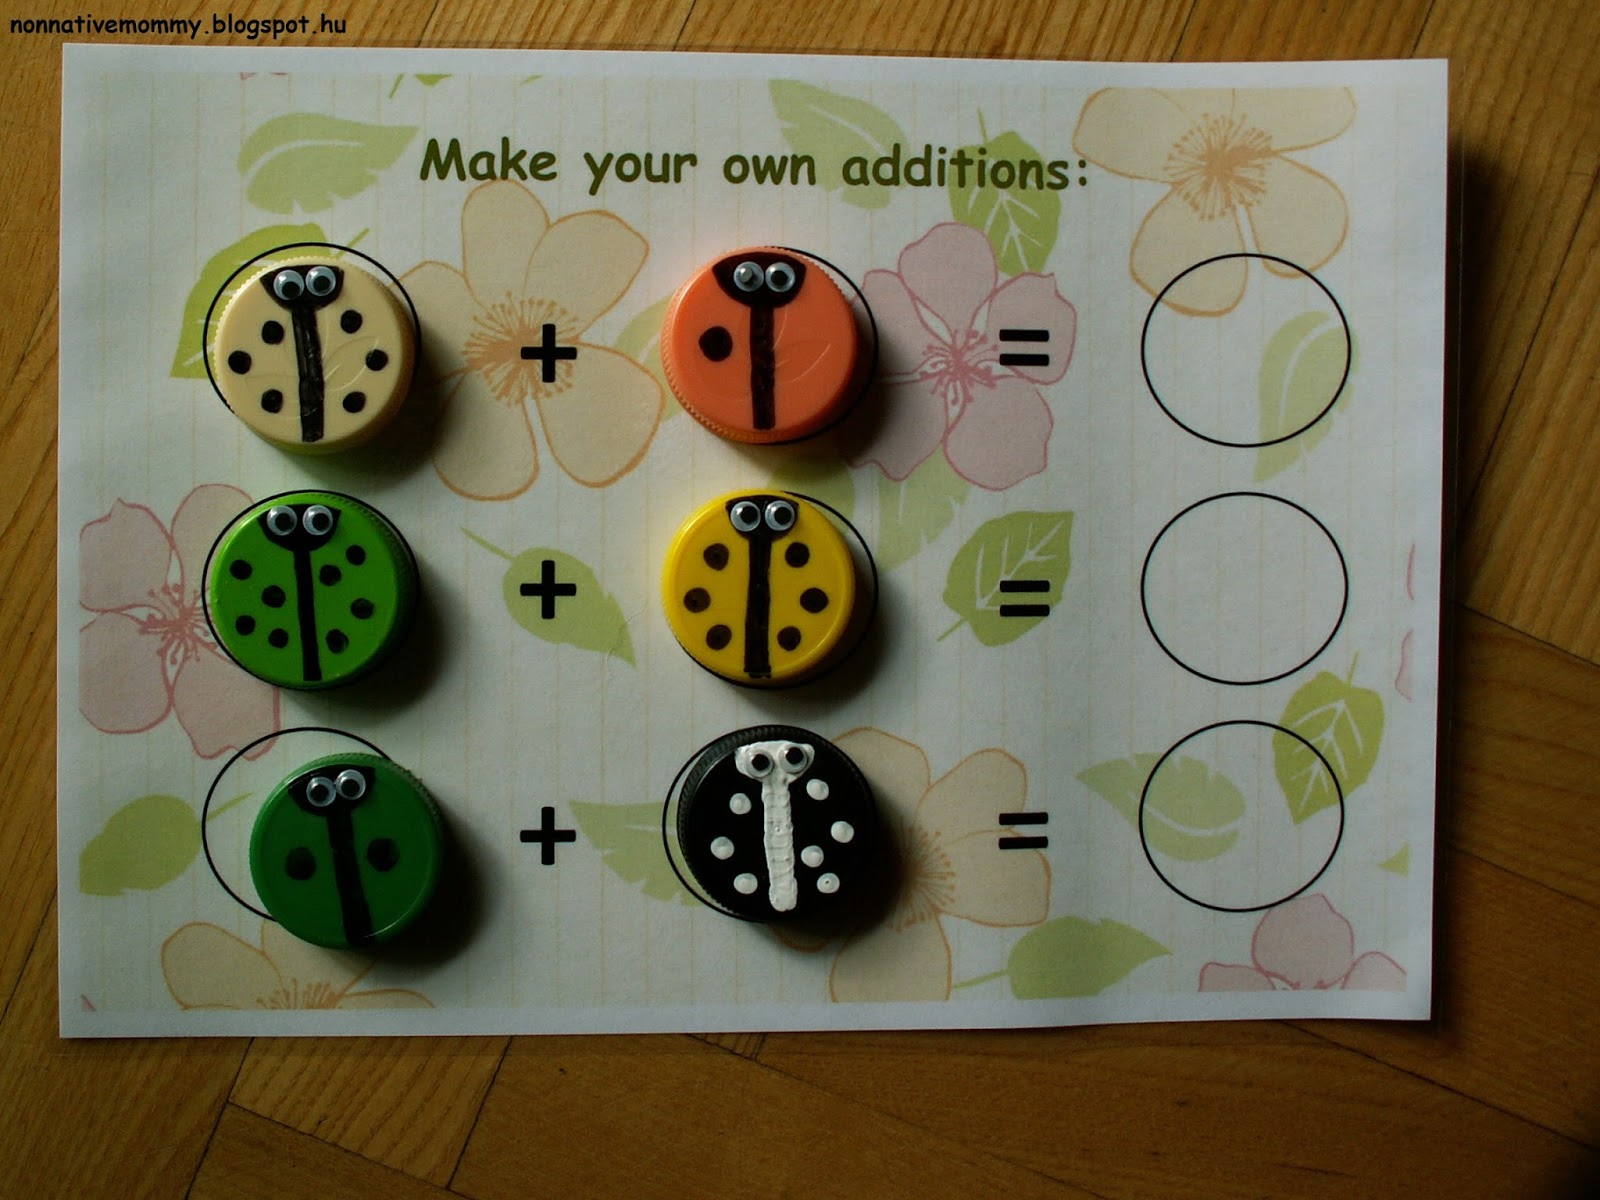
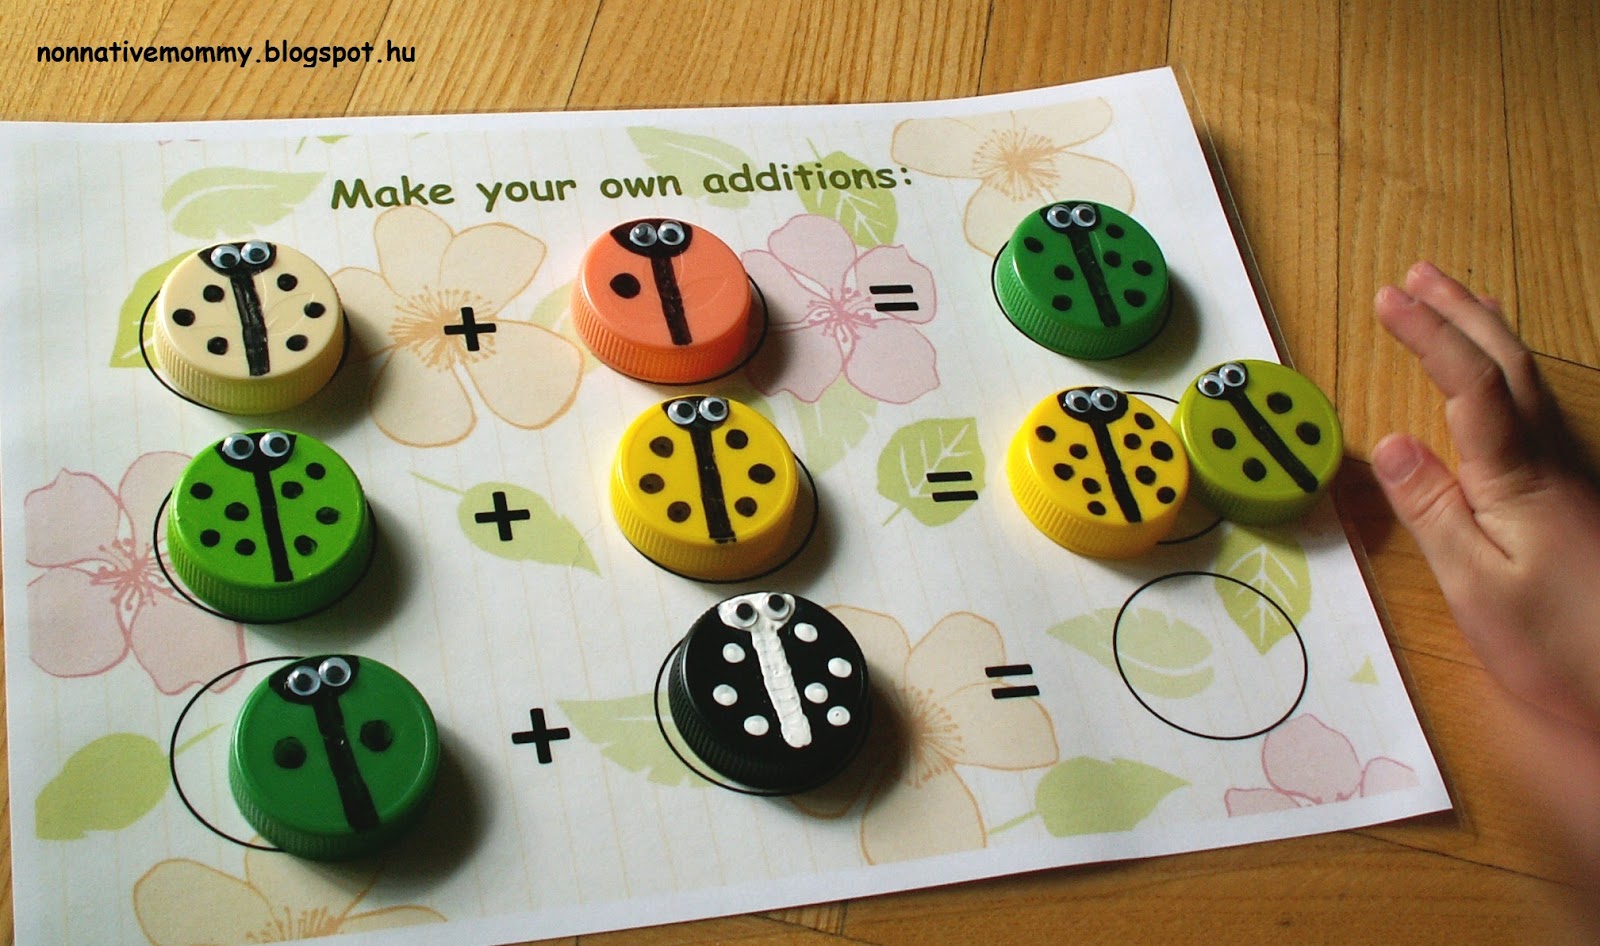
Little L. did some number activities (you can find them by clicking on the link)

E. had quite a lot of writing practice (they learnt 2 new letters this week), maths (additions and take always up to 12), plus reading tasks. As she is more advanced in her studies I gave her some copying of her choice, reading comprehension tasks (a fairy tale) and I also dictated a “short” letter addressed to her teacher. English writing and reading were scarce, much to my disappointment. We simply didn’t have time for it.

L.’s favourite game was the number puzzle game that I hadn’t written about unfortunately. You can find this activity at this reading mamma ( If you click on the link, you can get your own free printable), we did this activity with E. at about the same age as L. is now.

20200317_093204

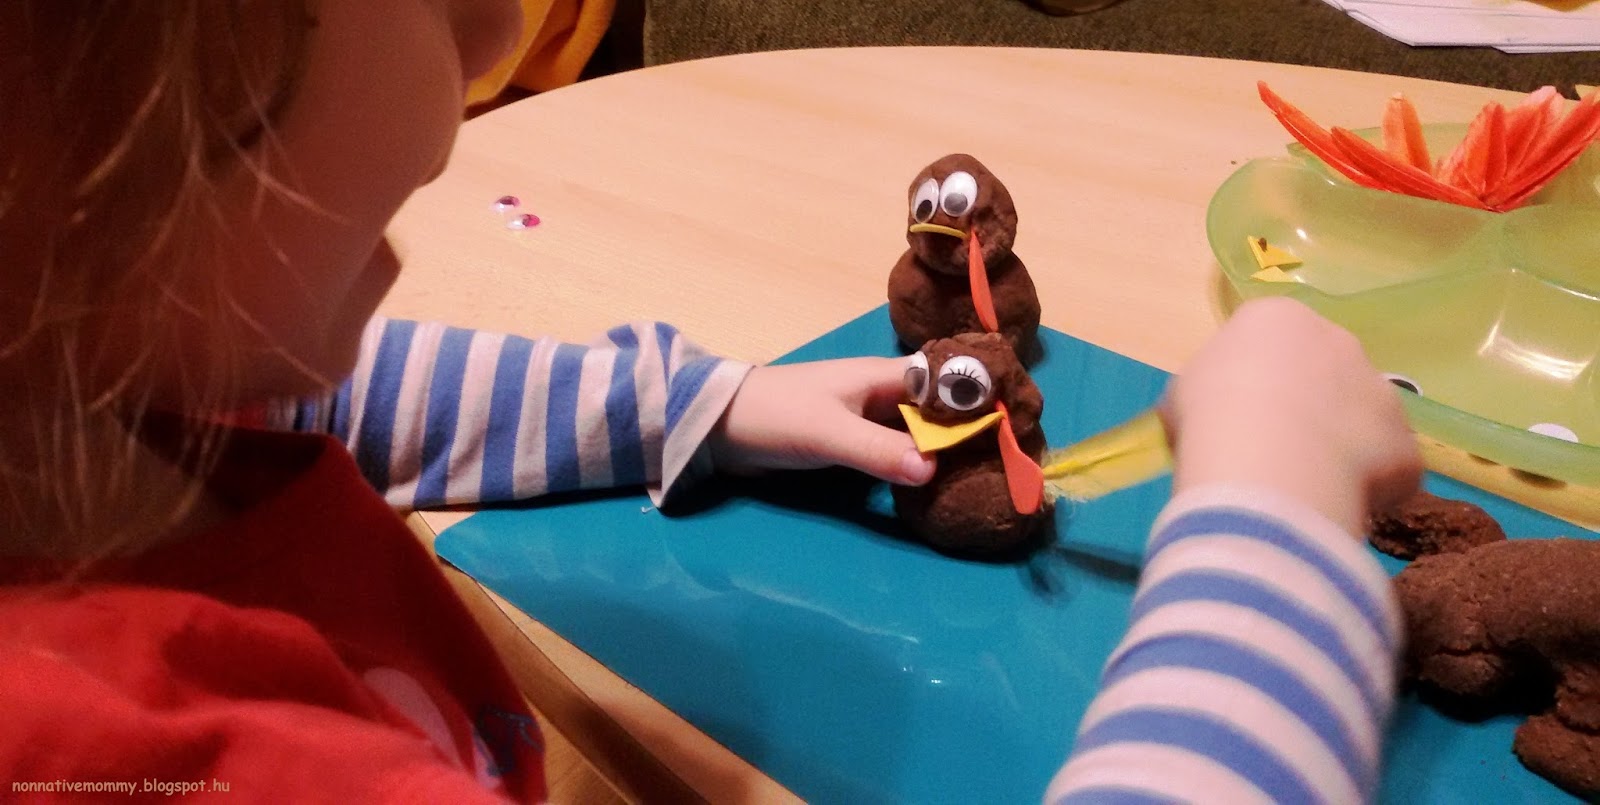
Free time activities:

E.’s got a new hobby i.e. playing the piano. We checked some English children songs online and she learned them to play. She wrote C D E F G A B C all over the keys and practiced a lot. (Old Mac Donald, Rain, rain go away, Twinkle, twinkle little star, Row, row, row your boat, ABC song, This is the way) and some Hungarian folk songs too (Boci, boci tarka, A part alatt)

20200317_093314

A part of E.’s crafts studies we prepared our dreamcatchers and put them in our bedroom. You can find a separate post about it on the link above.

20200320_105028-ink

As the weather has been beautifully sunny and warm, we spent most of our time outside gardening, playing games, patting the cat or jumping in the trampoline.

20200320_110307

Our old Tray Nature Hunt activity was reloaded. I made new pictures of the collectibles that the girls could find in our garden and the hunt could begin. E. didn’t seem to remember this activity, but who can blame her, she was just 2,5 years old when we did it first. (I’m writing a seperate post about it)

20200320_165742

They were very excited and were running around the garden.

At the moment the 2 girls are enthusiastically preparing for their Sunday show. We’re looking forward to it. Mainly because it’s in English.

Stay tuned! I’ll come back with some more next week. Until then you can check my earlier posts. Happy reading and stay at home!

r0_0_800_600_w1200_h678_fmax


Bottle top Christmas tree

A quick, before-Christmas activity I put together was a hit with the girls. The best thing about it is that you can make the activity, so it suits all ages.

20191223_090036

What you need:

  •  12 or more green bottle tops
  • hot glue gun/ or some type of glue
  • a board (I used cardboard of a box)
  • pom-poms of different colours
  • white circles cut out of paper
  • snowflakes of different colours (optional)
  • tweezers

How to make it:

  • arrange the bottle tops in a Christmas tree shape
  • glue them on the board
  • mark the colours in the bottle tops (I used punched-out snowflakes)

I presented the game to the girls on the 23rd December. They had been very excited about the coming Christmas and they had been asking about when the Christmas tree was coming. So here it comes.

It can be a simple colour matching activity…

20191223_090152

But I wanted to bring in some more challenge. For Little L I drew dots on paper circles (3 and 4). She put a red pompom if there were 3 dots and a green one if it there were 4.

As in school E learnt addition and take-away up to number 8, I wrote additions on paper circles. The additions equalled either 5 or 8. She needed to put a green pompom if the sum was 5 and a red pompom if it was 8.

20191223_090917

When she was done, she made me an activity… khm… a little bit more complex than mine.

This task can be done with numbers, addition and takeaway, division and multiplication, letters (lower and uppercase), sight words and so much more.

With this post I wish you a very Merry Christmas!

Bug counting – with free printable counting mats

It took me more than a month to prepare this activity. In a normal case it would have been 2 days. However, since Baby Sis was born there hasn’t been such a thing as “normal case” in our house any more. But now it’s finished.

You need bottle tops, minimum 11, for dots from 0 to 10. I made 2 sets as it is more comfortable to make additions later on. (The caps are from Nestea and Cappy bottles)

The truth is I had a little helper who picked and tested all the bottle tops. This is optional, of course.

I used a black permanent marker to make the body of the bugs plus the dots. On the black tops I used white paint to make the dots visible. If you don’t use black bottle tops you can skip this step.
To make them more bug-like and more fun-looking I glued googly eyes on them:

The first time I presented it to E. she wasn’t very interested. She opened the envelope quite reluctantly. (This should have been the time to put it away and come back to it at another time. But we gave it a try.)

She was looking at the bugs and started to put them in order but when she reached the six-dotted bug she began to imitate a fight with the bugs.

Then she knuckled them from the table claiming the ladybirds wanted to fly away. I asked her if she wanted to have a look at the mats. She didn’t so I packed a month of work away and tried to swallow my frustration.

Then we gave it another try. I didn’t even mention ordering the bugs, I rather showed her the mats. She showed more interest than before. As she is perfectly familiar with the numbers, counting the dots made her uneasy a little bit.

But we managed to do 4 of the mats, …


…then she made a task for me:

The second addition was really tricky as we don’t have a bug with 14 don’t on them. I asked E. what we should do. And she helped me out in a really smart way:


I thought this activity would be much more fun, and E. would be fascinated by the bugs and counting… well… I was a little wrong. Nevertheless, we did have some fun and I’m sure someone might enjoy it even more than we did.

Download your FREE counting mats from here:

If you try it with your children let me know how it went.


Advent Calendar Activities Day 21-24

I know it’s February, but only by now have I managed to finish the last post about our advent activities of 2015. It’s hard to find time to work on the blog next to two kids.

So here comes some Christmassy and snowy projects:

  1. Count snowflakes

    I found this easy snowflake counting activity on a website I’ve been returning to a lot lately: Playdough to Plato

    I printed and laminated the snow scene cards. I gave E. a lot of snowflakes (I had different kinds at home, like felt, Styrofoam or shiny plastic)

    I thought putting the right number of snowflakes on the mat as it is shown would be way too easy for E. so I sneaked in some skip counting in the activity. I gave her the card with only the even numbers on – one at a time (2, 4, 6, 8, 10)

    At the beginning she didn’t understand why, but after having finished with card 6 she asked for card 8. So I knew immediately she understood what we were doing.

    After the activity she played a little more with the snowflakes. She grouped them according to their sizes, then made some patterns with the help of them.

  2.  Body swap

    I prepared this activity last year but she didn’t enjoy it so much. This year it wasn’t a hit either.

    I took the idea from itsybitsyfun.com. If you click on the link you’ll find the printable for free. You just need to print and cut out the body parts and give them to your child to make the snowman, the elf, the reindeer, and Santa. If your child enjoys this kind of activity (mine does not) you can build funny bodies, like one with a Santa head but a reindeer body and elf legs.

  3. Make a nativity scene

    When E. was 1,5 years old I made an advent calendar for her in which she found little farm animals every day and, as we were getting closer to the 24th, also some angels and the Holy Family. On the 24th we made the whole scene.

    November 2013 

    The base I made out of a chocolate box. I glued a brown sheet of felt on it added some shiny felt stars. This is what we called the stable and this is where we placed all the animals one by one every day.

    This year she got all the animals and angels, a Christmas tree too (not so authentic, eh?) to make the scene herself. (Although it was Christmas time, she  insisted on wearing her Halloween Jack-o-lantern costume)

  4. Christmas workout

    As I knew the 24th would be very busy time for us, parents, I prepared something dynamic for E. to run around and drain her Christmas excitement with one of her grandmas.

    I printed the Christmas workout cards and the fun could began. I couldn’t take photos as I was busy with the food and decoration for the evening. But as I heard it E. had a good time.

    http://www.toddlerapproved.com

    Join us next year too. I’m sure there will be some repetition of these activities but I’ll find out some new ones too.

    Have a look at the other advent activities:

    Advent Calendar Activities Day 1-6

    Advent Calendar Activities Day 7-13

    Advent Calendar Activities Day 14-20

Thanksgiving with turkeys

At this time of the year we have real difficulties preparing for all the festivals and celebrations we have:

  • Thanksgiving (26th Nov)
  • Daddy’s birthday (28th Nov)
  • the beginning of Advent (29th Nov)
  • St. Nicolas Day (or Santa Day – 5th Dec)
Not to mention that illnesses were on and off all month, three in a row. There haven’t been 3 consecutive days when everybody in the family was perfectly healthy.
Still, we managed to do a little bit of fun for Thanksgiving.
Of course, it was mainly about turkeys 🙂
I made this home-made salt dough:
1 cup salt
1 cup hot water
2 cups flour
1 or 2 tbs cocoa powder (to make it brown)
Mix them all. I kneaded the dough with my hand but you can use a mixer. If you choose to knead it wait a little until the hot water cools down. Then I put it in a plastic container and next to the fridge for a short while (1-2 hours)
When ready, I prepared this for E.:

On the tray I prepared coloured feathers, orange foam triangles for the beak, googly eyes, red (water drop shaped) foam for the wattle (the red skin hanging down from the beak of the turkey along its neck – “bÅ‘rlebernyeg” in Hungarian). In the middle there was the brown salt dough.

We made balls out of the dough to make the body and the head. First, we kneaded the dough and then with rolling movement we formed them into balls. These movements are really useful to strengthen the muscles in a child’s hand.

Googly eyes: a girl and a boy
Placing the wattle

Then E. made two turkeys and me too. We fixed the beak and eyes as well as the wattle, after all this she stuck the tail feathers in.

We practised saying the colours, the different parts of the turkey, like feather, beak, head and body or this new word (even for me): wattle. We used expressions like roll the dough, knead the dough, stick it in etc. We also talked a little bit about why we celebrate Thanksgiving, why we have a feast at this time of the year.

I found another great turkey activity online. Turkey feather counting mats. You can use these either as play dough mats (so you can use coloured play dough to make the feathers) or with real feathers. E. was so into these colourful feathers we used them again.

Finally, we had a Thanksgiving feast (quite a moderate one). My Mum stayed for dinner too (also help with preparing some turkey breast roast and pumpkins) and we all said what we are thankful for in our lives.
And what is E. thankful for?

– I’m thankful for my parents, my Godparents and my toys and others… the good meats and my friends in the nursery.

 
I’m thankful for my wonderful daughter and my family.

HAPPY THANKSGIVING!

If you wish to listen to some Thanksgiving videos on youtube, or prepare a tree of gratitude, just click on the pic below:
If you haven’t had enough of thanksgiving, here are some more crafts: