Earth Day crafts

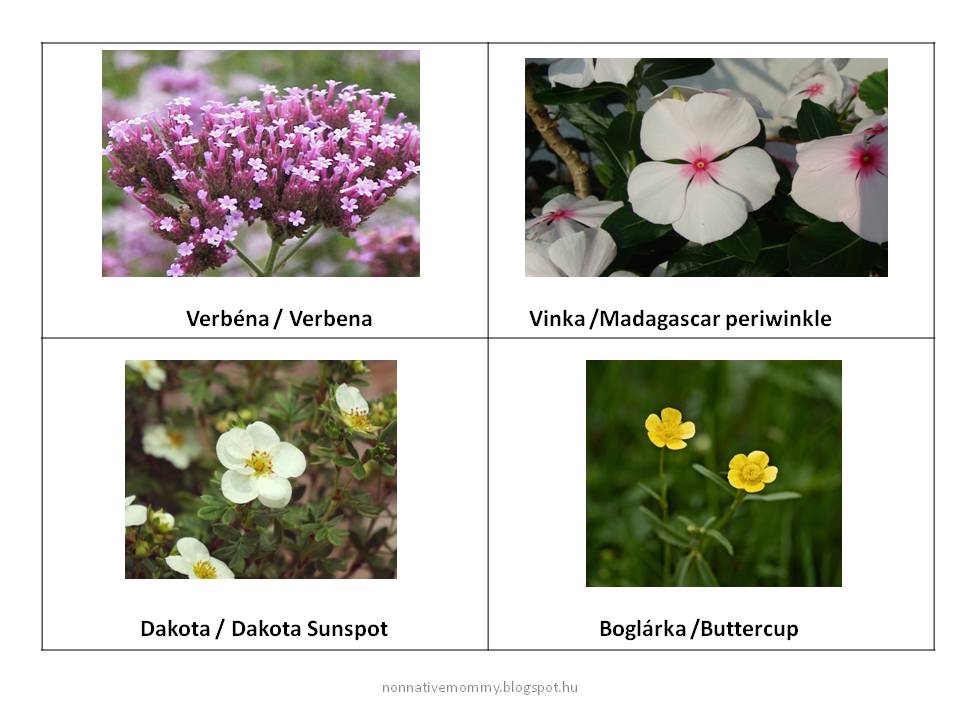
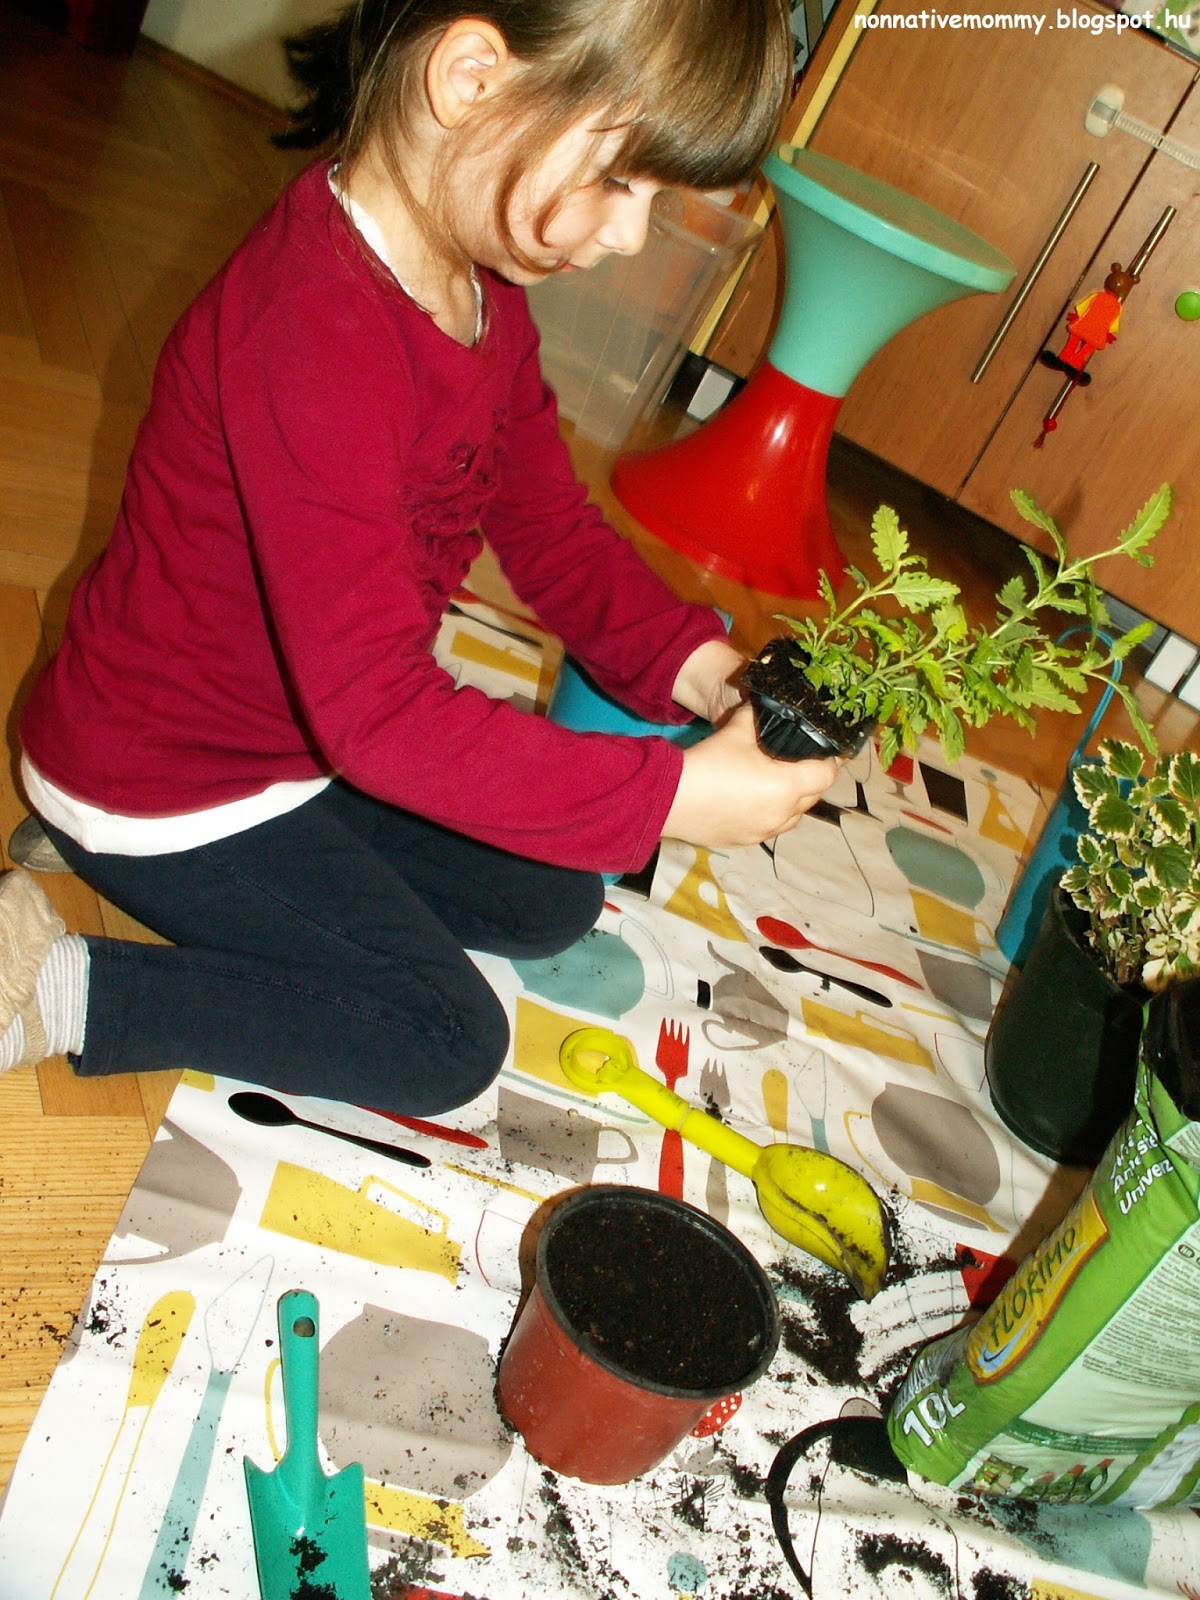
We started our preparation for Earth Day (22 April) a little earlier as schoolwork is taking up quite a lot of time during lockdown.

Altogether we made 3 craft activities:

Balloon stamping Earth

Recycled egg carton flower

Recycled bottle top scenery

Let’s see them one by one:

Balloon stamping Earth:
This is not so environmentally friendly activity as you need a balloon and we all know how bad it is if balloons get into natural waters or even into the ground. Still, I’d love to try this with the girls as it is really enjoyable to stamp with a balloon and they love painting anyway.

This activity is rather messy as the girls were stamping all over the table, but I’d put an old wax tablecloth on it and we used water based paint to wash it off easily.

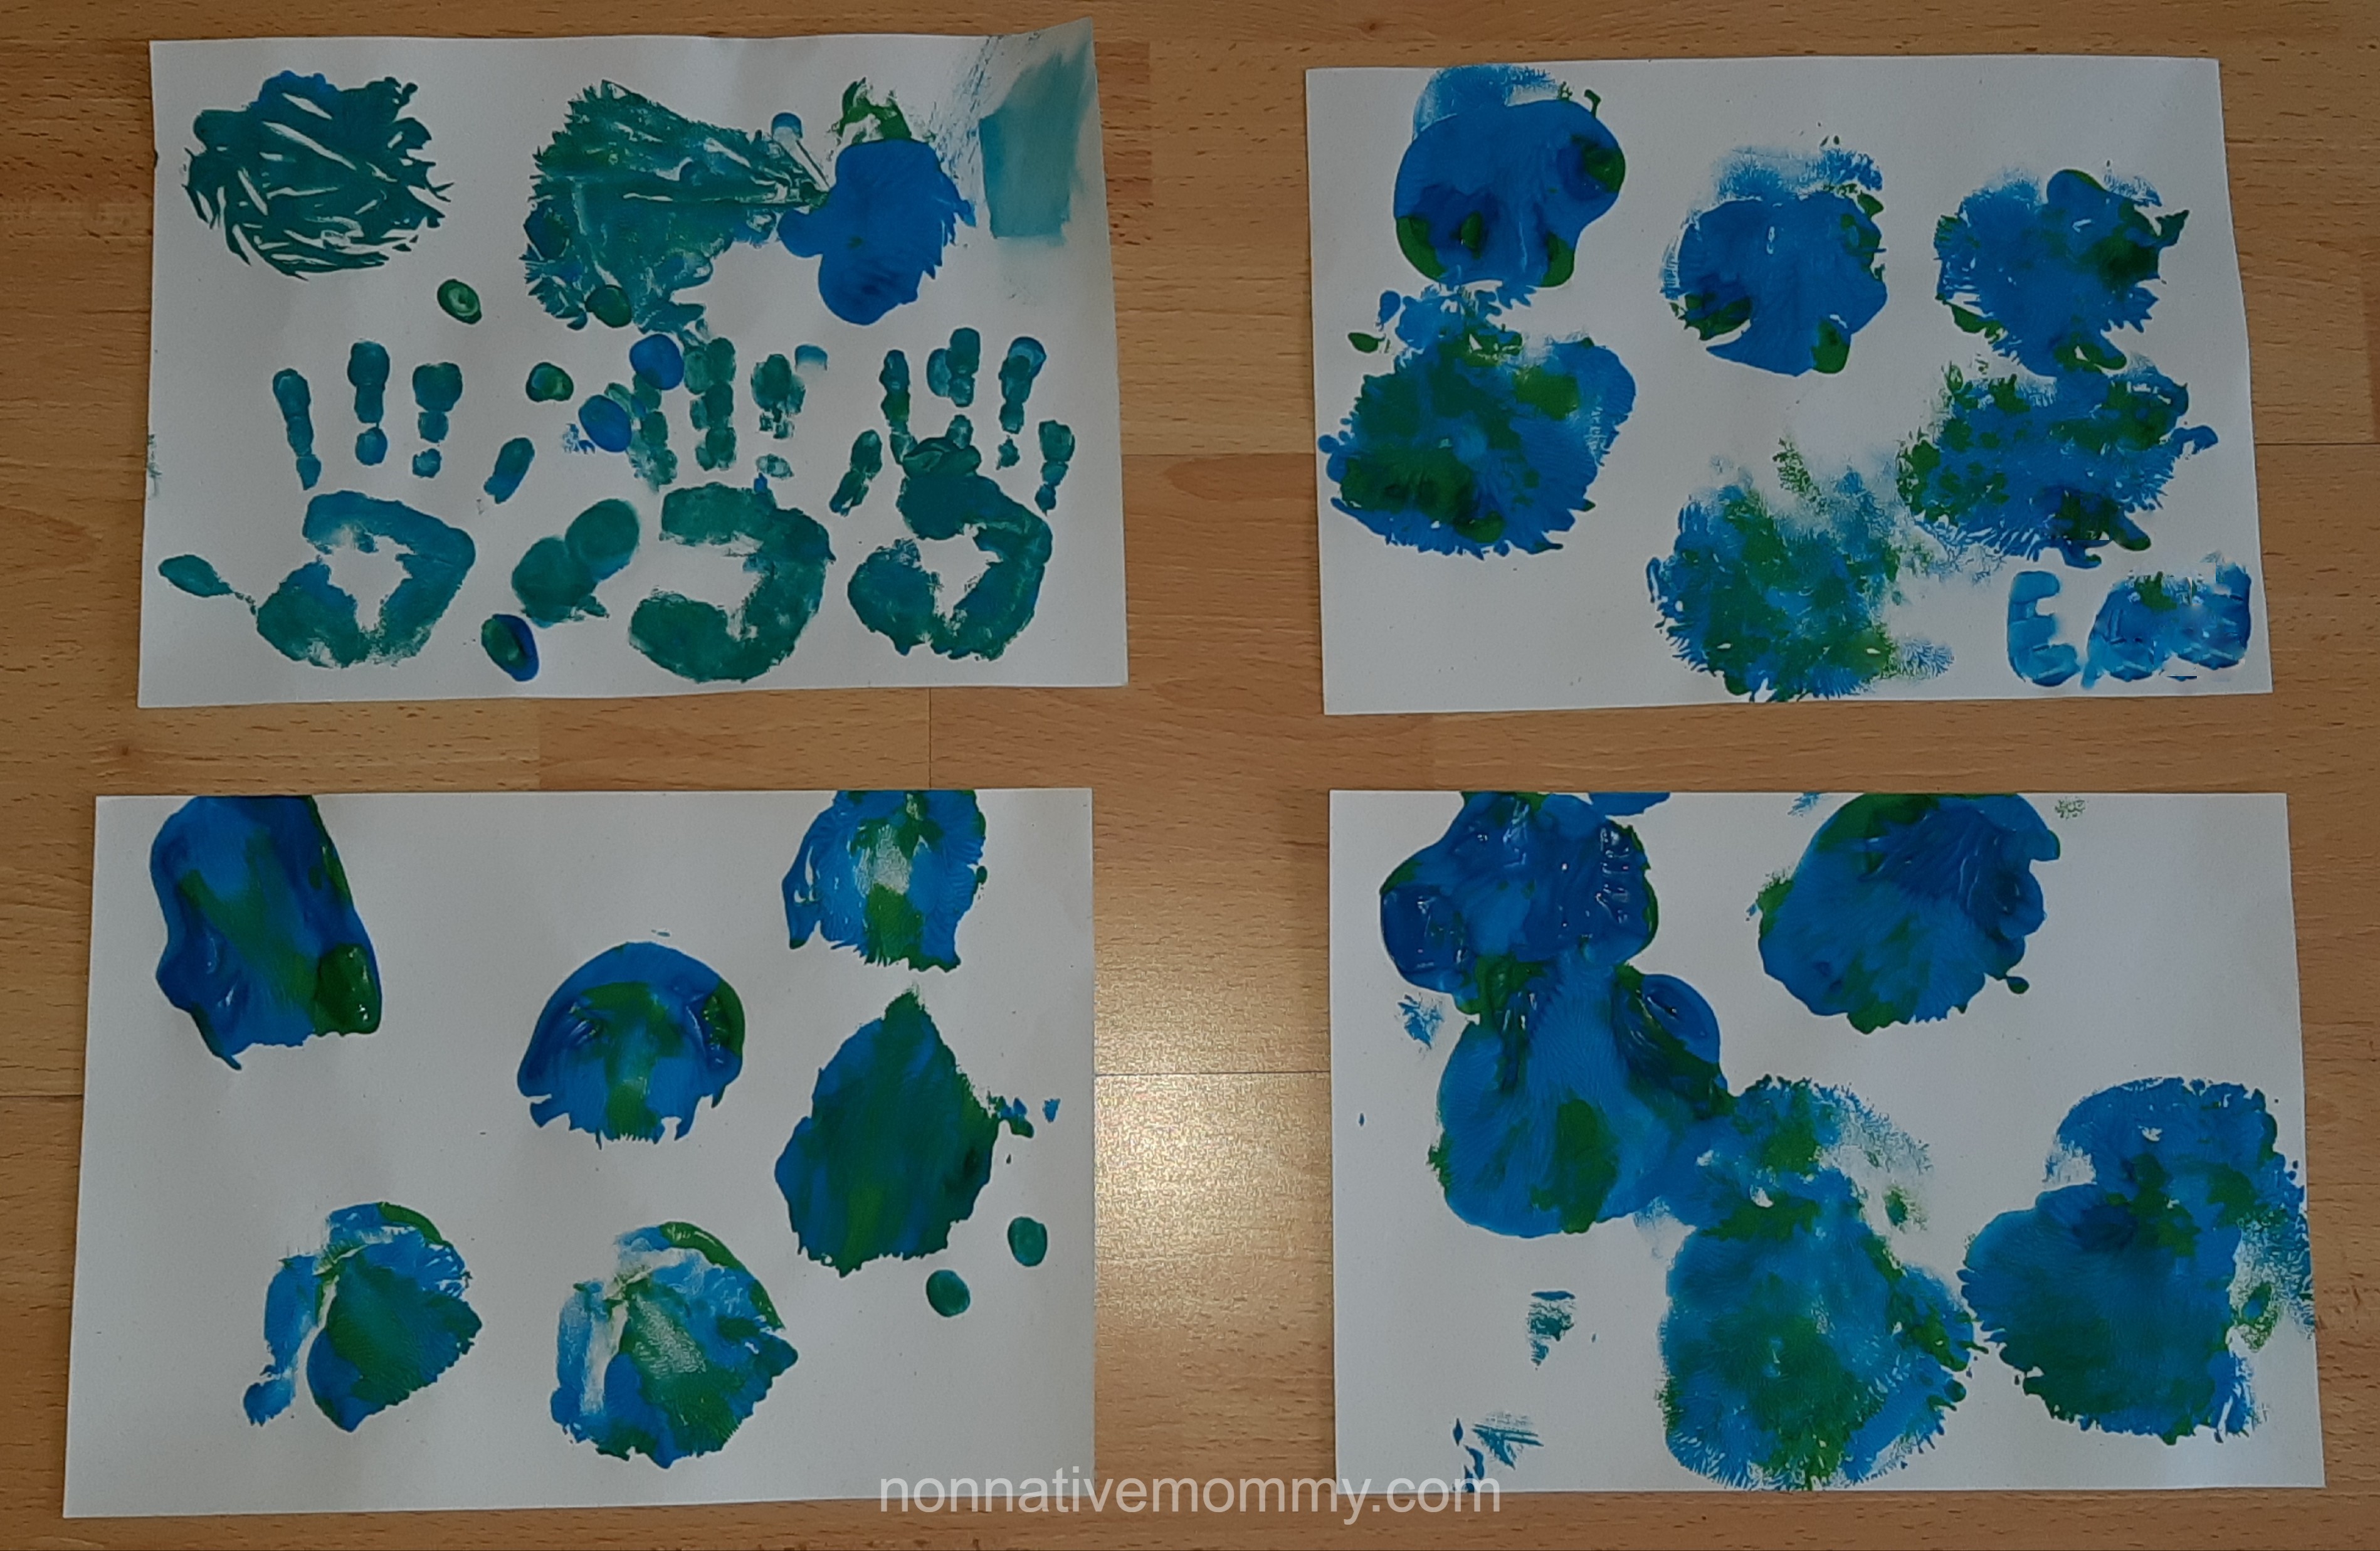
On a plate I pushed a bit of blue and green paint and the girls dipped the balloon into it. Then printed their Earth on a piece of paper.

They made many prints and we added more paint, so Little L can paint her hand and make handprints, and Big Sister E. could paint the whole balloon. The balloon was yellow and when her paint dried and here and there some yellow was visible she explained that the yellow patches are the deserts. Fair enough!

Recycled egg carton flower:
You need to cut out a four-holed piece of the egg carton.

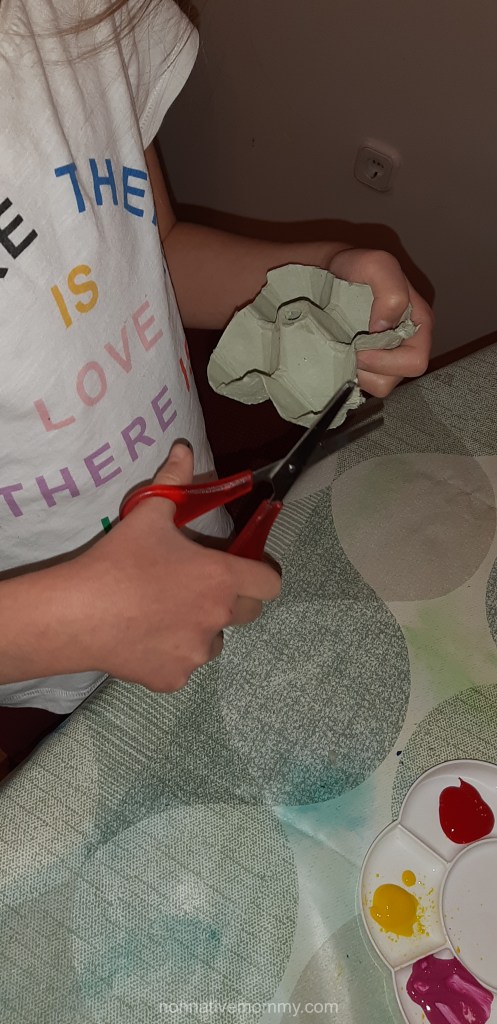
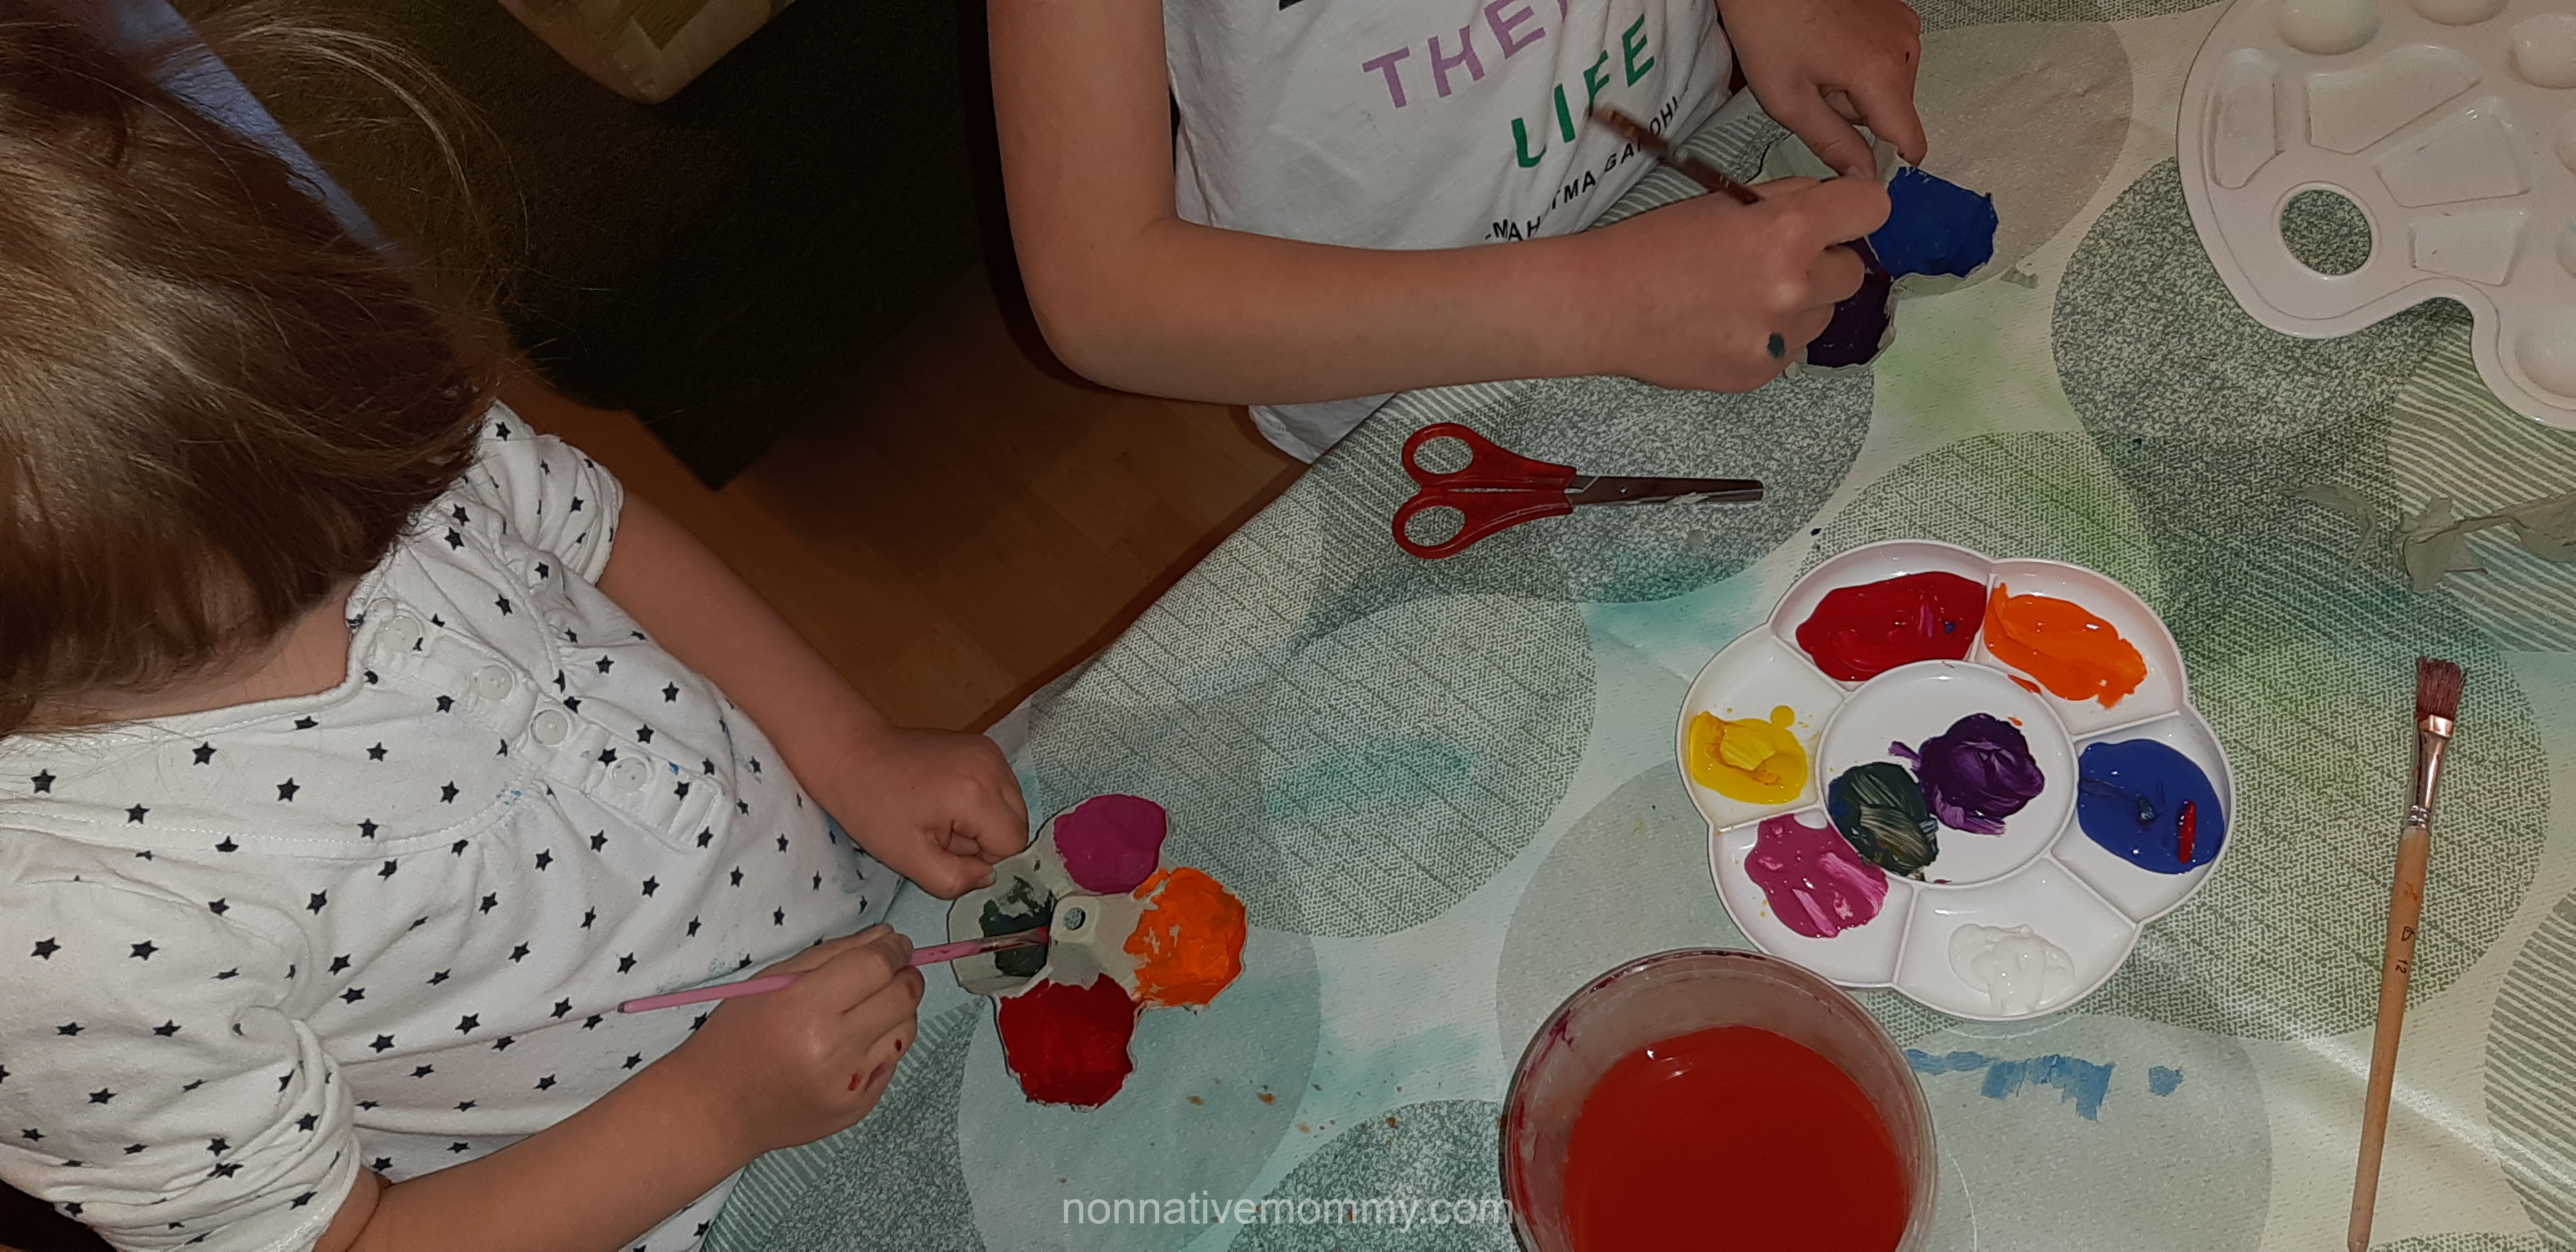
You need to cut the excess egg carton on the top, so it forms a flower. The girls painted the inside of the egg carton. E. mixed colours: purple and pickle green.

We glued a yellow sparkly pompom in the middle for the pistil. After having waiting for the paint and the glue to dry, we added the stem. Unfortunately, I couldn’t find a green straw, so the girls picked this stripy red and white one.

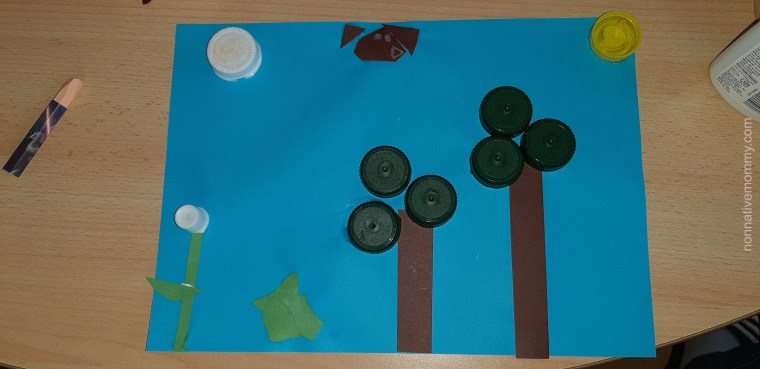
Recycled bottle top scenery:
I prepared some colourful bottle tops for the girls. Green for treetops and bushes, yellow for pistils and the Sun, red, white, orange, red for the flowers. We also added some scrap paper for the trunks, stems (brown and green). The base of the picture was a blue A/4 sheet. (However, you can use a cardboard piece and paint the background.) Apart from the tree, flower and sun combo E. added some clouds and a bush under the tree. Little L. made a bird out of the brown paper and her flower is only a but, according to her. Very simple activity with very little preparation.

Little L’s creation
E’s composition

Earth day cutting practice

Little L is in the phase of enjoying cutting a lot. I have also started reading in English with her so I put together a cutting practice where she can practice cutting and initial sound/letter recognition, too.

I hope your child will like it too. The printable can be downloaded free on the link at the end of this post.

Download your free Earth Day Cutting and Pasting Practice worksheets.

A bit of Earth Day gardening

Before our American native nanny left Hungary we had a flower planting last session with her. Although I wanted to do this activity on Earth Day, the weather did not favour us so we had to postpone it for a few weeks.

I bought the plants at a flower market that is close to our place: 6 flowers and  a green plant:


Verbena
Snapdragon
Marigold
Periwinkle
Petunia
Dakota Sunspot
White-edged Swedish Ivy (a kind of mosquito repellent with leaves that has special smell if you rub it, no flower though)


You can download the flower picture here. (Buttercup is also included as E. found one in a field and we needed to check what it was). The names are added both in Hungarian and in English.


What you need:

  • flowers/plants of your choice
  • flower pots
  • soil (we had 5 kg for 7 plants)
  • shovels
  • watering can with water
How we did it:
Best to do it in the garden or on the balcony but the weather has been very windy (still is) so I put down an old wax tablecloth on the floor and we did the planting on it indoors. In this way we did not dirt the whole living-room and it was relatively easier to clean up.
E. doesn’t really like to dirt her hands. I try to come up with ideas when she needs to do so in a fun way so she can overcome this bad feeling of dirty hands.
She touched the soil/dirt with great hesitation, though.
We filled up half of a pot with dirt.
She took the plants out of its small pot and pinched off some ends of its roots (it was L.’s advice that she’d learnt from her mom)


Then, she placed the plant into the bigger pot in the new soil after having created a little hole in the middle and added more dirt on top of the roots.
We have some nice blue buckets which can be hung on our balcony so the final step was that E. put the pot in the bucket.
When we were ready with all the plants she took them all out onto the balcony and hung them up.
Let’s not forget about watering the plants.

For a few days she wanted to go out and water them, but now it’s been a week she last saw her plants. I need to water them, but it’s true that a lot has been going on recently because of her birthday. Not to mention the fact that this strong wind we’ve had nowadays has destroyed the flowers and, to be honest, they are far from nice at the very moment. I can only hope a little later they’ll revive when the weather gets better and E. will show some more interest in them.

All in all, it was great fun, a nice way to have one of our last sessions with our nanny, L. I admit it was quite messy, but E. enjoyed it and learnt a lot about planting, getting your hands dirty, decorating our home and taking care of a living creature.

Her English vocabulary expanded: she learnt quite many synonyms like shoots/sprouts, spade/shovel, throw away/dump, soil/dirt. (For the Hungarian readers: when she told Daddy about our planting project she said: .” …aztán koszt raktunk a cserépbe”)

What gardening project do you do with your kids in the spring? I’m looking forward to your answers in the comment section so we can do something new next year.

Sorting rubbish – free printable

Much to my surprise E. remembered last year’s home-made selective rubbish collection activity and asked for it again. I didn’t plan to do this sort of activity this year, but I was kinda gently forced. However, I prepared a follow up activity for her. (You can find the free printable at the end of the post)

So just like last year I collected some recyclable rubbish like plastic bottles, old newspapers and leaflets, egg carton, dog food cans and beer cans, bottles and containers made of glass etc. It wasn’t too difficult as we hadn’t emptied our own selective bins. I printed selective bin signs (plastic, paper, glass, metal) and stuck them on 4 shoe boxes. I prepared the recyclable rubbish in a plastic container (originally used for storing toys in it)


E. wasn’t as fascinated about it as last year but she did the selection (I might have given her too many items to sort.) This year we added a little twist.

I asked her how she can decide what is made of which material. She didn’t know.
I asked her while she was checking the objects:

– Can you rip it?
– Can you crumple it?
– Is it hard or can you squash it?

The bold words were new to her so when I asked these questions I showed her the actions.

So she tested every piece and then threw them in the right box. (Cartons were hard to rip but she tried anyway 🙂  )

While she was doing the sorting I told her how we use these materials to make other things, like new paper out of old cardboard and newspapers or shoes and backpacks out of plastic. She wasn’t talking much but I hope she listened.


To reinforce selective rubbish collection with another activity that is different from the one last year I made a worksheet for her.

She needed to place recyclable rubbish in one group and non-recyclable in the other one.

We needed to discuss that dirty napkins cannot go to the recycle bin but should be thrown into the households rubbish bin.


Done!

Download free printable for the sorting rubbish task. Just click on the link.

Water pollution – the experiment

I wanted to create a sensory bin for E. connected to Earth Day. What makes this difficult is she doesn’t like to dirty her hands, so we tried the water pollution idea I saw at Every Star Is Different, as she could use some tools to work with rubbish.

What you need:
– clean water in a tub of any kind
– rubbish (banana peel, orange rind, crust of bread, tea bag, plastic packaging of any kind etc.)
– oil (optional – it makes cleaning up difficult)
– tongs
– strainer
– a bowl to put the rubbish in


What to do:

We talked about the clean water and name every piece of rubbish. We also mentioned natural waters (seas, oceans, rivers and lakes) and that animals live in there.

Then I asked E. to throw all the rubbish in the water. She was quite reluctant at first.

– Why Mommy? It will be dirty.

That was the point. I told her about the scarce drinking water on Earth and also about poor animals which try to survive in the dirty waters.

She also poured the oil in, which was a brave move from my part as everything got oily. The cleaning up lasted forever.

Then she fished out the rubbish from the dirty water.

She tried to clean the oil and the small tea leaves too with a strainer but she didn’t manage, of course.

We drew the conclusion: We need to take care of water and keep it clean because we can’t drink it  or animals can’t live in it if it’s dirty. And water is essential for life.