While sharpening a pencil. some pretty shavings fall off. We started to collect them to do something with them and the time has arrived to use them in an autumn atr project.
The kids collect branches and twings wherever we go, what’s more, our garden is full of them after a storm or stronger wind. So all you need is:
pencil shavings
twings and small branches
glue
paper (cardboard is the best if you want o display the final product)
Arrange your twigs as a tree on your sheet of paper and then glue them on. You might want to wait until the glue drys but you can start gluing on the pencil shavings as if they were the leaves on the tree.
I made a tree beforehand to show it to the kids. Little L got interested, but E. didn’t. So a few days later we made Little L’s tree too.
My tree was made at the beginning of autumn, but hers was made when the trees were losing their leaves. You can see some leaves are falling down, there are quite a lot on the ground and the banches are getting bare.
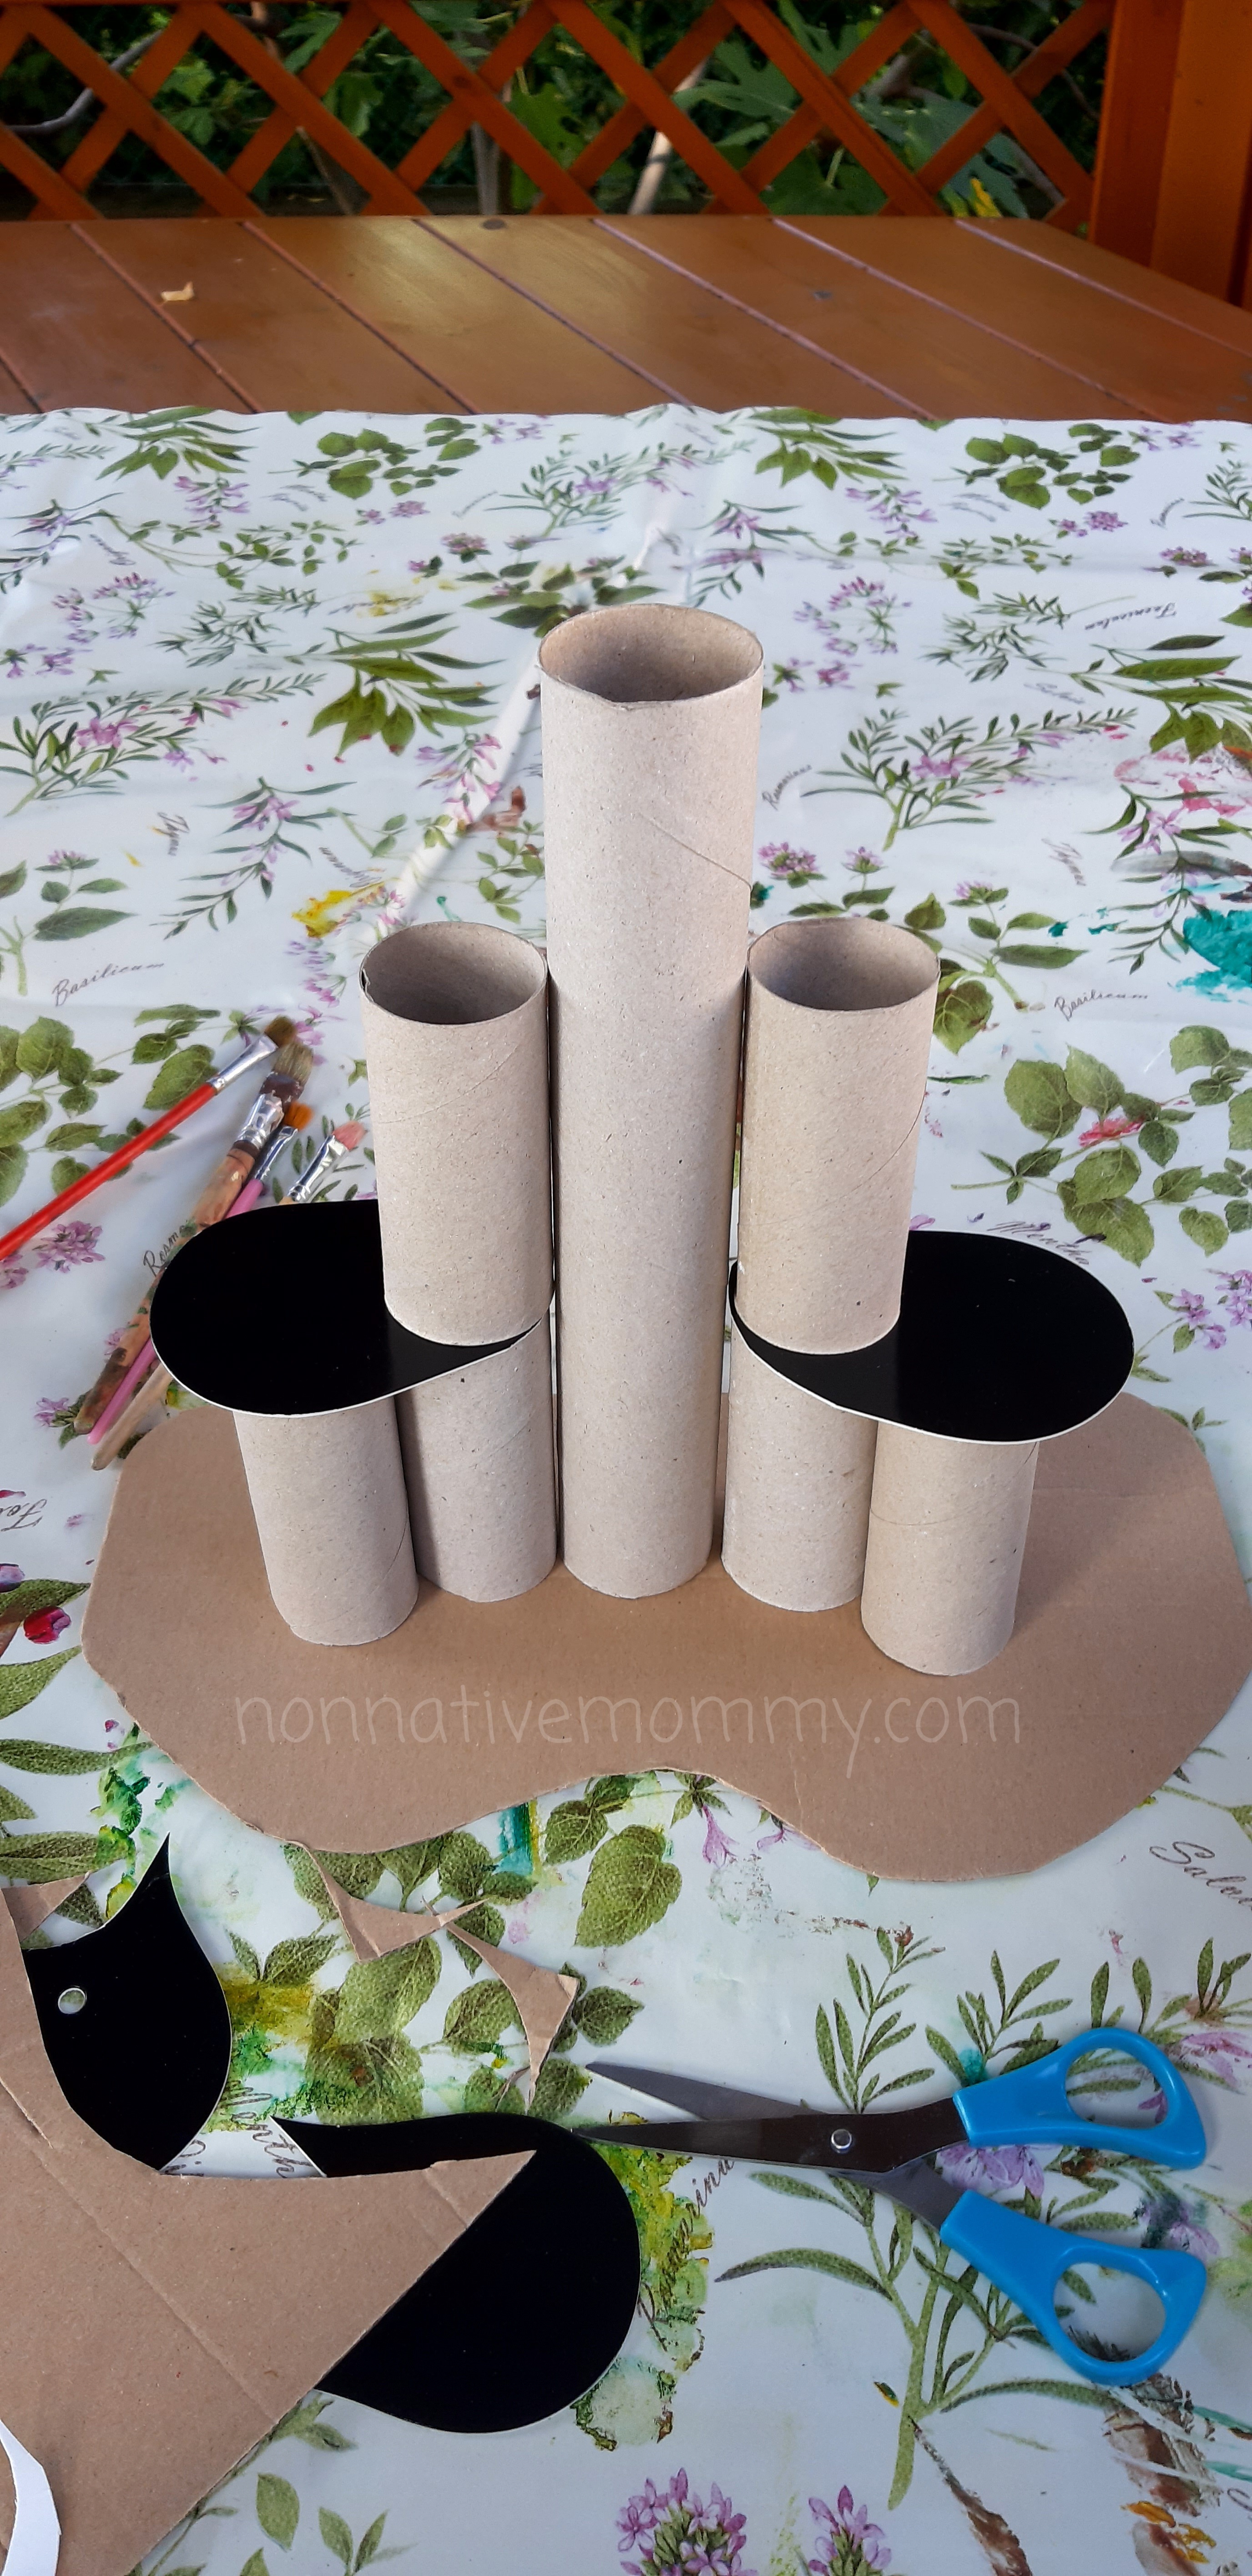
There was a craze online about haunted castles made out of toilet paper tubes right before Halloween. I got carried away with the idea and I planned and prepared to do it with the kids. Well, Mommy plans it and the kids think differently.
At the beginning E. and L. were interested and helped me paint the base green (a piece of cardboard box) and the tubes black. (We used a big paper towel tube and 6 toilet paper tubes, but you can make it bigger if you use more). Between the ground floor and the 1st floor towers I cut some black cardboard piece (It came with some socks and thank goodness I save everything ’cause it’ll be good for something)
The weather was kind to us and we could sit outside to do the messy work.
Then we needed to wait until the paint dried, so we went to have lunch and after that the girls got crazy. Therefore I needed to finish most of the castle by myself.
I drew a big door in the middle at the bottom, some windows, some bricks and a climbing rose. I cut the door and a window open so we could place led tealight in them but I’d found only pumpkin-shaped tealights which couldn’t fit in the window only through the door.
I used a hot gluegun to stick all the parts together.
Anyways, finally I added the rooftop. As I had no black cardboard the kids (who joined me towards the end) chose orange. I cut out a circle and formed a cone out of it. Then the kids placed the little fun details around and into the castle: black cats, bats, ghosts, pumpkins and jack-o-lanterns to make it even spookier.
The castle served as a great place to role-play some spooky stories with the props. Mainly Little L enjoyed and played with it in English adding more characters like skeletons and spiders.
I suppose I’ll save it for next year so we can have some more spoky fun with it.
We started our preparation for Earth Day (22 April) a little earlier as schoolwork is taking up quite a lot of time during lockdown.
Altogether we made 3 craft activities:
Balloon stamping Earth
Recycled egg carton flower
Recycled bottle top scenery
Let’s see them one by one:
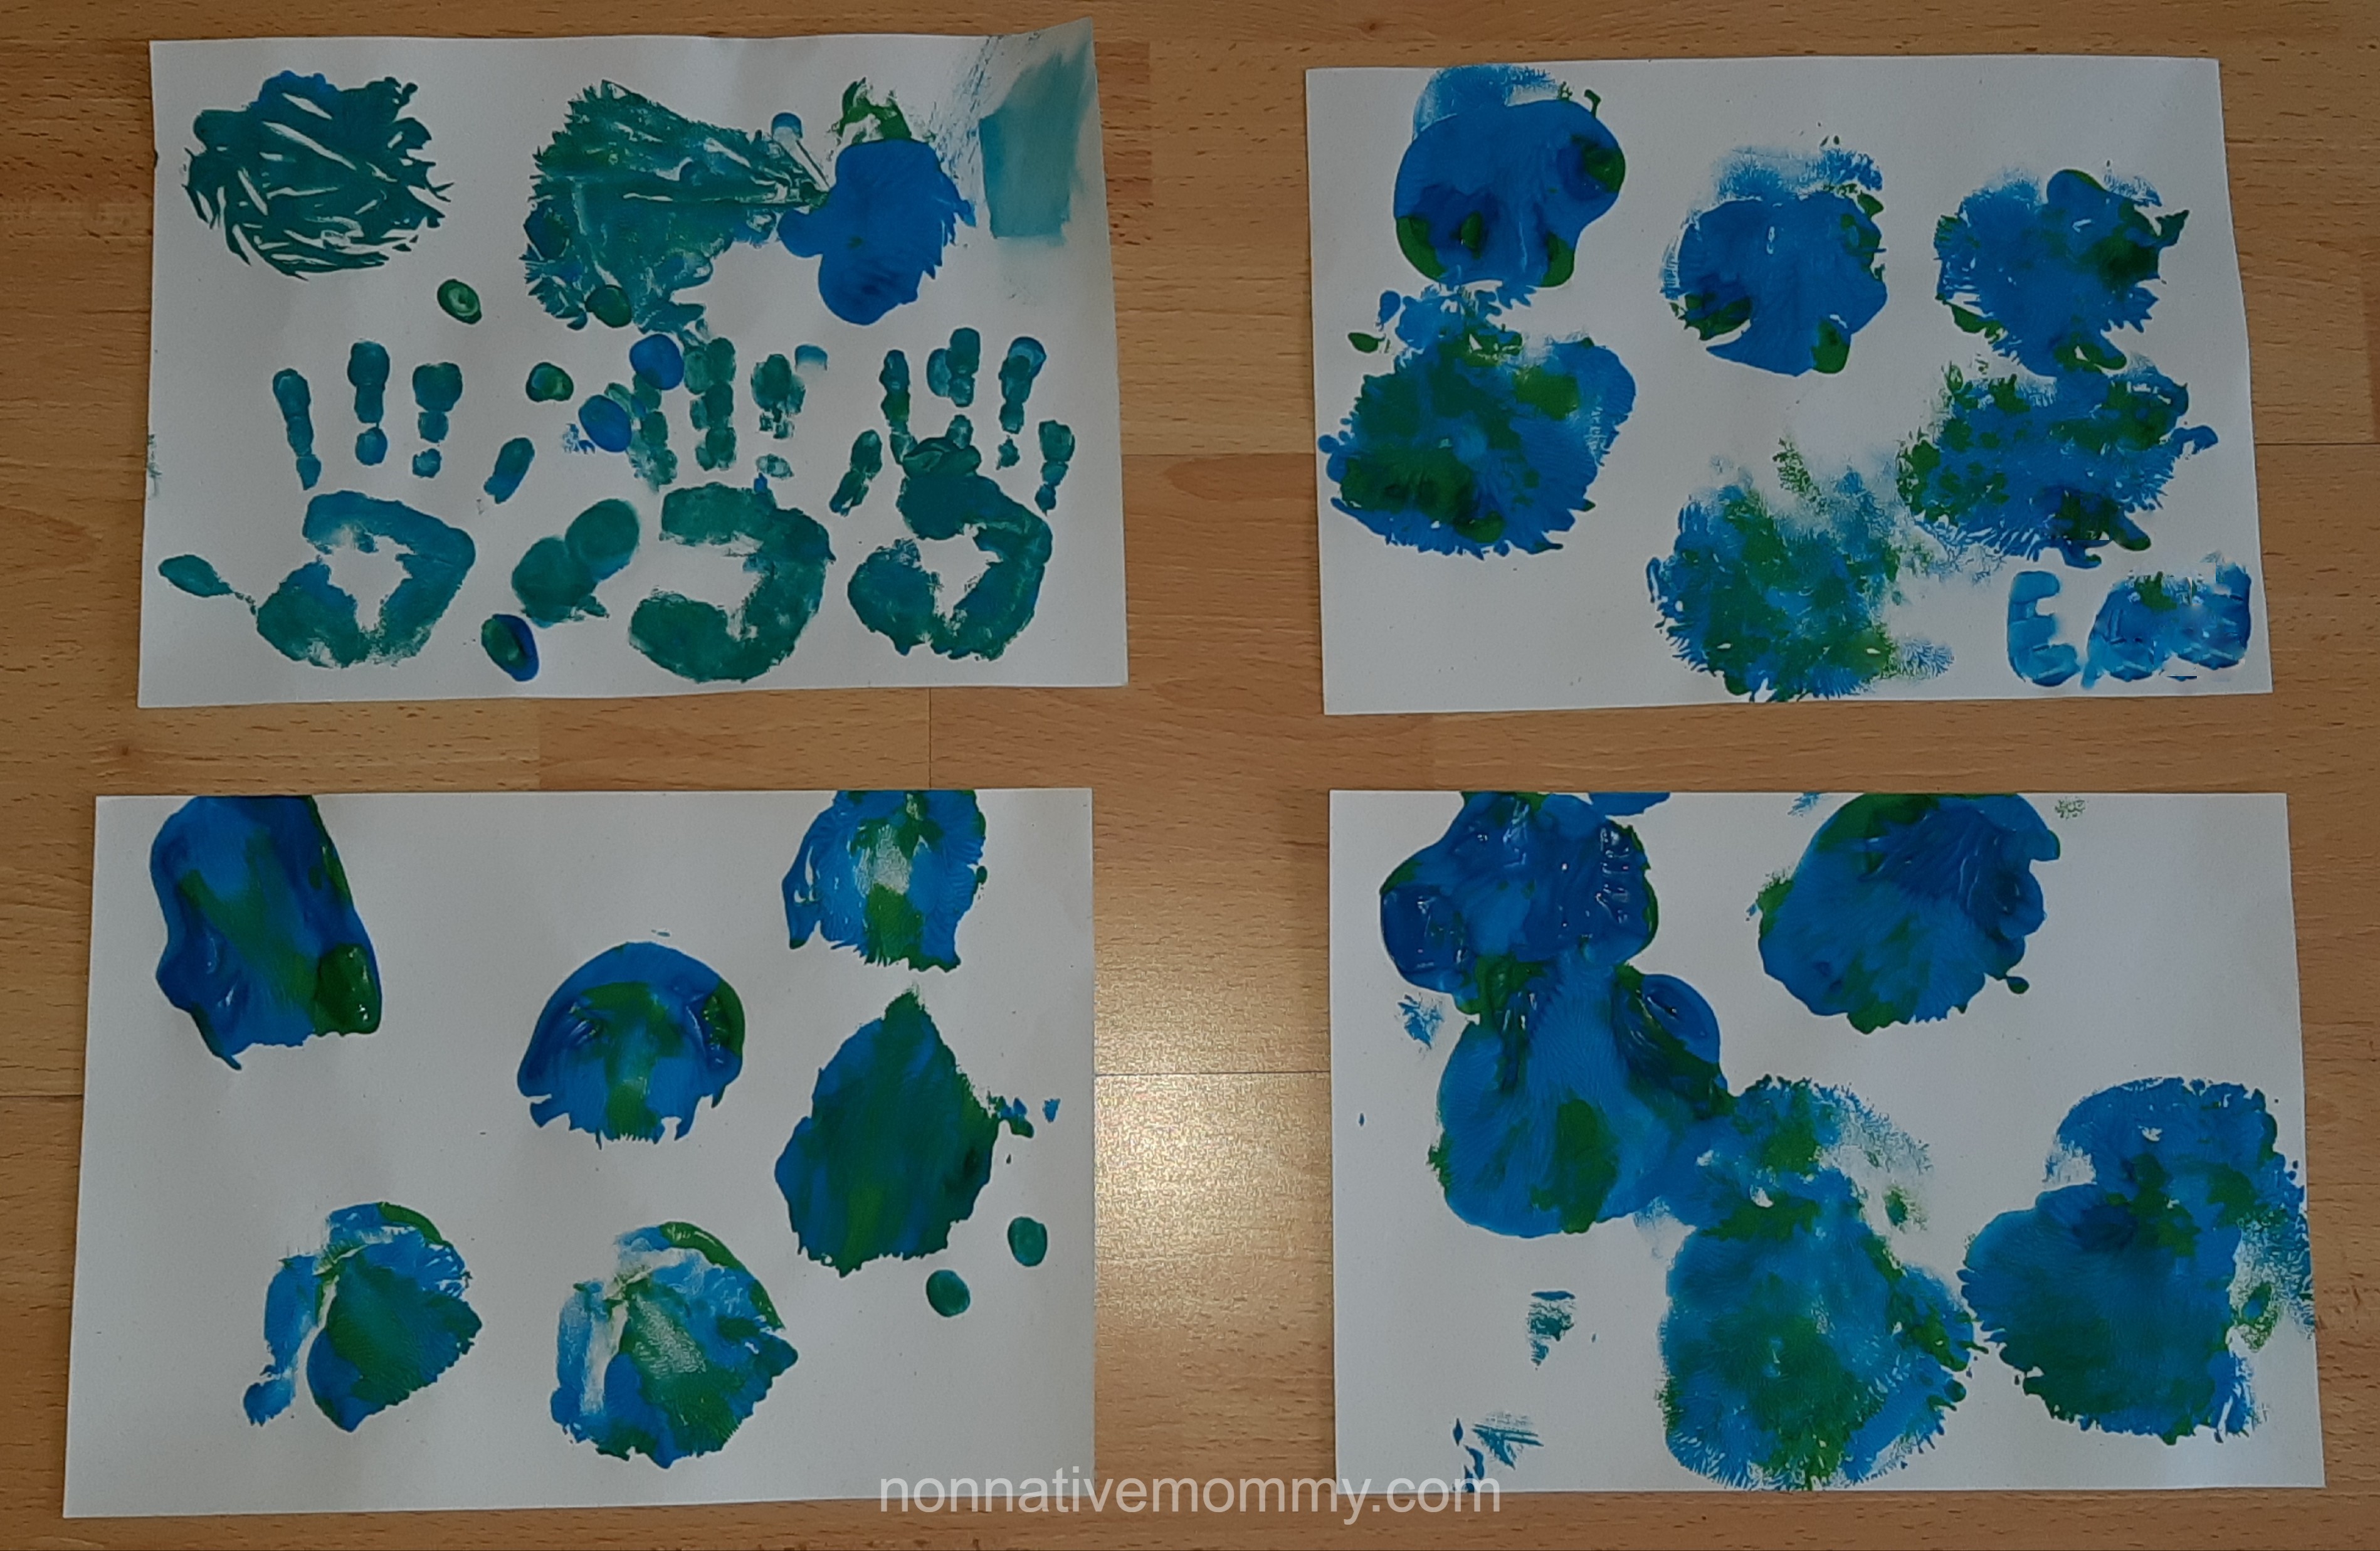
Balloon stamping Earth: This is not so environmentally friendly activity as you need a balloon and we all know how bad it is if balloons get into natural waters or even into the ground. Still, I’d love to try this with the girls as it is really enjoyable to stamp with a balloon and they love painting anyway.
This activity is rather messy as the girls were stamping all over the table, but I’d put an old wax tablecloth on it and we used water based paint to wash it off easily.
On a plate I pushed a bit of blue and green paint and the girls dipped the balloon into it. Then printed their Earth on a piece of paper.
They made many prints and we added more paint, so Little L can paint her hand and make handprints, and Big Sister E. could paint the whole balloon. The balloon was yellow and when her paint dried and here and there some yellow was visible she explained that the yellow patches are the deserts. Fair enough!
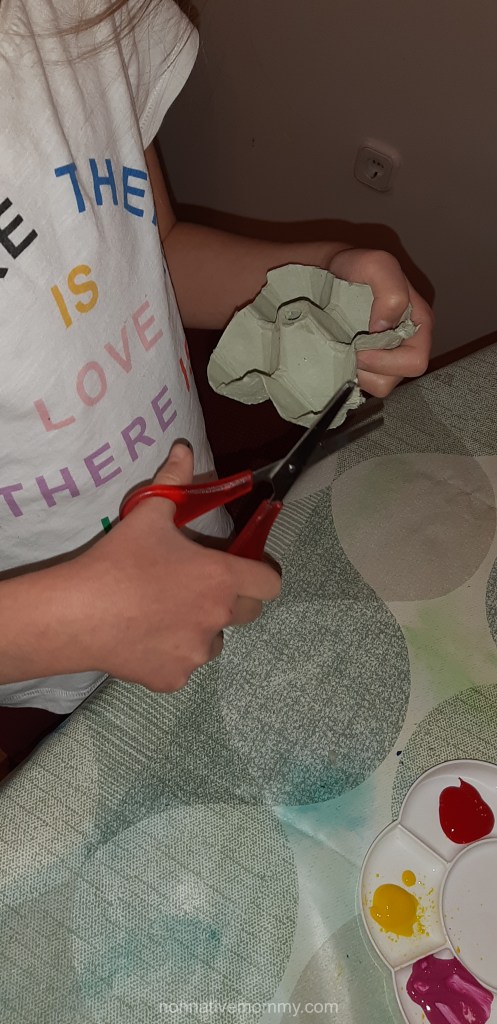
Recycled egg carton flower: You need to cut out a four-holed piece of the egg carton.
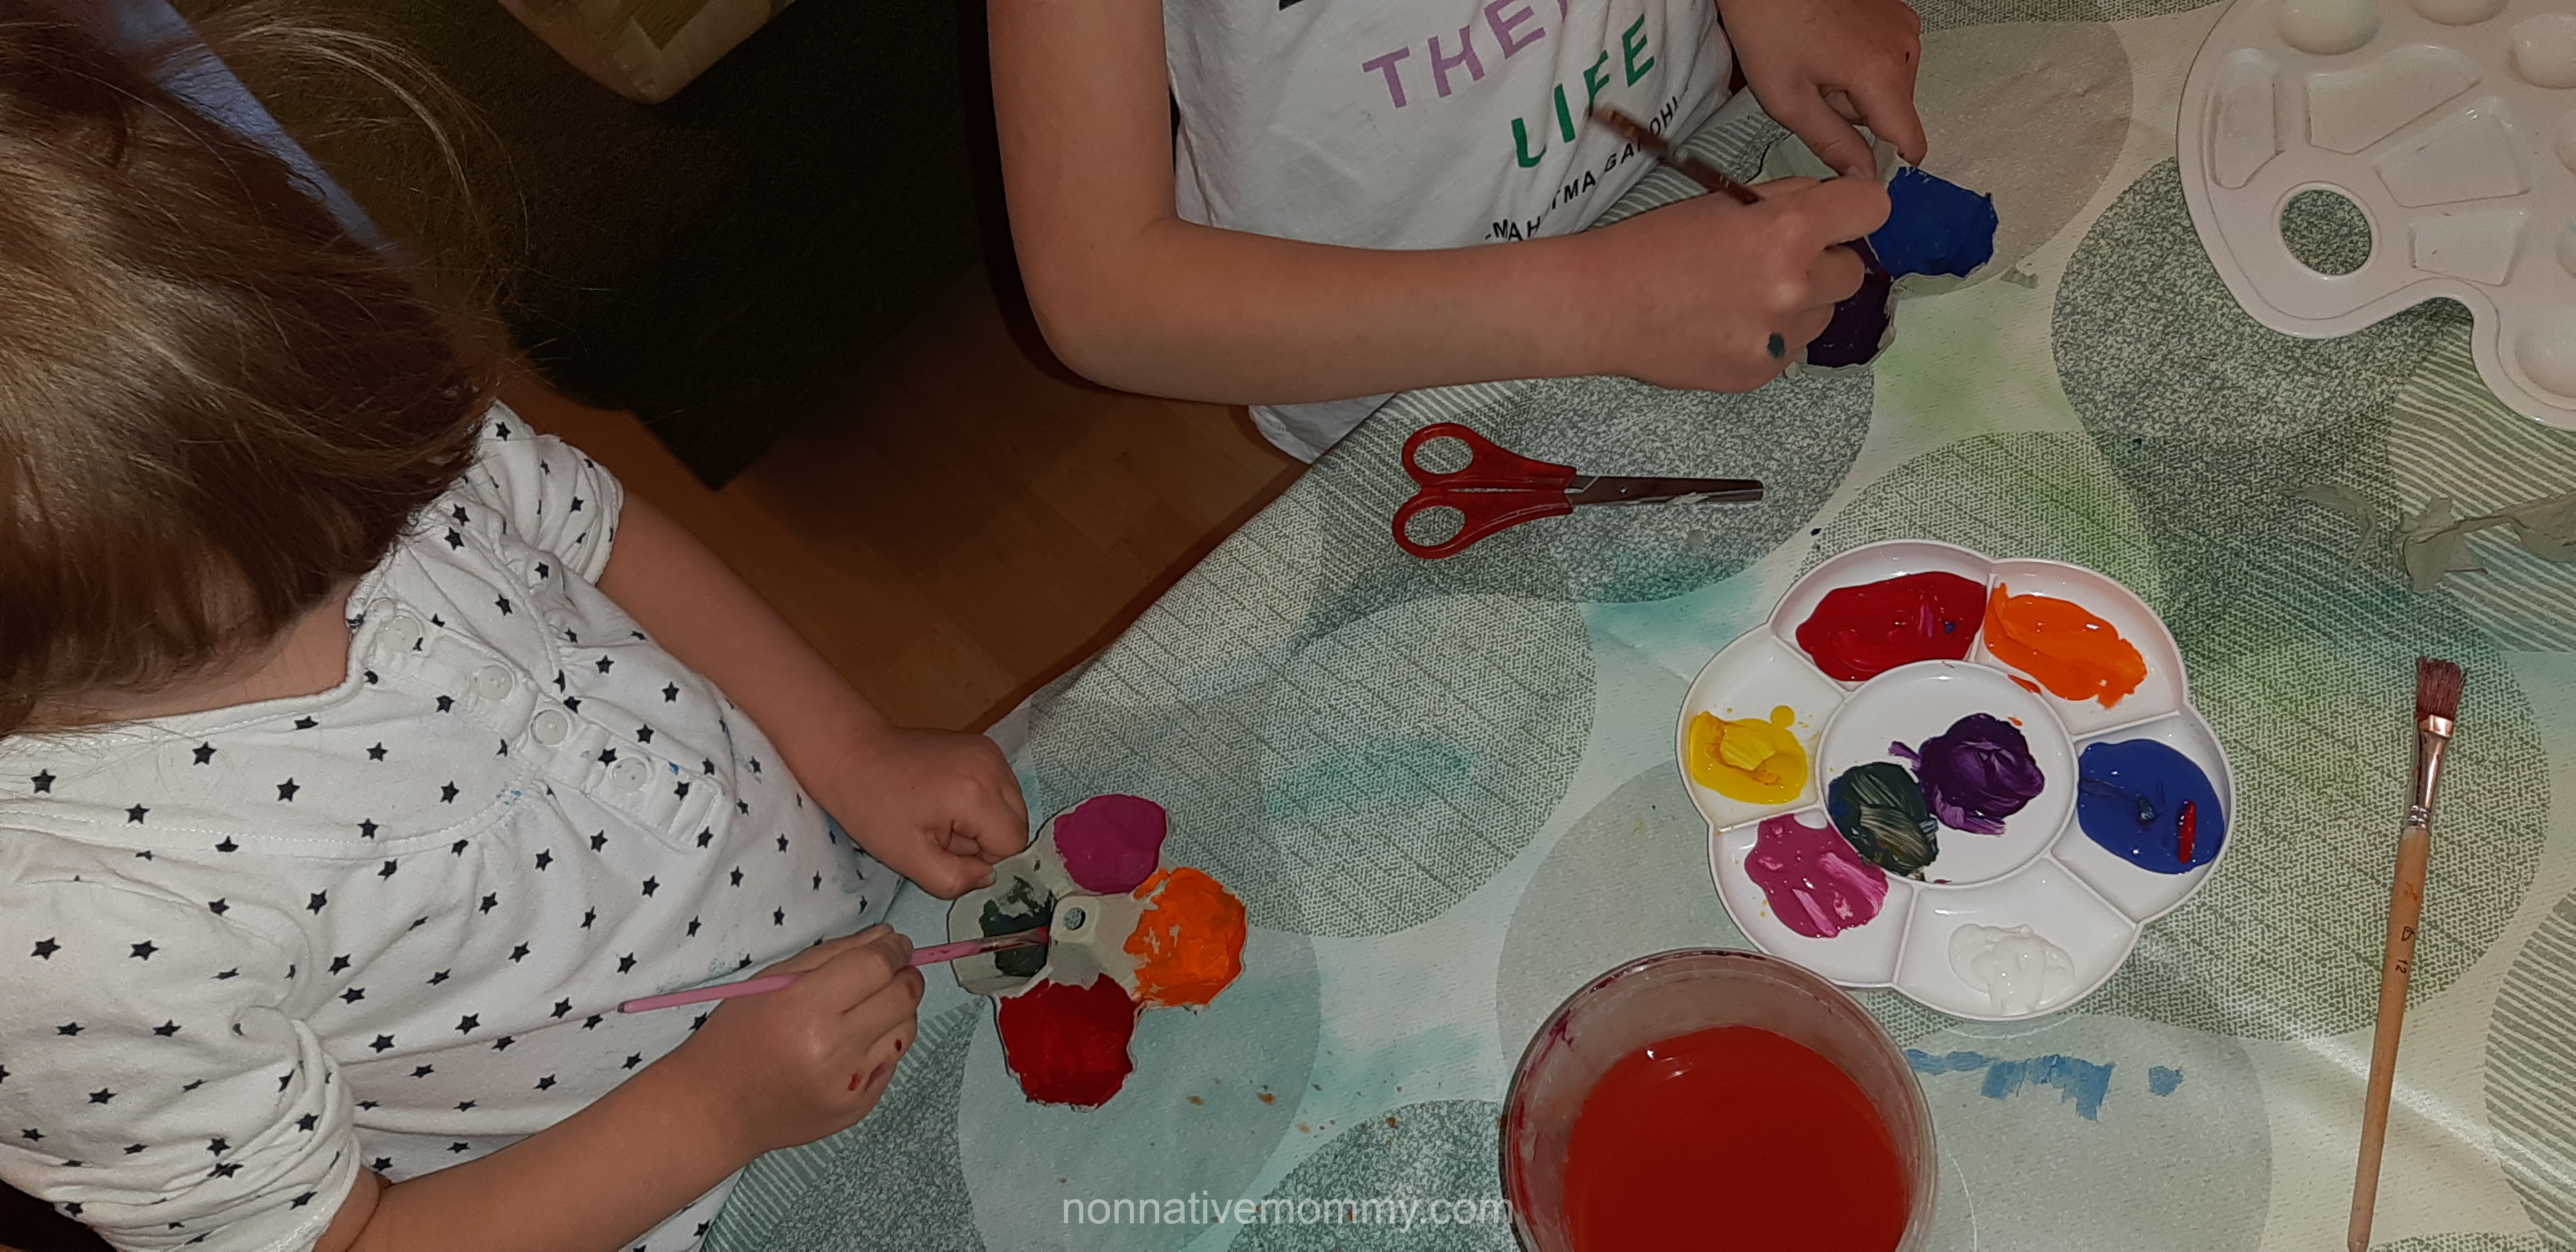
You need to cut the excess egg carton on the top, so it forms a flower. The girls painted the inside of the egg carton. E. mixed colours: purple and pickle green.
We glued a yellow sparkly pompom in the middle for the pistil. After having waiting for the paint and the glue to dry, we added the stem. Unfortunately, I couldn’t find a green straw, so the girls picked this stripy red and white one.
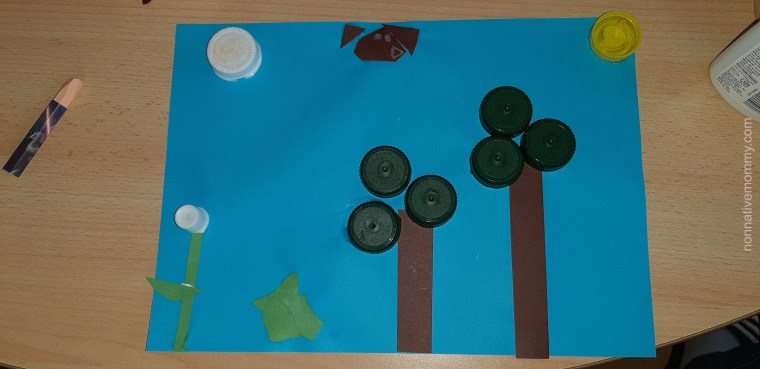
Recycled bottle top scenery: I prepared some colourful bottle tops for the girls. Green for treetops and bushes, yellow for pistils and the Sun, red, white, orange, red for the flowers. We also added some scrap paper for the trunks, stems (brown and green). The base of the picture was a blue A/4 sheet. (However, you can use a cardboard piece and paint the background.) Apart from the tree, flower and sun combo E. added some clouds and a bush under the tree. Little L. made a bird out of the brown paper and her flower is only a but, according to her. Very simple activity with very little preparation.
St. Patrick’s Day was cancelled in our home this year although this is one of MY favourite holidays. Baby L. is too small to understand any of it, and E. was totally uninterested. She didn’t even want to read a book about it.
E. has been into painting recently so I came up with a very easy no-mess painting idea that both of the girls could do. (Like this baby painting)
What you need:
green paint
construction paper or cardboard
scissors
zip-lock back
What we did:
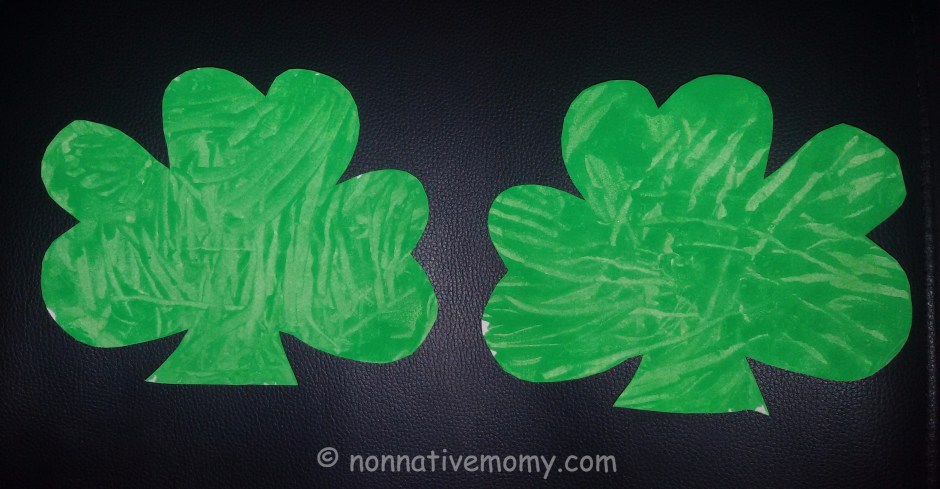
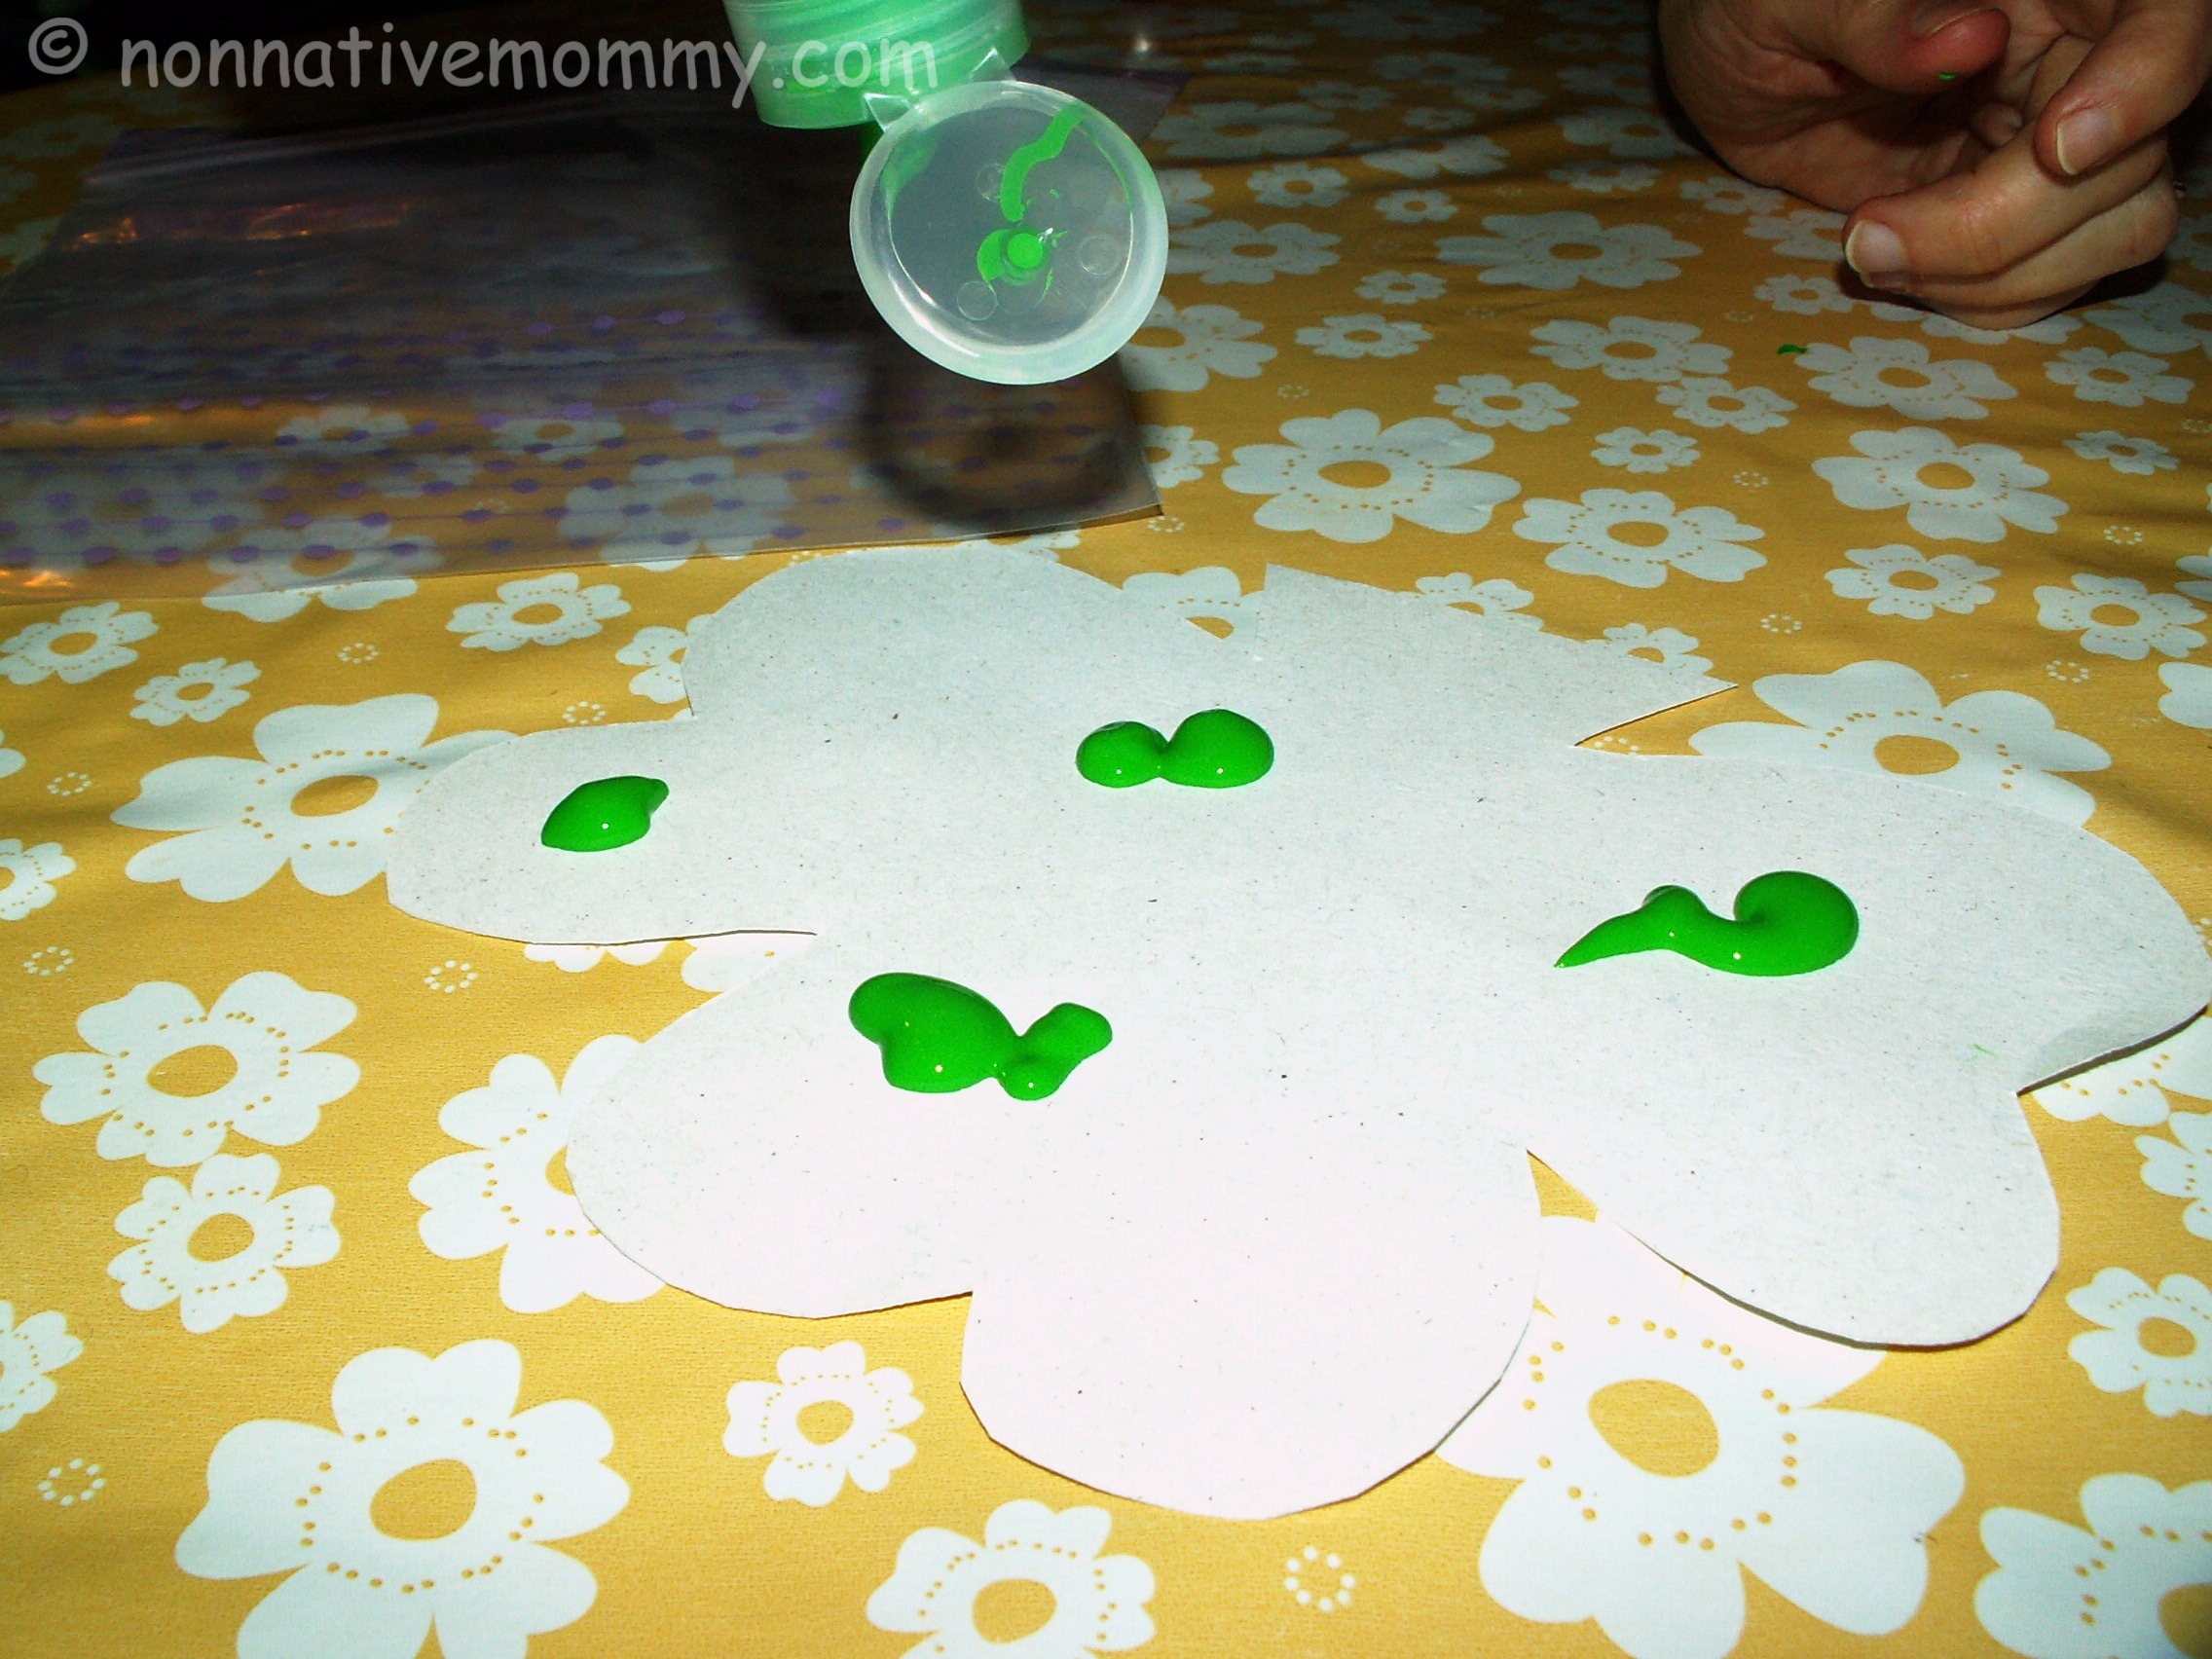
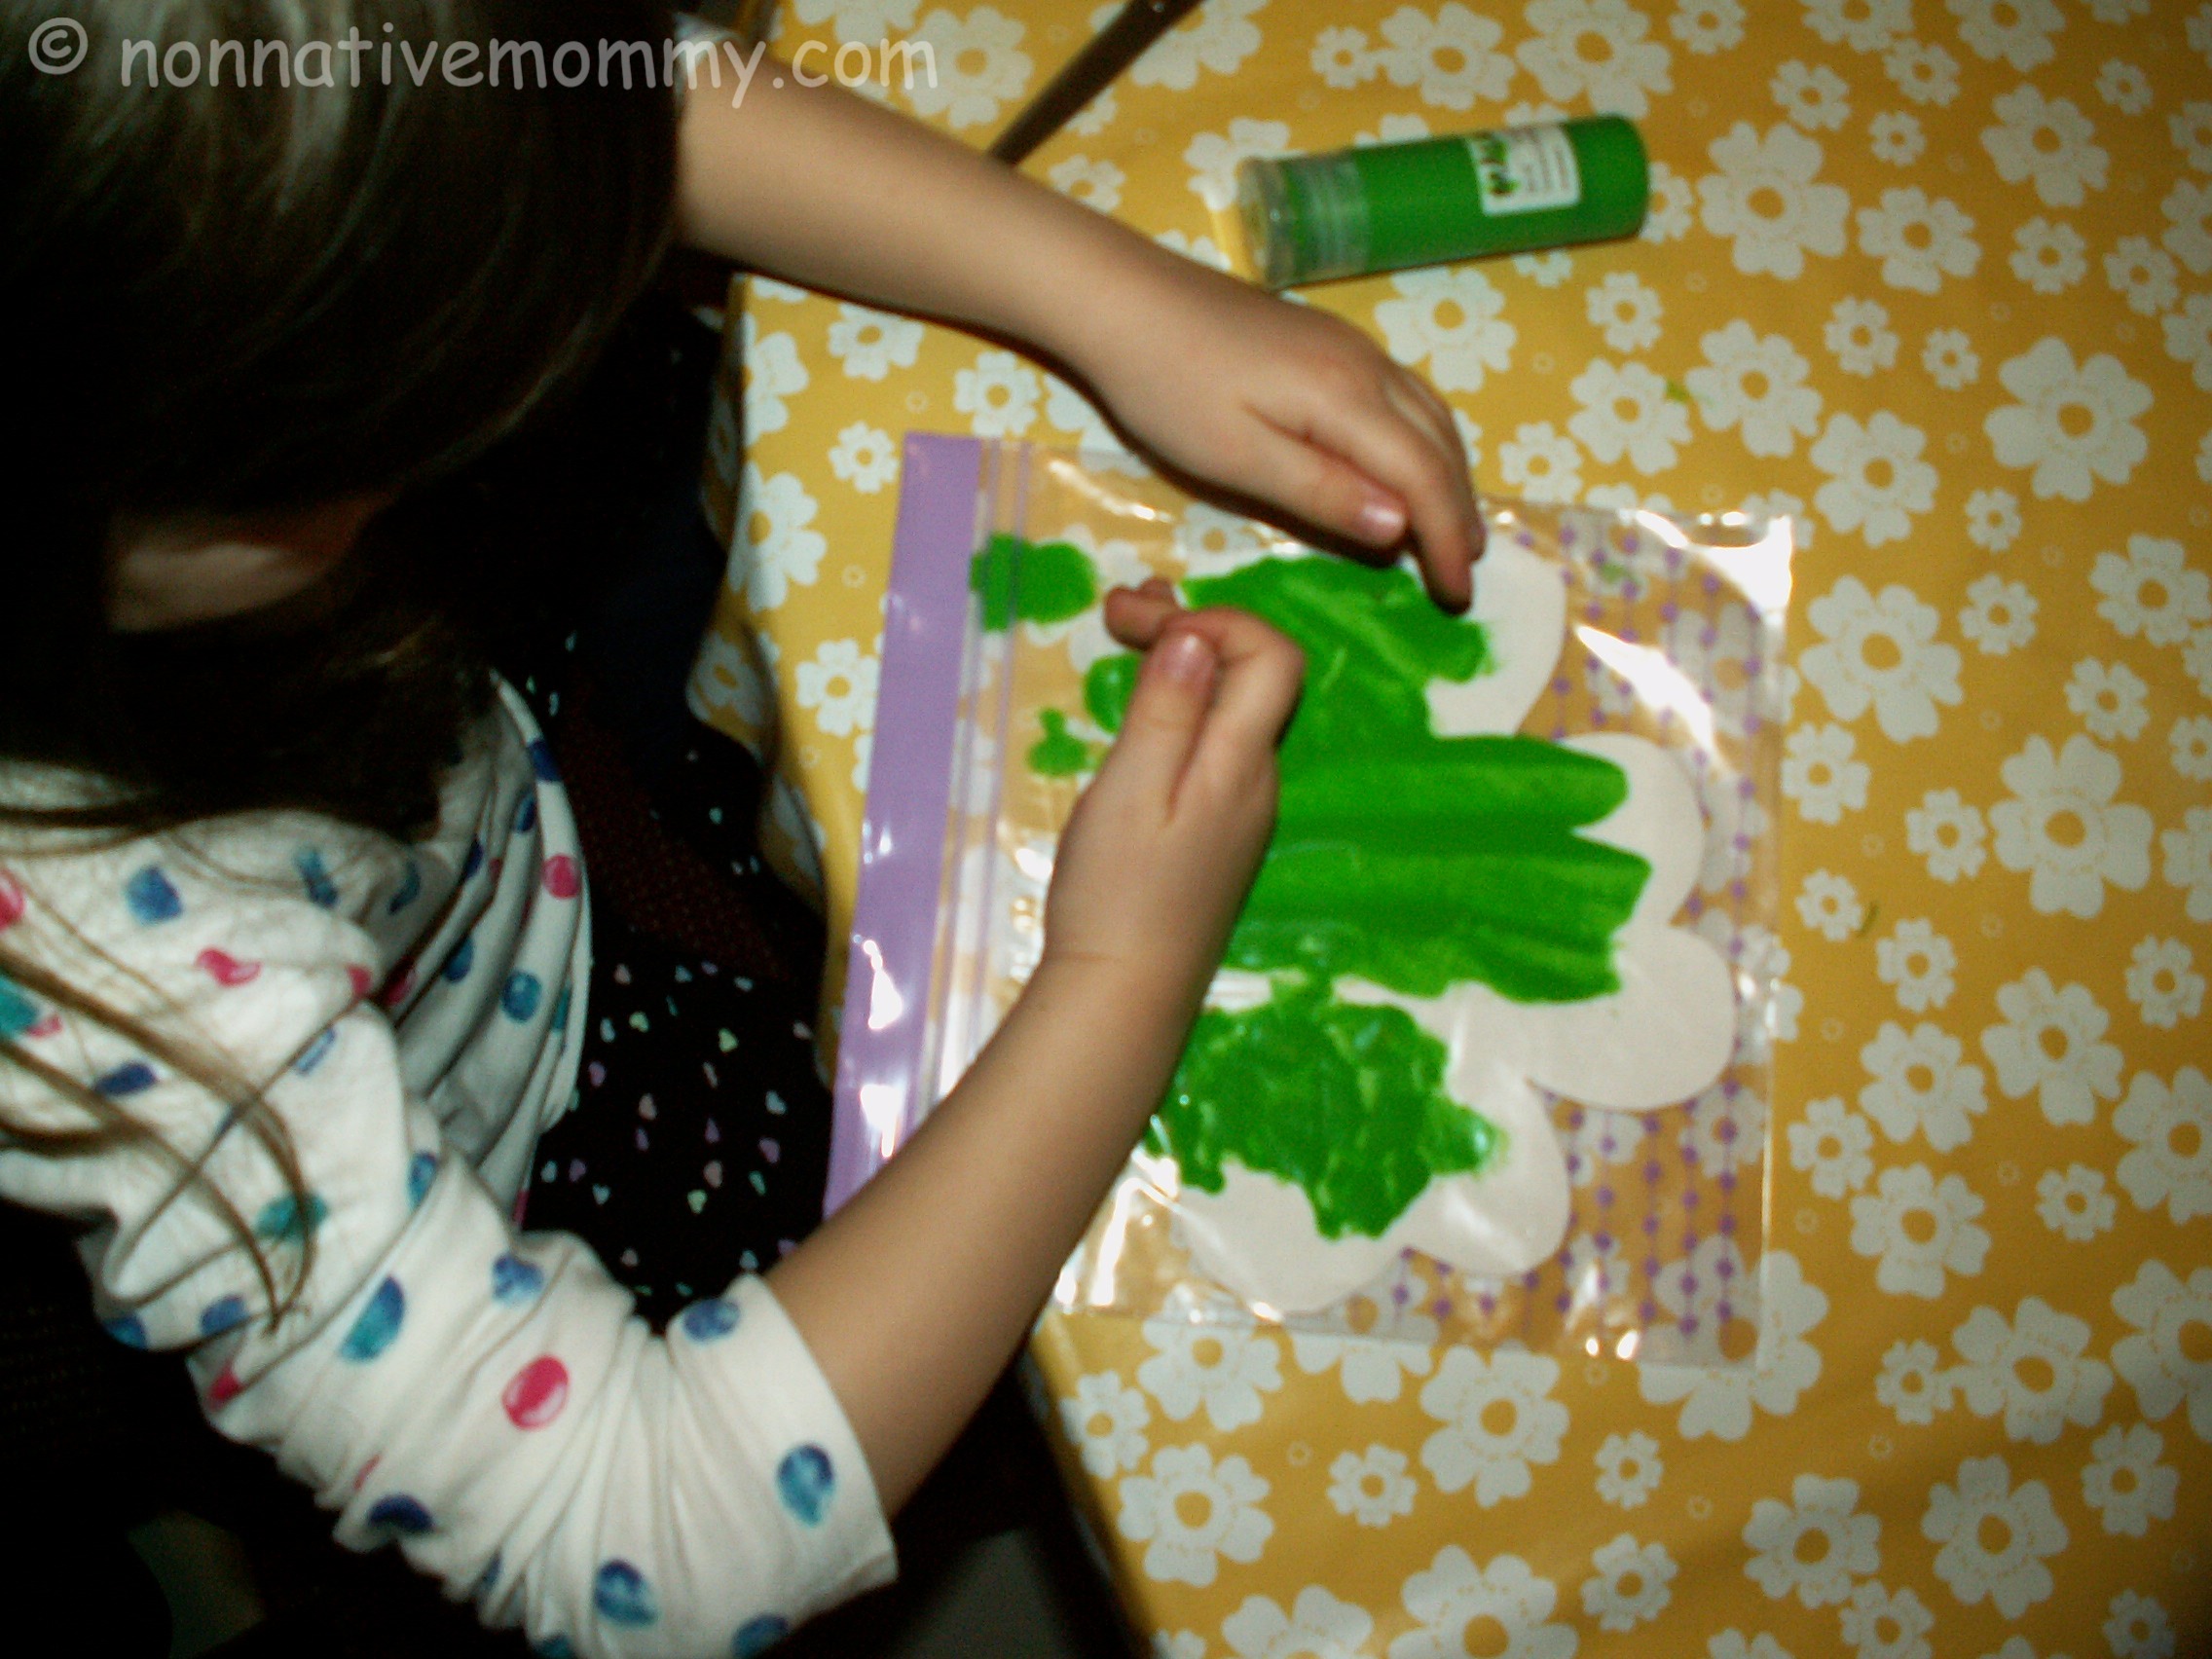
I cut 2 shamrocks out of construction paper, put blobs of green paint on them and slipped them in the zip-lock bags.
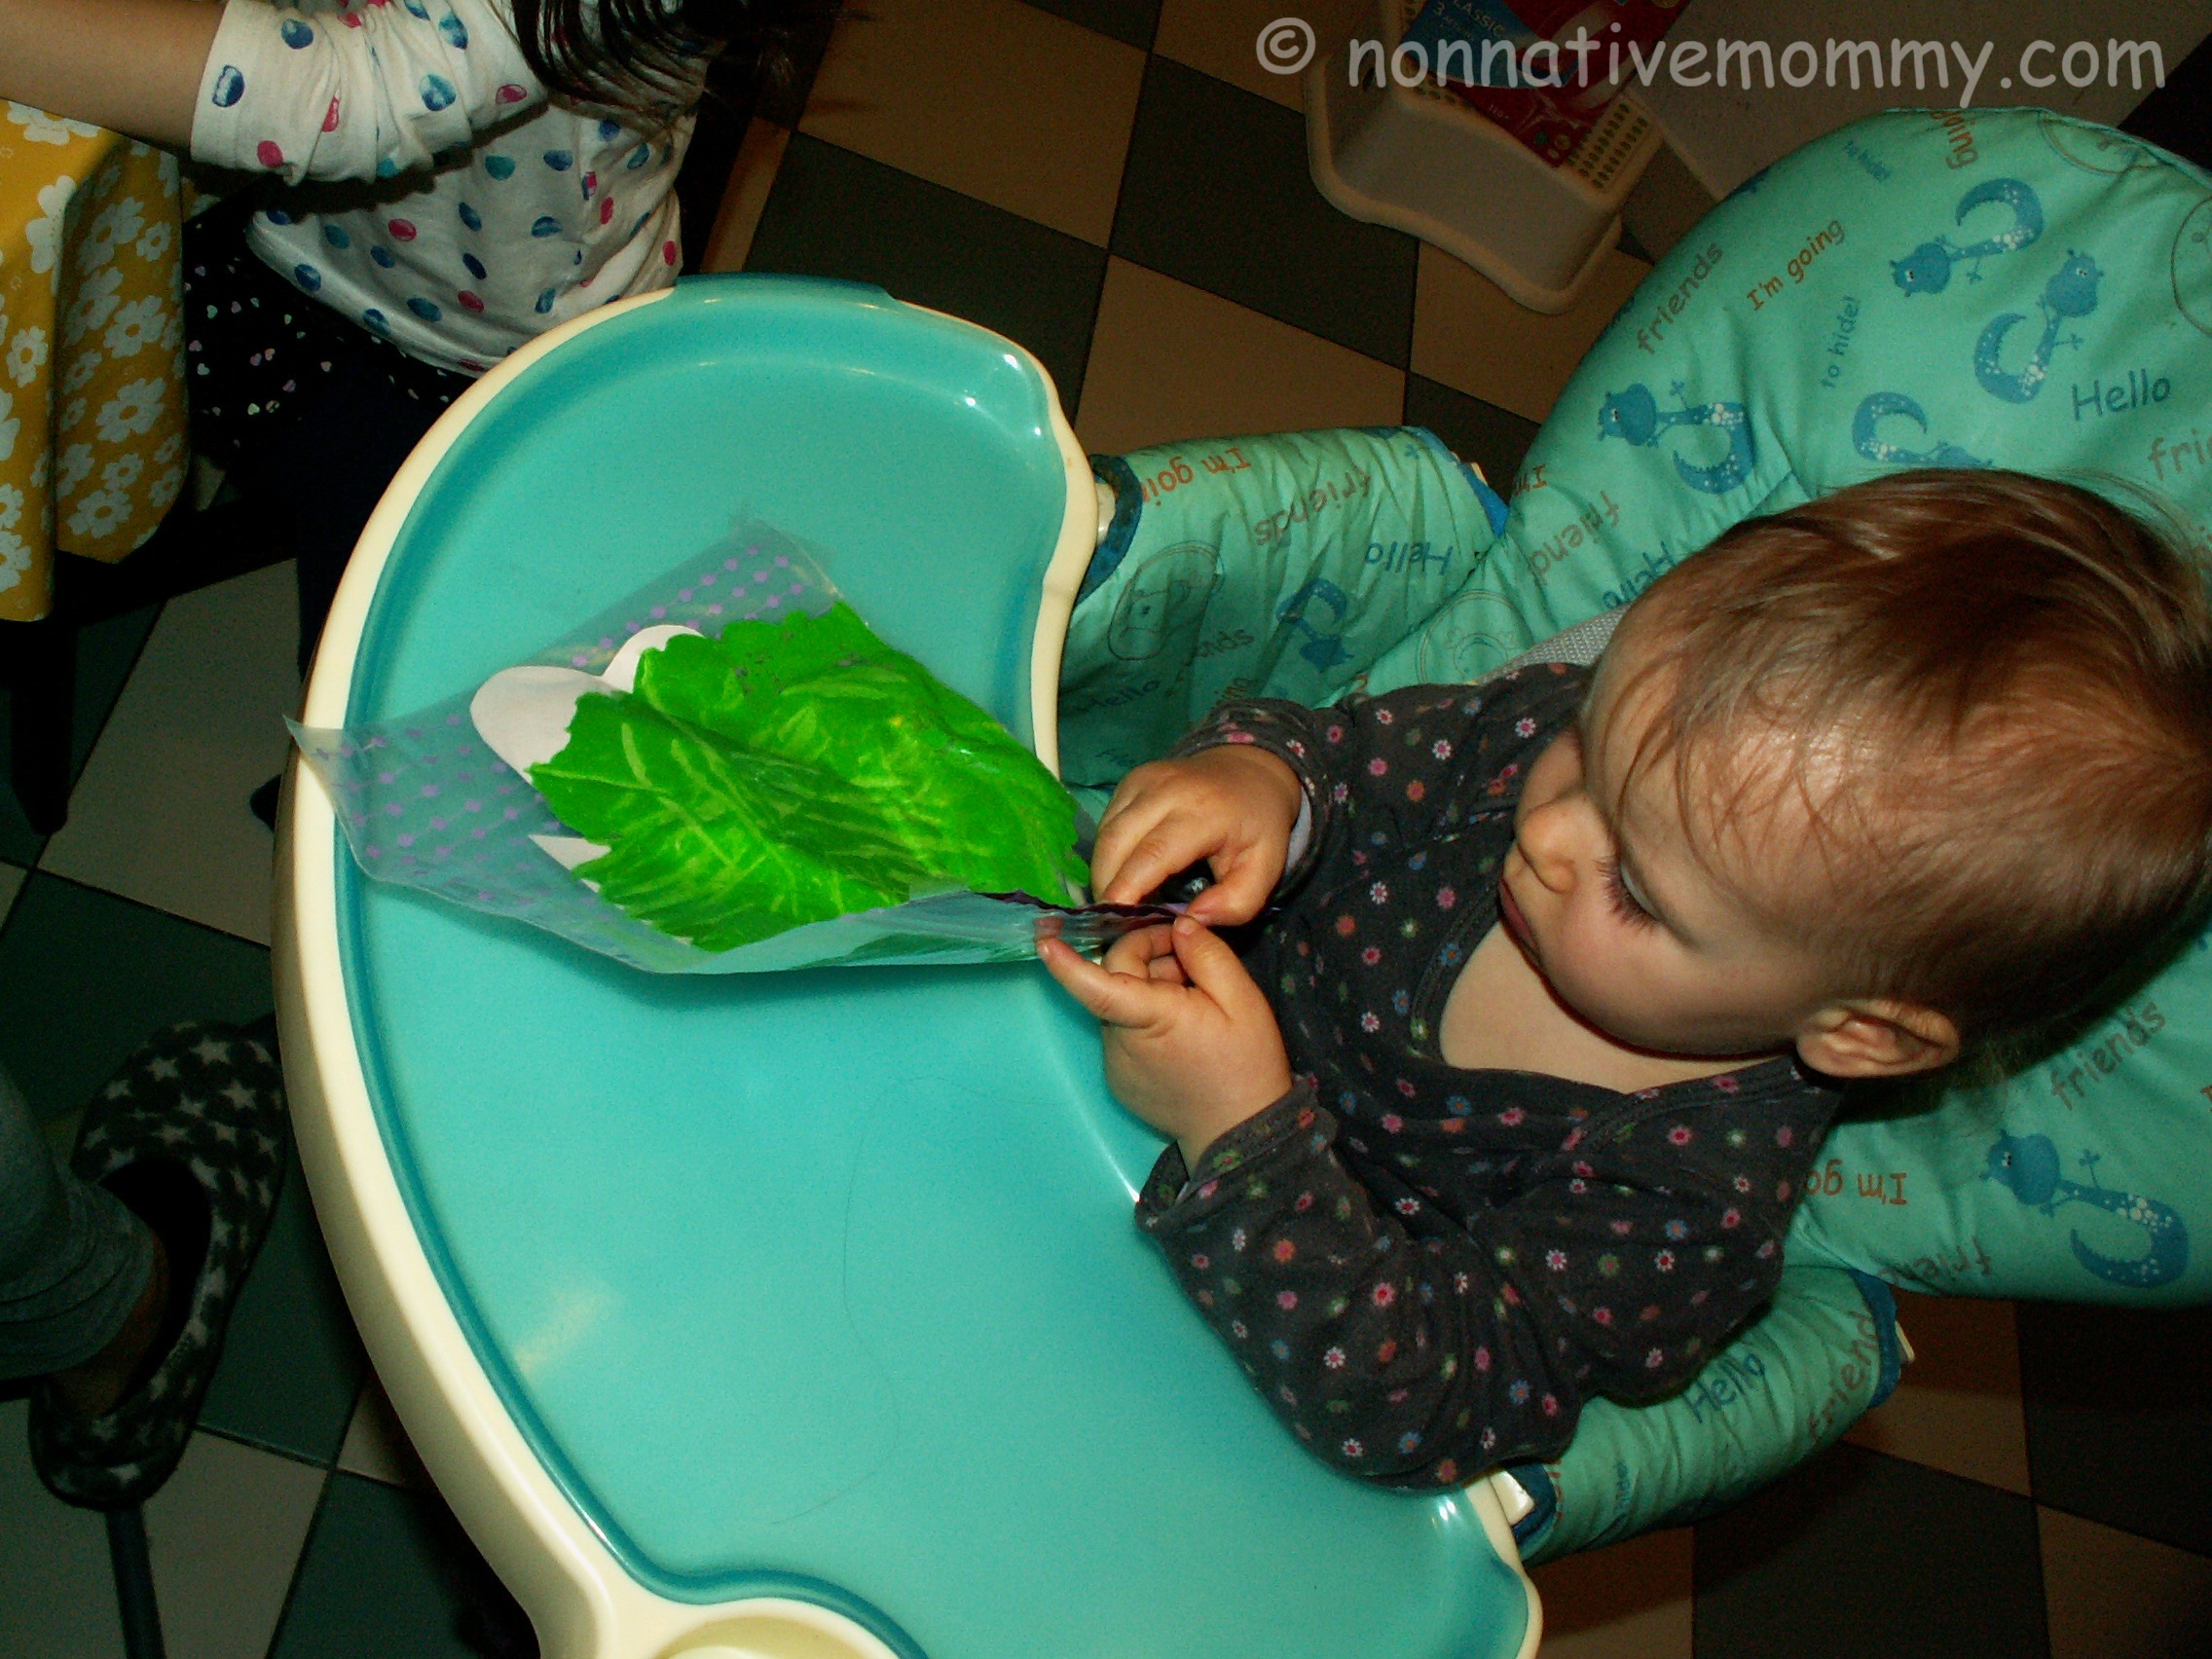
I cello-taped L.’s on her highchair but after few poking movements she grabbed the whole thing and pull it off of the tray then threw it away.
When we gave it back to her (after having shown how to spread the paint on her shamrock) she wanted to open the bag.
E. was working on it a little while, pushing the paint into all directions, but I didn’t add enough so she had hard time to spread it everywhere. She needed my help.
At least we finished it but the interest fell from 0 to -5…
Well, I’ve learnt something today… If they’re not interested, don’t push it. Lucky I didn’t spend more than 5 minutes to prepare the activity.
Whenever E, is in the mood (more and more frequently) she shows Baby L. how we do things around a house, how she should eat with a spoon or drink with a straw. Baby Sis always has a great time whenever her Big Sister pays a close attention to her.
Of course, we do it in both languages. It’s great practice for E. and learning opportunity for L.
“Teaching” started when L. was about 6 months old. With flashcards and books:
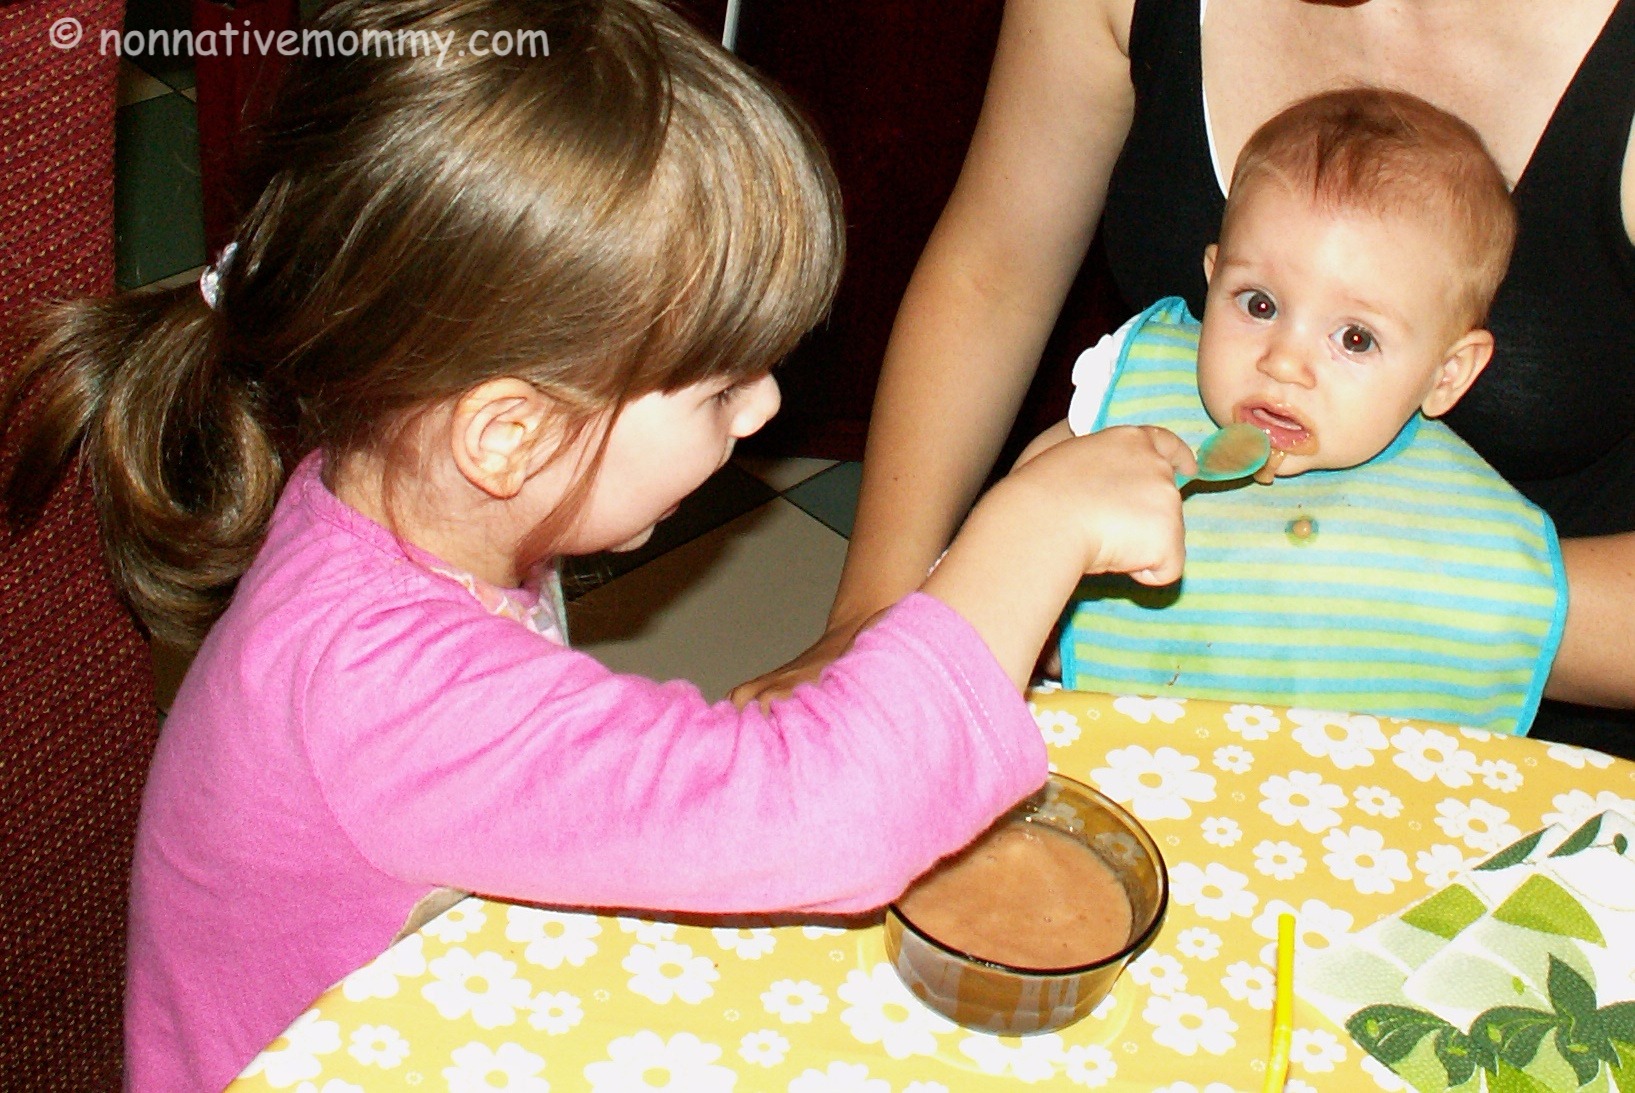
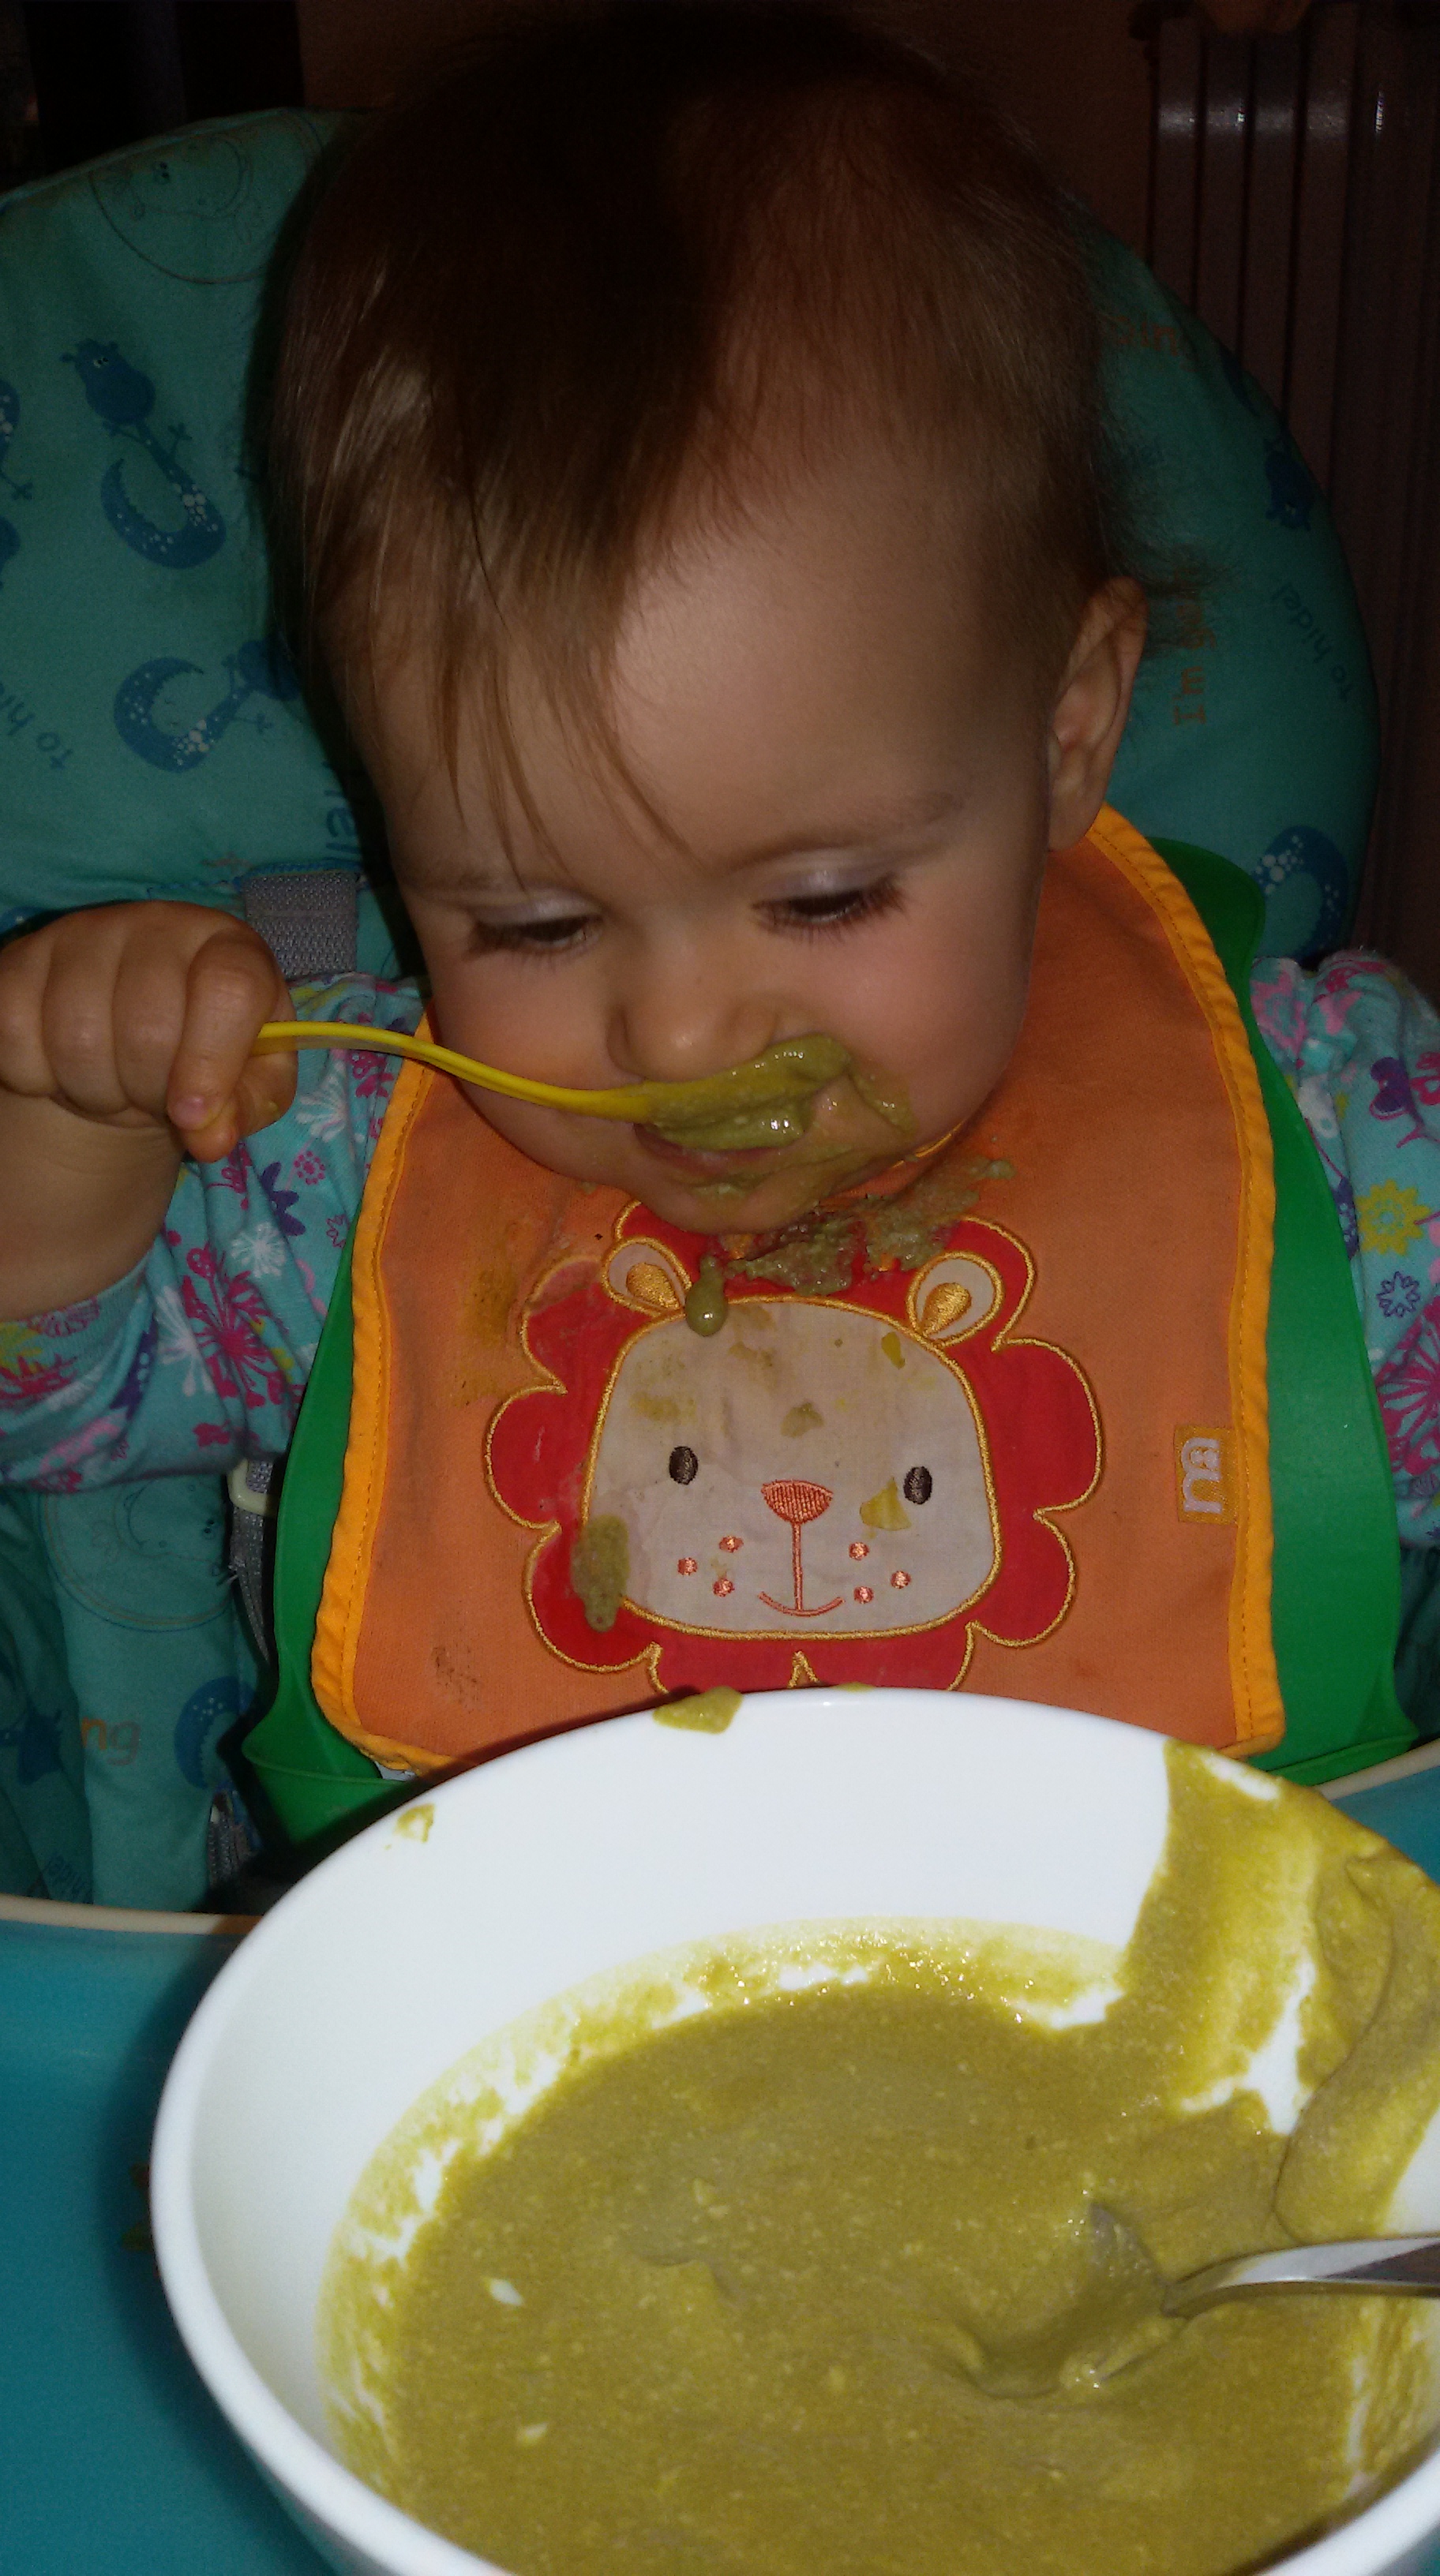
Later on E. enjoyed feeding Baby Sis to show how to use a spoon.
After a few months now Baby Sis can do it all by herself.
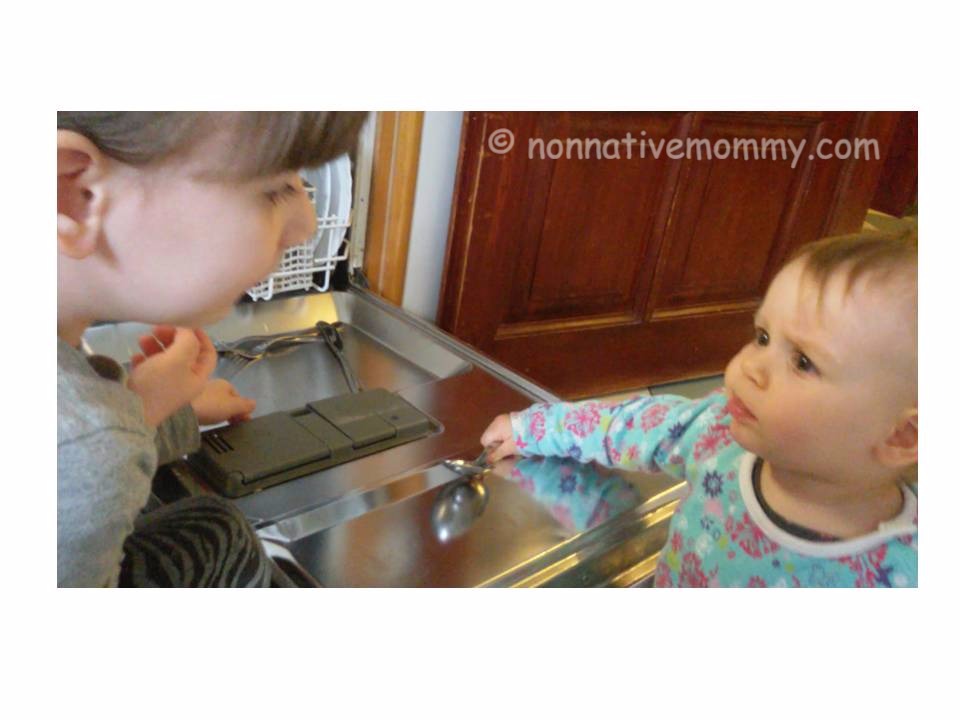
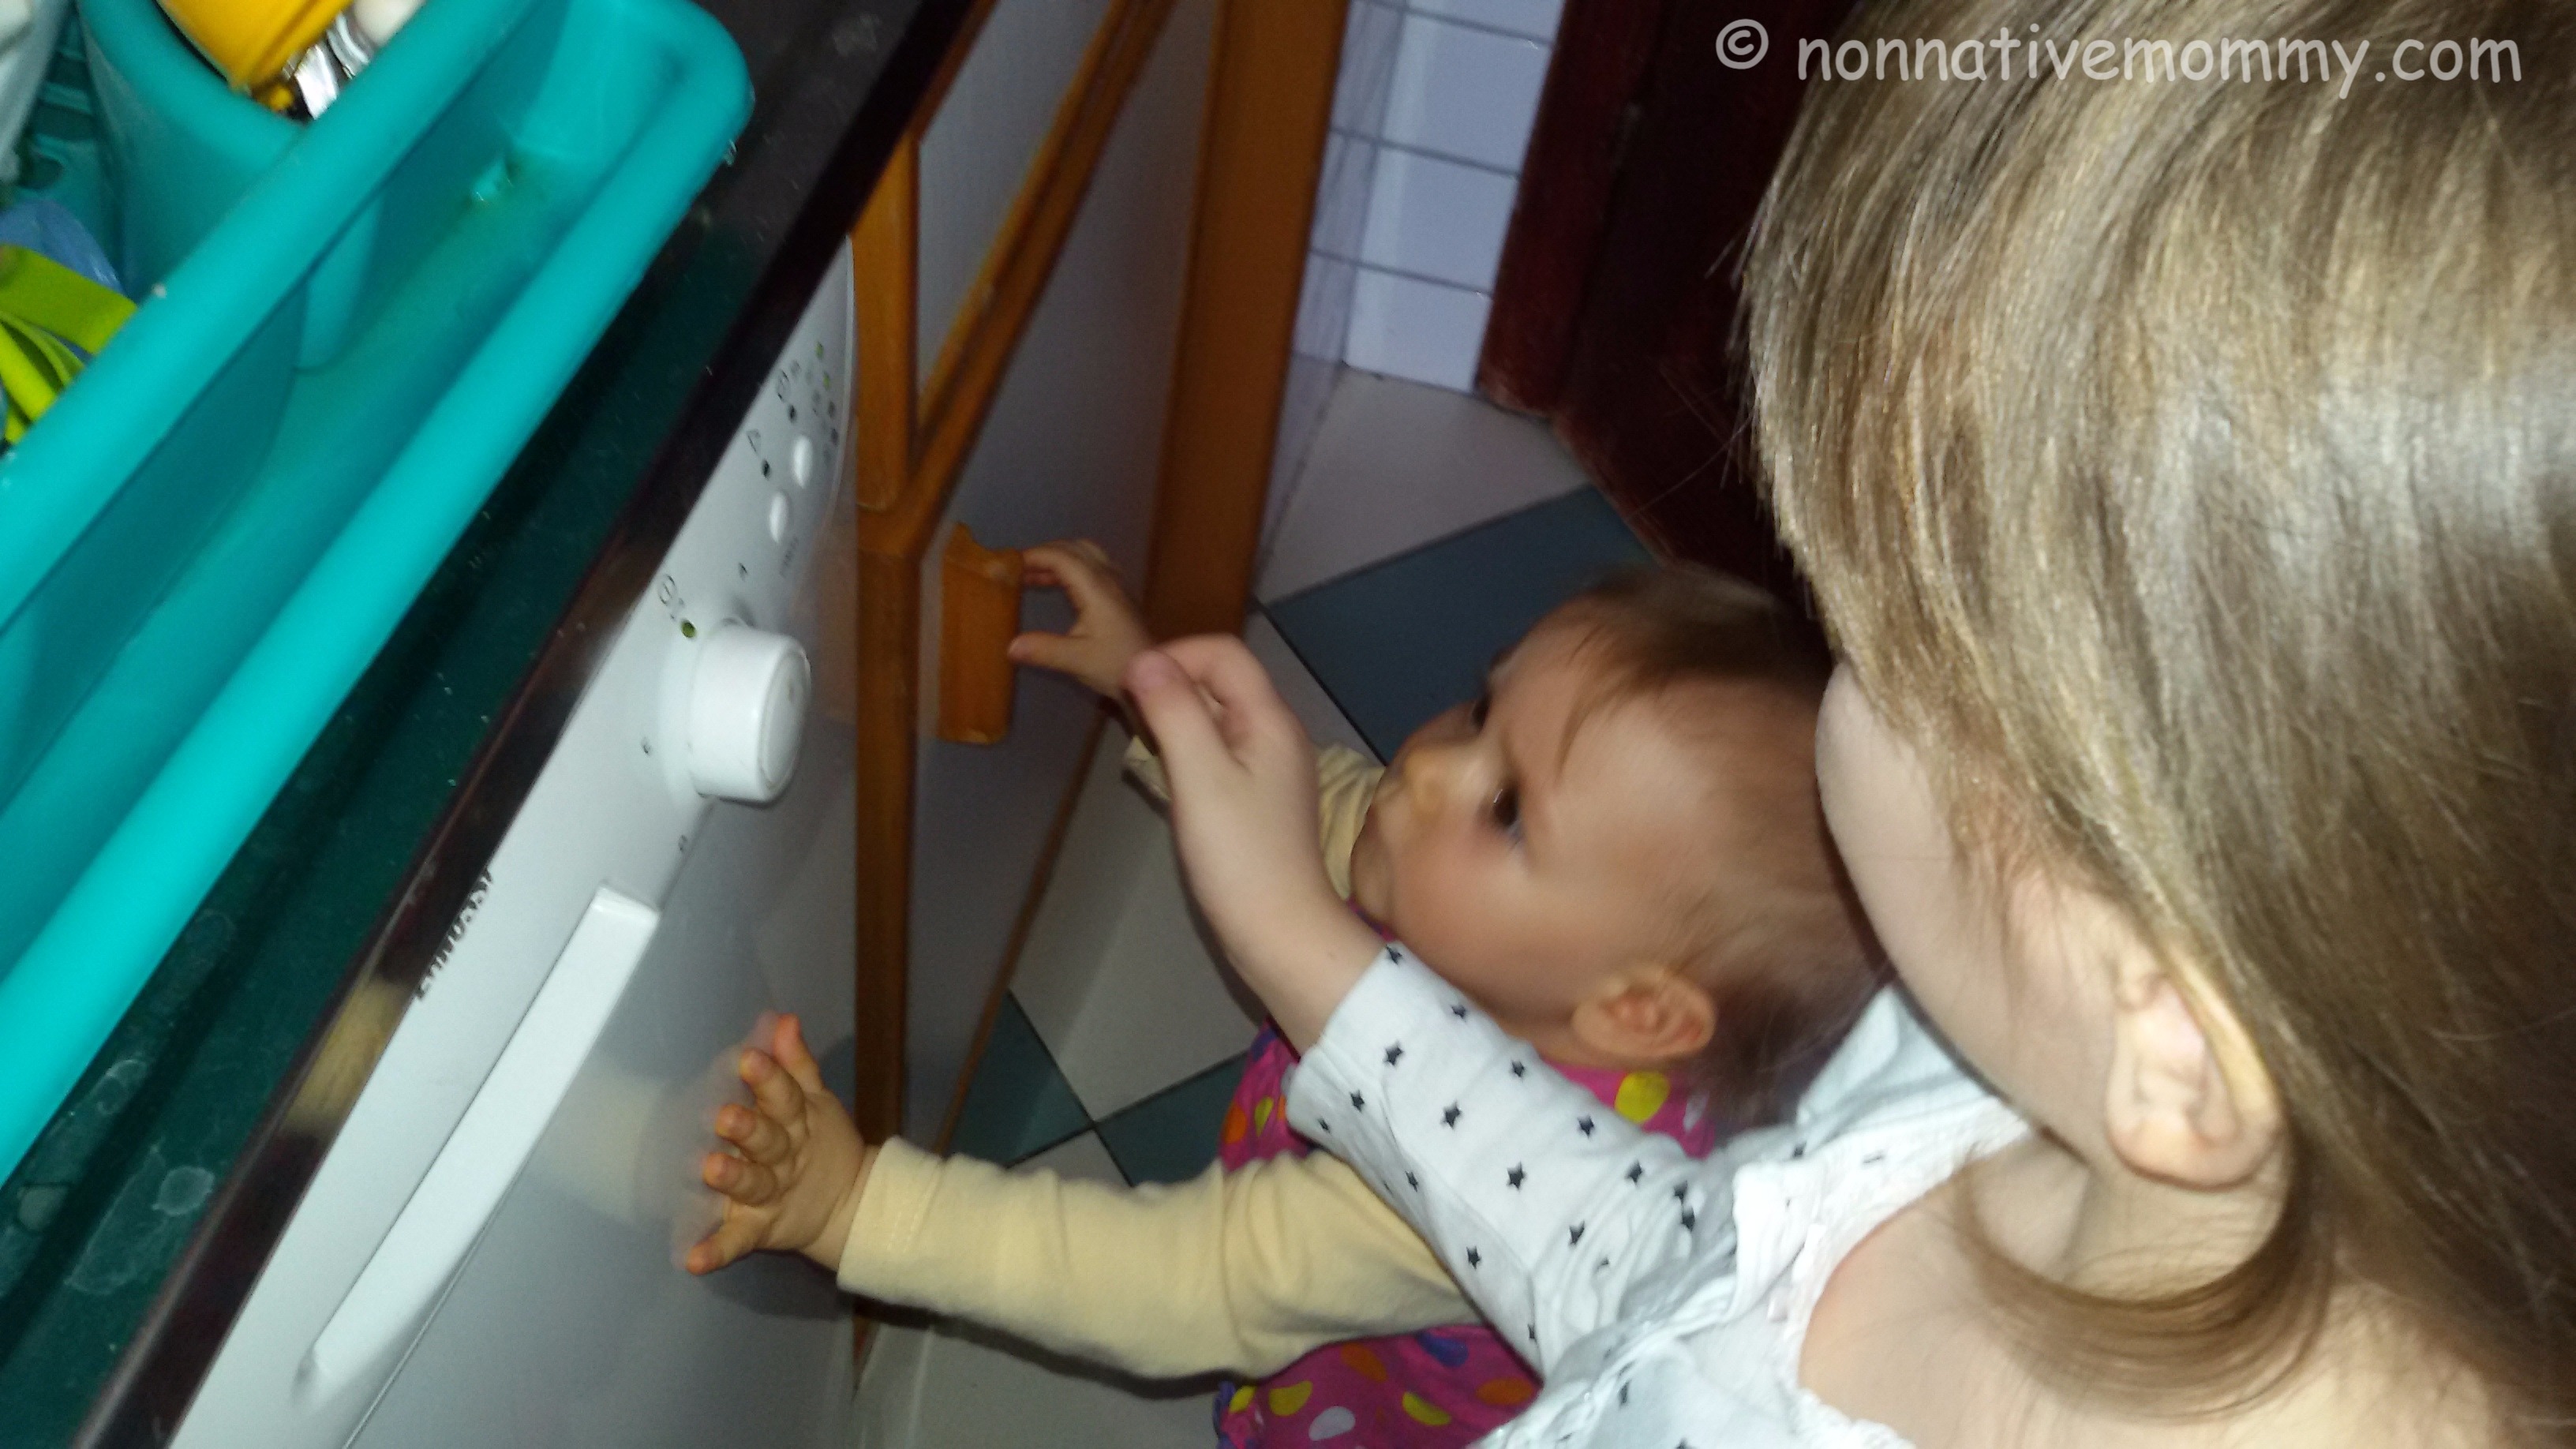
E. is explaining Baby Sis how to unload the dishwasher.
Big Sister is teaching baby L. how to place the dish-washer tablet in.
Then starting the dishwasher.
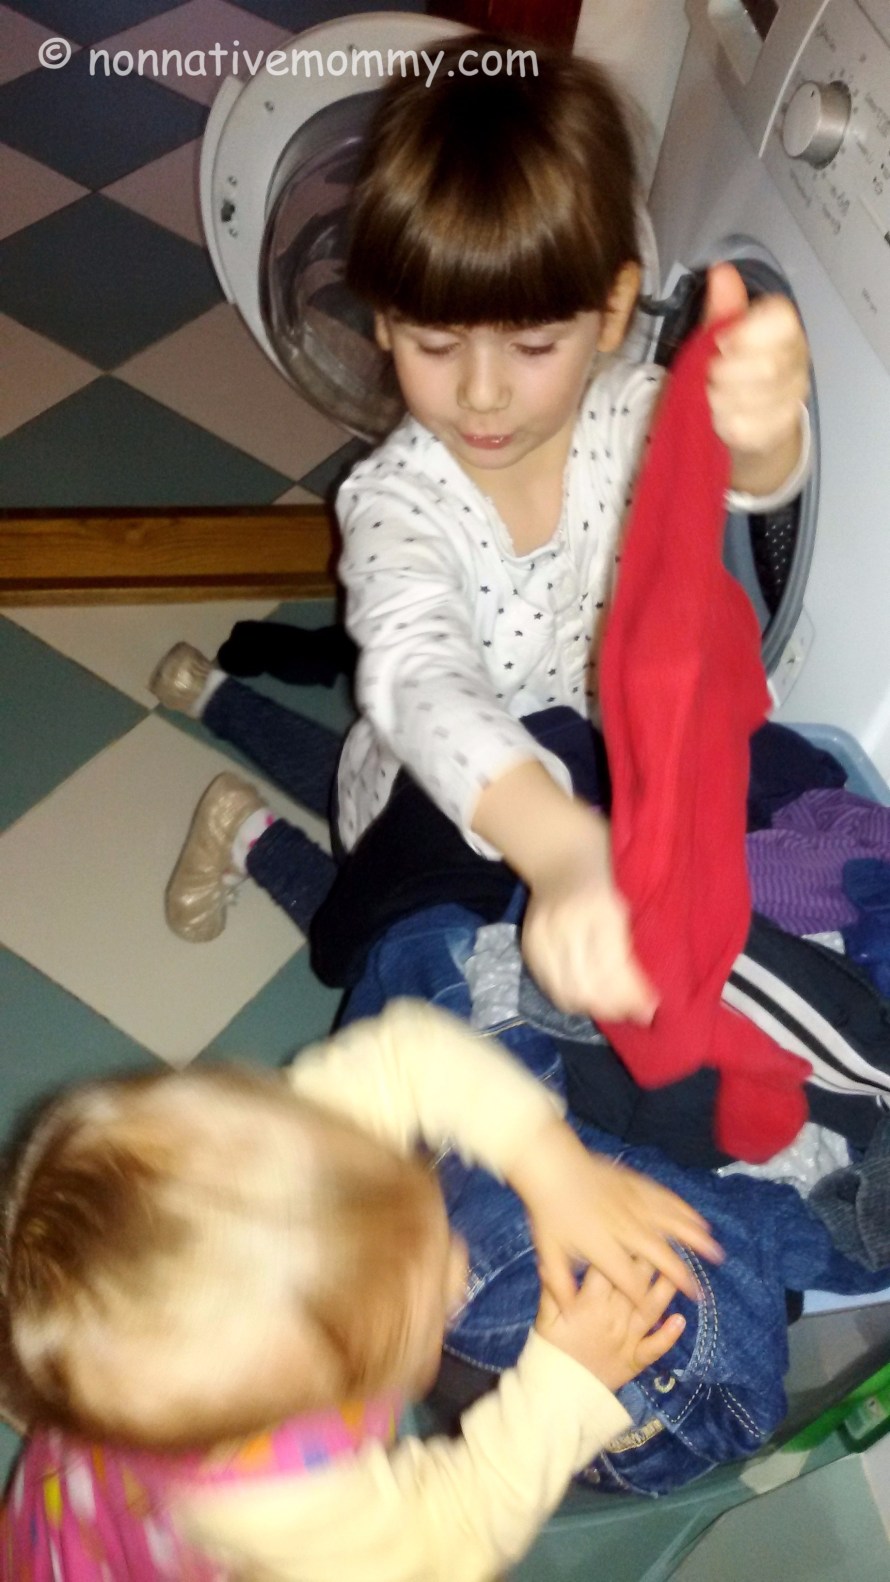
It’s still housework time. Loading the washing-machine.
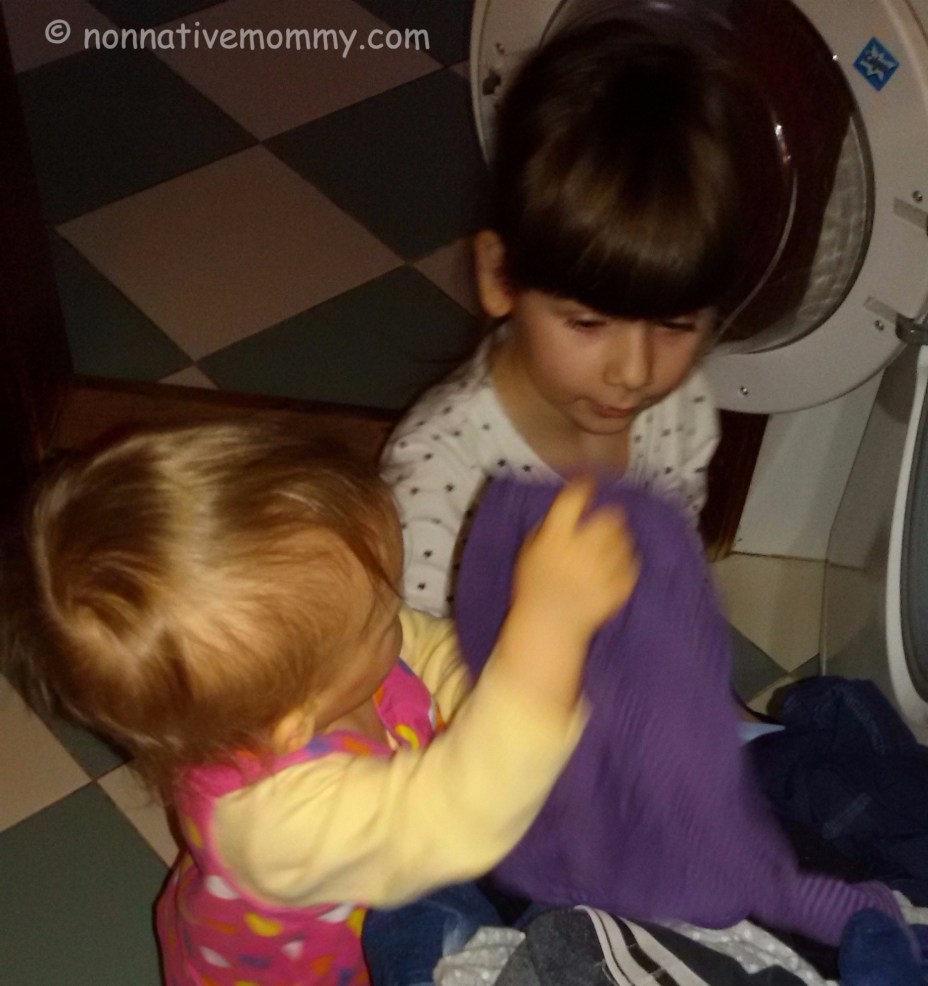
“These are your tights” – said E. and put them in the washing-machine. Then L. gave her a purple onesie.
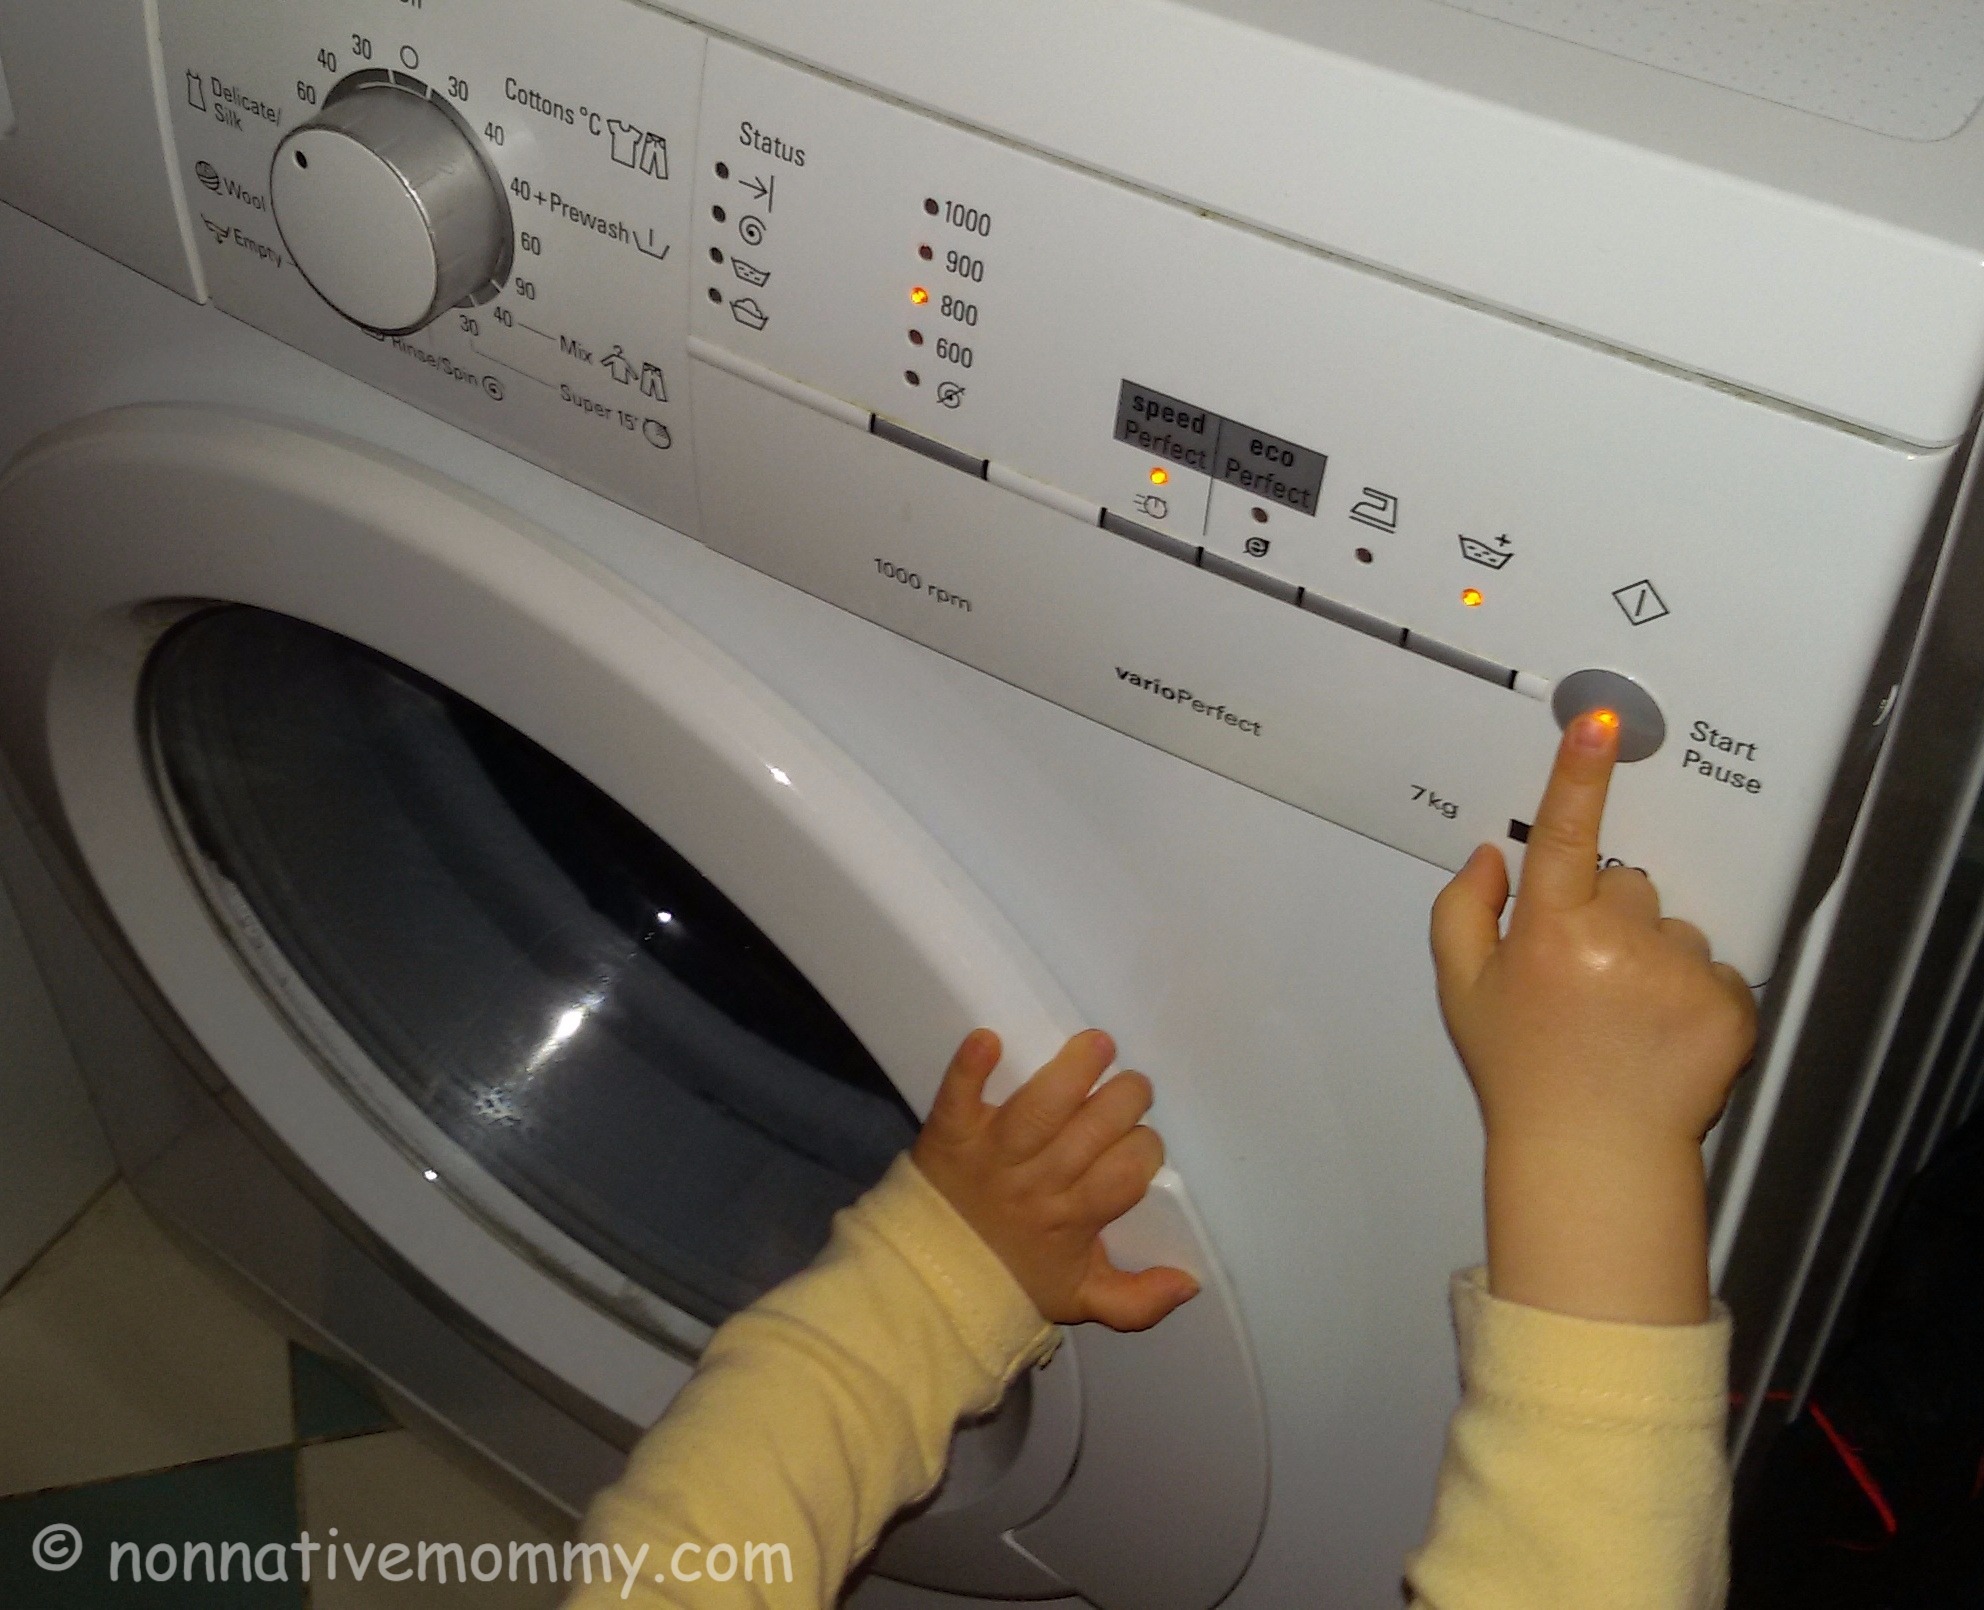
It’s baby L.’s privilege to push the start button.
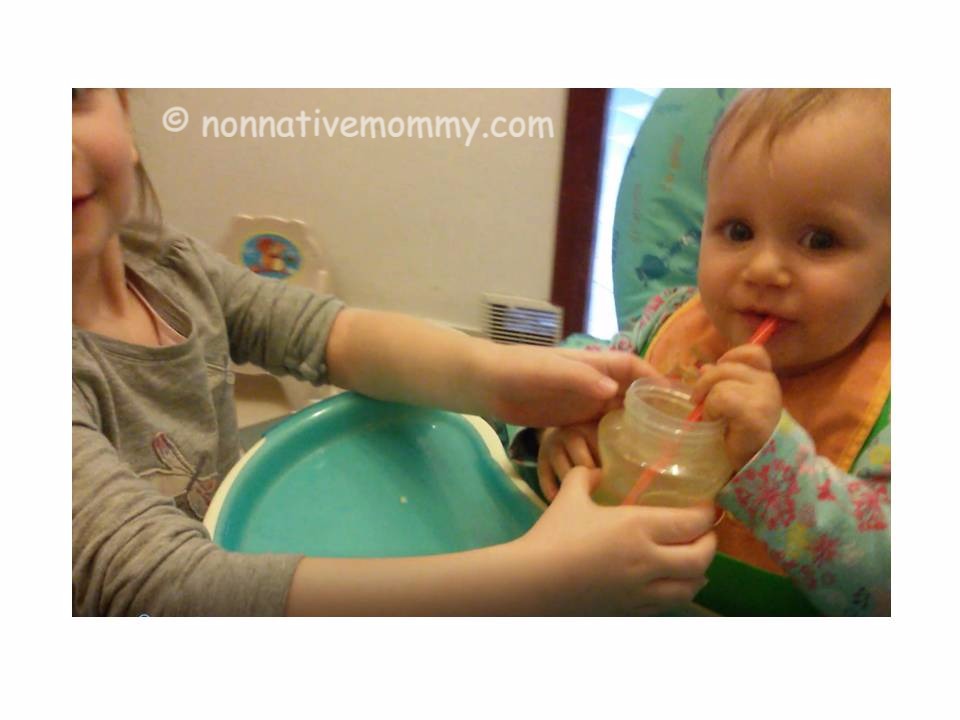
Drinking with a straw is not a problem if you can watch your Big Sister how to do it.
Don’t get me wrong. It’s not all sunshine and lollipops. There are quite a lot of screaming, and some hitting, pinching, scratching when the girls get frustrated in some tense situations. But it’s getting better and better. Now I (and E. too) see the light at the end of the tunnel. All in all, it’s great to have a Big Sister, as well as a Baby Sis.