Pencil shaving tree

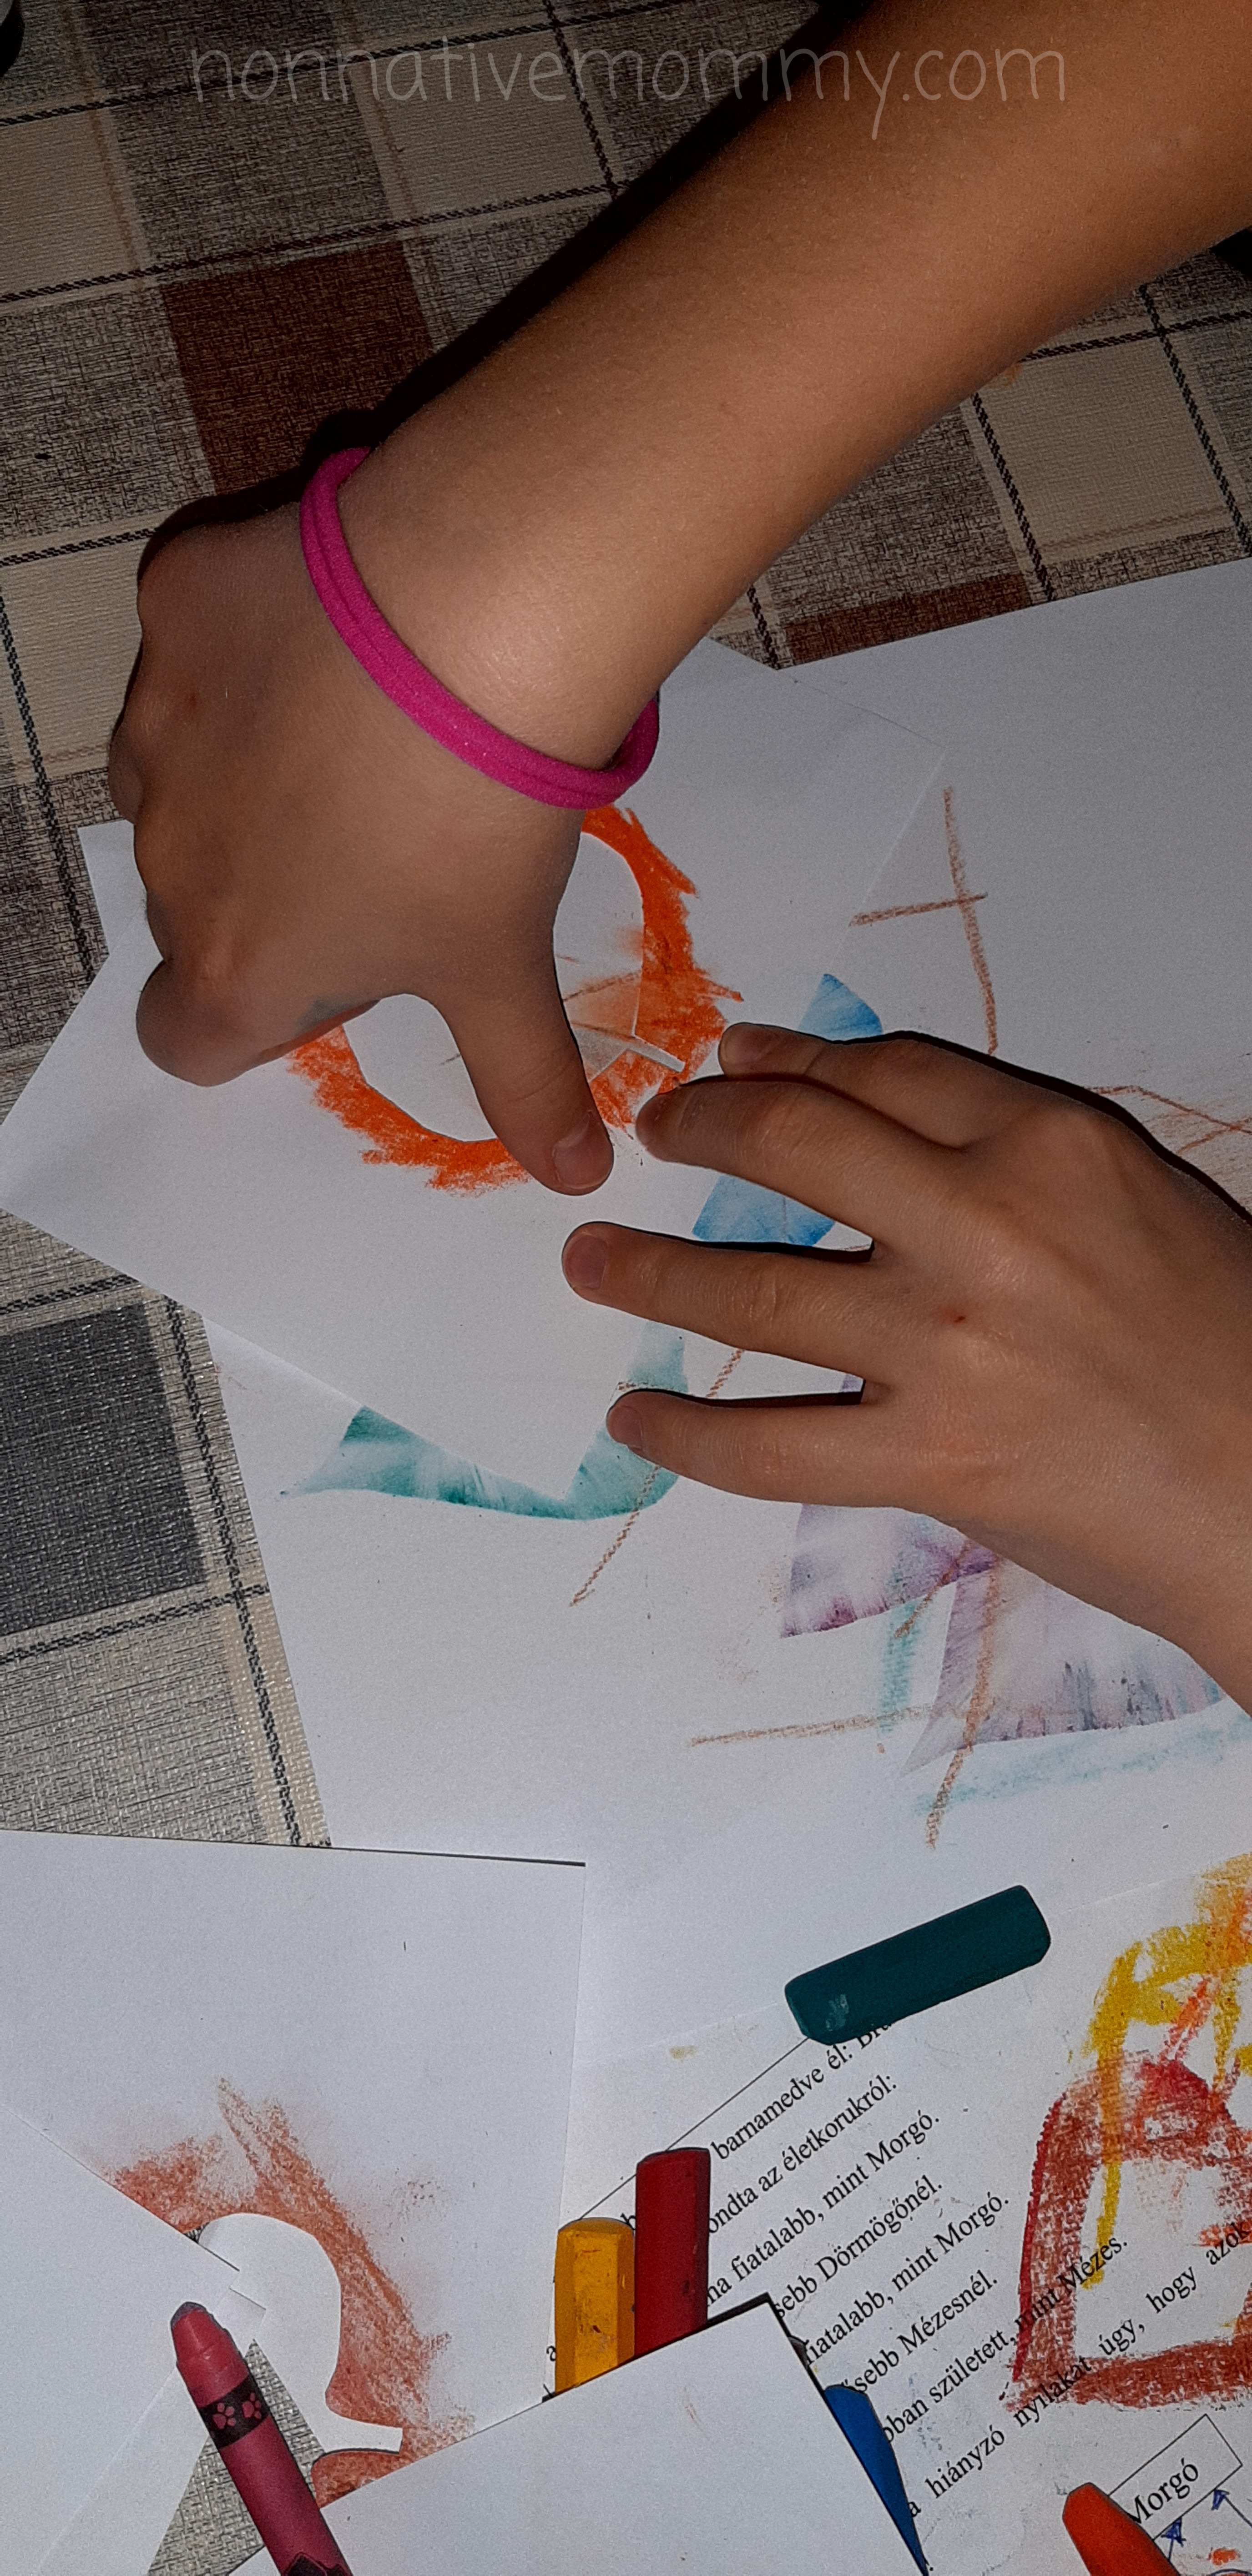
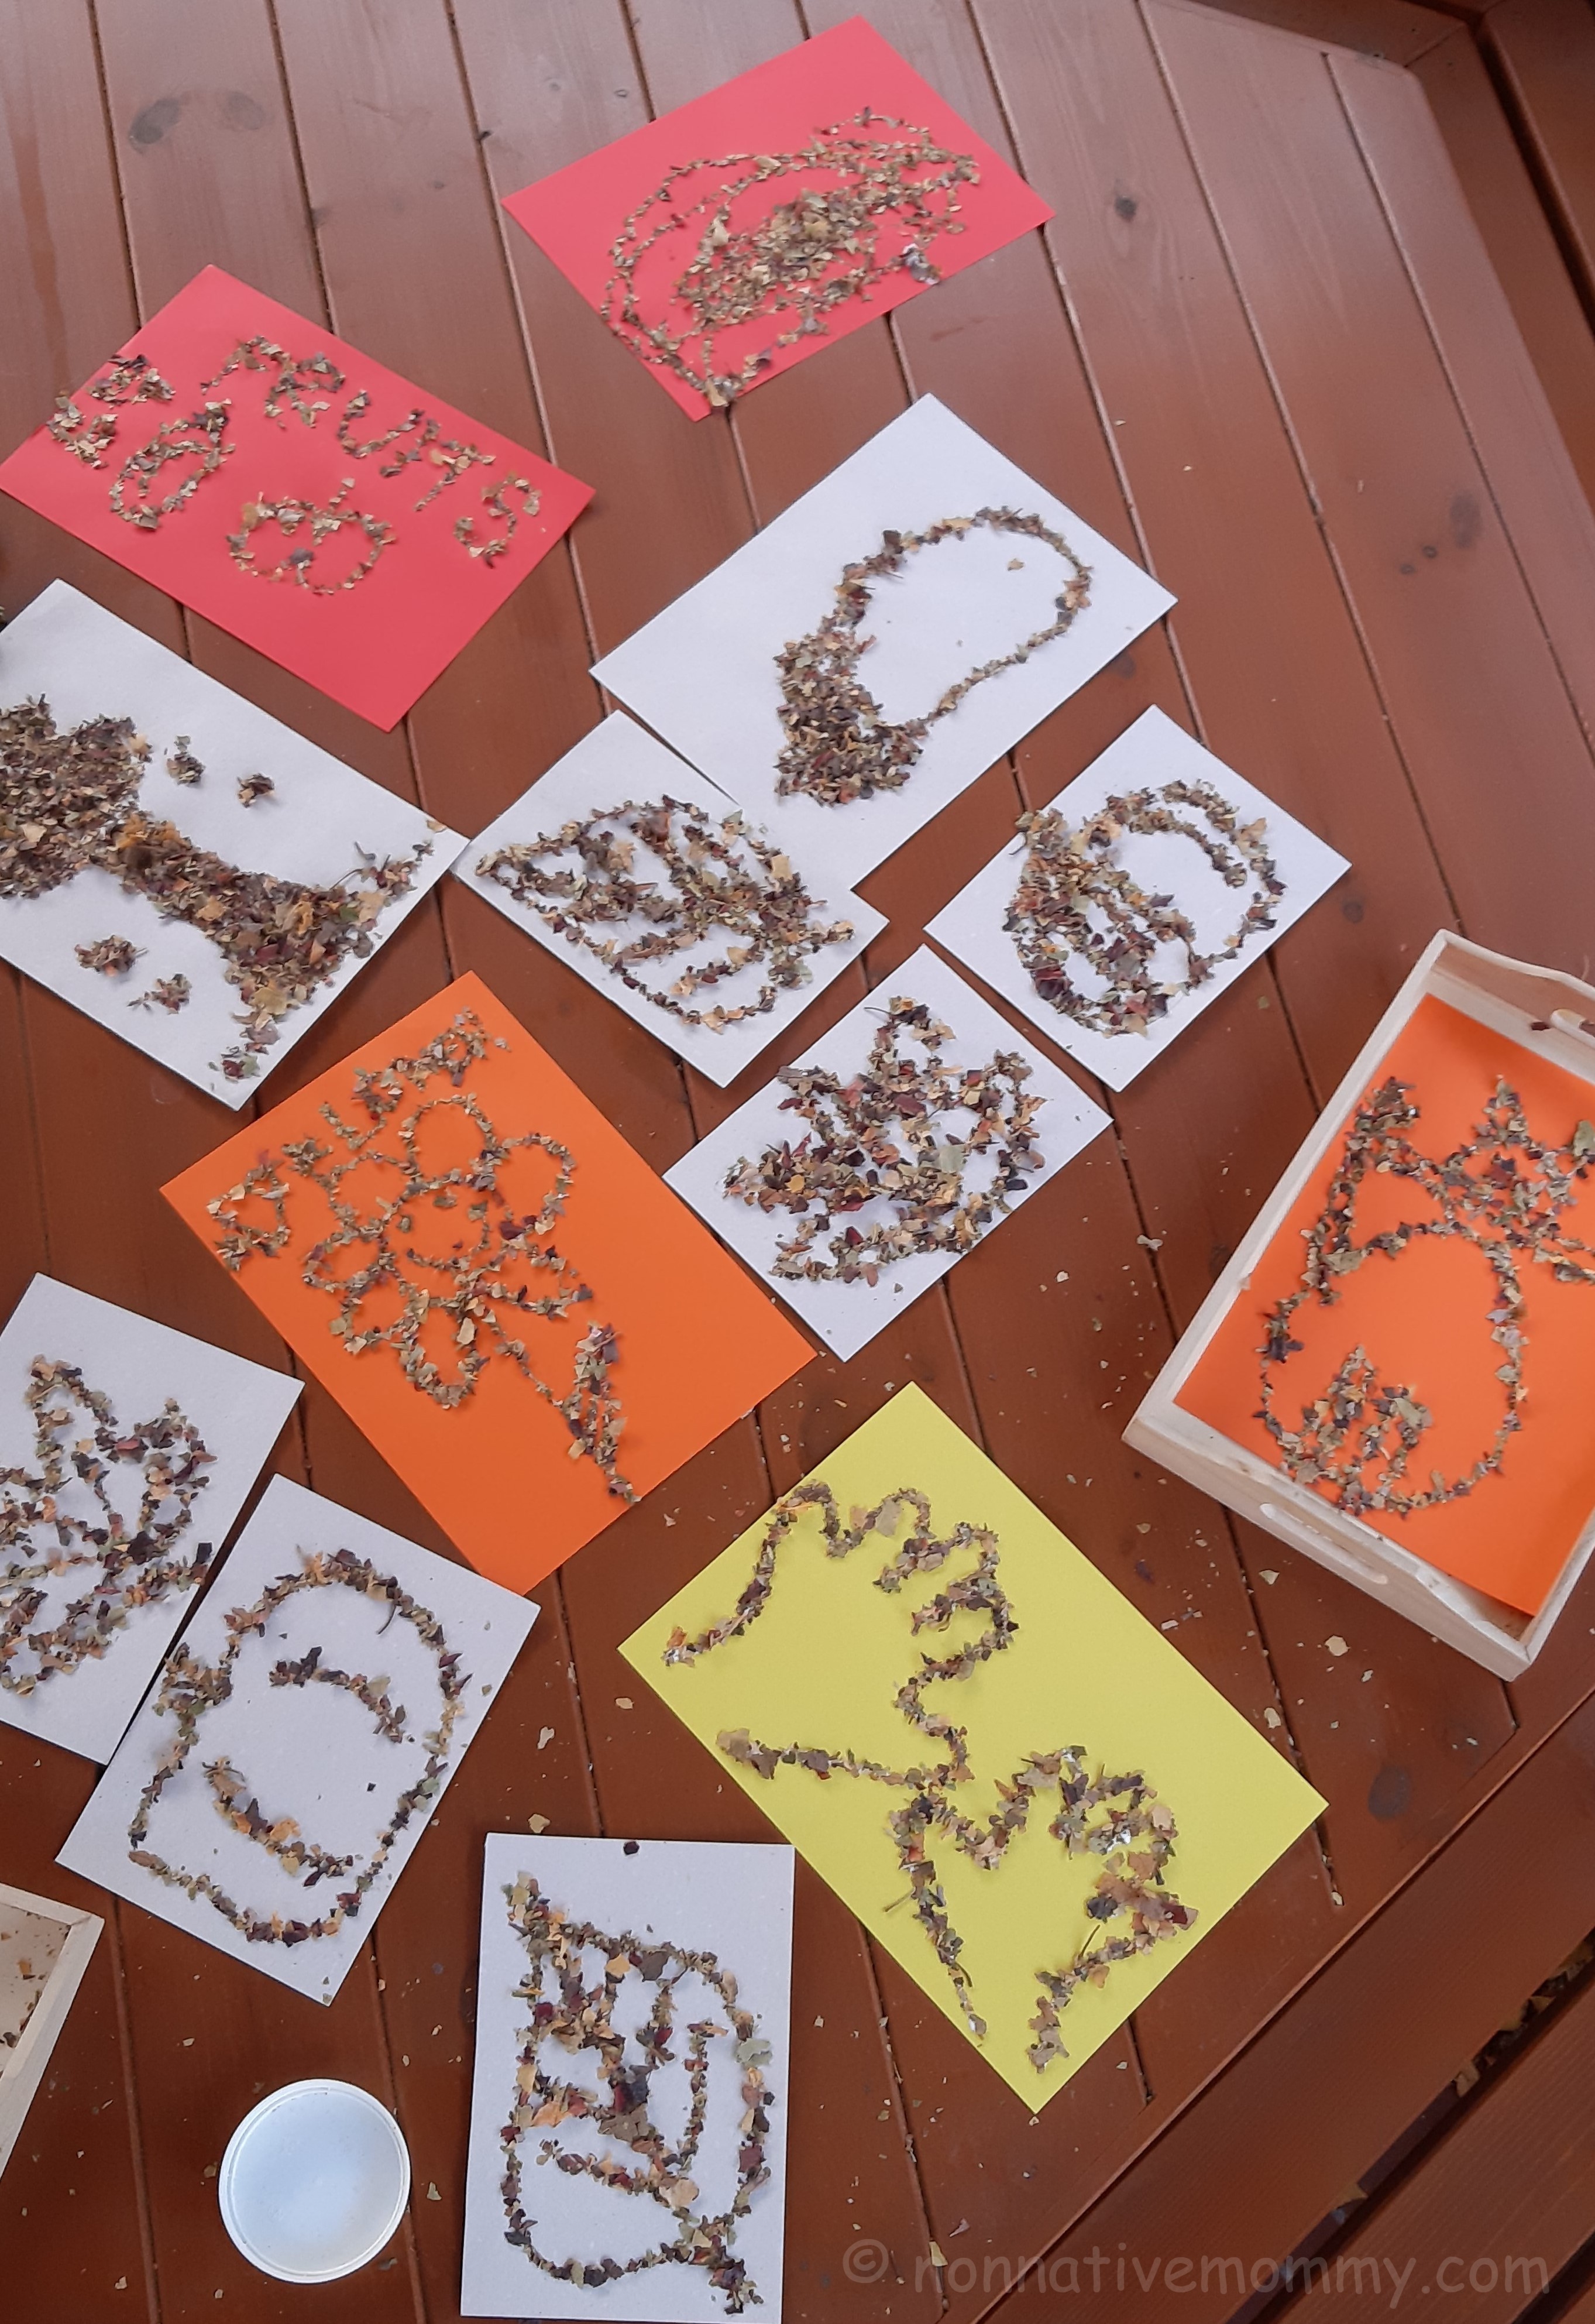
While sharpening a pencil. some pretty shavings fall off. We started to collect them to do something with them and the time has arrived to use them in an autumn atr project.

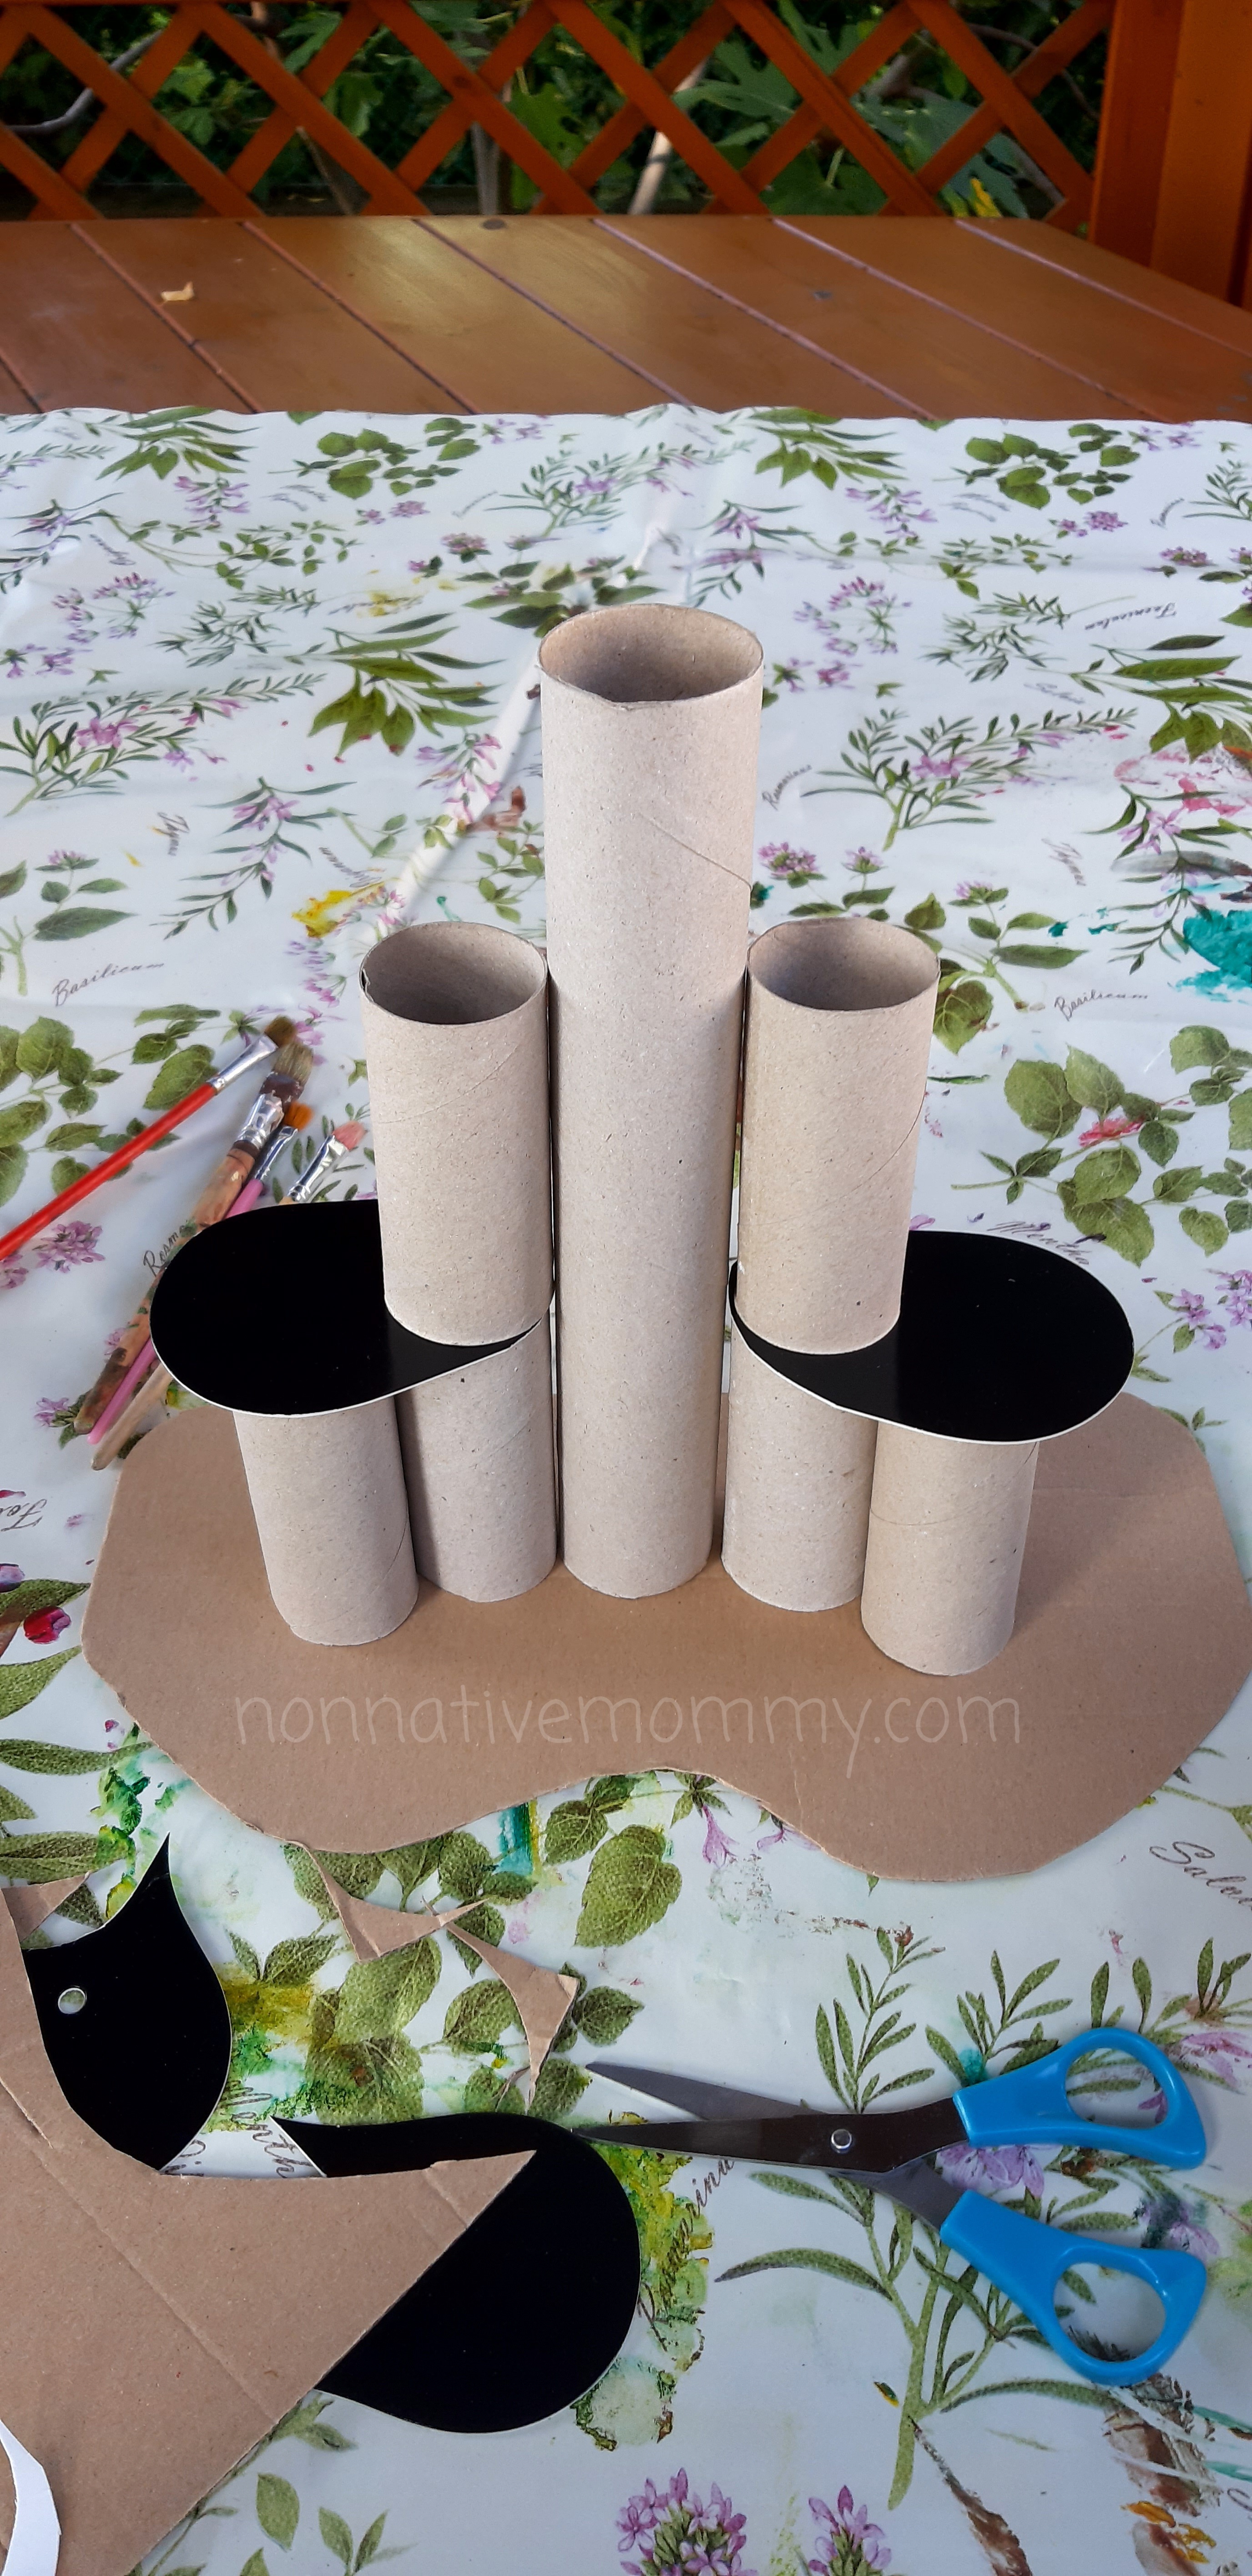
The kids collect branches and twings wherever we go, what’s more, our garden is full of them after a storm or stronger wind. So all you need is:

  • pencil shavings
  • twings and small branches
  • glue
  • paper (cardboard is the best if you want o display the final product)

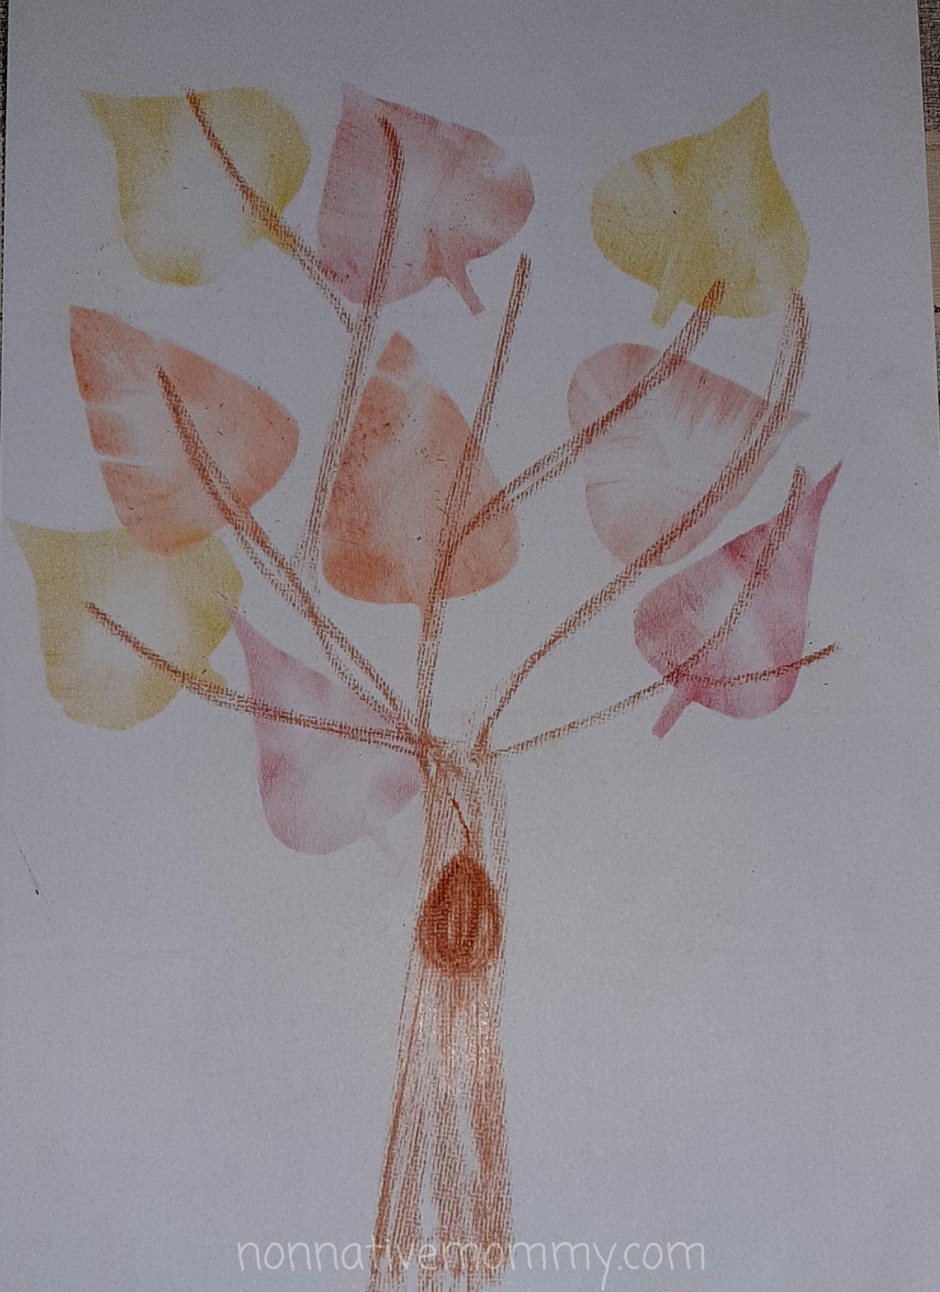
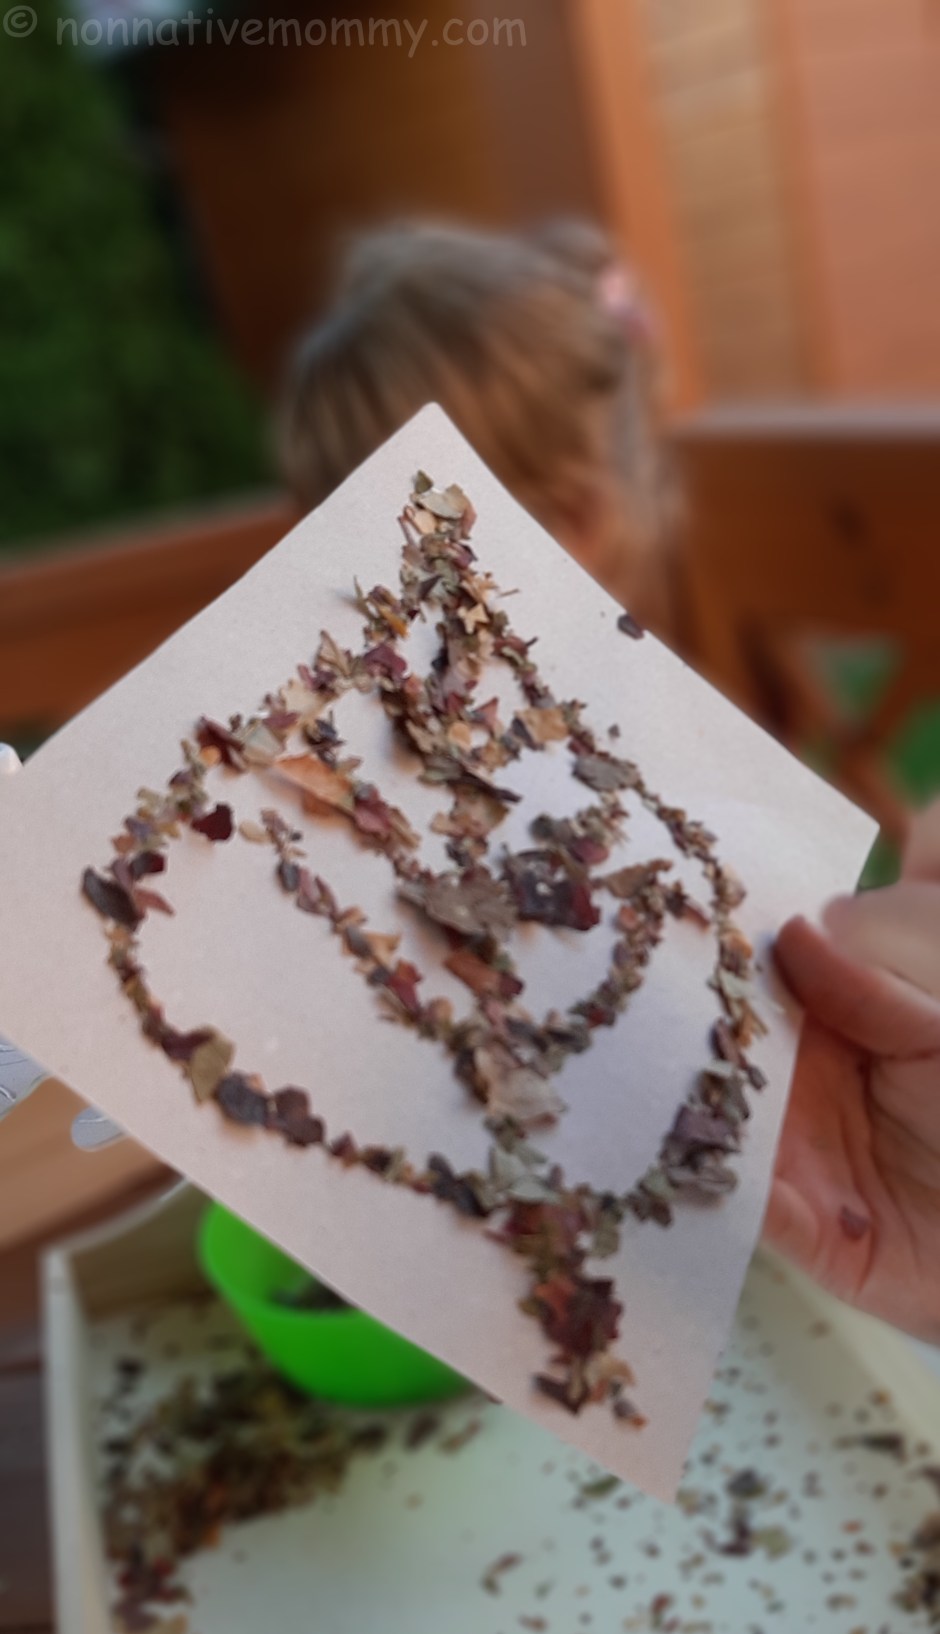
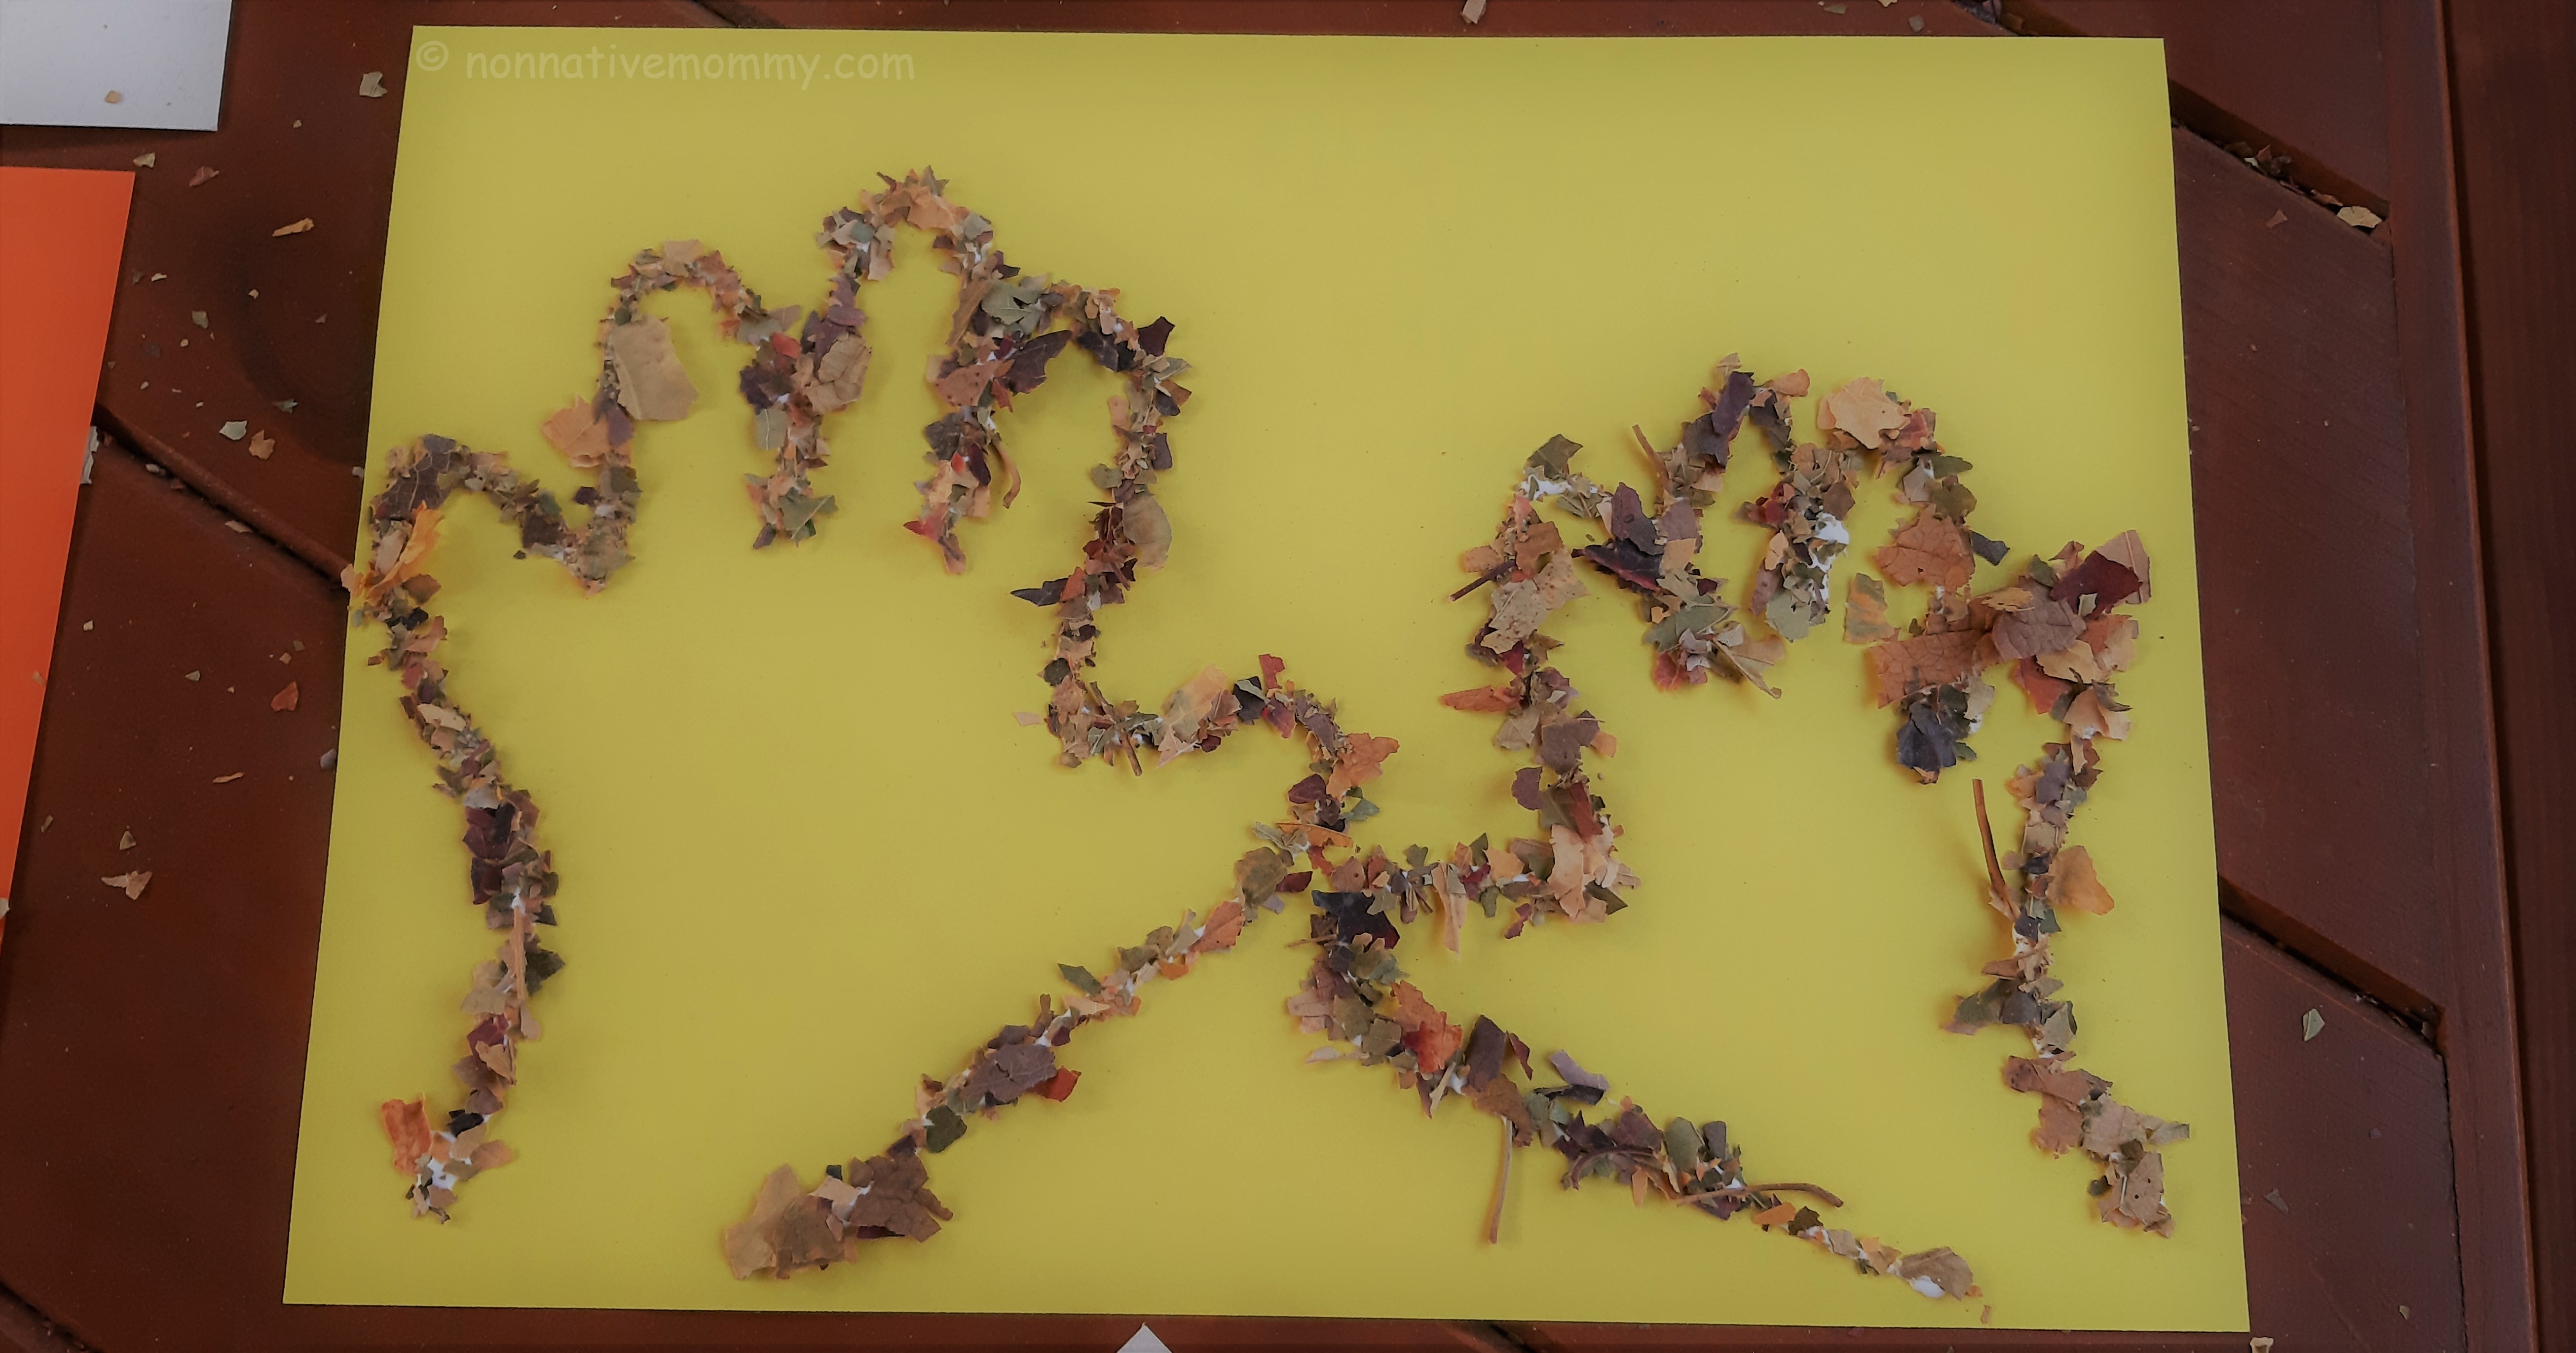
Arrange your twigs as a tree on your sheet of paper and then glue them on. You might want to wait until the glue drys but you can start gluing on the pencil shavings as if they were the leaves on the tree.

I made a tree beforehand to show it to the kids. Little L got interested, but E. didn’t. So a few days later we made Little L’s tree too.

My tree was made at the beginning of autumn, but hers was made when the trees were losing their leaves. You can see some leaves are falling down, there are quite a lot on the ground and the banches are getting bare.

Haunted Castle

There was a craze online about haunted castles made out of toilet paper tubes right before Halloween. I got carried away with the idea and I planned and prepared to do it with the kids. Well, Mommy plans it and the kids think differently.

At the beginning E. and L. were interested and helped me paint the base green (a piece of cardboard box) and the tubes black. (We used a big paper towel tube and 6 toilet paper tubes, but you can make it bigger if you use more). Between the ground floor and the 1st floor towers I cut some black cardboard piece (It came with some socks and thank goodness I save everything ’cause it’ll be good for something)

The weather was kind to us and we could sit outside to do the messy work.

Then we needed to wait until the paint dried, so we went to have lunch and after that the girls got crazy. Therefore I needed to finish most of the castle by myself.

I drew a big door in the middle at the bottom, some windows, some bricks and a climbing rose. I cut the door and a window open so we could place led tealight in them but I’d found only pumpkin-shaped tealights which couldn’t fit in the window only through the door.

I used a hot gluegun to stick all the parts together.

Anyways, finally I added the rooftop. As I had no black cardboard the kids (who joined me towards the end) chose orange. I cut out a circle and formed a cone out of it. Then the kids placed the little fun details around and into the castle: black cats, bats, ghosts, pumpkins and jack-o-lanterns to make it even spookier.

The castle served as a great place to role-play some spooky stories with the props. Mainly Little L enjoyed and played with it in English adding more characters like skeletons and spiders.

I suppose I’ll save it for next year so we can have some more spoky fun with it.

Happy Halloween!

Leaf sihlouette crayon craft

The colours of autumn are magnificent and I wanted to bring them inside the house. Little L rather stayed outside with Daddy but E. and I sat down to create some beautiful autumn trees with a special technique.

First I folded and cut out leaf shapes, then E. added colours onto the edges with crayons.

After having drawn a trunk and some bare branches we placed the leaf temples on the sheet randomly and smudged the colours onto the paper with our fingertips. (Advice: use a different finger -or thumb- with every colour or you’ll mix them.)

It’s not an easy task and the crayon colour is not so vivid after the smudging. However, the result is pretty.

We were talking about what special colours could be seen on leaves after the chlorophyll dispaears from them. So on E’s tree there are some pink, purple and blue ones too.

We clearly had some fun time just the two of us, which happens very rarely nowadays, so this art project was special mum-and-daughter time.

Shredded leaves picture

Our garden is full of colourful leaves. We are raking them, jumping into them, make leaf angels, throwing them up in the air. Plus, we made some autumn pictures with the help of them. Here they are:

I collected and dried some leaves beforehand. When they were dry, I shredded them into small pieces by hand. You can do it with the kids. As Little L.’s attention span is still very short (she’s just 3.5) I knew shredding would have been all she could have been involved and the creative part of the activity would have been lost, so I did the shredding myself. It’s a nice sensory activity and the shreds can also serve as a great basis for a sensory box.

Later on 2 trays I prepared for them 3 motives drawn by pencil, liquid glue and a bowl of shredded leaves.

20191021_165103

First, they traced the outline of the image with the glue then sprinkled it with the shreds.

20191021_165404

To finish with, we let the exceed shreds fall of the picture. And there you can see a beautiful autumn picture.

Surprisingly, Little L. was great at tracing the outlines. I wasn’t surprised at E.’s fantastic tracing. Applying the right amount of glue needed a lot of concentration.

20191021_16560520191021_165914

When they’d finished with my pictures, they started to make their own. 

This slideshow requires JavaScript.

E. made a tree with falling leaves, a flower and fruit.

20191021_172059

L. was working on a plum and a car (I guess).

I myself joined in and made our cat.

20191021_172956

This was the time when they lost interest, but I could encourage them to make a last one with their hands. The girls really liked the idea and the final outcome.

20191021_172857_

This activity involved a lot of English interactions: autumn vocabulary (leaves, colours, autumn fruits), fine motor skill development (tracing with glue and sprinkling shredded leaves), giving and following instructions and artistic creativity. Not to mention fun, fun, fun.

Autumn door wreath

We’ve been collecting autumn leaves ever since the first on hit the ground. We’ve been carrying them home and pressing them in books. I didn’t know what to do with them until a friend of mine sent me a beautiful autumn wreath she made with her daughter.

Next to the entrance door we keep a tray where the kids can put down whatever they collected outside. There are different fruits of trees and berries from bushes, sticks, leaves, nuts and conkers. Finally we put them into good use.

20181120_171425

What you need:

  • paper plate
  • leaves and other autumn fruit
  • scissors
  • glue
  • ribbon

How we did it:

  1. We cut out the inside of the paper plate. I did it for Little L. although she tried the cutting herself. E. cut her own, I just made the final touches20181120_171724
  2. The girls stuck on a few leaves. In the meantime we were talking about the colours and how dry they got. We even felt the veins on the back of the leaves.

    On one of which we found tiny, dry eggs of a bug. We were guessing what bug it could be. To E.’s delight they were probably shield bug eggs.

    20181120_165748.jpg

  3. After the leaves came the berries and other fruits. At this point I took out my hot glue gun. I applied the glue where they wanted and very carefully they places the berries and nuts on the paper plate.20181120_170955
  4. Last, but not least we added the ribbon to the back so we can hang it on the door. (E was afraid of the hot glue so she used a stick to fix the ribbon)20181120_173542

One wreath is on the inside and the other is on the outside. I change them every other day.

20181120_173722

Are your kids collectors when they’re outside?