Pumpkin decoration

This year I wanted an easier pumpkin decoration than carving as my little one (almost 3) would love to work with the knife to crave and cut, however, I wouldn’t want her to.

As the girls love tattoos I though it would be great to apply some tattoos on pumpkins. Finding spooky spider tattoos for pumpkins in the Flying Tiger shop was real lucky.

DSC04782

The girls started the decoration with washing and drying their own pumpkins.

DSC04787.JPG

Then the decoration could start. We applied the tattoos and used a permanent marker to draw it scary face. While doing so we were singing Halloween songs like: Pumpkin pumpkin let’s give you some eyes or Can you make a happy face?

DSC04801DSC04797

In the tattoo set there were some shiny crystal-like stickers and silver/black paint pens. Of course, we needed to try them all.

DSC04831

DSC04830

Finally, E. found her pumpkin a little too over decorated but I loved her drawings and creative patterns. Her pumpkin even said Hello 🙂 it was a great crafty Halloween activity that both my 6- and almost 3-year-old could actively take part in.

5 little pumpkins

We have tons of Halloween activities , decorations and tiny figures to play with but I wanted to make something new to the girls. As E. loves the rhyme/song 5 little pumpkins I decided to make something in connection with it.:

5-Little-Pumpkins

What you need:

  • 9 popsicle sticks
  • 5 felt pumpkins or jack-o-lanterns
  • glue
  • marker
  • self-adhesive Velcro (or small wooden clothes pegs – this would have been too difficult for little L. to handle so I went for the Velcro to fix the pumpkins on the popsicle sticks)

20171023_152110.jpg

How to make it:

  1. I put 5 popsicle sticks next to each other vertically
  2. I glued 2 popsicle sticks on them horizontally
  3. I repeated step 2 on the other side then let it dry for an hour
  4. I put the Velcro on the back of the pumpkins and on the top of the 5 popsicle stick (it’s better to put the rough part of the Velcro on the sticks and the soft ones on the pumpkins)
  5. I drew Jack-o-lantern faces on the pumpkins
  6. (optional) I wrote the title of the poem on the gate
20171023_153032
E.’s favourite doggie dressed as a pumpkin

The fun could begin. Both girls enjoyed playing with it. E. was chanting the rhyme. L. was taking the pumpkins off and putting them back on, plus she counted them from 1 to 5.

20171023_153138

20171023_153041


While L. was sitting on the potty and we were playing with the pumpkins on the gate L. was trying to say the poem with me 🙂 A few word she got right like: late,  care, fun, run, lights, pumpkin

E. replaced the pumpkins with some felt bats.

20171023_153347_.jpg

There’s more fun to come with the pumpkins on the gate… I’m sure.


Baking and reading (with recipe)

We’ve been cooking and baking with E. a lot ever since she could sit on the kitchen counter safely. (Check out my housework fun or Christmas gingerbread baking blog posts on our cokking adventures)

This week one day there was one of the rare occasions that L. (E.’s baby sister) was not sleeping in a sling on me so I managed to put her down and I could prepare a baking activity for E. while she was at the nursery.

As E. is familiar with the alphabet (check out this post on the alphabet activities and other ABC posts) and quite a lot of sight words (I haven’t written about it separately but I should) and E. has been handling picture and story books since she was born, it is no problem for her to recognise/read certain words.

I wanted to expand her knowledge of recognising words in a fun way.

Here is our oat and pumpkin cookie baking and reading fun:

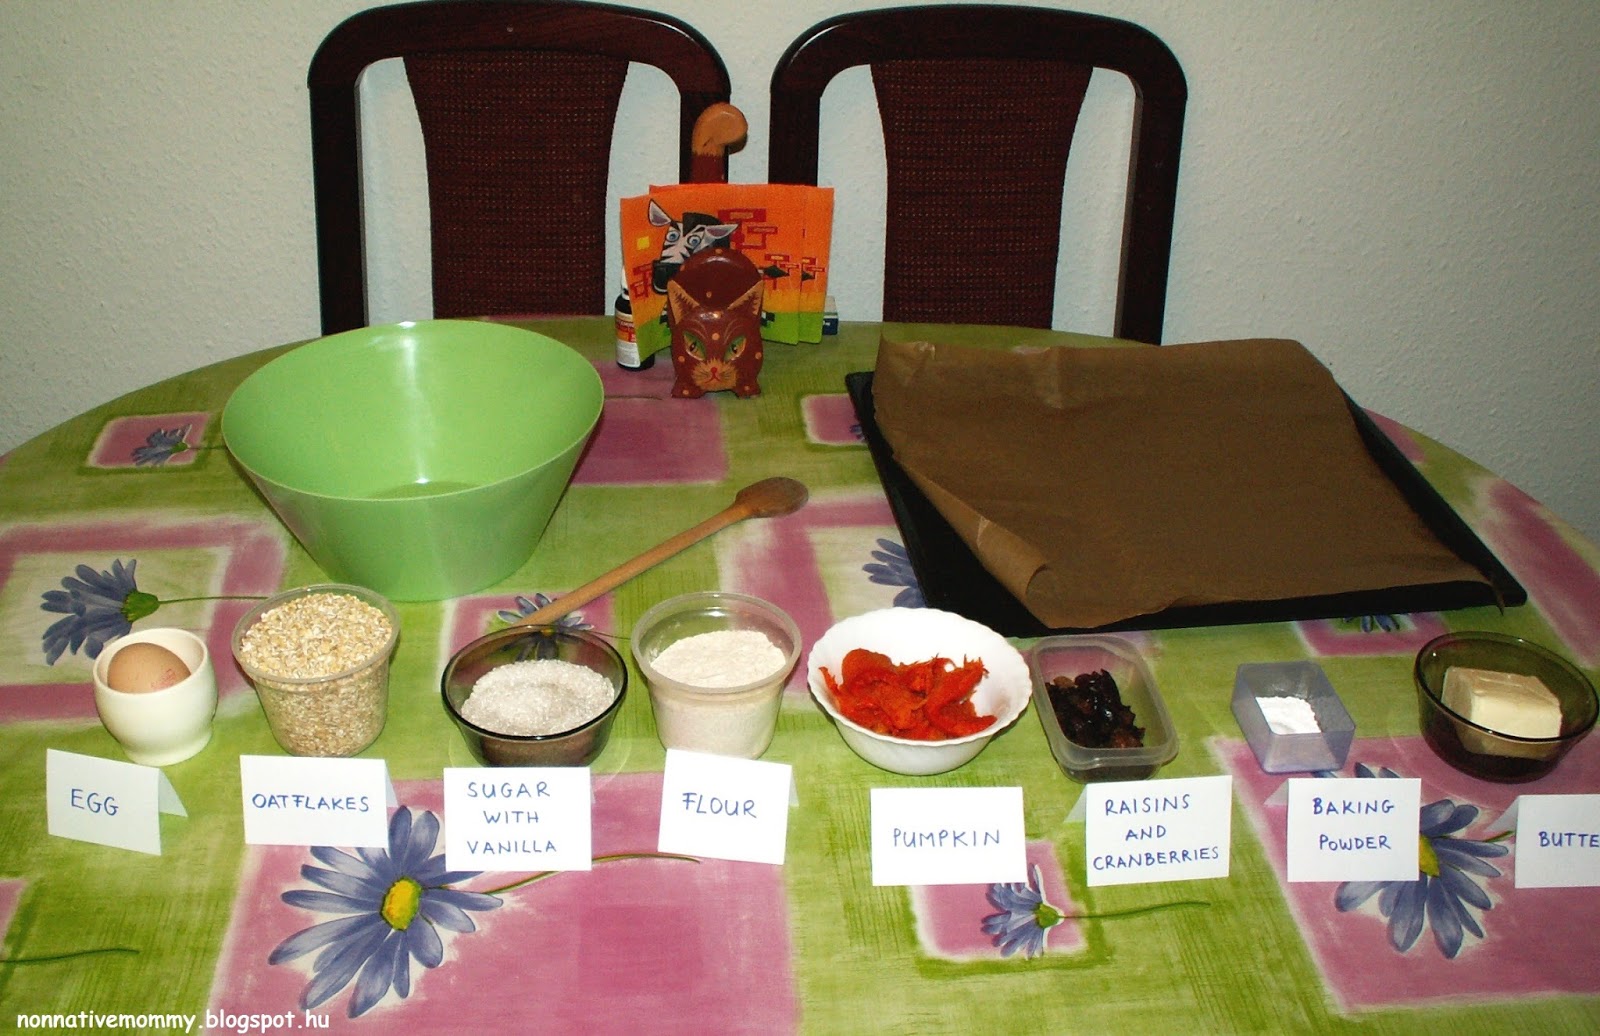
I prepared everything beforehand (maybe next time it’ll be a measuring activity, when SHE can prepare all the ingredients).

Whoops… the R is missing from “butter” – sorry about the poor photo

Ingredients:

  • 150 g oat flakes
  • 100 g flour (I used oat and wholemeal flour mixed)
  • 100 g sugar (I use Xylitol)
  • 100 g butter or margarine
  • 120 g pumpkin purée (pre-baked)
  • 1 teaspoonful of baking powder
  • 1 egg

    optional: 

  • 5 g dried fruit of any kind (I use cranberries and raisins but you can add chocolate chips too)
  • vanilla extract
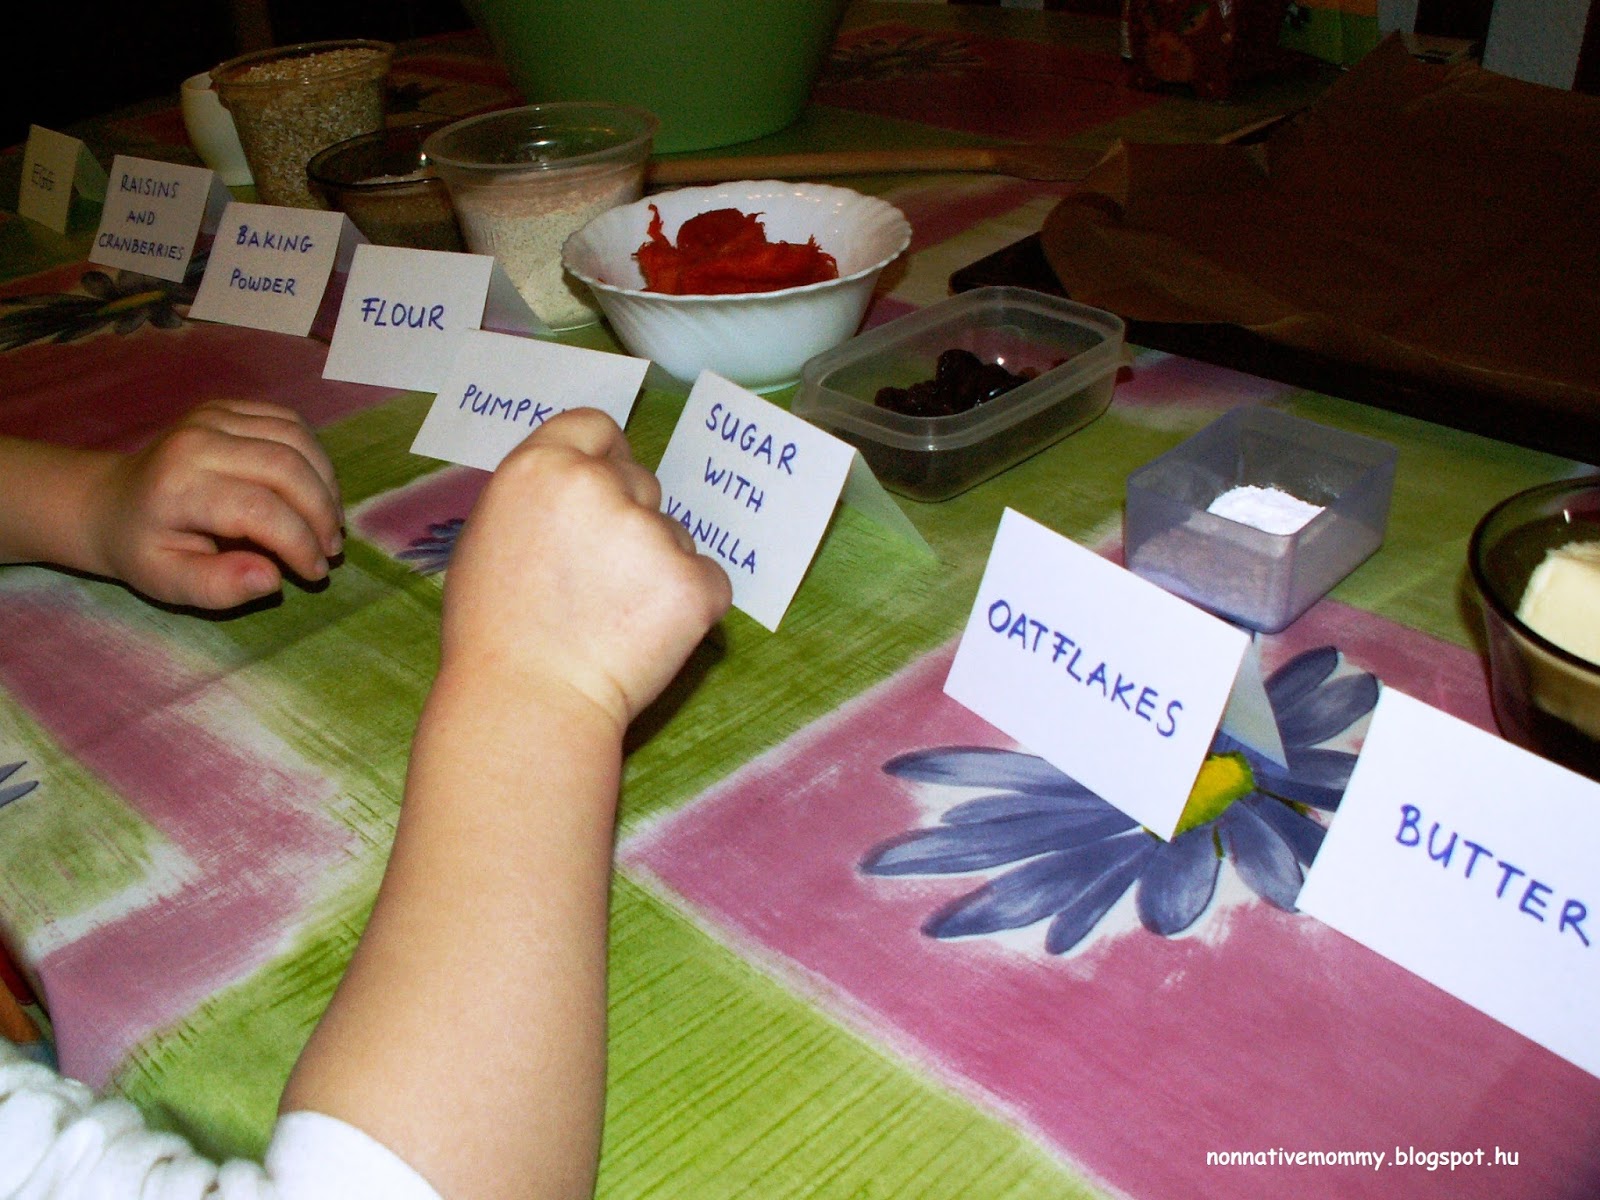
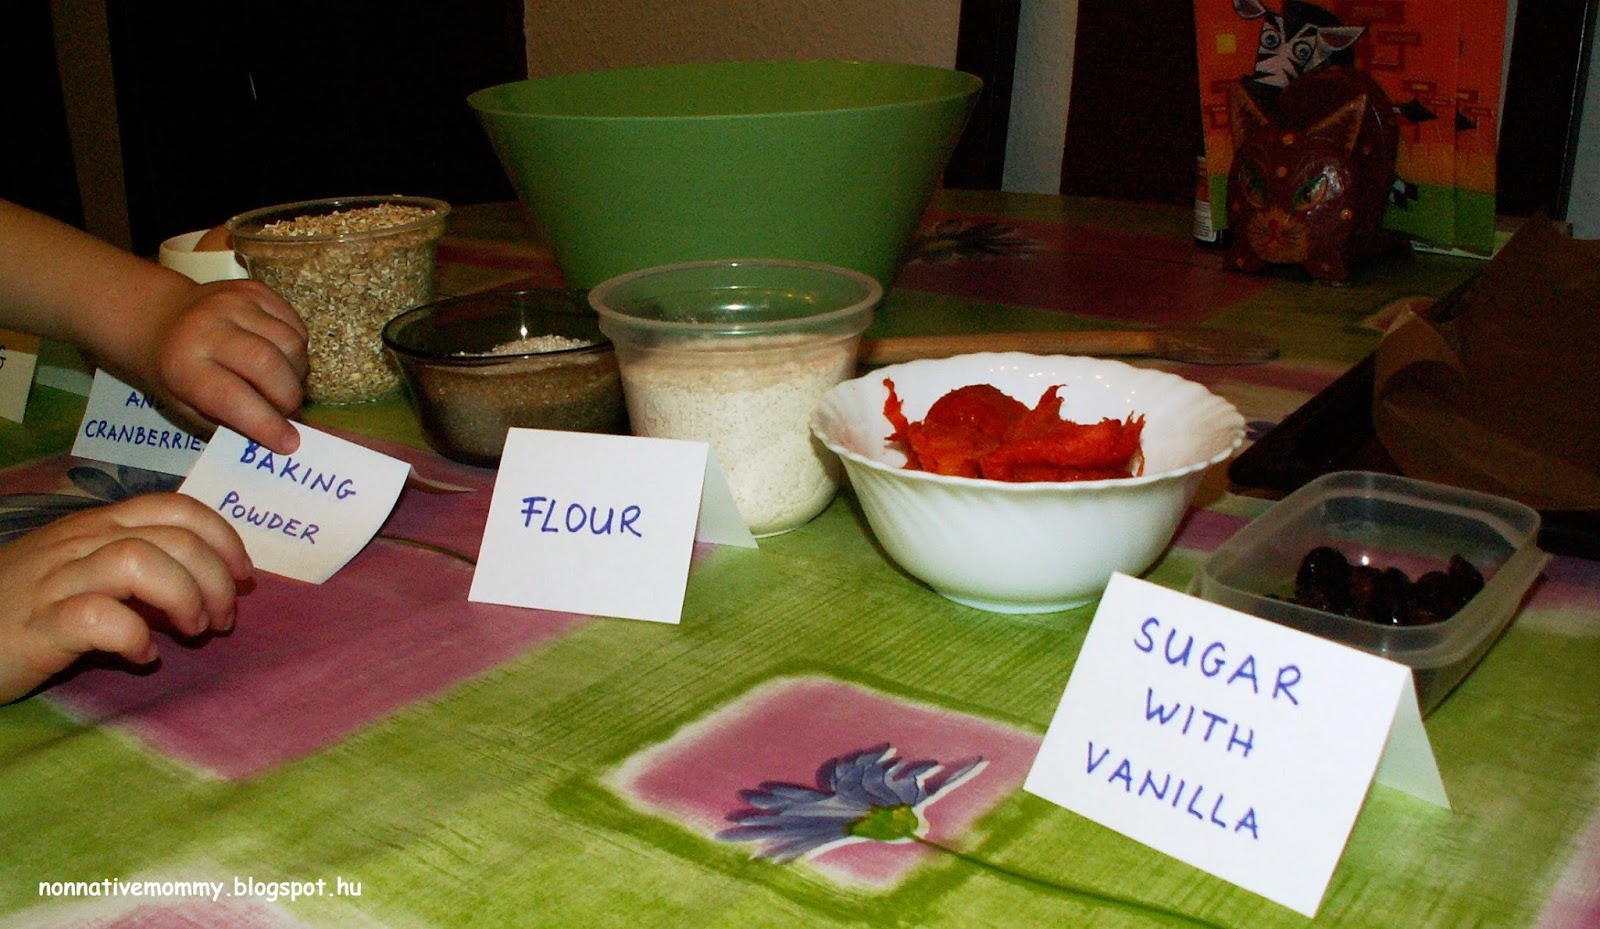
I made little cards for her to read and I placed them in front of each bowl. The twist was I mixed them up before she started the activity. 
First, she needed to swap the cards around to place them in front of the right bowl.

After that she cracked the egg.

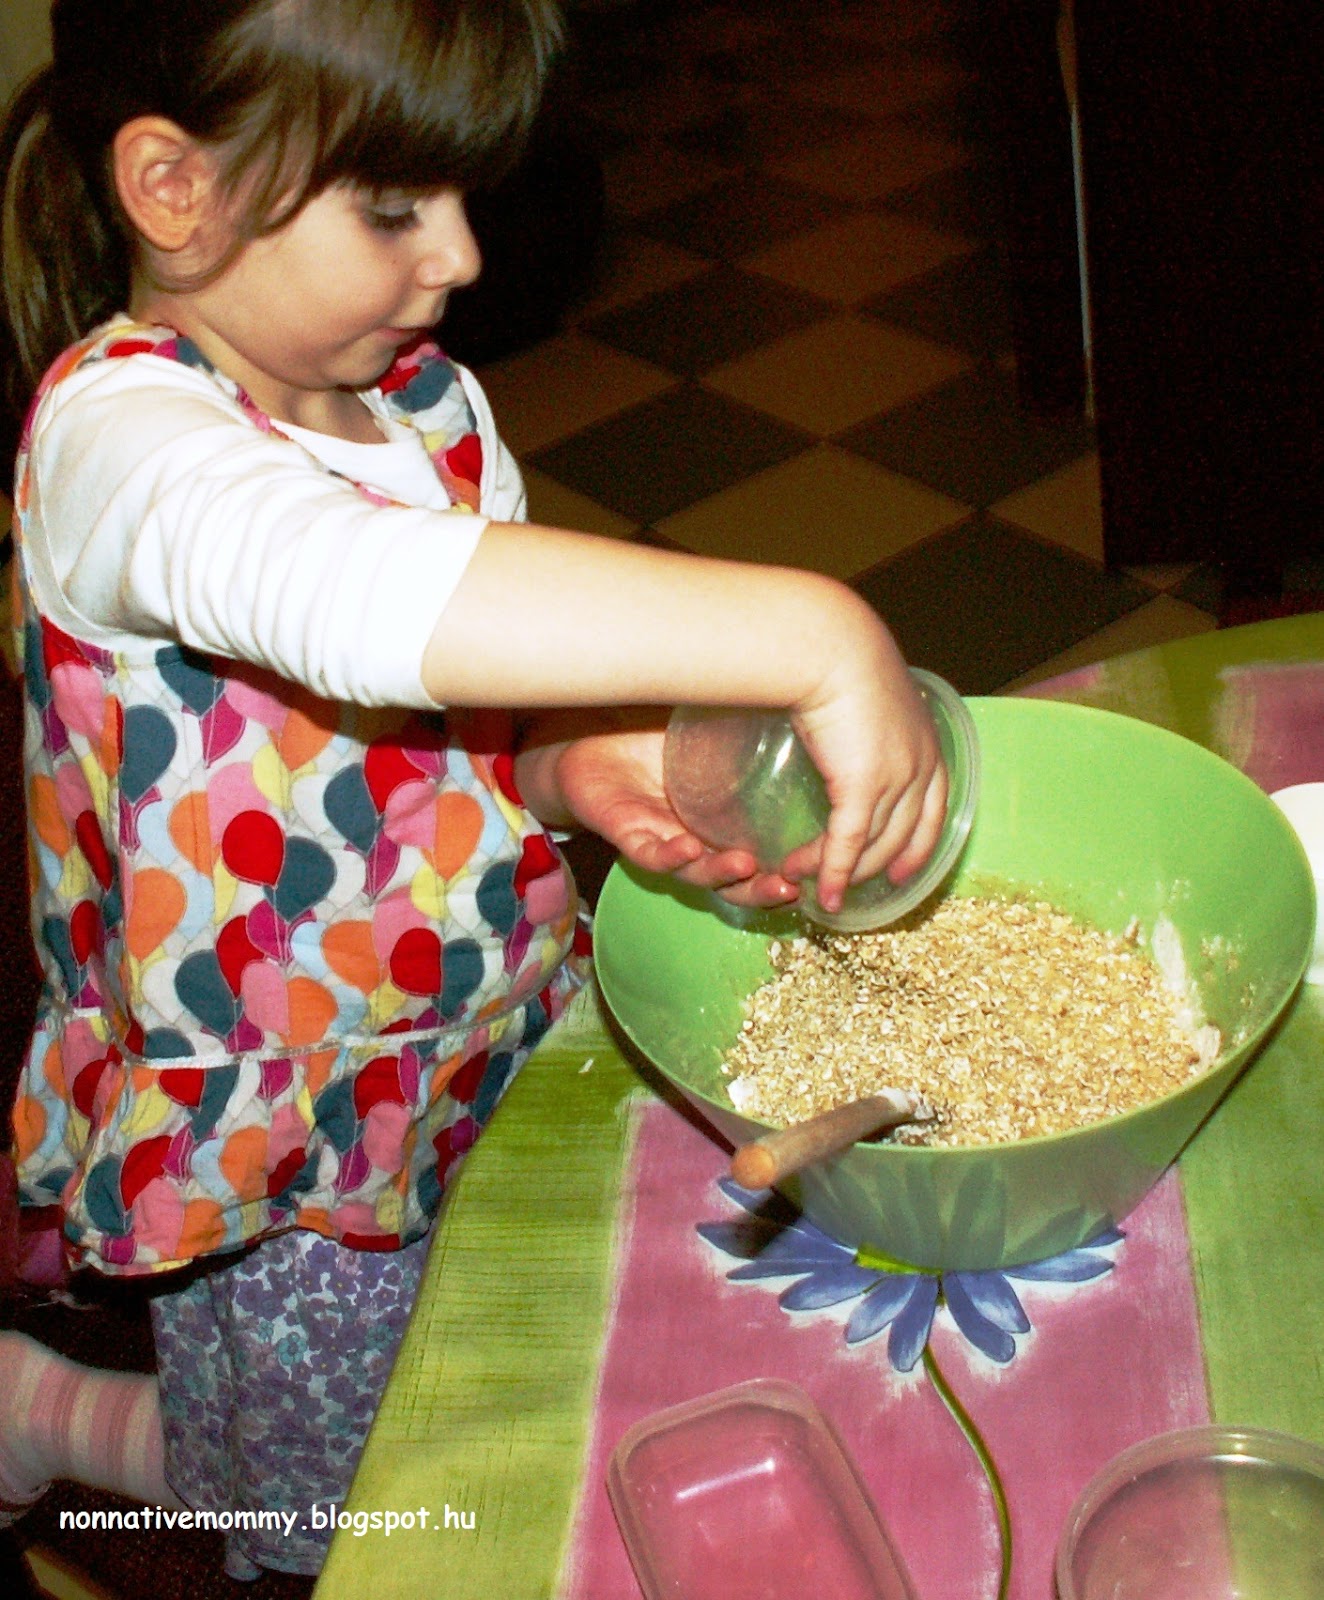
Then the mixing could start. She added everything in a big bowl. I asked her to report me what she was doing as in a cooking show.
– I’m putting the flour in.
– Now comes the butter.

After all this, I made little balls out of the mixture (she doesn’t like to dirty her hands) and placed them on a tray covered with baking paper. Finally, I managed to convince her to flatten the balls with her fingers and palm.

It was a lovely treat after dinner time and we practised a lot of English. (Unfortunately the cookies were gone so quickly I couldn’t take a photo of them)

Do you cook or bake with your little one(s)? Let me know what in the comments.

Jack-o-lantern emotions – FREE printable

Last October was all about skeletons (this topic is still on and off) but this year E. has found her new favourite Halloween character: the Jack-o-lantern.


Jack-o-lantern Feelings


I made this printable with 6 kinds of different emotions:
  • happy
  • sad
  • angry
  • surprised
  • cheeky
  • scared
You can find this printable at the end of this blog post.
matching the words

I’ve also made word cards to it in the end, but the picture above shows these little pieces of felt (scrap) and the feelings written on them (with a permanent marker)

What you can do with these cards:
matching the faces
  1. Match the picture and the words
  2. Match the faces/emotions which are the same
  3. Play a memory game with 2 sets
  4. Place one set face down on the table. The players choose a card and don’t show it to anyone, then make a face expressing that feeling. The other players need to find out what feeling it is.
  5. (With bigger kids) Place one set face down on the table. The first player picks up a card and says I feel this when… and need to finish the sentence
  6. Identify body parts on the face (eyes, eye brows, nose, mouth)
  7. Identify shapes on the faces (This mouth is an oval, The eyes are circles. Can you show me a crescent mouth? What shape is this nose?)
So here is the printable. I hope you’ll find it useful:

Jack-o-lantern faces with shapes

Everything centres around pumpkins and Jack-o-lanterns. It seems a never ending story. However, we could revise some shape vocabulary while making Jack-o-lanterns.

If you want to prepare this activity you just need:

  • thicker orange felt (or card board – the felt gives another interesting feel of it)
  • black construction paper or cardboard or more felt (for the shapes)
  • green construction paper (for the leaves)
  • brown cardboard (for the stem)
  • hot glue gun (or other glue)
  • scissors
Preparation:

  1.  Draw and cut out the pumpkins from the orange felt (I didn’t use a template, just drew 3 similar pumpkin shapes on the felt – I used a dark orange marker – then I cut along the lines)
  2. Out of the brown cardboard (which was actually an old postal box) I cut out 3 stems.
  3. I couldn’t find green construction paper at home so I used some scrap wrapping paper to cut out the leaves.
  4. I glued the stem and the leaf on the back side of the orange felt pumpkin 
  5. I printed shapes for the eyes, nose and mouths for our Jack-o-lanterns. (Click on the link to find the printable) I copied the picture above in a word document and made it size A4. After having printed it (I can’t print on construction paper) I attached it to black construction paper and cut them out (it takes a while but it’s worth the trouble)
  6. I placed everything in a big envelope and presented to my sweetheart.

Of course, she needed to wear her Jack-o-lantern costume

While she was placing the shapes, she named them. We also matched the same shapes. And talked about feelings expressed by certain mouth forms. (Another post is coming on emotions and pumpkins)

We did this activity again… and again… and again…