Autumn door wreath

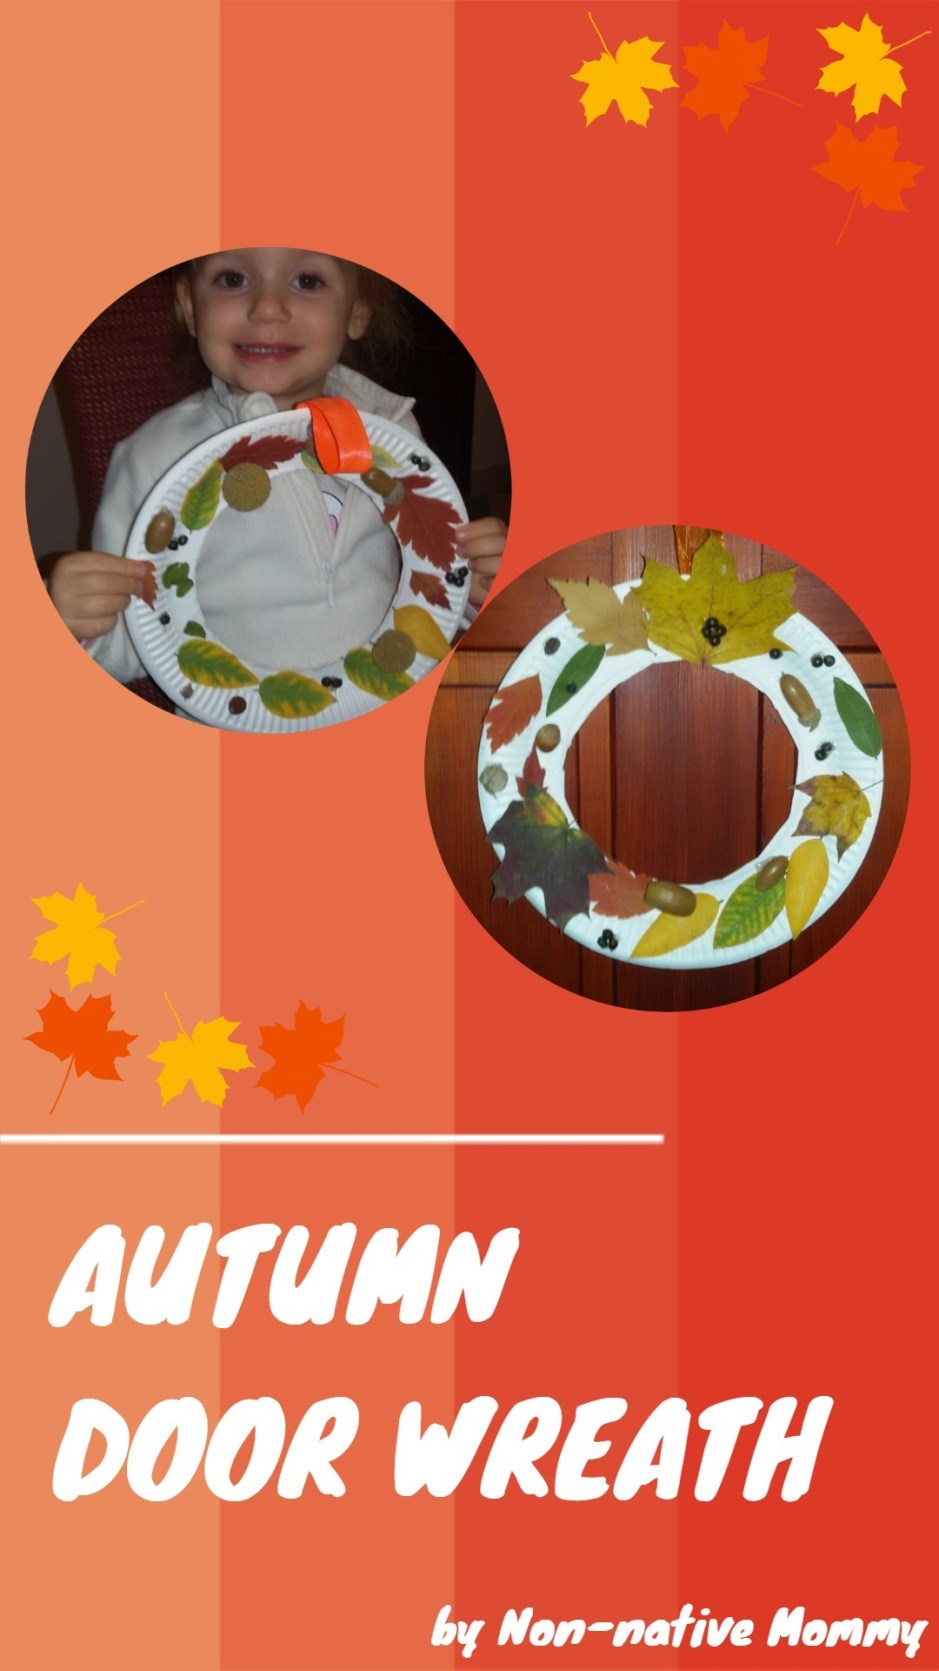
We’ve been collecting autumn leaves ever since the first on hit the ground. We’ve been carrying them home and pressing them in books. I didn’t know what to do with them until a friend of mine sent me a beautiful autumn wreath she made with her daughter.

Next to the entrance door we keep a tray where the kids can put down whatever they collected outside. There are different fruits of trees and berries from bushes, sticks, leaves, nuts and conkers. Finally we put them into good use.

20181120_171425

What you need:

  • paper plate
  • leaves and other autumn fruit
  • scissors
  • glue
  • ribbon

How we did it:

  1. We cut out the inside of the paper plate. I did it for Little L. although she tried the cutting herself. E. cut her own, I just made the final touches20181120_171724
  2. The girls stuck on a few leaves. In the meantime we were talking about the colours and how dry they got. We even felt the veins on the back of the leaves.

    On one of which we found tiny, dry eggs of a bug. We were guessing what bug it could be. To E.’s delight they were probably shield bug eggs.

    20181120_165748.jpg

  3. After the leaves came the berries and other fruits. At this point I took out my hot glue gun. I applied the glue where they wanted and very carefully they places the berries and nuts on the paper plate.20181120_170955
  4. Last, but not least we added the ribbon to the back so we can hang it on the door. (E was afraid of the hot glue so she used a stick to fix the ribbon)20181120_173542

One wreath is on the inside and the other is on the outside. I change them every other day.

20181120_173722

Are your kids collectors when they’re outside?

Felt hand-tree

Autumn’s all about colours. This colour-matching activity has stuck into my mind and I’ve been planning to make it for years. Very easy even if you can’t really sew like me.

What you need:

  • coloured felt (brown, red, orange, yellow, green
  • buttons (of the same colours)
  • thread and needle
  • scissors
  • marker

How you can create it:

  1. First draw your hand around on the brown felt sheet and cut it out. This will be the tree
  2. Sew the button on the finger tips and thumb
  3. Draw a simple leaf on different coloured felt and cut them out. You can decorate them with the marker (draw the veins)
  4. Fold the leaves half vertically and cut a hole in the middle.

How to play:

Give your child the leaves and the tree-hand. Their task is to button the leaves up on the tree branches. They need to match the right leaf to the right button.

DSC04759

This activity is great for kindergarteners who need practice doing up their buttons a lot.


In the meantime you can identify colours, talk about movements how to push the button through the hole.

Little L had a harder time at the beginning and needed some help with the first 2 leaves. But after that she did it all by herself.

They can take off the leaves and sing Autumn leaves are falling down.

Have a colourful autumn!

DSC04775

Pompom run

I had to cook. Little L. wanted to play with me. Challenge accepted.

I took out some kitchen roll tubes and toilet paper tubes, which I’d been storing for a loooong time so we can play with them some day, and made a very quick, ugly but functional pompom run.

DSC01529

I cooked and she played in the kitchen, sometimes I joined in too. Everybody was happy.

DSC01534

I wasn’t considering how great it is from language point of view. While she was making the pompoms run she was identifying their colours.

-T his one is yellow. And this is red. Look, mommy the black one is spiky.

Then she compared their sizes:

– This is small. Look, Mommy a big pompom.

In the afternoon my big girl (almost 6) came home and started playing with it using a pair of tongs. She added some more pieces of tube to the pompom run to boot. (It was difficult for her to cut the hard cardboard.)

DSC01544


DSC01548
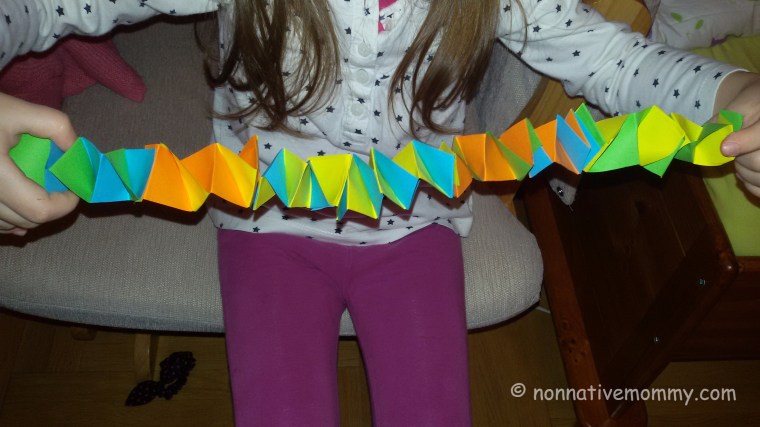
She was playing with it for half an hour.

It’s still on the fridge and I keep the pompom close by. They can play with it whenever they want to. And they often want to.

The best is it took 5 minutes to make it. Of course, you can spend more time on it, painting the tubes, decorating it with stickers together with the kids, making more interesting and more exciting ways, use it for addition, etc.

But simple is beautiful 😉

Feelings and emotions

E. has always had difficulties expressing, then later on naming, emotions. Probably, I’m not helping her much as it isn’t easy for me to express emotions so that others can understand it easily.

I’ve tried talking about feelings with her, or identify emotions in different situations but she wasn’t interested, she wasn’t ready to discuss such issues.

But now the time has come. She’s been watching this video for a while and she’s been talking about it ever since. The most frequent question in our home lately is: – Mommy, how do you feel now?

So I’ve made this ad hoc activity on the basis of the character in the video (a rabbit). Hopefully I’ll have time to make a digital version of it and make it available for you to use with your little ones. I have to admit I can’t draw…

20170226_162612_20170226_162646_


The activities are not only the traditional matching ones. I wanted to make them more fun and help E. be able to focus on them for a longer time. (there were 5 pages altogether)

Apart from “match with a line”, she needed to colour, use building blocks, copying, drawing symbols to match the faces and the emotions.

20170226_17005720170226_165253

20170226_163831

Towards the end (4th and 5th pages) the emotions become more and more difficult to identify.

On the way of doing this task we were talking about when we feel in certain ways. She also added some really good examples:

I feel angry when water friends don’t do what I say.

I’m frustrated when I can’t put on my boots.

We’ve reached a very important topic. We must talk about emotions in Hungarian, too. I never make activities that have anything to do translations. I hardly ever draw a parallel between English and Hungarian, but this time I definitely will. Stay tuned, there will be more on feelings and emotions.

Carnival decorations – garlands

February has come and we are preparing for the carnival (“Farsang” in Hungarian). Although E. keeps telling me it’s not carnival but one of her water friends’ birthday party decorations, I guess we can call these simple paper decor carnival decorations as well.

What you need is

  • coloured paper
  • scissors
  • glue (stick)

Ring garland:

Cut strips of paper. Make a ring (glue the two ends together) and make the next ring so it goes through the first. 20170201_1346401

Continue until you’ll get a long garland:

20170201_1608481

Square garland:

20170130_180531

Again cut strips of coloured paper (I used A/4 sized paper but the longer the better). Glue two different colour strips together so they form an L shape. Then all you need to do is fold the strips on top of each other. If you run out of paper strips you can glue on some more.

20170130_1733081

20170130_1733141

We made both creations in 2 languages as we were working on them for several days. In English we revised the shapes, like rectangle, square and circle and colours. We also used vocabulary like glue, fold, cut, join, hang and decorate just to mention a few.

I’ll come back with a fan kind of decor. The stapler was in great use when we made it. Stay tuned.