Shape witch reloaded

As I was going through the old Halloween blog posts I found the shape witch activity which was so much fun even when E. was only 2 and a half years old. I told her all about it and she got really excited. She wanted to make the shape witch again.

So be it. I though we could involve little L. as well since she’s almost 2 and she loves shapes.

With 2 kids craft projects are challenging indeed hence I prepared the activity by the time our new nanny, N. came to us for a session with E.

20171024_165751

I pre-cut the shapes and presented them on a tray. I left some for E. to cut if she wished and she did, of course. She loves cutting.

20171024_170141

Both kids enjoyed the witch building from shapes.

20171024_170357 (2)

L. was fascinated by the glue so after having finished with the witch we stayed a little longer to glue on some shapes randomly. We were practising both shapes and colours, not to mention how well this pushing motion helps to strengthen hand muscles.

20171024_171159

And here are the final results:

20171024_191346
Little L.’s creation
20171024_191342
E.’s witch is on the left, N.’s witch is on the right


Shape board for toddlers

The time has come when Little L. started to have great interest in shapes.

She enjoys playing with the shape sorting cube or the Tomy’s shape and colour sorting eggs:

Her favourite shapes (the ones that she can also say):

  • star
  • crescent moon
  • circle
  • heart (although she always says “szívecske” in Hungarian in the first place)

So I made a shape board for her with some basic shapes and, of course, her favourites.

What you need:

  • a bigger piece of cardboard (mine is a side of a big box)
  • sticky Velcro
  • felt and/or foam sheets
  • shape template (if you can’t draw like me)
  • scissors
  • black marker
  • envelope (optional)
  • If you have an elder child, they can also help with the preparation (mine was too busy watching Alphablocks I wouldn’t have disturbed her for all the world.

How to make it:

20170903_115921

  1. I cut out the template shapes printed from the internet.
  2. I drew the shapes on the cardboard (add strong contours with a thick-tip black marker), then on foam and felt pieces.
  3. I cut out the shapes from felt and foam.
  4. I stuck the velcro on the shapes and on the cardboard (in the middle of the shapes).
  5. I glued an envelope on the back where we can store the shapes when we’re not playing with them.20170903_115817

Ever since I finished it she’s been loving to play with it.

20170903_115953
Checking the rough surface of the Velcro
20170903_120008
Starting the matching
20170903_120118
Busy working

Finished!

20170903_120301

If you want to read about what other shape activities we do or did with E. when she was a little toddler checki it our on the link above.

Jack-o-lantern emotions – FREE printable

Last October was all about skeletons (this topic is still on and off) but this year E. has found her new favourite Halloween character: the Jack-o-lantern.


Jack-o-lantern Feelings


I made this printable with 6 kinds of different emotions:
  • happy
  • sad
  • angry
  • surprised
  • cheeky
  • scared
You can find this printable at the end of this blog post.
matching the words

I’ve also made word cards to it in the end, but the picture above shows these little pieces of felt (scrap) and the feelings written on them (with a permanent marker)

What you can do with these cards:
matching the faces
  1. Match the picture and the words
  2. Match the faces/emotions which are the same
  3. Play a memory game with 2 sets
  4. Place one set face down on the table. The players choose a card and don’t show it to anyone, then make a face expressing that feeling. The other players need to find out what feeling it is.
  5. (With bigger kids) Place one set face down on the table. The first player picks up a card and says I feel this when… and need to finish the sentence
  6. Identify body parts on the face (eyes, eye brows, nose, mouth)
  7. Identify shapes on the faces (This mouth is an oval, The eyes are circles. Can you show me a crescent mouth? What shape is this nose?)
So here is the printable. I hope you’ll find it useful:

Jack-o-lantern faces with shapes

Everything centres around pumpkins and Jack-o-lanterns. It seems a never ending story. However, we could revise some shape vocabulary while making Jack-o-lanterns.

If you want to prepare this activity you just need:

  • thicker orange felt (or card board – the felt gives another interesting feel of it)
  • black construction paper or cardboard or more felt (for the shapes)
  • green construction paper (for the leaves)
  • brown cardboard (for the stem)
  • hot glue gun (or other glue)
  • scissors
Preparation:

  1.  Draw and cut out the pumpkins from the orange felt (I didn’t use a template, just drew 3 similar pumpkin shapes on the felt – I used a dark orange marker – then I cut along the lines)
  2. Out of the brown cardboard (which was actually an old postal box) I cut out 3 stems.
  3. I couldn’t find green construction paper at home so I used some scrap wrapping paper to cut out the leaves.
  4. I glued the stem and the leaf on the back side of the orange felt pumpkin 
  5. I printed shapes for the eyes, nose and mouths for our Jack-o-lanterns. (Click on the link to find the printable) I copied the picture above in a word document and made it size A4. After having printed it (I can’t print on construction paper) I attached it to black construction paper and cut them out (it takes a while but it’s worth the trouble)
  6. I placed everything in a big envelope and presented to my sweetheart.

Of course, she needed to wear her Jack-o-lantern costume

While she was placing the shapes, she named them. We also matched the same shapes. And talked about feelings expressed by certain mouth forms. (Another post is coming on emotions and pumpkins)

We did this activity again… and again… and again…

An apple a day…

… keeps the doctor away.

Although we had a week having fun with all kinds of apple games and activities (including the study of an apple) we couldn’t avoid being ill again. Anyway, here is a collection of apple fun we’ve done lately.

I’ve found a great number of apple activities online but I fell in love with the free printables by 3dinosaurs’ Apple Pack. This set contains 60 (!) pages of apple activities up to the age of 8-9. Wow! What a great collection! I’ve just selected a few games that would suit my 3-year old. Thank you, 3dinosaurs for this excellent Apple Pack.

Here is an insight what you could find in the pack:

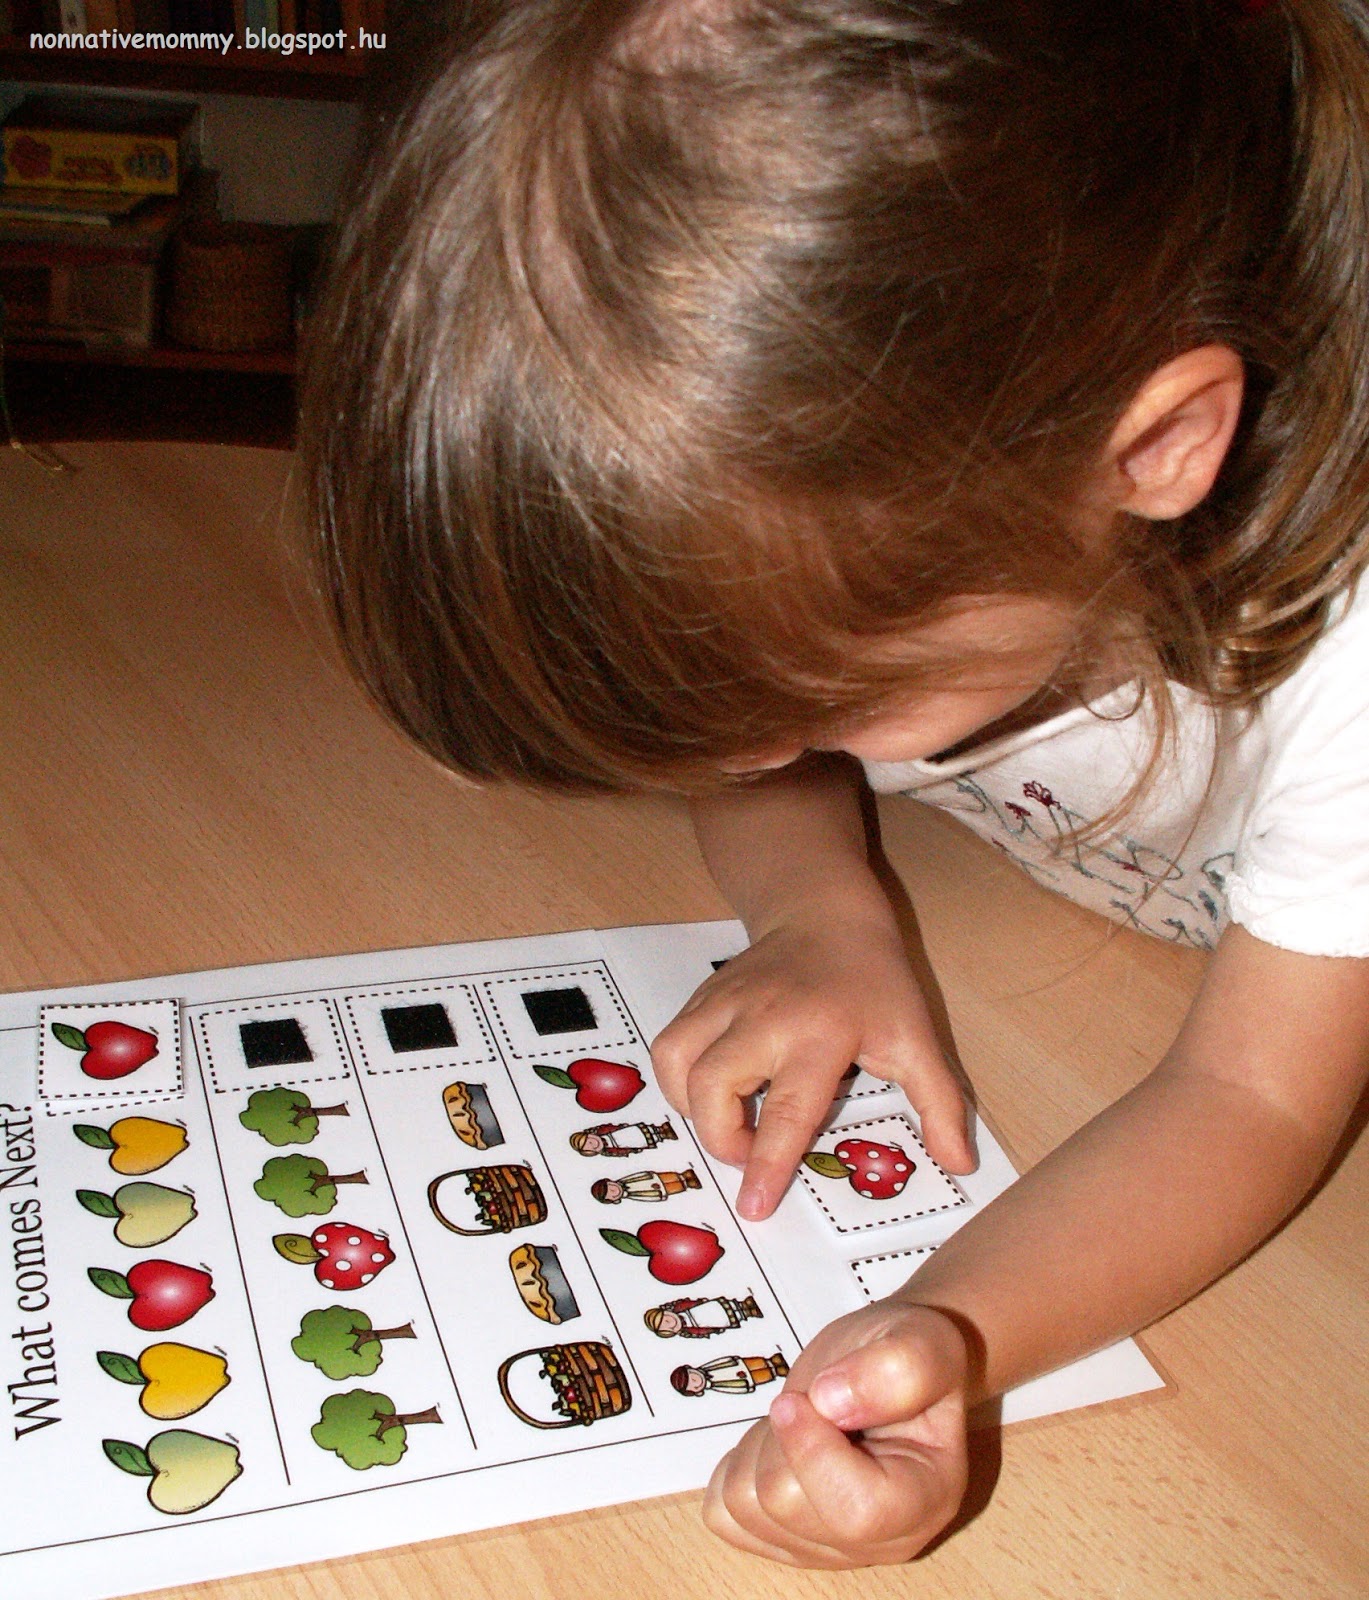
  • What comes next? Patterning activity. I brushed it up a little with Velcro


“The spotty apple is coming now”
  •  Which one is different? Your child needs to find and circle (or put a manipulative on) the odd one out in the row


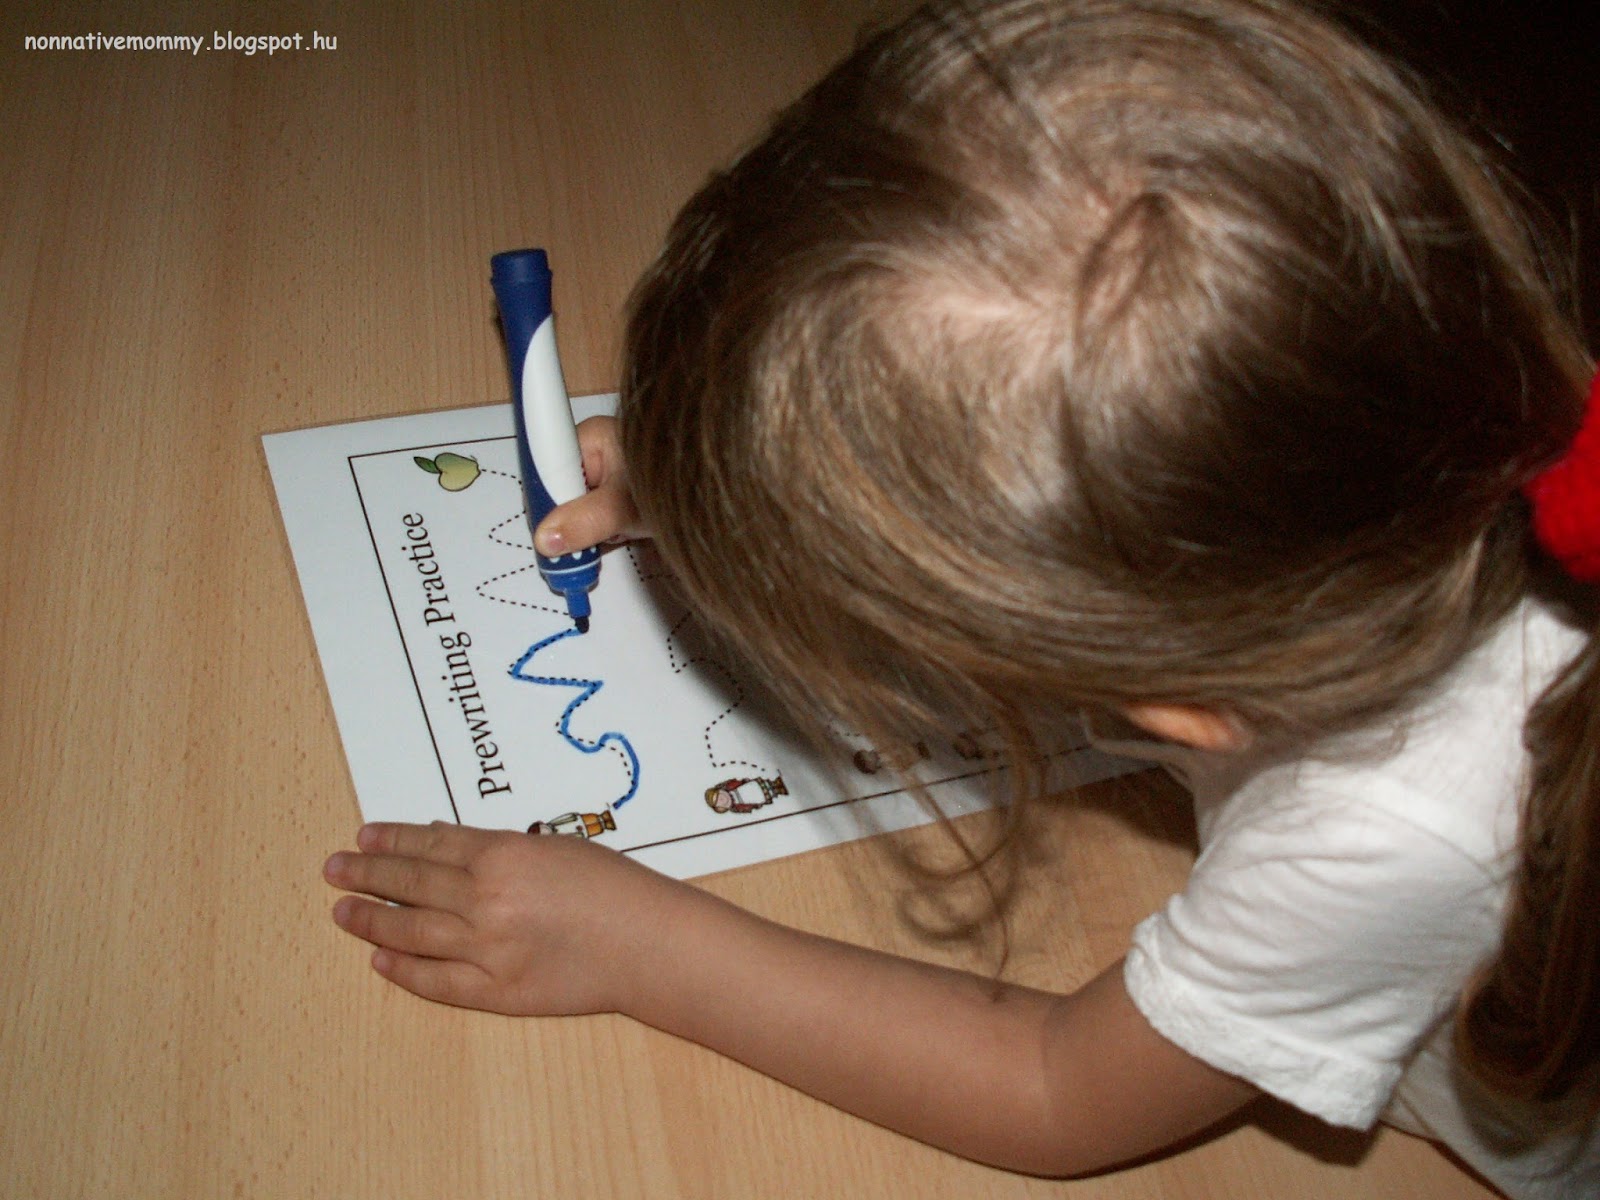
  • Pre-writing practice. We tried the easier sheet (laminated so we can reuse them).
Easy-peasy lemon squeezy

But the harder one seemed a little bit too challenging

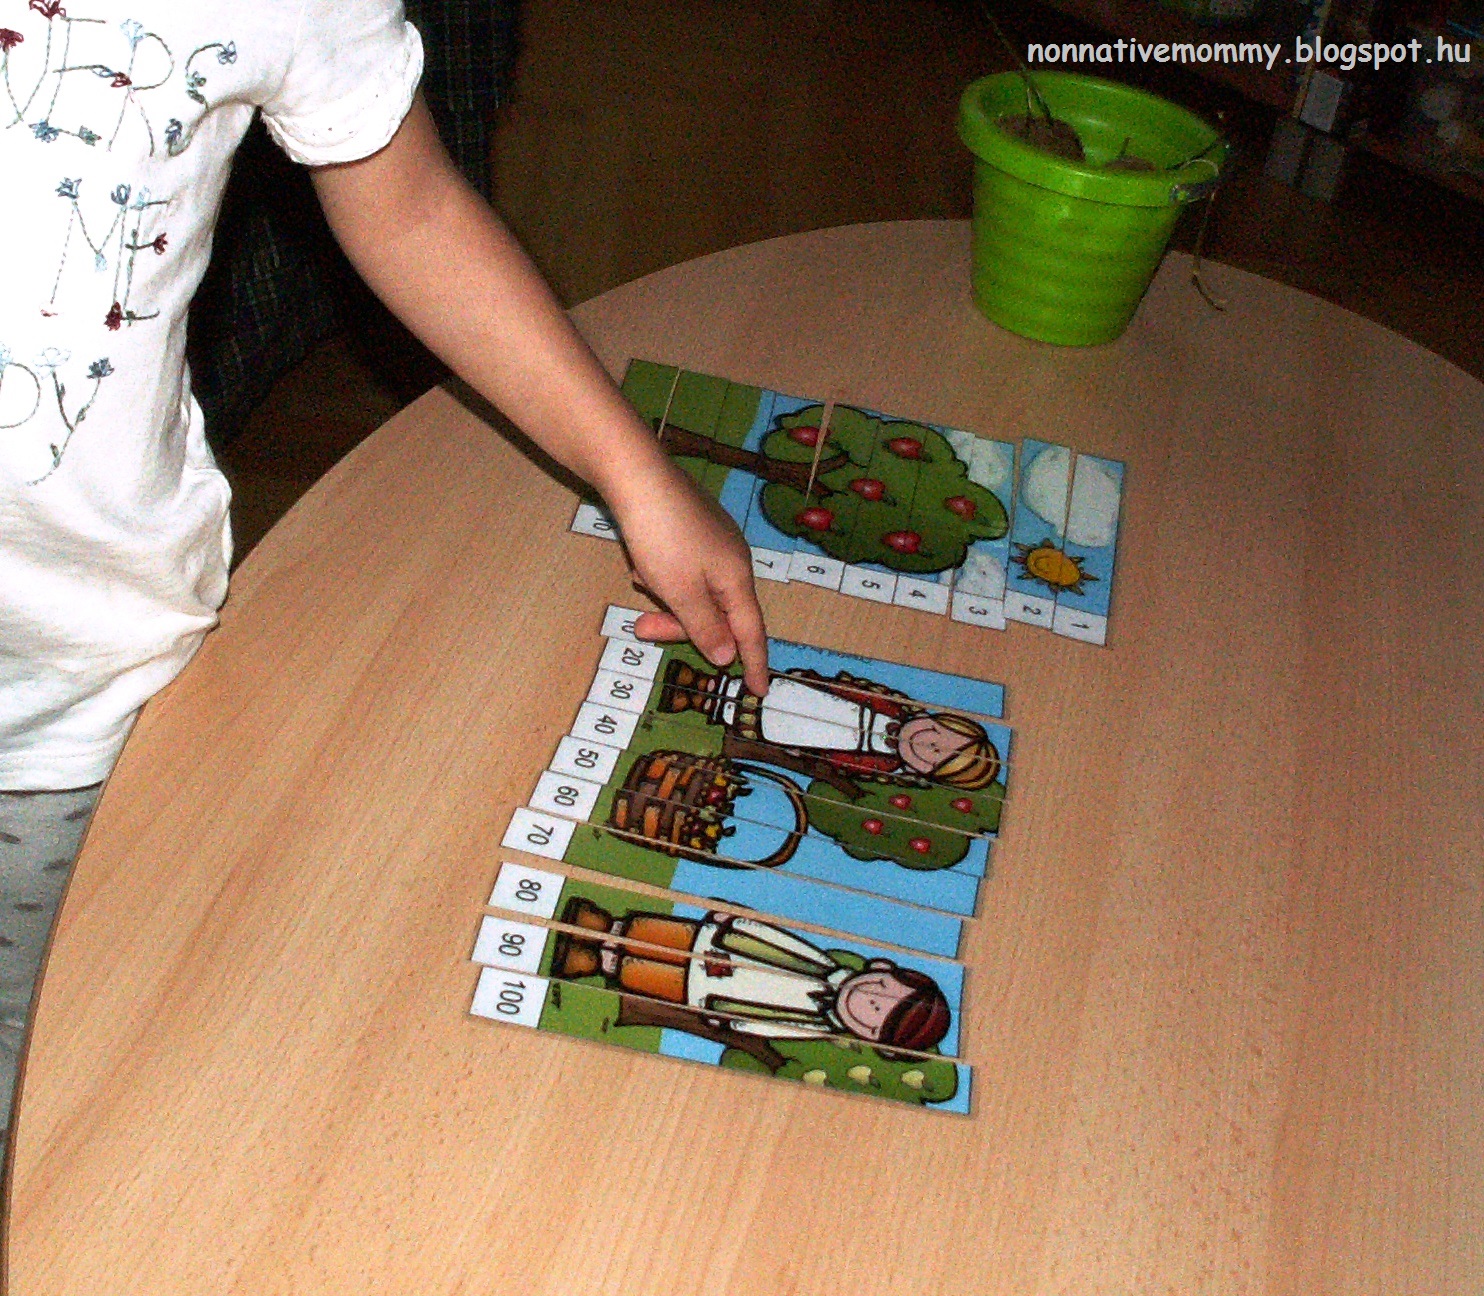
  • Picture puzzles with numbers from 1-10 (We were talking about what she could see in the picture:  – How many apples can you see? etc.) well, she’s always been into numbers, even when she was little (click on the links for earlier posts)
And skip counting by 10s


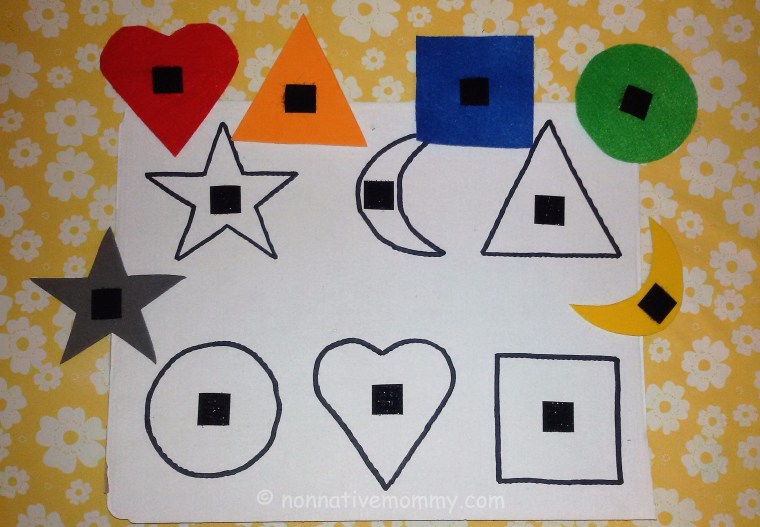
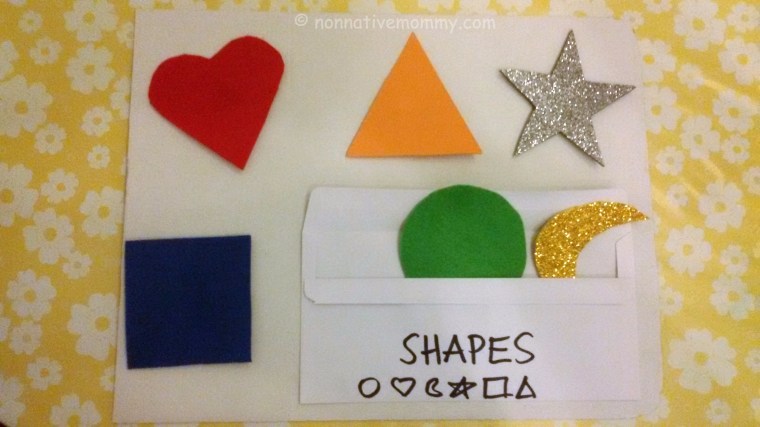
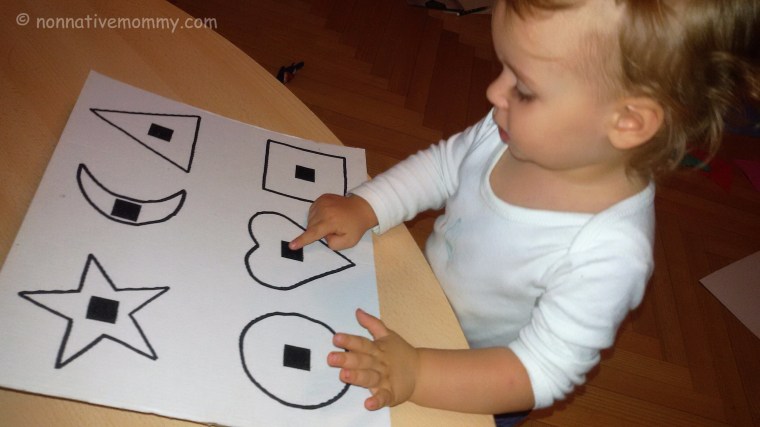
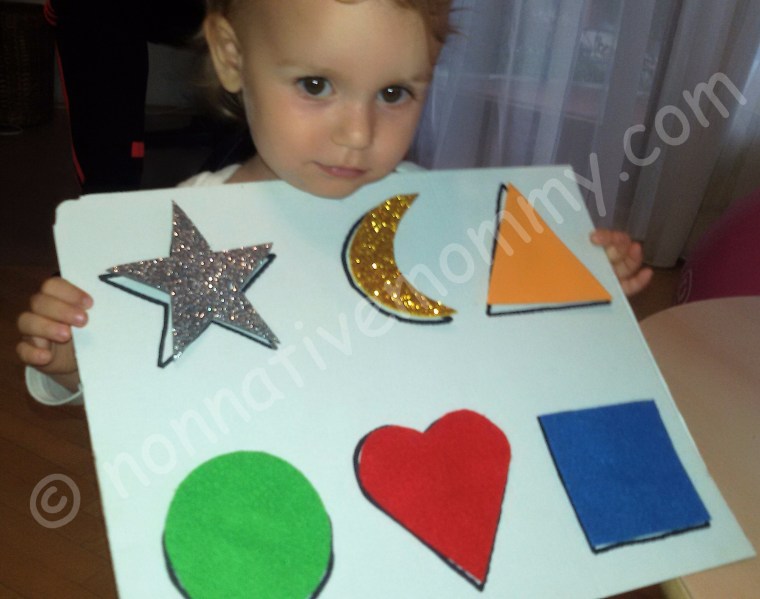
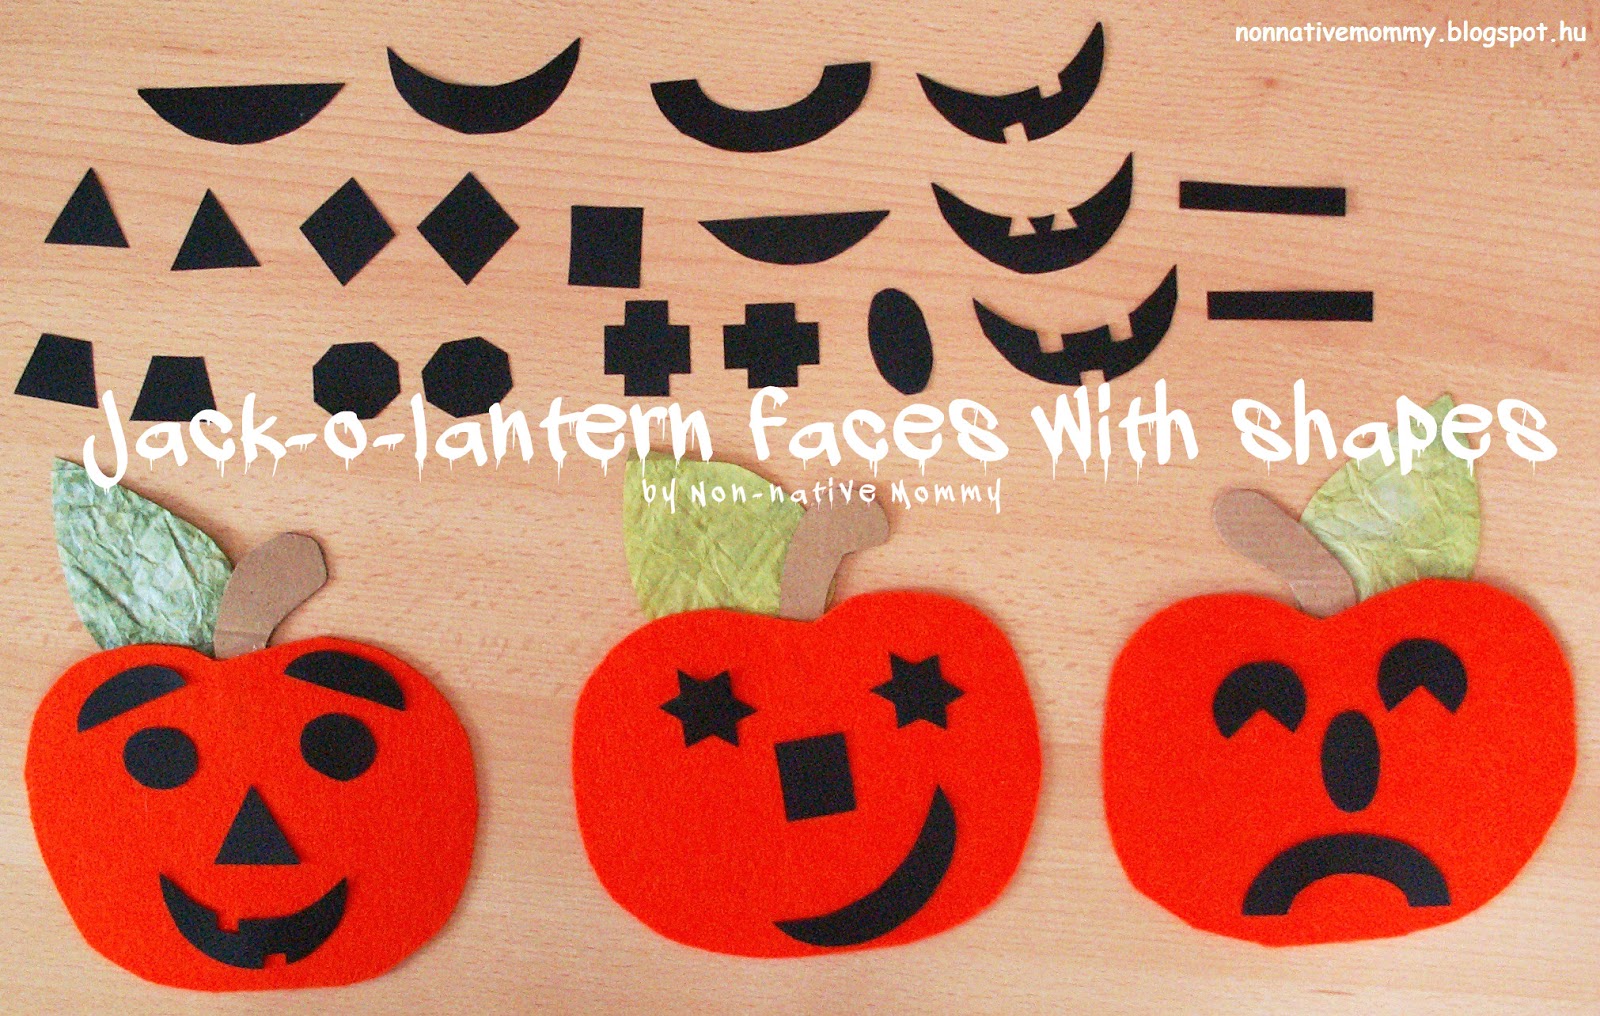
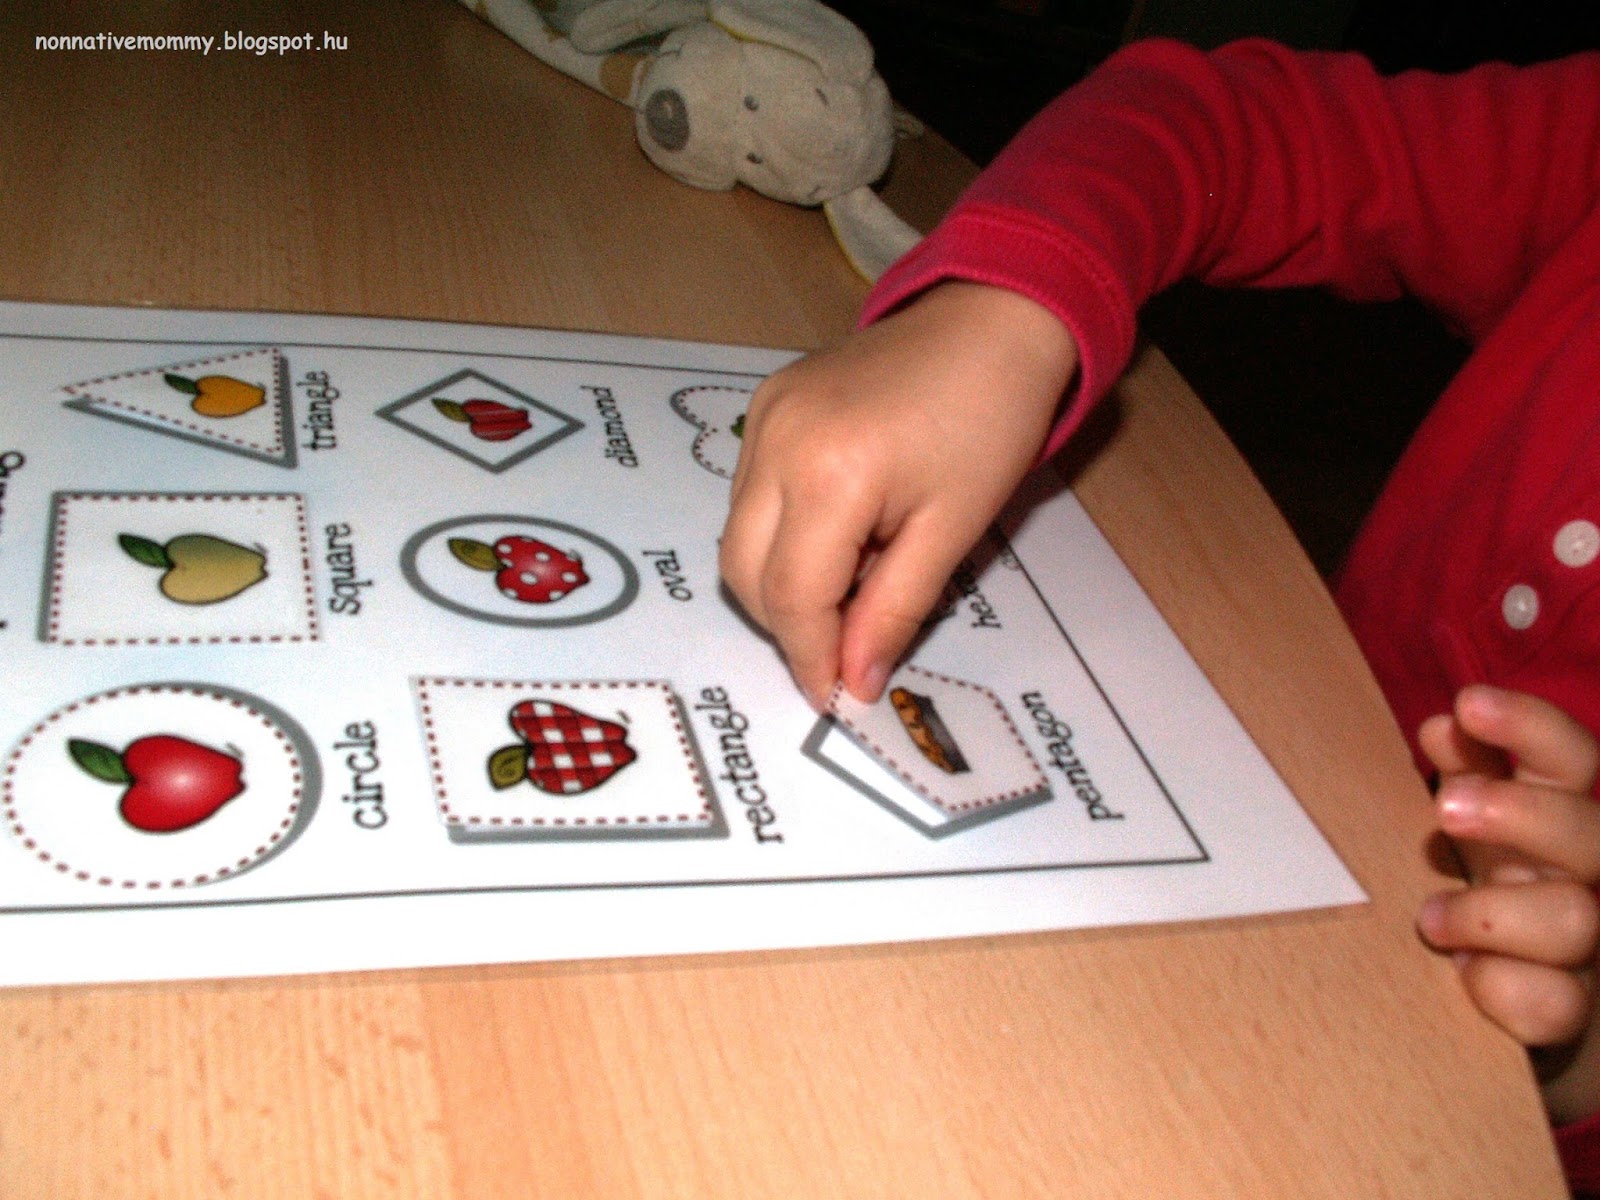
  • Shape tracing and matching – a little bit of revision as we’ve already dealt with shapes a lot


After she’s placed all the shapes we practised the “there is…” structure. It didn’t appear to be a problem:
Mommy: – There is a red apple in the circle. And in the next?
E.: – In the square there’s a green apple. In the triangle there is a yellow one. In the rectangle there’s a checked apple and in the oval a spotty apple… or… what’s the other name, Mommy?
Mommy: – Do you remember?
E.: – No. You say it.
Mommy: – Polka dotted.
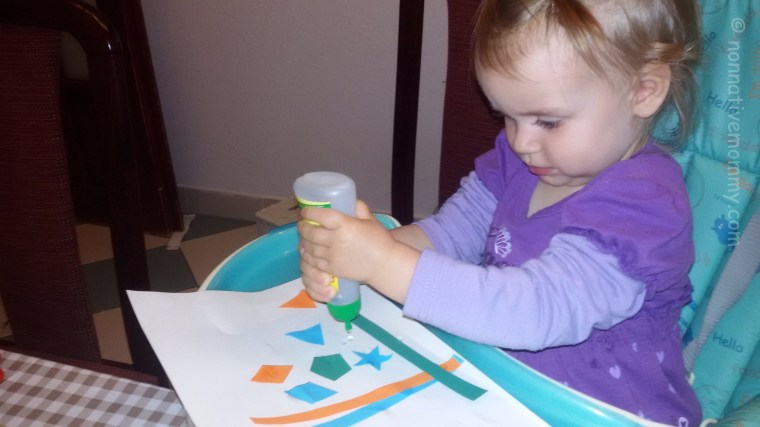
E.: – Haha, it’s funny. M., did you know polka dotted? (she turned to her favourite toy, the doggy you can see next to her on the table in the picture above)

Shape revision – tick.

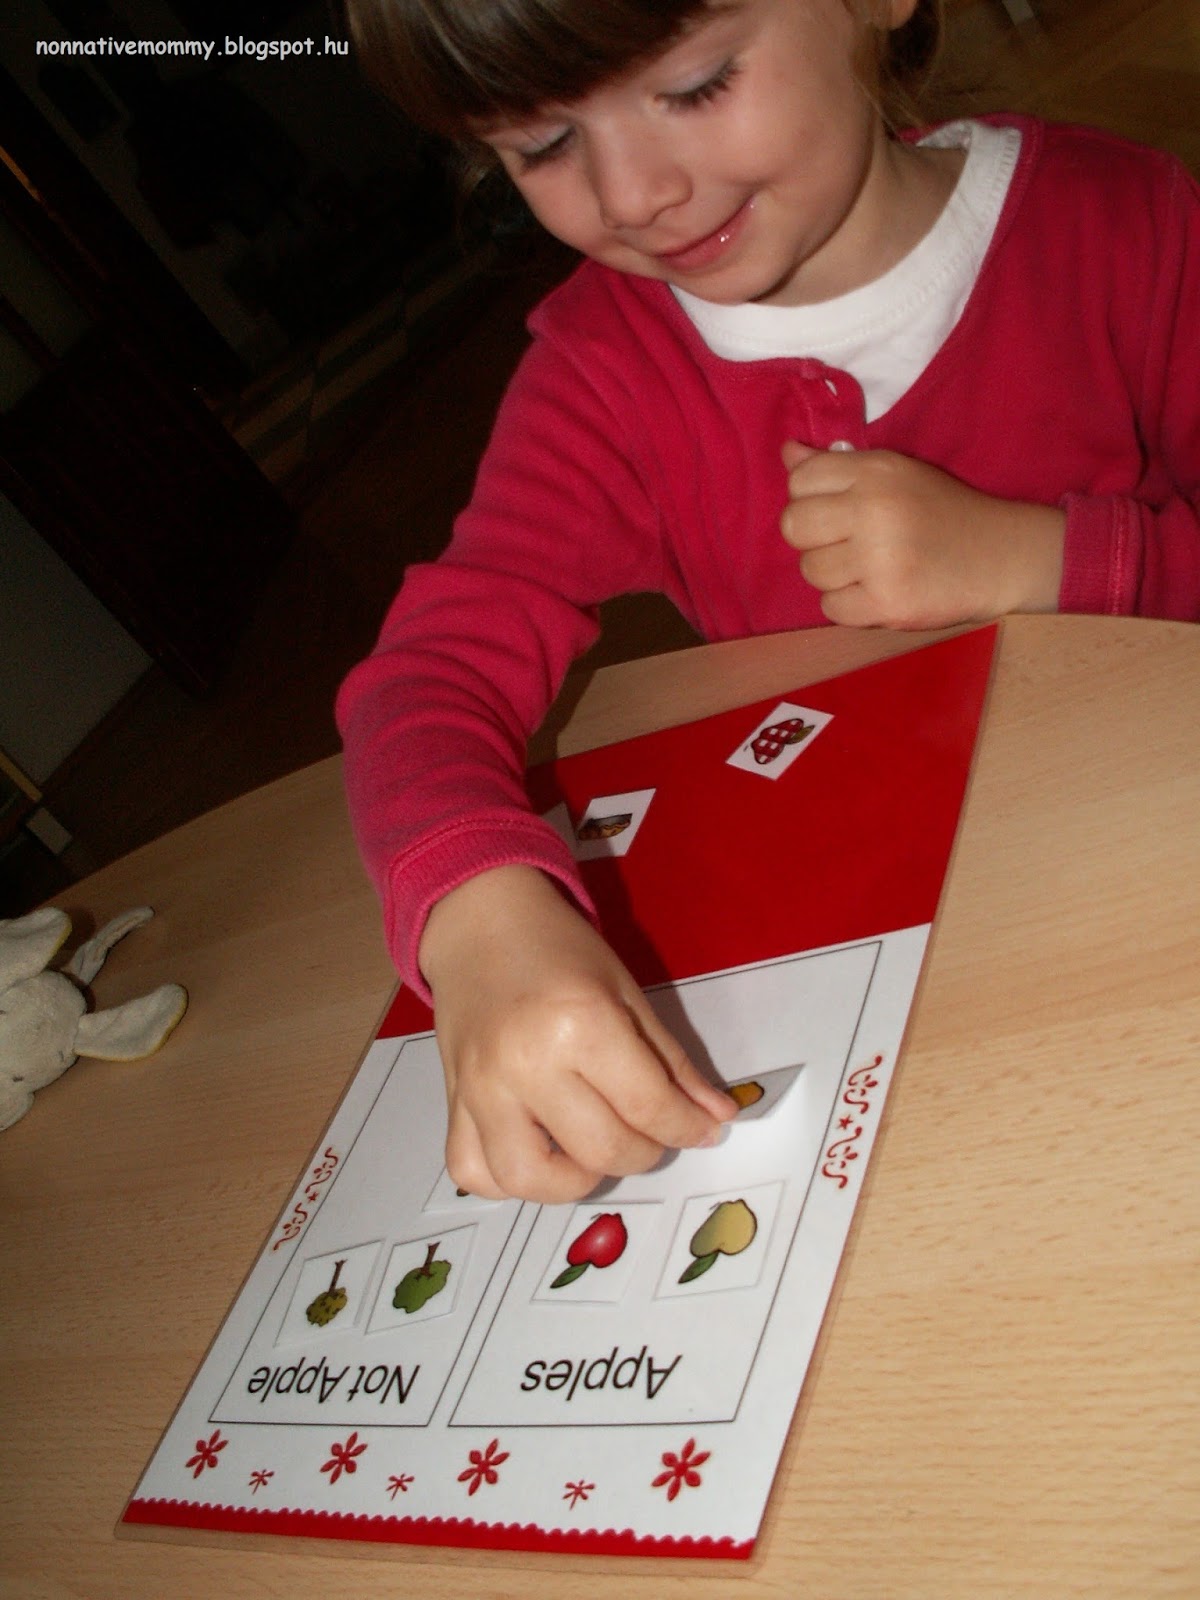
  • Grouping. Apples and non-apples


She’s clearly enjoying it)
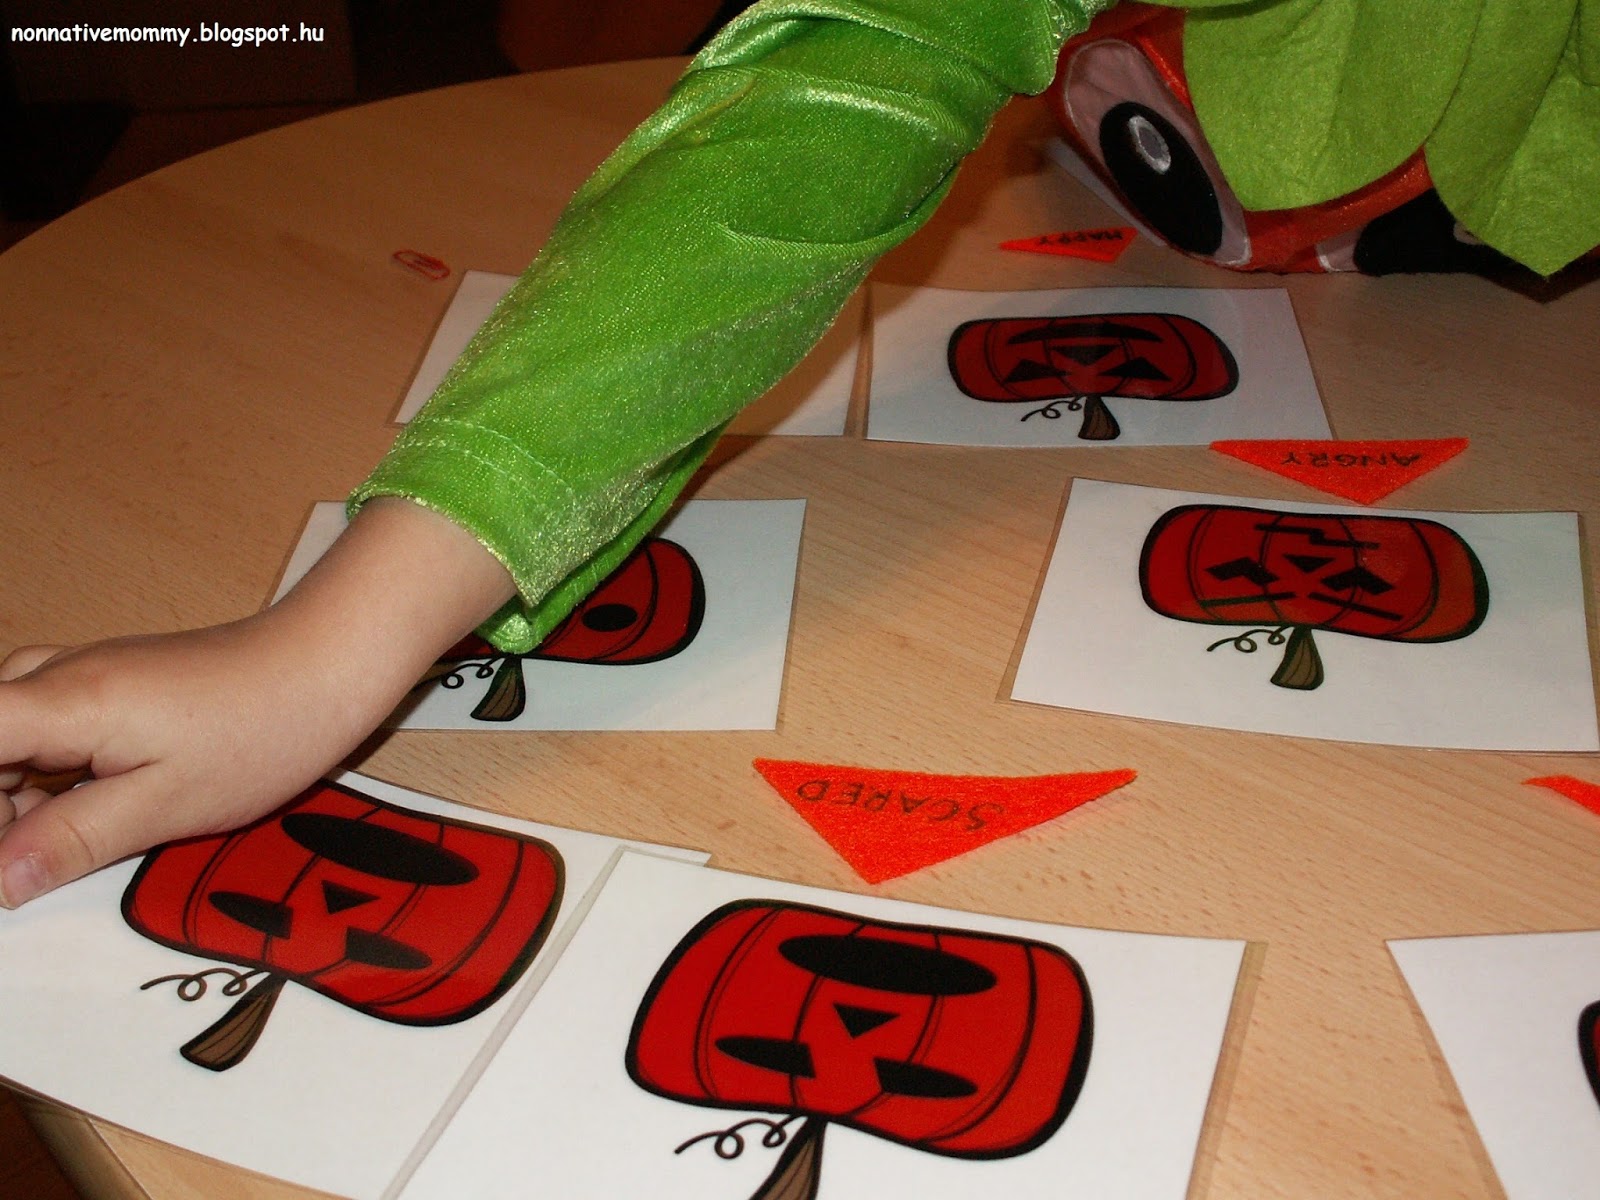
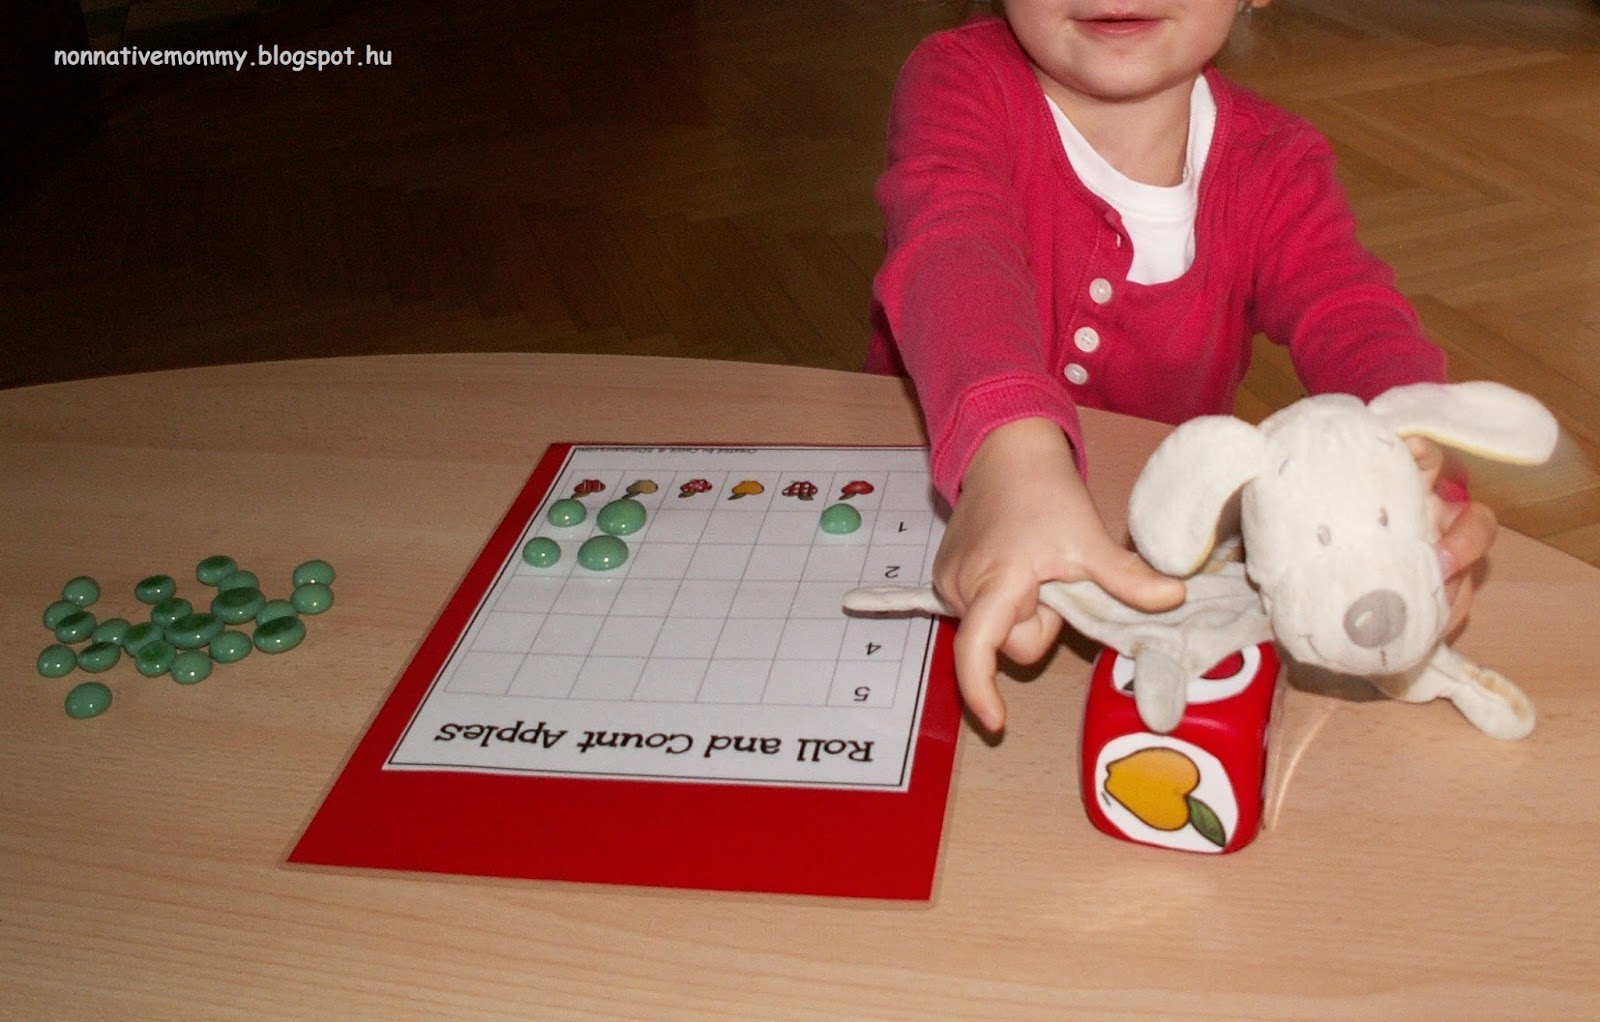
  • Roll and count apples. I guess she enjoyed this one the most. I couldn’t find red manipulatives, so we had “green apples” instead of red ones.
  • The Apple Pack has a die cut-out, but I used only the apples and after having laminated them I stuck them on the six sides of a big die I’d found ages before in a OneEuro shop. First, she guessed which apple will win (which apple will reach the top of the chart). Her guess was the spotty. Mine was the yellow and M., E.’s doggy’s guess was the stripy apple. Then we rolled the die. Everybody had a turn. Even the doggy 🙂
M., it’s your turn to throw the dice.

Of course, M. won.

  • Apple memory game

This game involved a lot of fun and useful tasks: matching, memorising, counting. And at the end E. tested her toy dog whether he can name what’s on the cards 🙂

E.: – What is it, M.?
Mommy (in M.’s voice): – Er… I think it’s a tree.
E.: – Good job, M.

– And this? Do you know?
Mommy (in M.’s voice): – I know, I know. It’s an apple pie. (and so on)

This was real cute.

We’ve played these games several times as she’s asked for them both in English and in Hungarian.

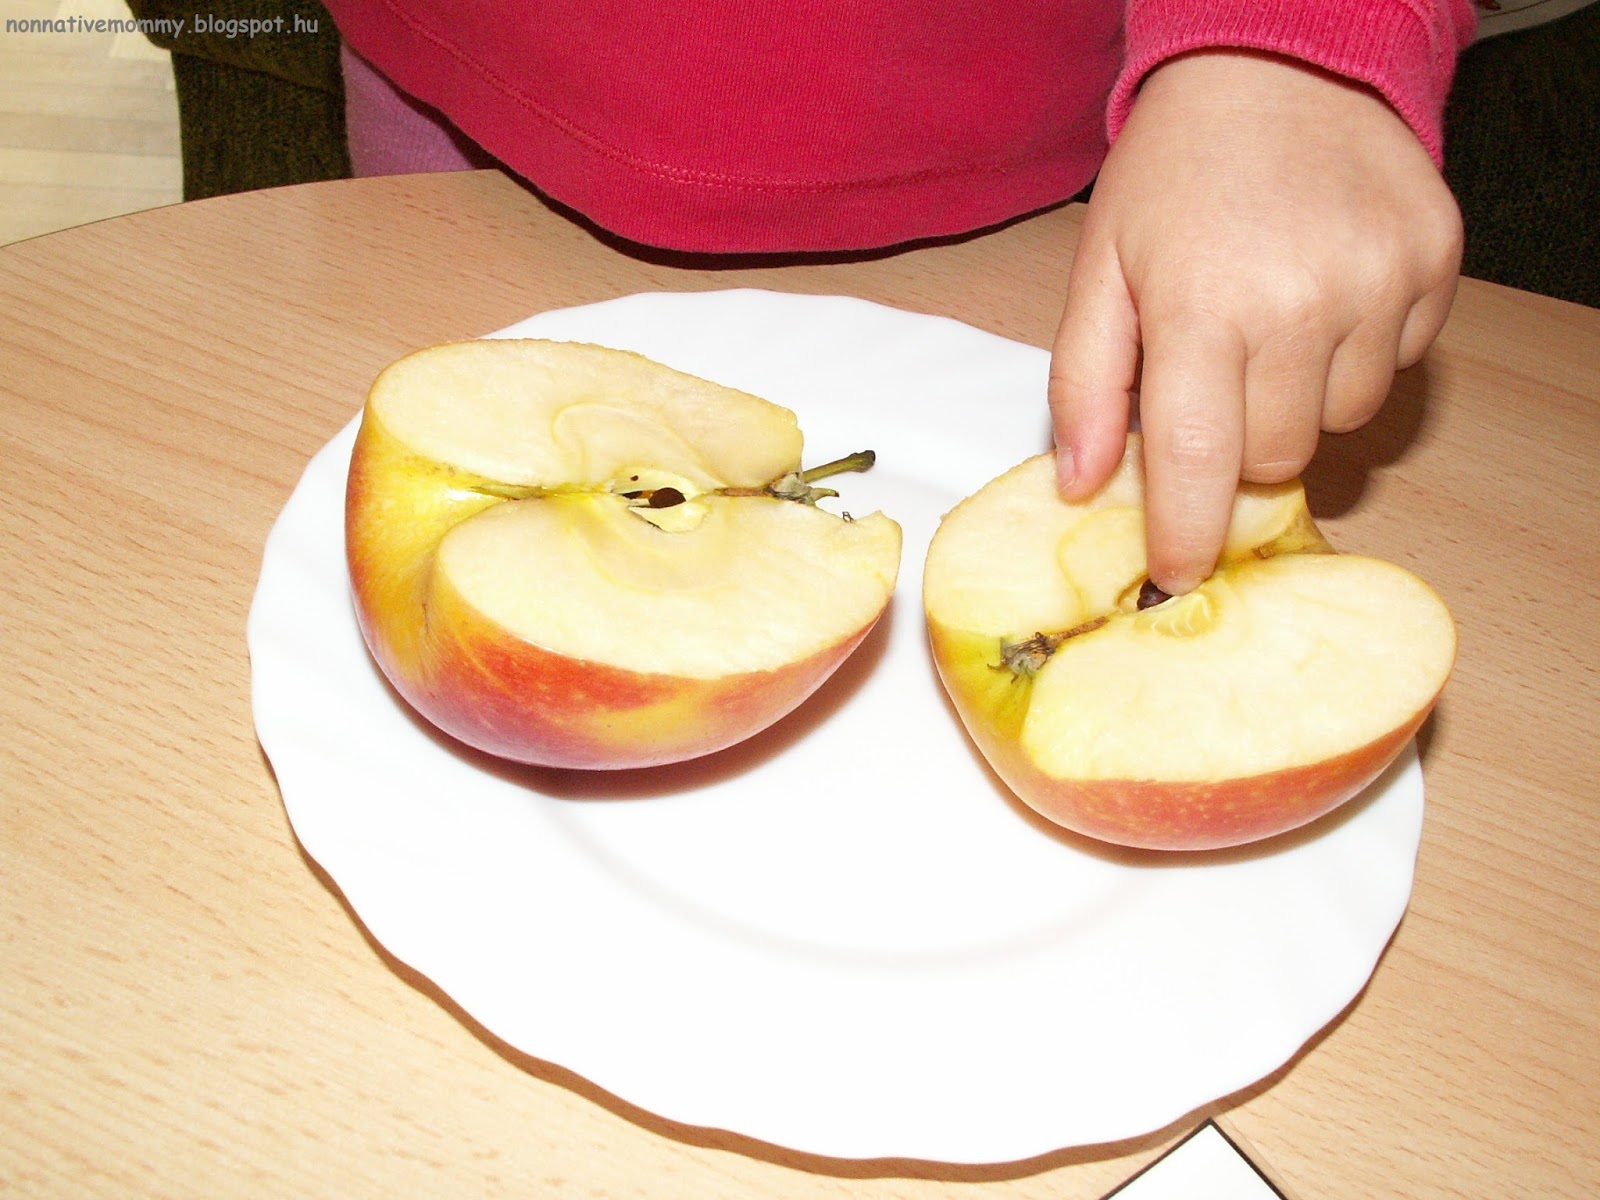
We also studied a real apple to see what parts it has. For this I printed the apple parts booklet by A Little Pinch of Perfect and I highlighted the parts on each card. I didn’t put them together like a book, we just had a look at the cards and also the real apple.

She examined all the parts and match them with the cards.

We practised earlier vocabulary like cut it in half, slice it, peel it, sharp knife etc.


She was fascinated by the word “flesh” so she was more than happy to consume it 🙂
I hope the weather and our health will let us go for an apple-picking adventure.

There are tons of apple games that you can check out on my Autumn ideas for kids pinterest board.