More fun with the ABC

E. has an unquenchable thirst for the letters and the alphabet. Here are 2 more activities we’ve done recently.  

1. Giant alphabet puzzle
2. Salt dough letters

– ABC giant puzzle

I was lucky enough to get hold of this giant alphabet puzzle in a secondhand toy shop. No piece is missing. There are one or two pieces that are a little stained but otherwise it is in great condition.

When E. is putting the puzzle pieces together she is singing the ABC song or we need to listen to it. (A money-saving trick: you do not need to buy a lot of English music CDs. Just turn the youtube videos into mp3 music files with a converter)

While we are putting the puzzle together we name the pictures like A is for apple (like in the picture) and add some more words starting with that letter: ant or angel or antler. (I usually come up with words that she knows but if not we always have paper and pencils around to draw the unknown thing, or if we have it at home we go and have a look at it)

We have some foam letters which are the same size as the capital letters written on our giant puzzle. In the picture below E. is placing the foam letters on the puzzle. It was her own idea.

I use this alphabet puzzle even with adult students; it helps a lot with spelling and pronunciation.

– Salt dough letters

When E. turned 2 and a half last November we made her the very first home-made salt dough (1 cup of salt, 2 cups of flour, 1 cup of boiling hot water). And it was a hit.

I found this  cheap set of ABC cookie cutters in a One-Dollar shop. It has just one problem: letter S is the other way round.

spooning the ingredients

Not only was she learning/pracising words like kneading, rolling pin, mix and stir, add, measure but also strengthened her arms and hand muscles.


my little helper
 
First, the letters need to be in the right order of the alphabet


Cutting
 
 
E. helped to put the letters on a baking paper that I’d place on a tray and we put them all in the oven to dry (at 50 °C).


Next day the painting started:


We used one colour at a time, but when we did this project this year colour mixing kicked in to make new colours like purple, brown or orange.
 
Ever since we have been playing with the letter as they are lying on E.’s shelf in the living room.


Planets and the Solar System

The Solar System craze started about a half a year ago (August 2014). Planets caught E.’s attention while having the usual pre-dinner-youtube-video-watching session. Since then she’s been an expert in this field just like we needed to become.

Let me start with our favourite videos:

The very first song in the line – The Solar Sytemn Song by KidsTV123

She liked it so much that we had to watch it several times and of course more came:

The planets song by KidsTv123

She quickly learned the next one, so at bedtime I had to sing this song 7/11:
(Carful, this tune is so catchy that you might wake up in the middle of the night singing it in your head)
After What shape is it? here is another video from the same youtube channel with the title: What planet is it? Annoying for parents, fascinating for kids 🙂 You can also learn about some dwarf planets like Pluto, Ceres, Makemake, Charon etc.
E. loves the next  Solar system video too, although the colours of the planets are not so accurate. She mentions it every time we watch it. I guess it is an Indian video, and the pronunciation is a little funny. Still, we watch it a lot. She knows exactly how to pronounce the names of the planets and I want her to listen to as many different accents as possible.

These videos are not only about the names of the planets in our Solar System but also give some interesting information about them.

Then, we found Storybots on youtube. It’s hilarious. Even for parents. At last something I and Daddy love watching, too. Well, the next videos are not typical children videos. First: The Solar System Rap
(For a week we were playing the “Microphone game” i.e. throwing a microphone to each other – E. was the Sun, I was Mercury, Daddy was Venus (!) and  Doggie was Mars. The game always ended with Mars as the dog couldn’t catch the microphone 🙂 By the way, Daddy made the microphone out of a kitchen roll tube, a deodorant cap and some duct tape.)

I’m hot – the Sun song

I could go on and on adding more videos in the topic. But if your child is intereted in the planets you’ll find them anyway through the above mentioned examples.
Other fun with planets and the solar system:
After the videos, I had to make the Solar System on her plate. The following is just one occasion. The Solar System made out of frankfurters, but I’ve already made it out of fruit, cheese and bacon, vegetables etc.:


Here is a link where you can find a fruity solar system snack for kids together with a colouring sheet of planets.
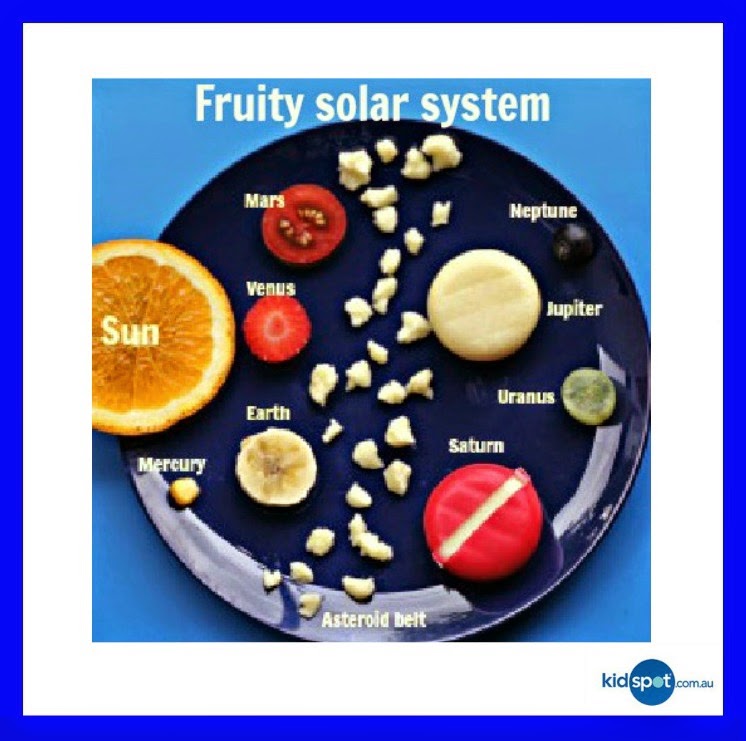
I love the asteroid belt 🙂
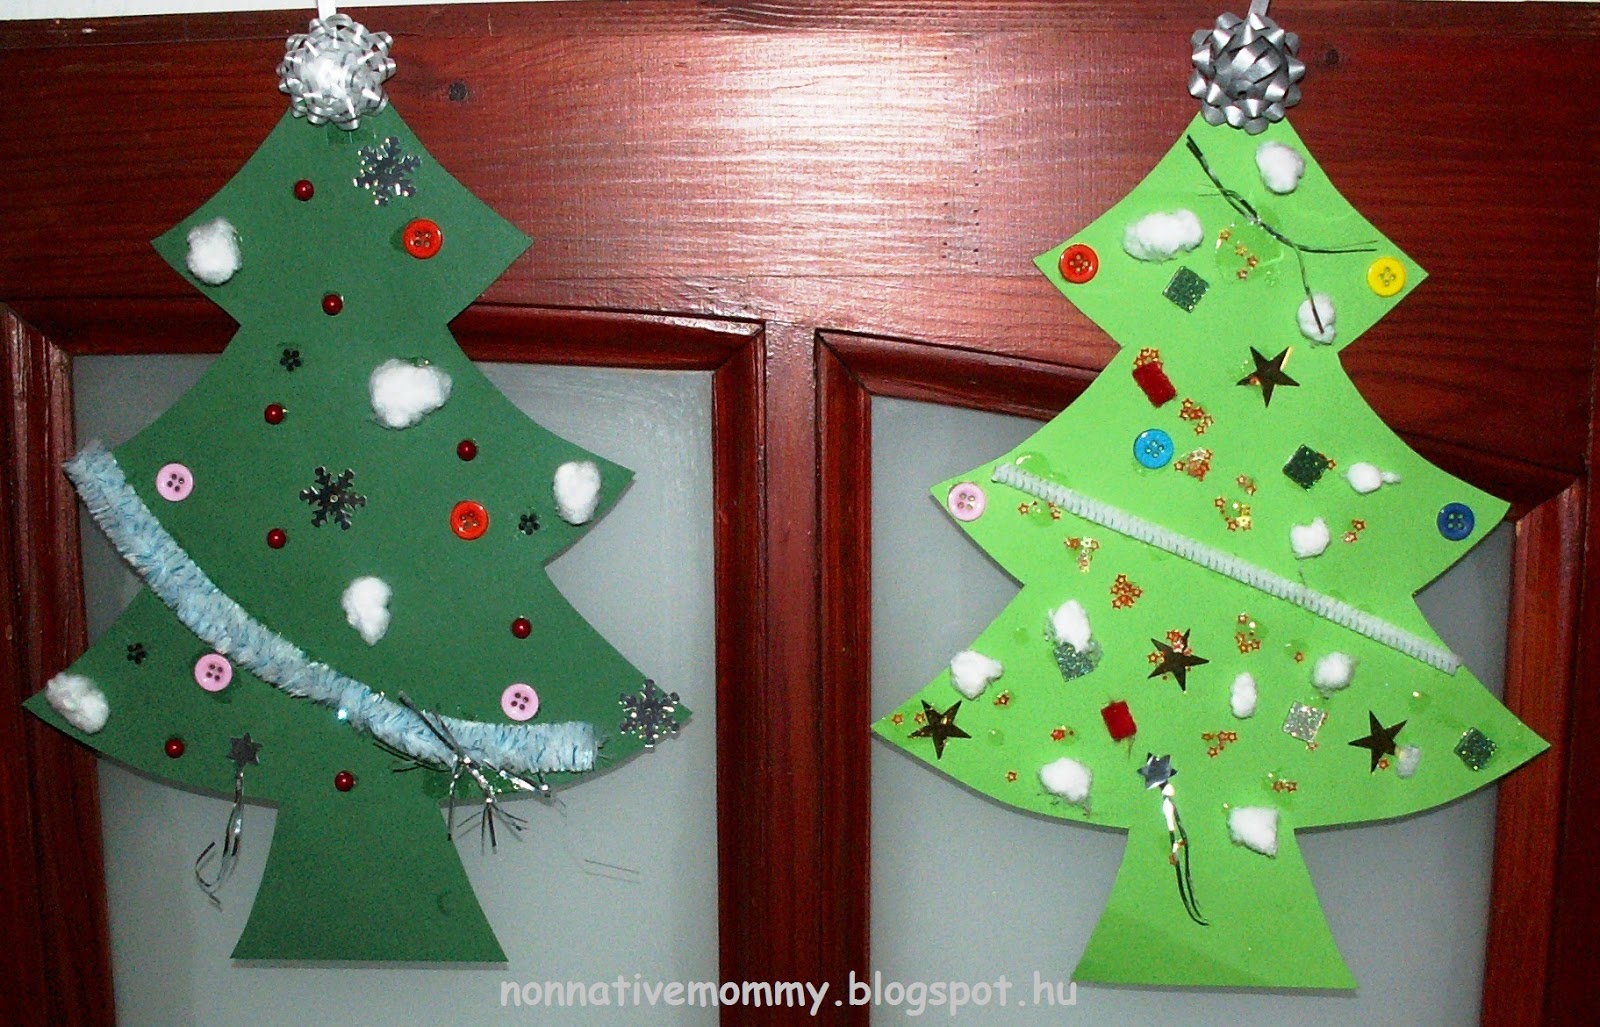
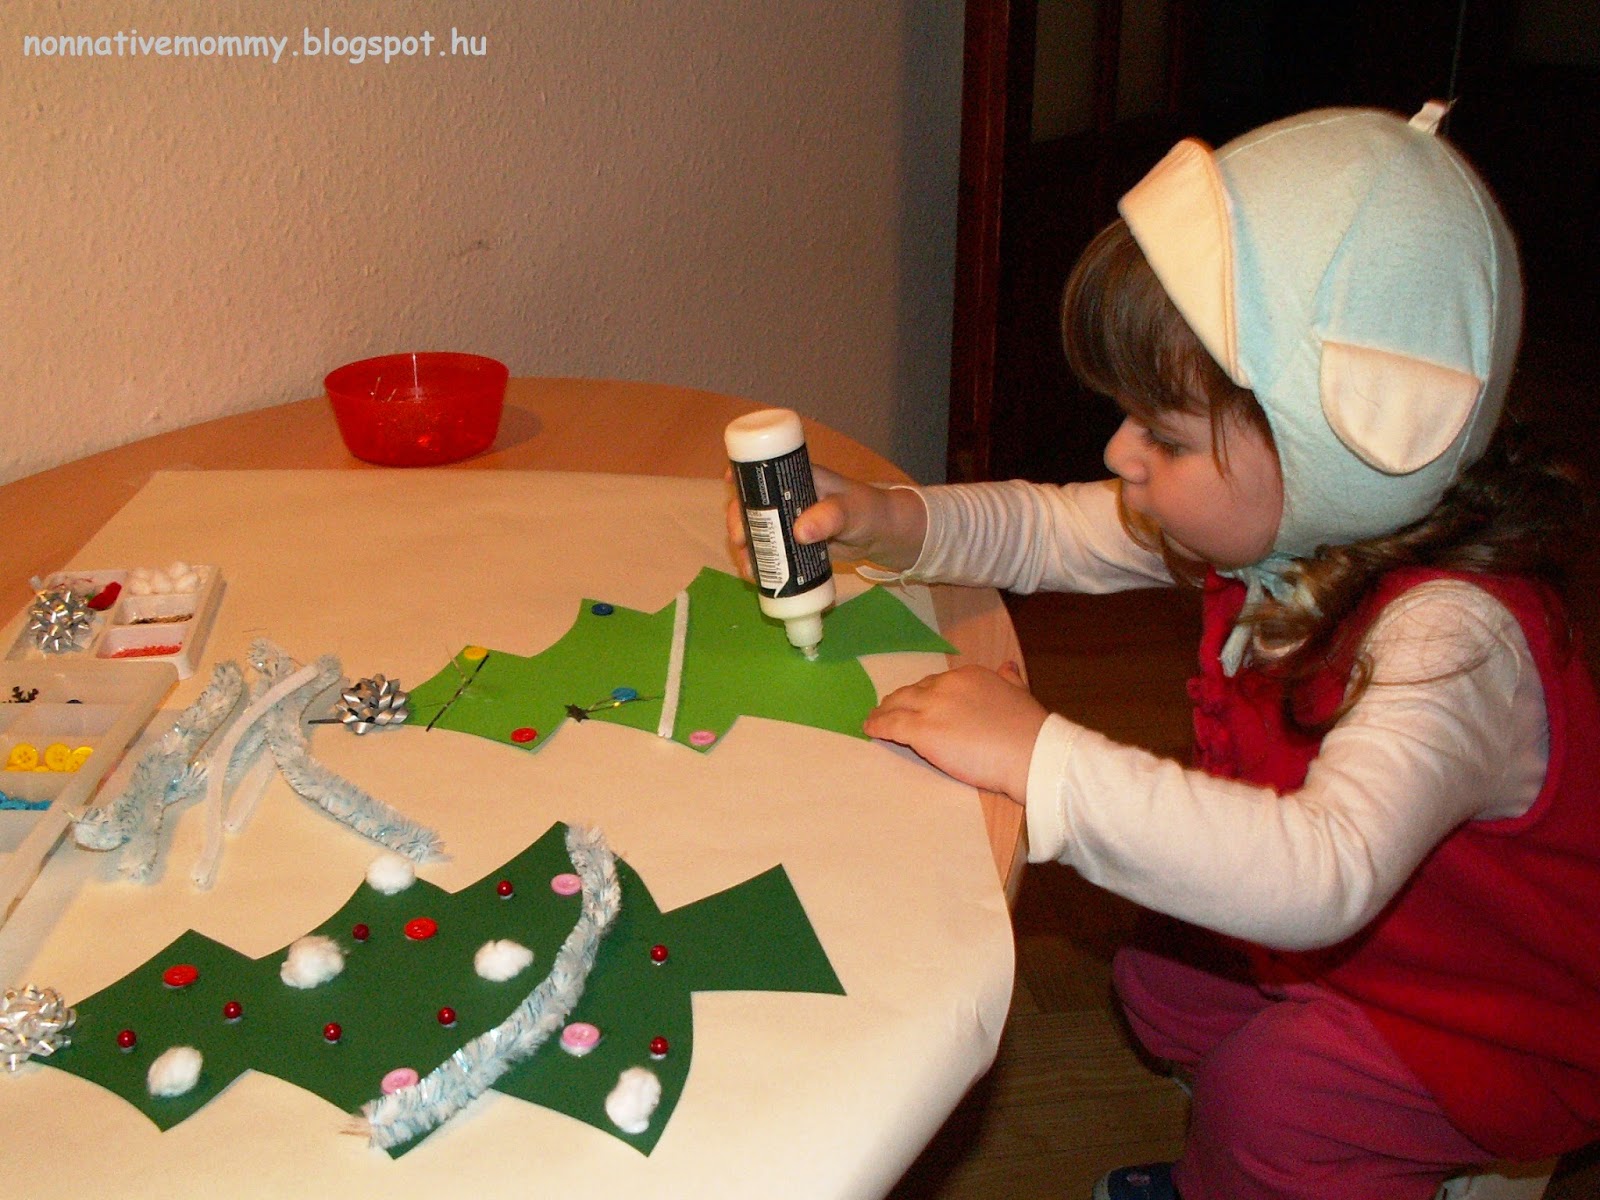
 If something is in the  middle of E.’s attention, she recreates it in all fields of life – like drawing:
(While she was drawing the picture below she was in English, later we changed languages and she asked me to write the names of the planets in Hungarian)
Why did she put the cotton buds on the planets?  – It beats me…

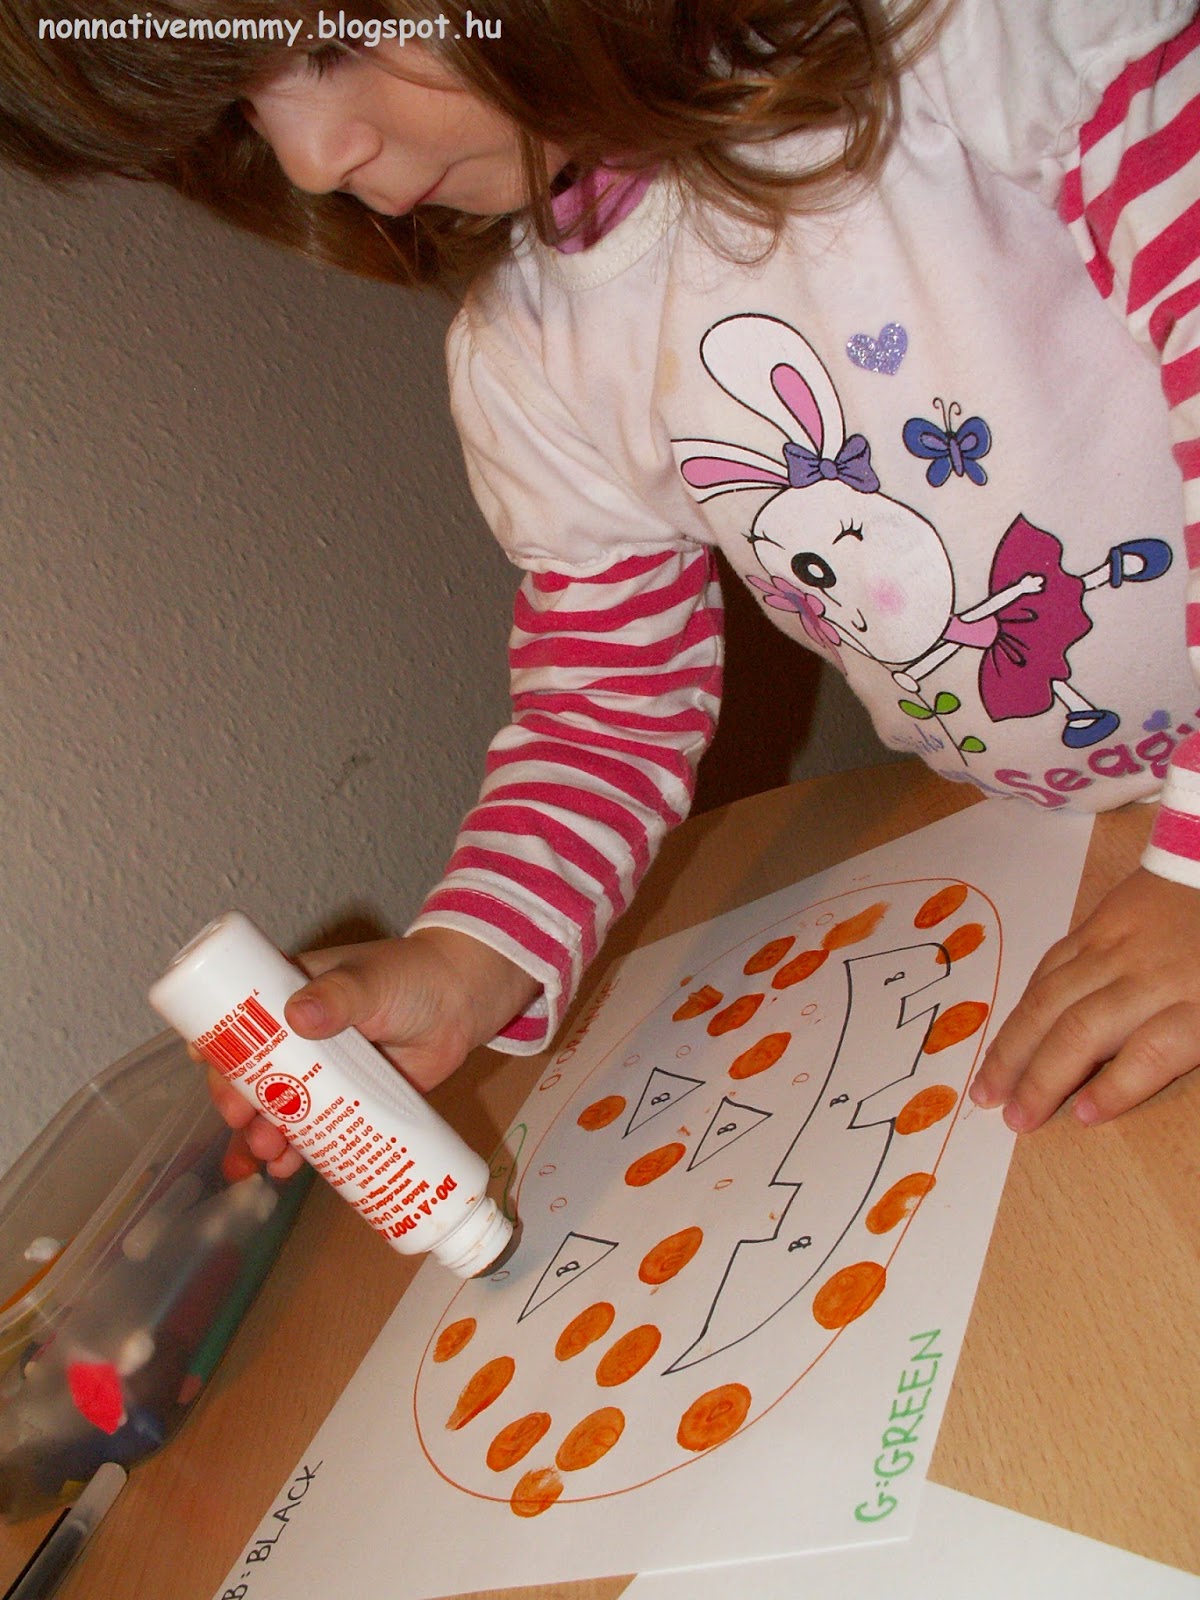
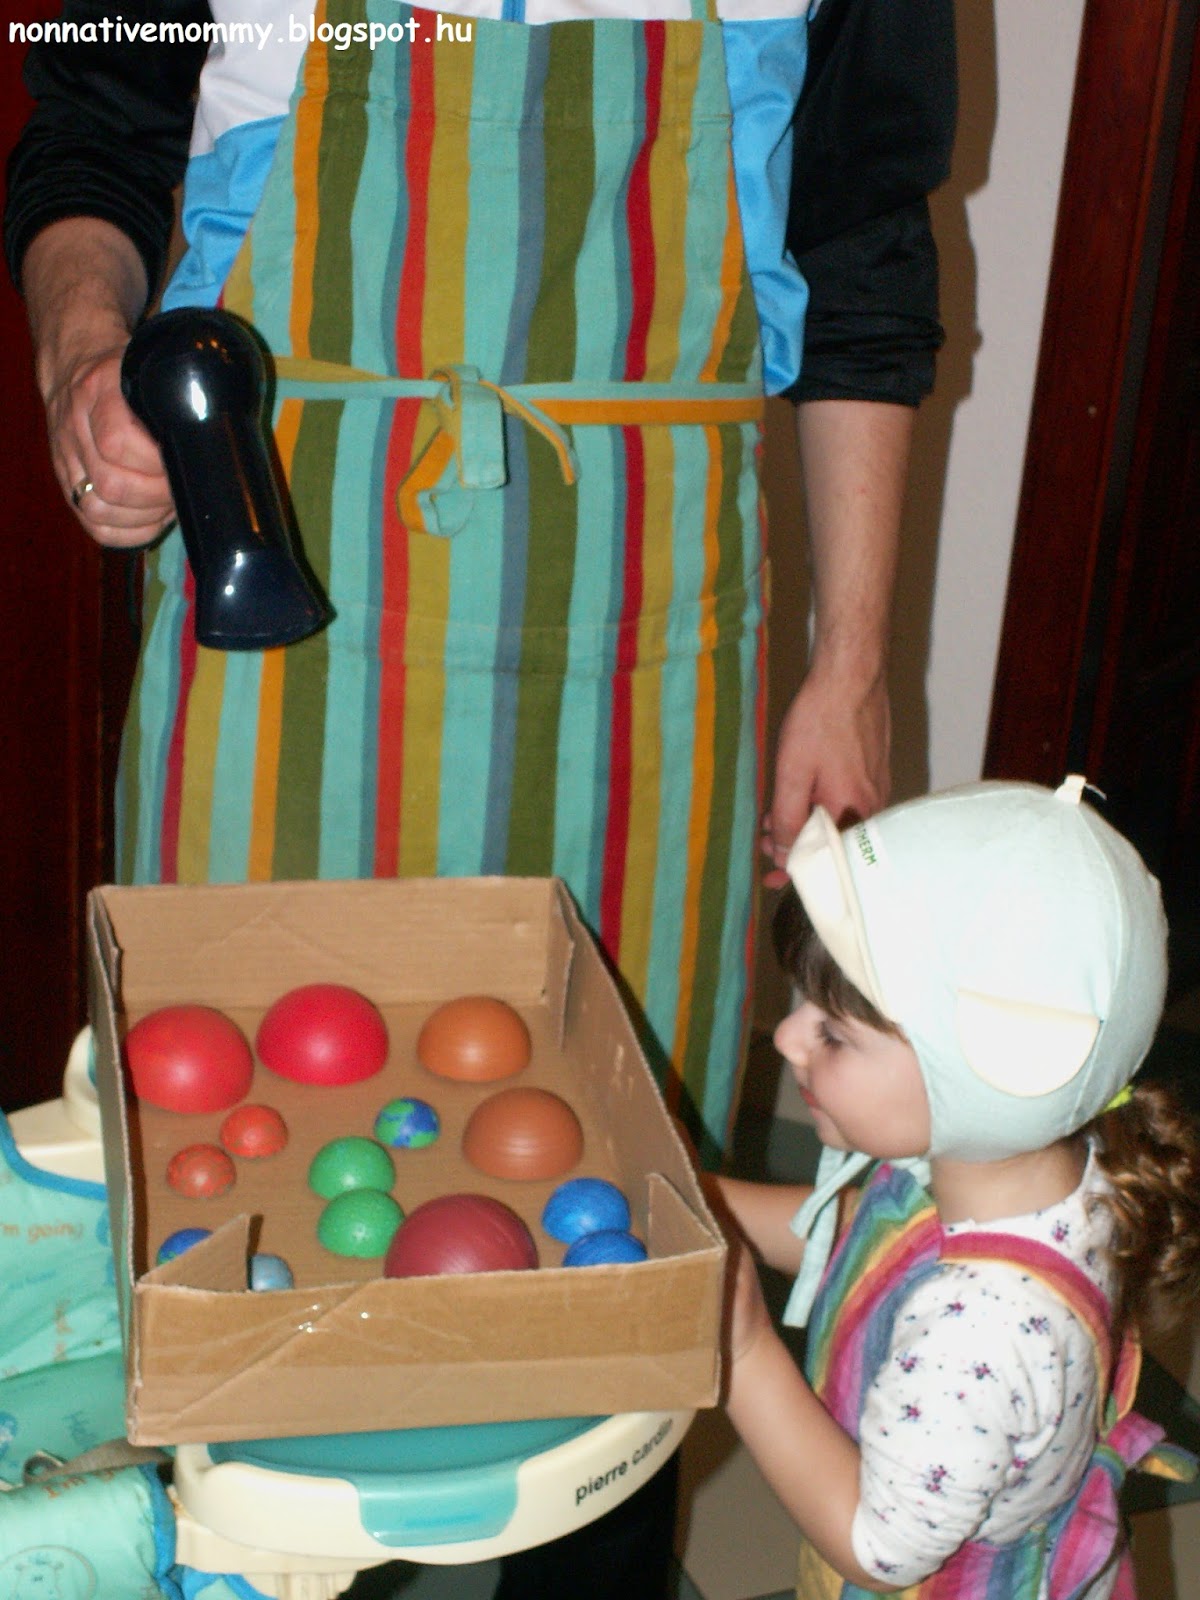
I prepared a pom-pom colour sorting activity for her one afternoon (in September), which turned into a Solar System activity again. (It’s a kind of size comparison as well.)

Here is a video about her naming the planets in English and at the end she also sings one of the planet songs.

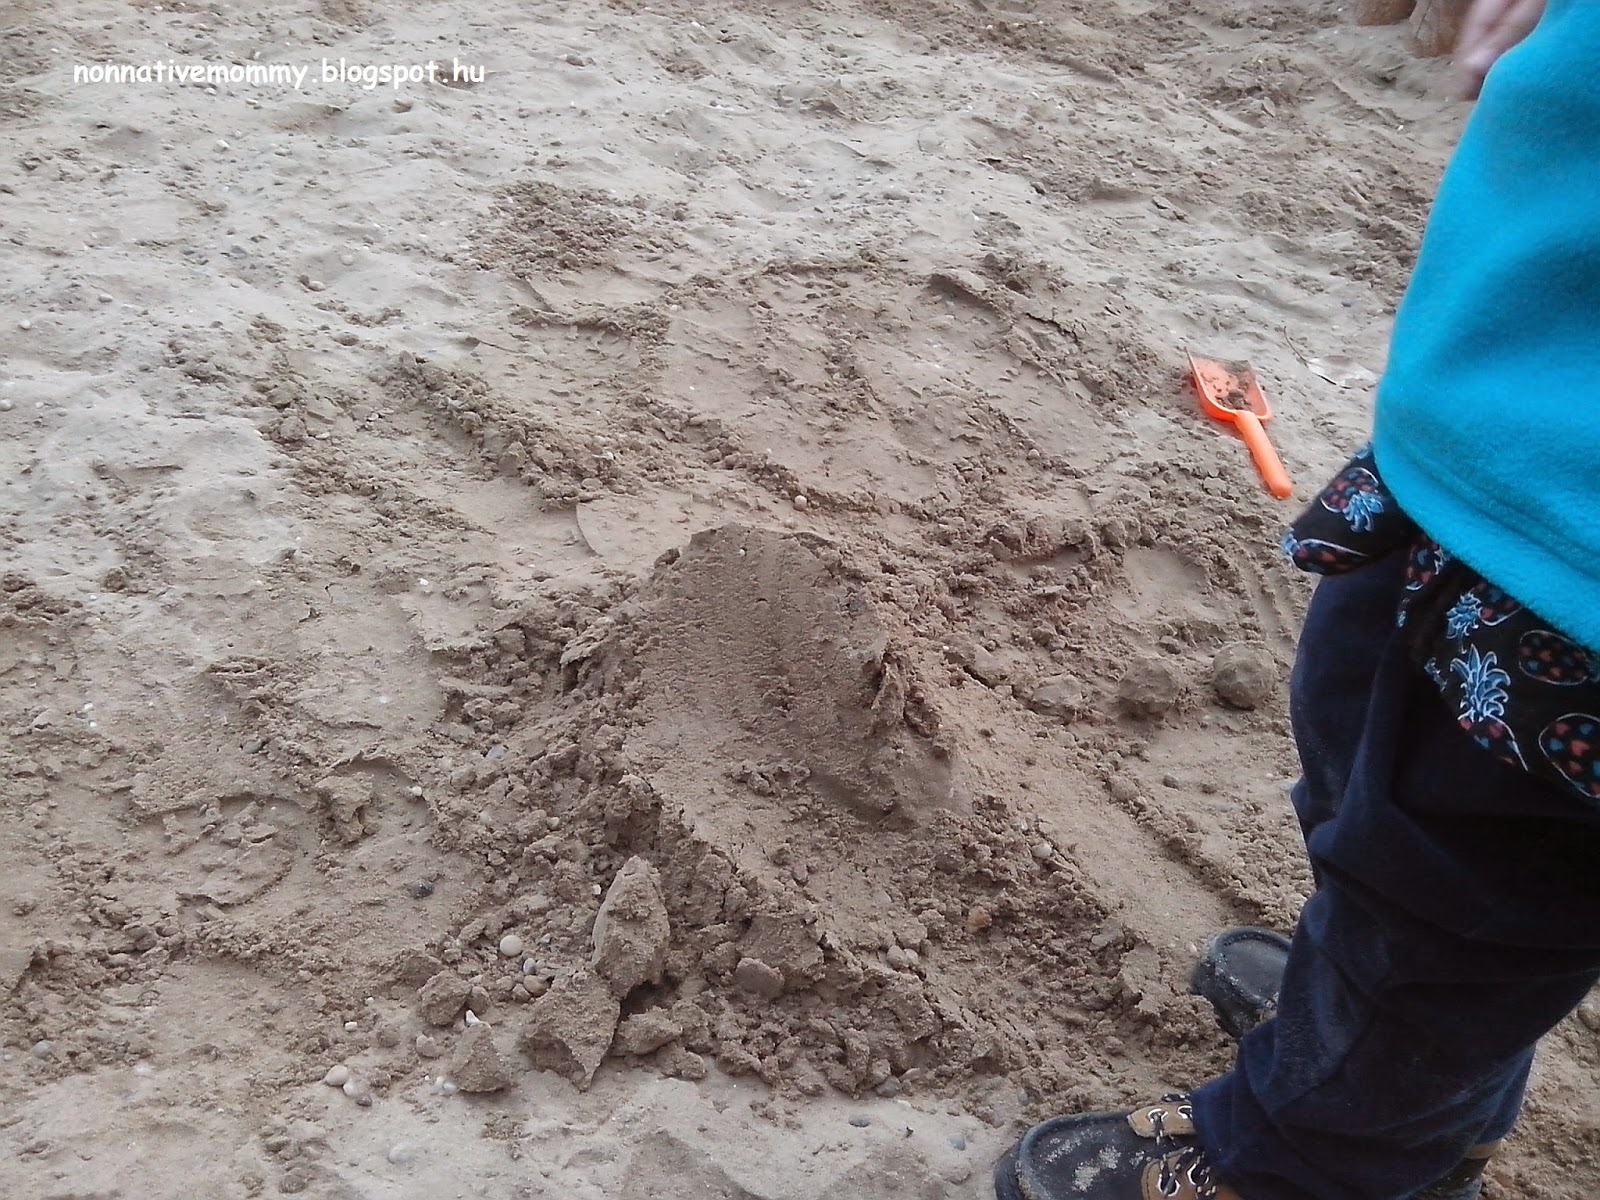
At the playground (at the beginning of October) we made the Solar System out of sand. It wasn’t my idea, but hers.

Sand Solar System


Destroying the Sun


Destroying all the planets

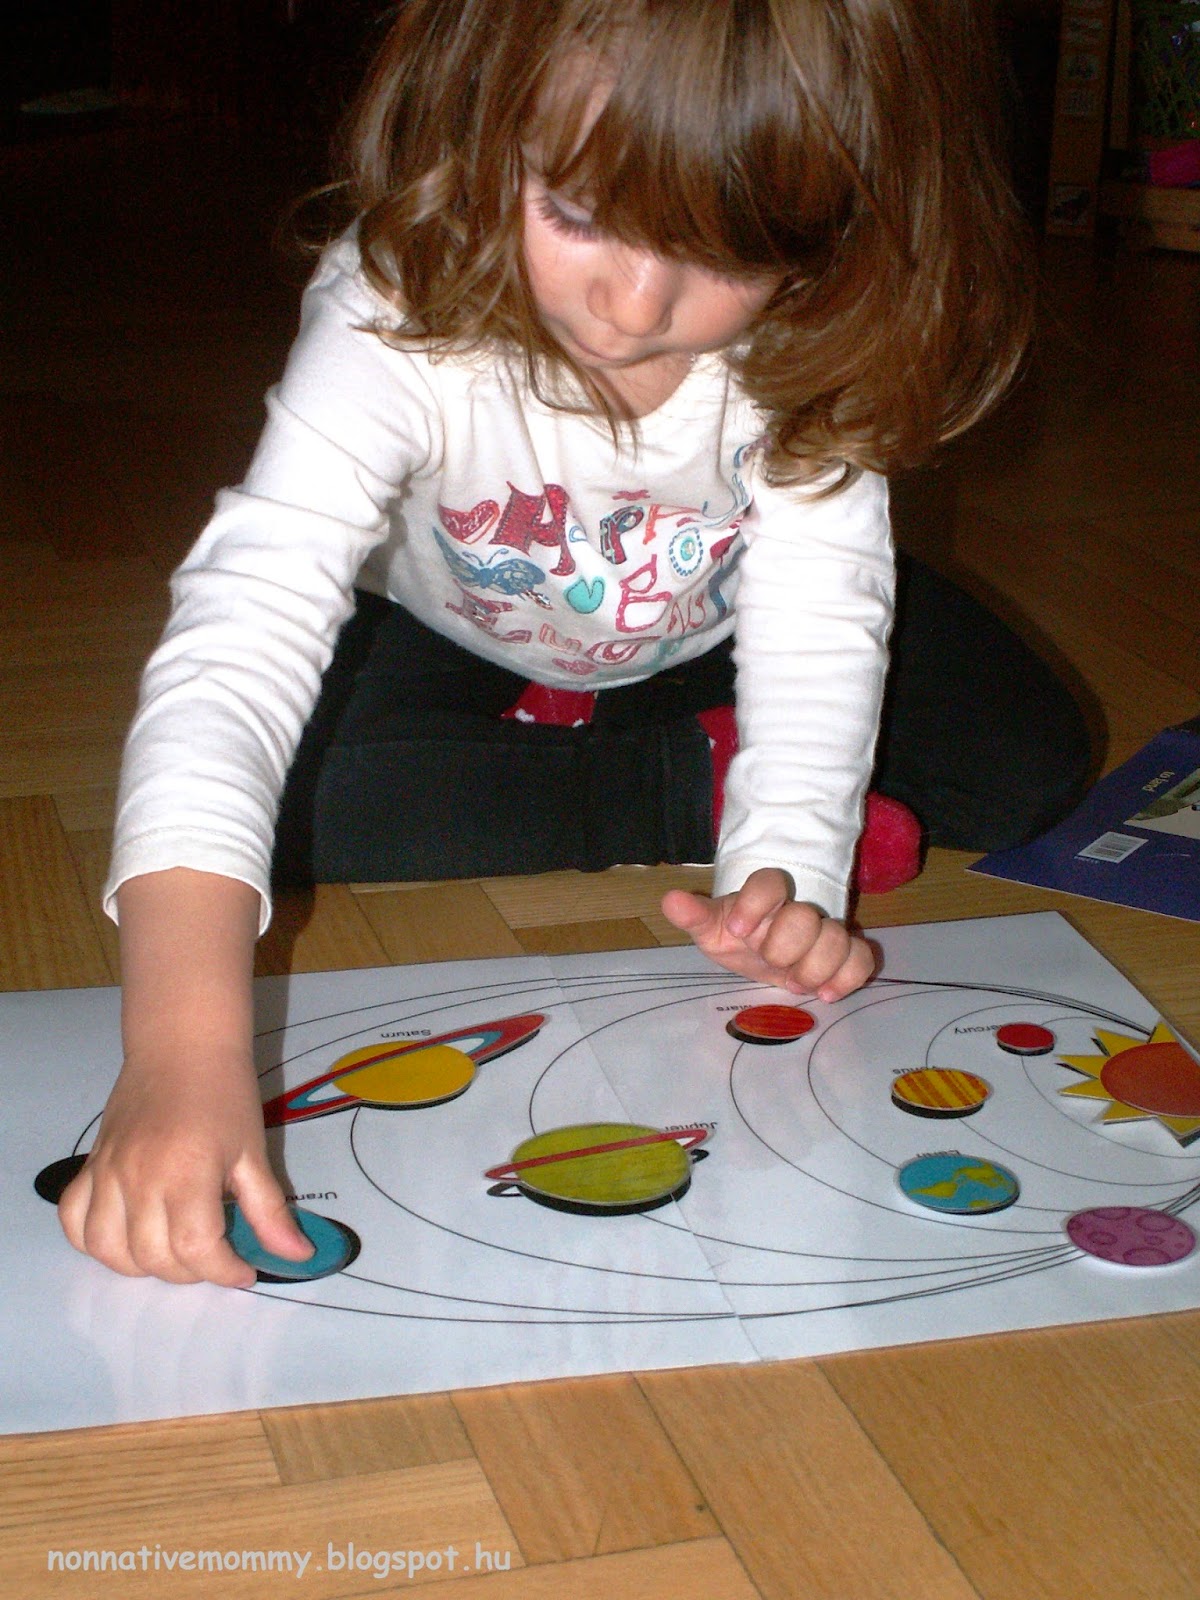
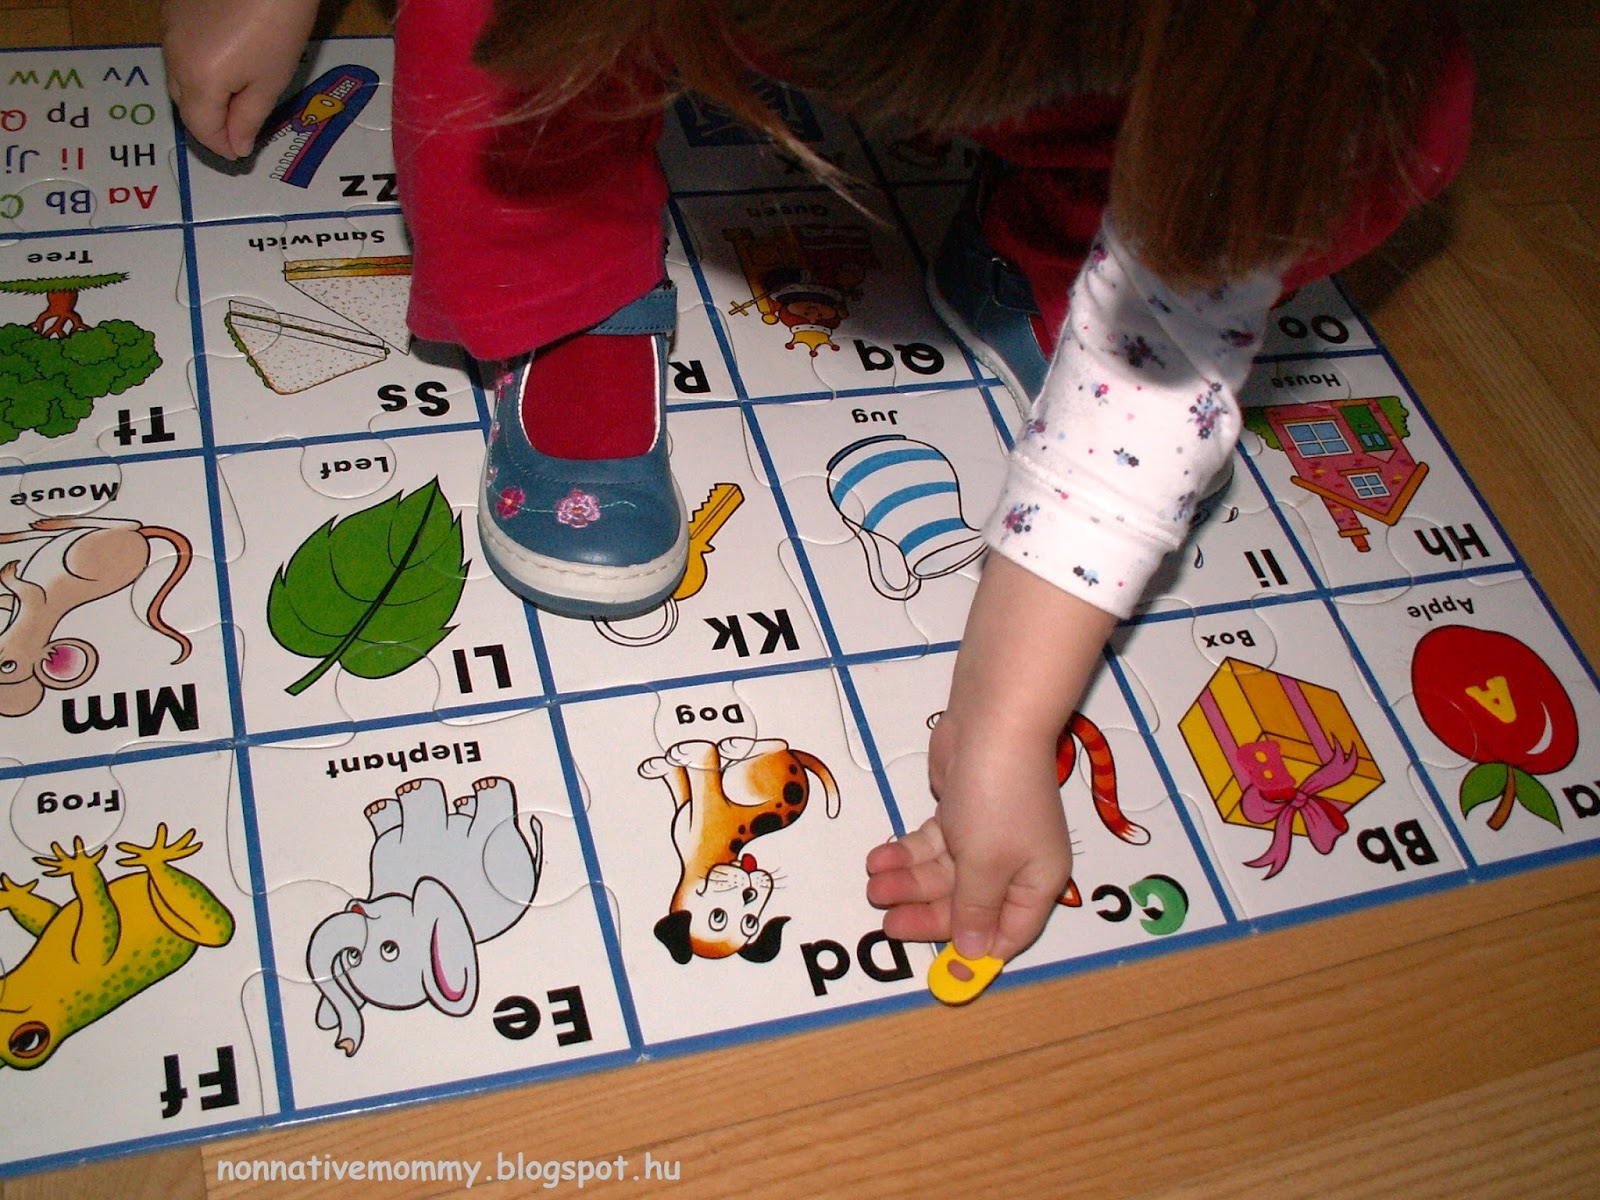
I made her a magnetic Solar System to play with. I found the following printable online at 2teachingmommies.com. You can find their Planet shadow match in their Space unit. (After downloading a zip file you need to print the Planet_shadow_match.pdf)

I printed and laminated the shadow sheets (2 x A/4) and the planets (1 x A/4). I cut out the planets first then I laminated them and cut them out again. In this way they are more durable. Adding Velcro is recommended in the explanations of the original planet shadow matching task but I used small magnets (you can buy them in Creative Hobby Shops) which are sticky on one side (I couldn’t glue the Velcro on the laminated sheets)

Sometimes we play with it on the floor, but nowadays the Solar System is on our fridge:

Here is a video how we play with it in Hungarian.

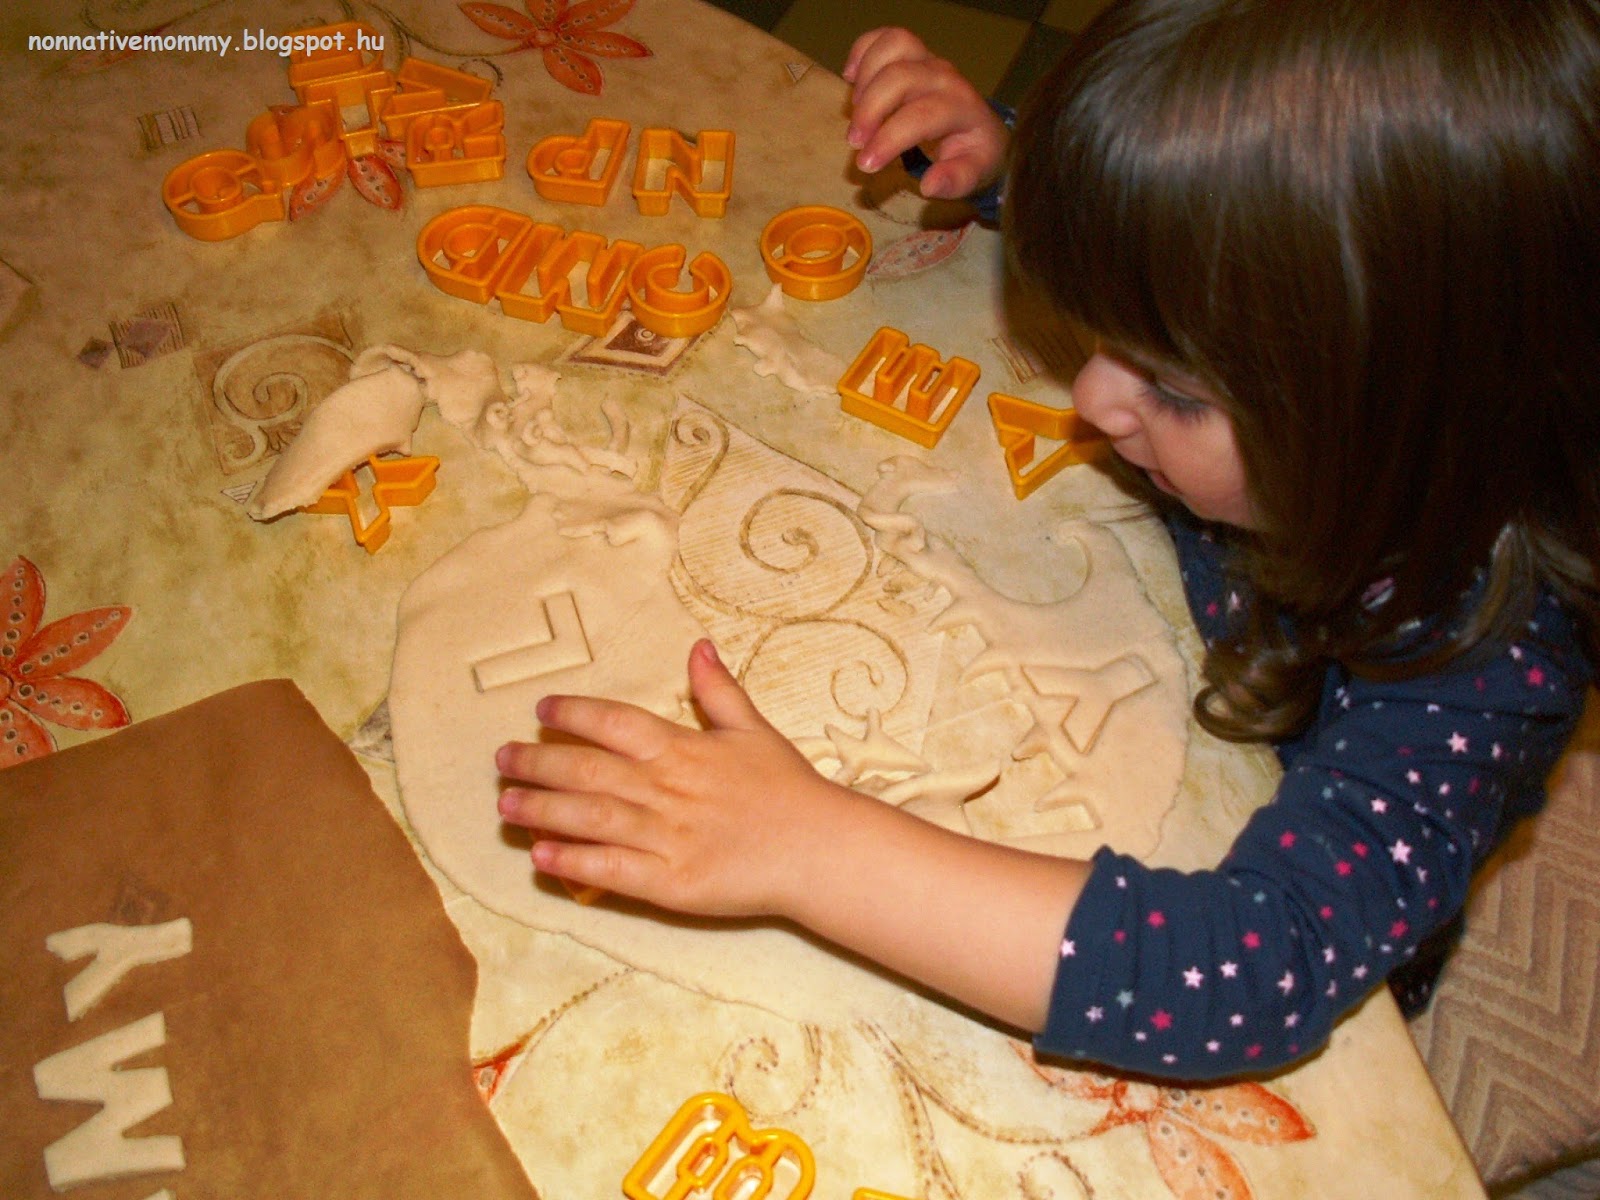
Last, but not least – salt dough planets. I’m sure the time comes in every family when they make salt dough, or some sort of home-made dough but you can use any kind of modelling clay as well. In this way E. could see the sizes compared to the sun (which is a yellow plastic ball). Originally we wanted to paint them, but somehow they disappeared during Christmas time.

E. wanted Pluto added. It’s made out of kitchen foil

For Christmas, E. got a Solar System Model Making Kit.

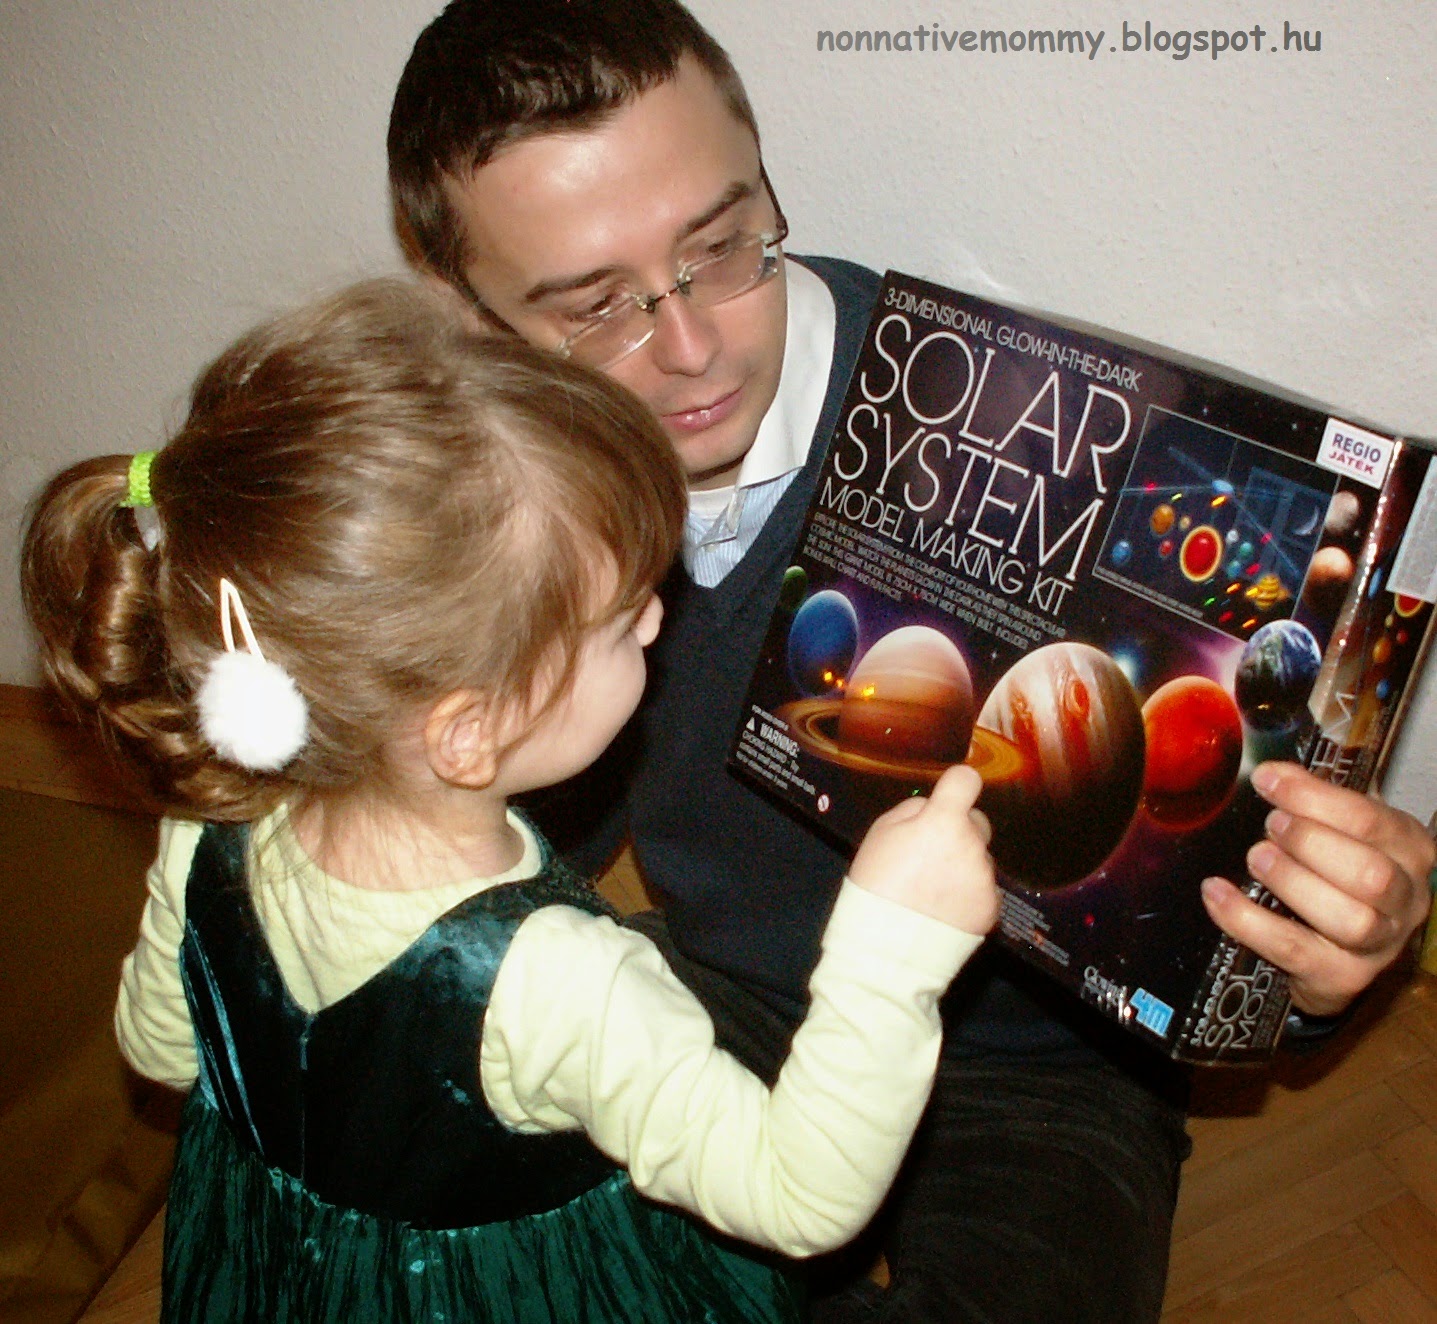
On Boxing Day the three of us were working on it all day.

mixing the right colours

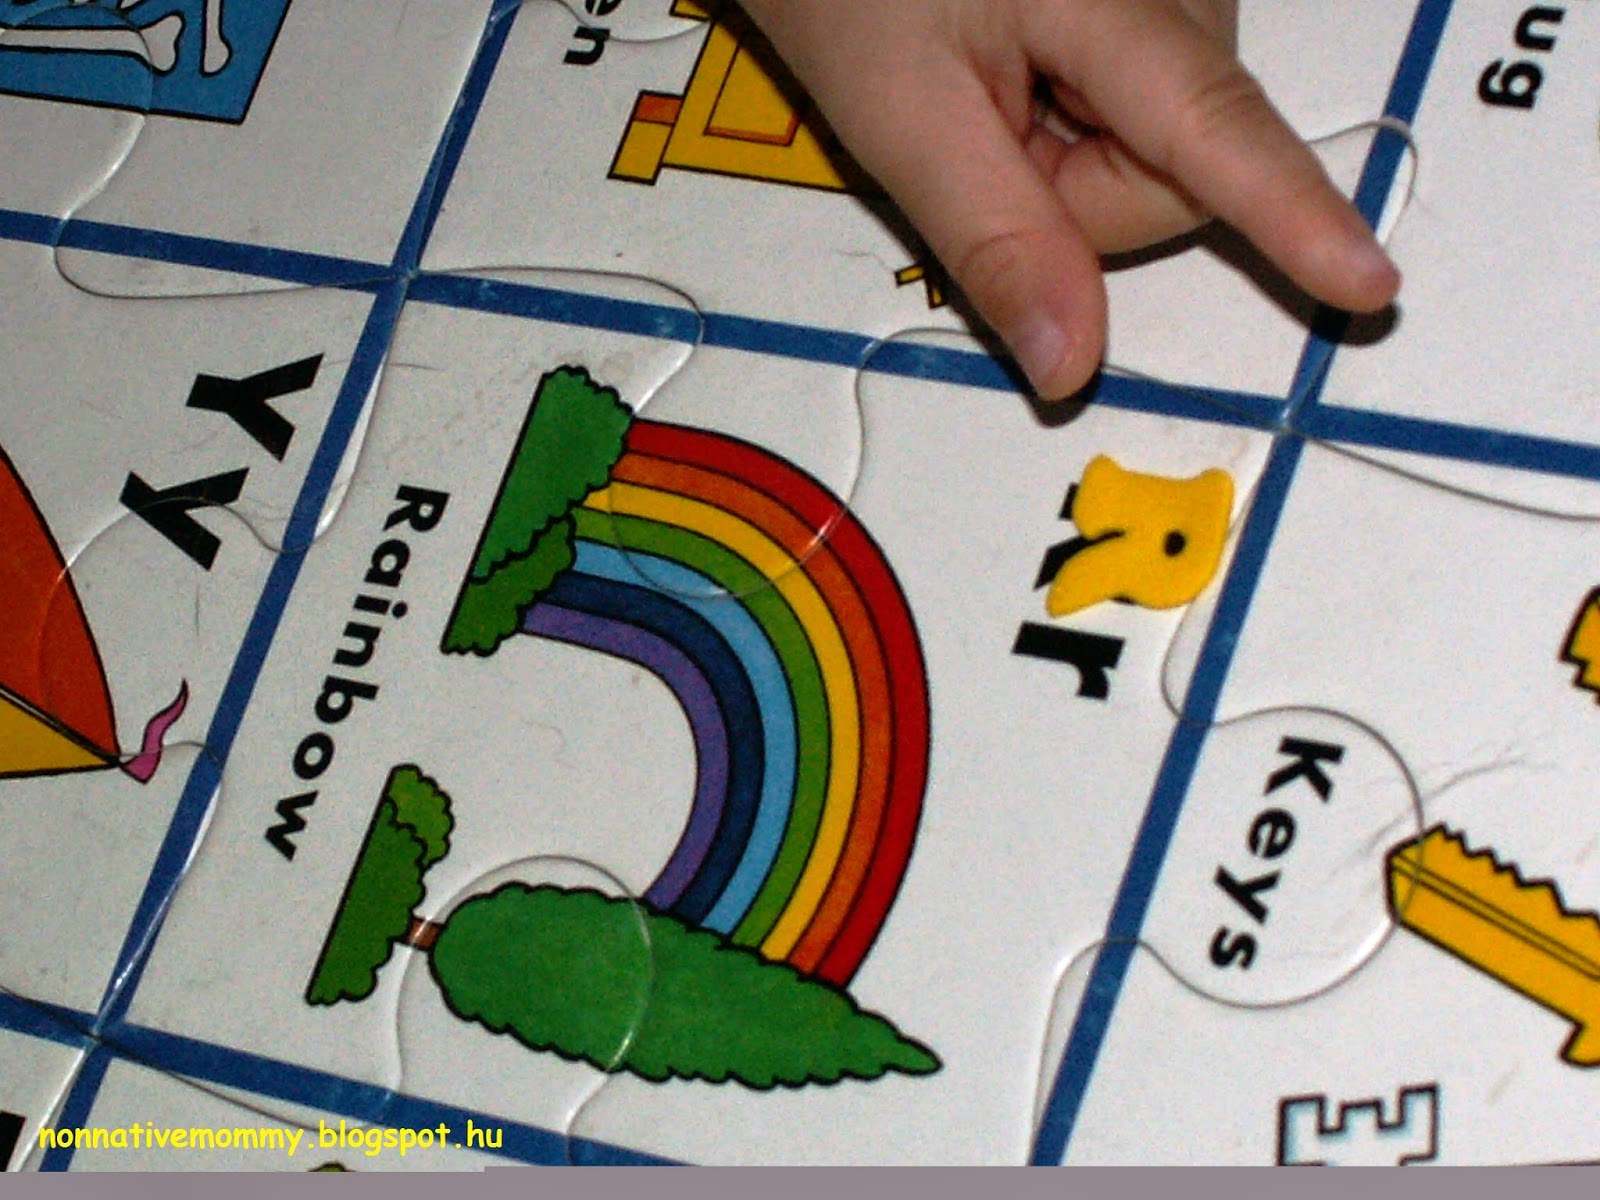
We needed to paint and assemble the planets, then hang them on rods with fishing lines placing them around the sun in the centre.

drying the planets

I added some glow plaint (which was included in the set. The planets glow in the dark.) It was a great family activity (in English). It looks nice in our living room hanging from the central lamp. (Sorry, the photo was taken with my mobile phone.)

Let’s read how we should put the whole thing together


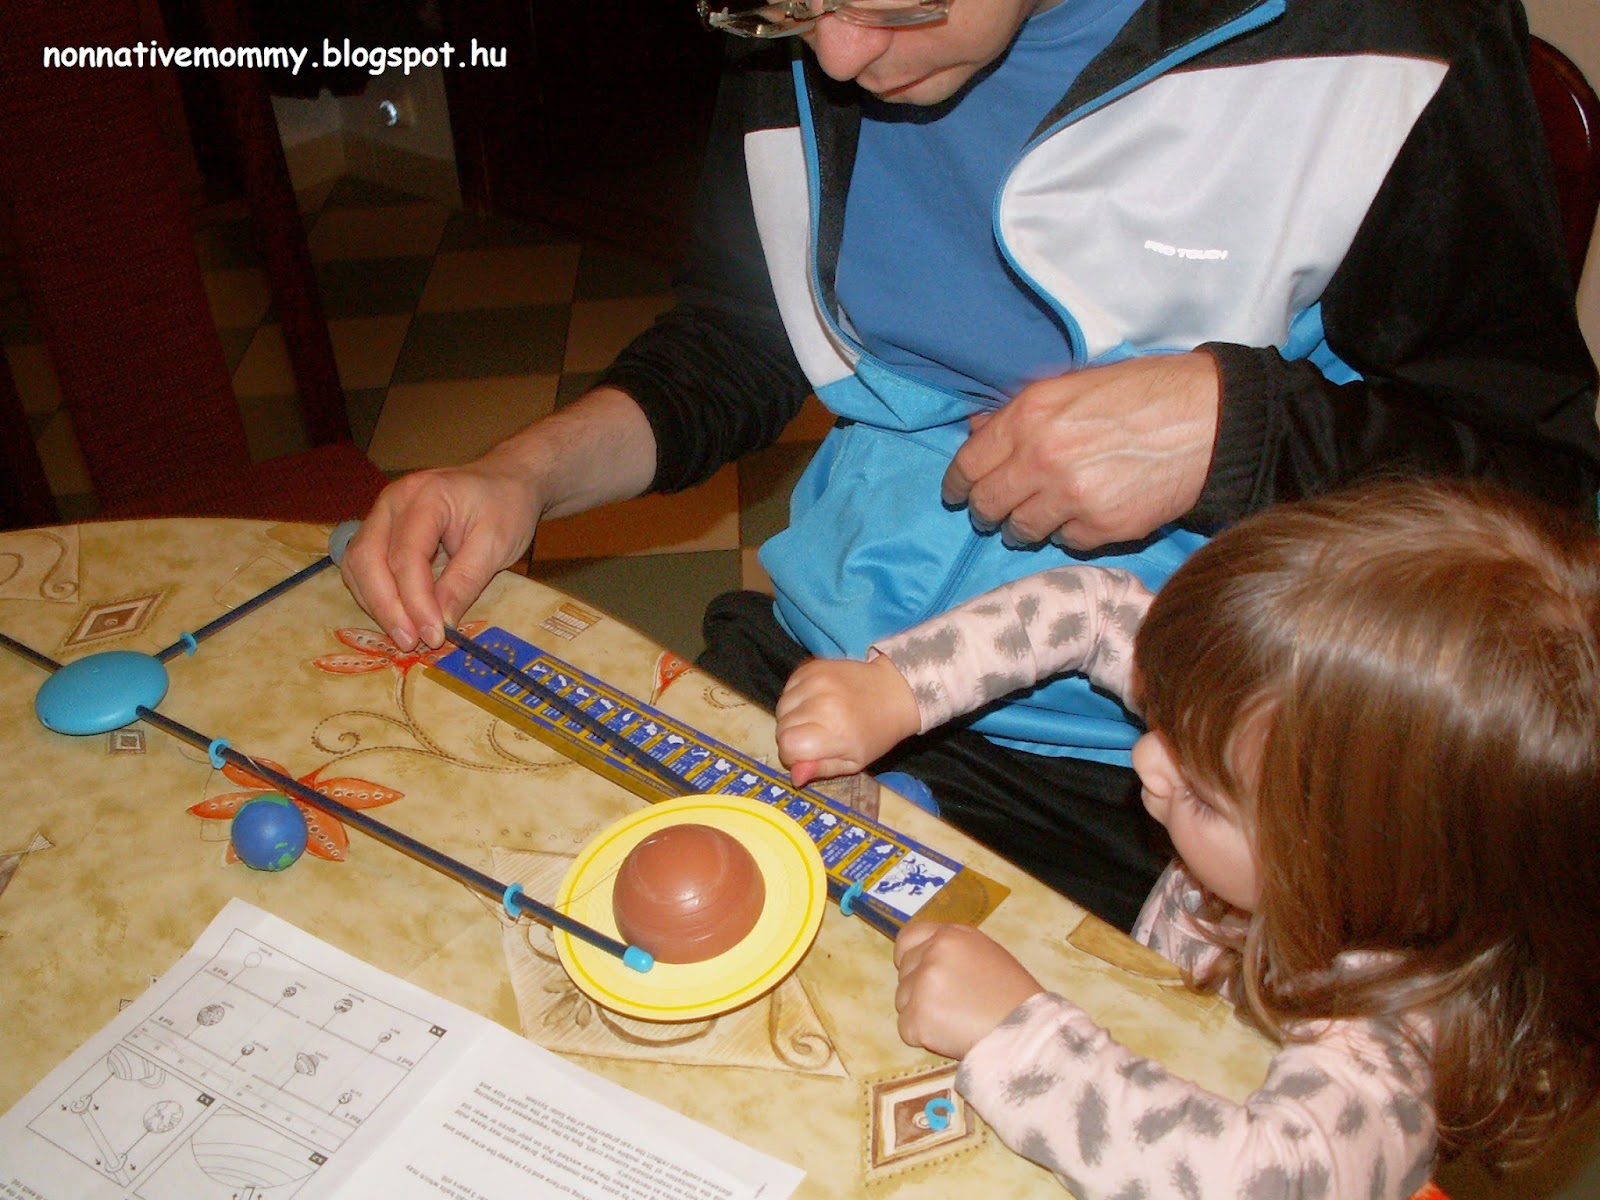
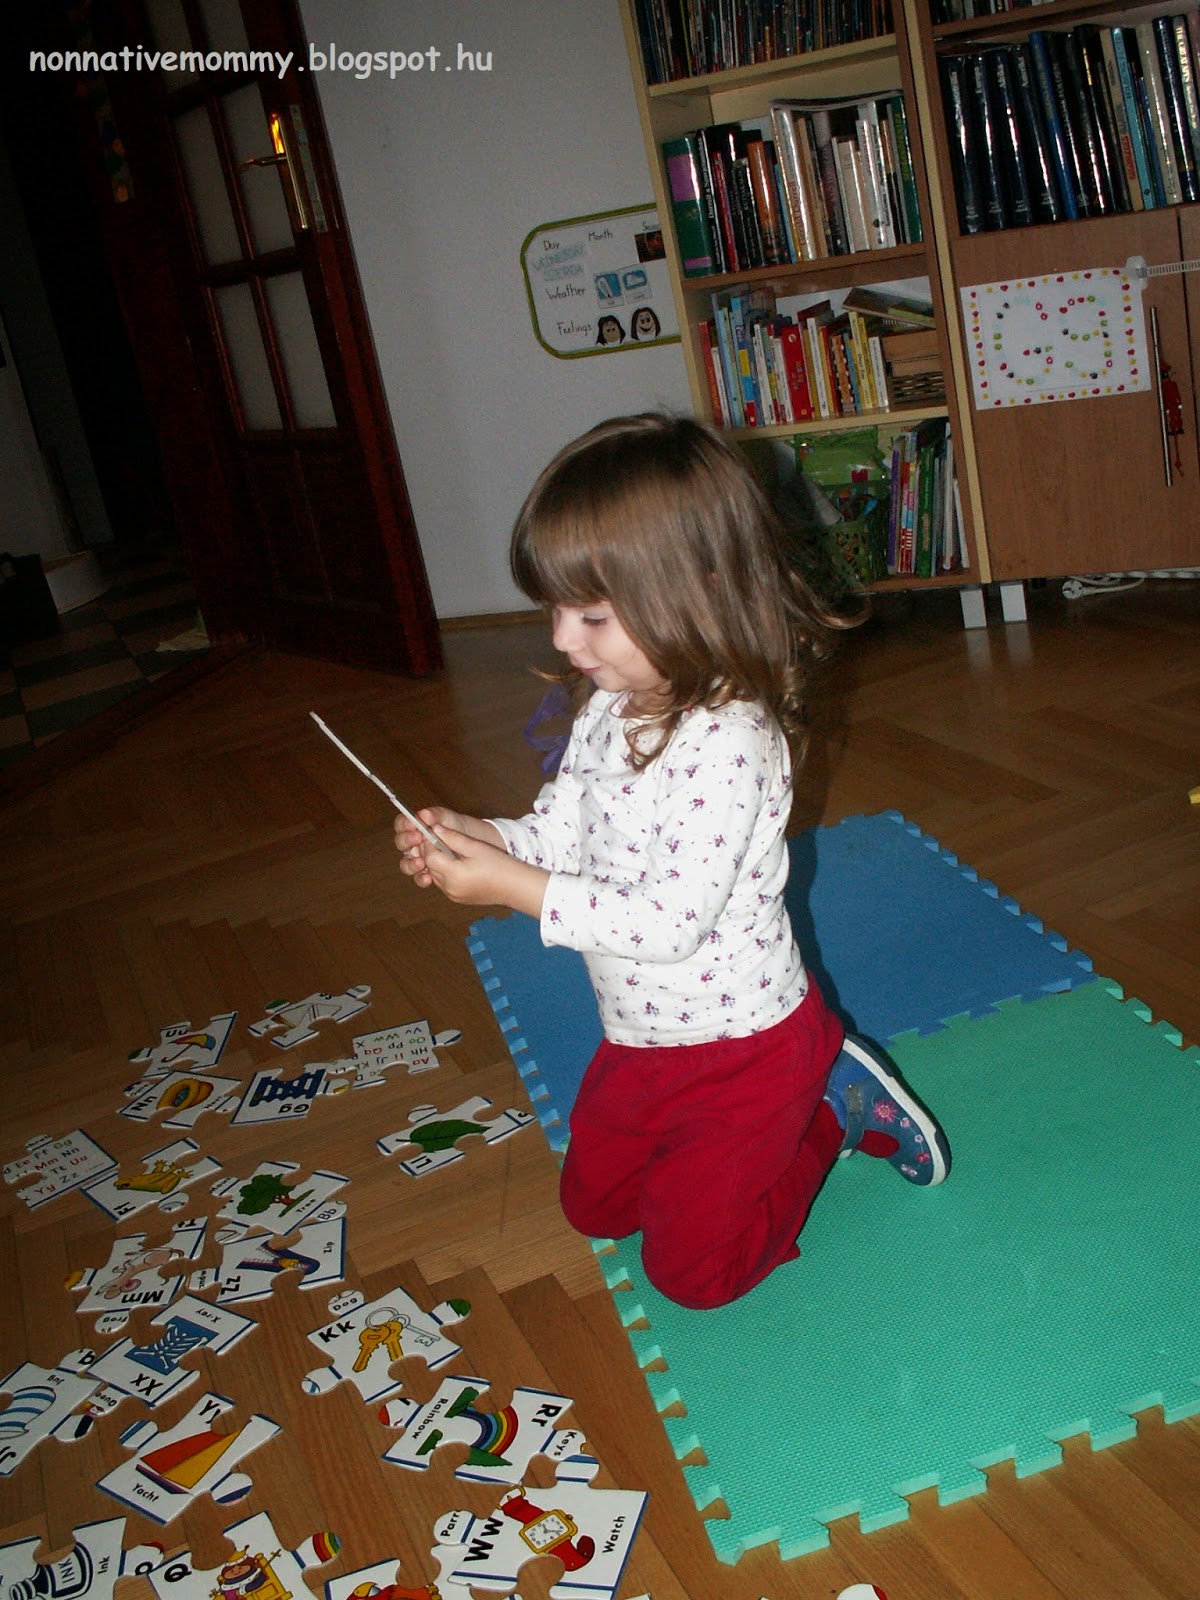
measuring the fishing line
This post has turned out to be a long one, but my main aim was to show you how many different activities you can do around a subject, let it be the Solar System, fruit or cars. You don’t need to spend a lot of money on buying props or toys (see the sandpit or the pom-pom or the drawing fun). And there are just a few activities which needs preparation (planet shadow match or the model making). So let your and your little one’s imagination fly and build the topic of interest in your everyday playtime.

Christmas tree fail – or success?

When E. asked for the Christmas tree set (construction paper cut-out Christmas trees and decorations, like tinsel, buttons, stars, cotton wool balls etc.) I was more than happy. It took me a while to prepare this Christmas tree activity but at first it seemed to be a failure.

nicely prepared set
E.’s choice instead

But at the second time it was a hit. E. was chatting away (in Hungarian this time), sticking and encouraged me to decorate my tree too. I did as she told me and didn’t take many photos. We just enjoyed being creative, being together, being full of Christmas spirit.

busy with decorating

Our final results (done in Hungarian)

Our first try (done in English)

In both cases E. made the light green trees.

If you give it a try you can widen your little one’s vocabulary in the field of

  • Christmas: tinsel, bauble, star, snowflake, beads
  • colours: light green, dark green, silver, gold, shiny
  • shapes and sizes: round, star-shaped, snowflake-shaped, long, tiny
  • texture: prickly=stingy, soft, fluffy, hard, velvety, silky, rough, sticky

Christmas tree – fail

I had another Christmas tree craft on mind through which we could have practised some English and had fun. Well, E. wasn’t in the mood. At first…

Earlier I read about a Jen’s Christmas tree decorating creative table and I thought it would have been great fun with E, too. I was wrong…

I found a Christmas tree template online and I cut 4 pine trees out of green construction paper. I also prepared different kinds of decorations: cotton wool balls, beads, mosaics, stars, buttons, pipe cleaners, tinsel etc.

This scene welcomed E.:

I thought she’ll be over the moon if she can use the glue and stick like millions of shiny decorations onto the Christmas tree.

At the beginning she enjoyed it, but wasn’t so much interested. I was trying to talk about the cotton wool balls and the shiny starts of two kinds; silver and gold. But, very unlike her, she was speechless.

She did a little gluing…

The dark green tree is what I made

but she ended up like this:
Well, maybe it wasn’t such a good idea. I should have come up with a snowmen or a snowflake art project. She might have had enough of Christmassy crafts. But I loved the idea about talking about how the angels decorate the Christmas tree, what the texture of different decorations feels like, what shapes they have (round, square, star-shaped), counting bead and button baubles and sticking on tinsel…
I still love this activity… she doesn’t. At first I was disappointed, then I just needed to accept this is not so much fun for her. So I packed everything away and I’ve already started to think about some snowy projects.

Then much to my surprise, the next day she was looking for the blank Christmas trees: – Where are the Christmas trees we made? Where are the empty ones?
I was more than happy to serve her with the set… but you need to wait for the next blog post to find out about its outcome.

Christmas tree crafts and some more ABC

As Christmas is getting closer we are doing a lot of Christmassy crafts. They give us the chance to talk about a lot of things in English, like colours, decorations, presents and E. has already learnt plenty of Christmas vocabulary (like candy cane, gingerbread man, angels, advent, wreath, candles, sparklers, baubles, tinsel, gifts etc.)

Here I’d like to present you 2 ideas in connection with decorating a Christmas tree.

  1. Sticker decorations and letter recognition:

I searched for a Christmas tree colouring sheet and I copied it in WORD, then I added the letters and a little table at the bottom. In the table I put the letters and above them you can see a Christmas related word. (We didn’t read them I just wanted her to see the words written down. I can send you the word document if you wish to use it)

I had some Christmas stickers from last year (I’d bought this sheet in KIK for 300 HUF) and I added an angel, a star, a candle, a bauble and a gingerbread man. These stickers are really cool. They easily come off the paper, so I took off the candle and the gingerbread man, just for fun. Later, E. put them back.

One afternoon after her nap this was the scene waiting for her.
She needed to search for a figure and stick the right sticker on the starting letter of the word.

But first she coloured the tree green, the star on the top yellow and the trunk brown. A little more colour talk.

artist at work

Then searching and sticking started:

peeling

sticking

 I had to add some more letters as she wanted more baubles and stars.

When she’d finished we displayed it on the door of our living-room.

            2.     Dot marker decoration

We got a box of DO-A-DOT markers for E.’s birthday in May and ever since we’ve had so much fun with them. Actually, I saw this dot the letter Christmas tree activity online, though we’ve done a similar dot marker activity at Halloween with a pumpkin.
This time I drew a Christmas tree with some presents below it. I wrote the beginning letter of the colours, like G for green (a lot of them, though I should have written even more), R for red, Y for yellow, P for purple, B for blue.
I prepared all the dot markers well in advance. I took off the lids so E. didn’t need to although it could be a nice fine motor skill practice. There were quite a lot to do with the Christmas tree and I didn’t want her to get bored with the opening of the markers.
First, she tried almost all of the colours, then she stuck to one colour and finished dotting all of them on the sheet. As I’d always been telling her to put the lid back on the markers she decided to put it back and pack away the marker when she’d finished with a colour.
packing away
red baubles
She mentioned that she was putting red and purple baubles on the tree. When she was doing the yellow decoration she said they were candles. I asked quite a lot of questions to make her talk while she was working. We even sang the “Oh, Christmas tree, oh, Christmas tree” song:

Then we put the finished Christmas tree next to the other. 
I have some more Christmas tree ideas from paper plate with some painting and sticking, however some snowy crafts are on the way too. We’ll see what we have time for.
Also, I’d be happy if you let me know in the comments what Christmas tree projects you have with your little one