Conker games

Whenever we go somewhere we MUST collect something. My pockets are full of stones, acorns, berries and conkers, just to mention a few. One day we visited Margaret-island (a small island on the River Danube, Budapest) and managed to collect tons of different fruit of various trees and bushes.

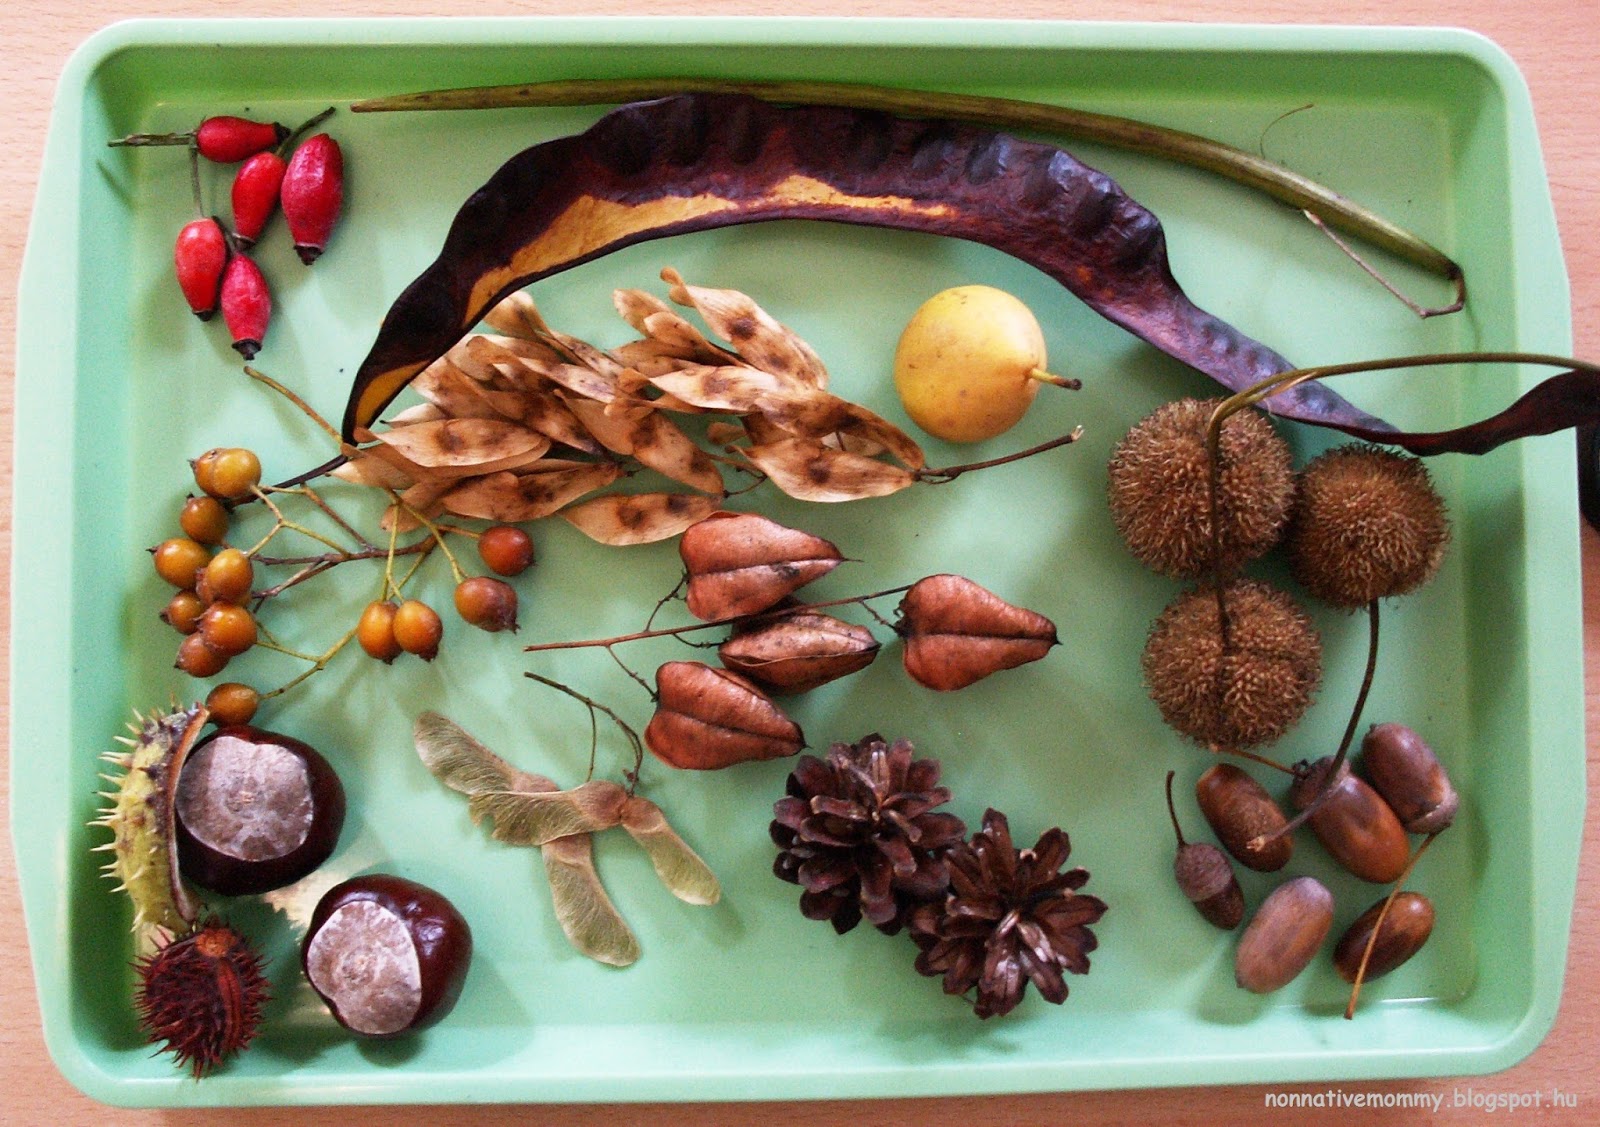
Rose hips, conkers, sycamore “rotors”, pine cones, acorns, London plane seed balls, wild pear, seed pods of China tree

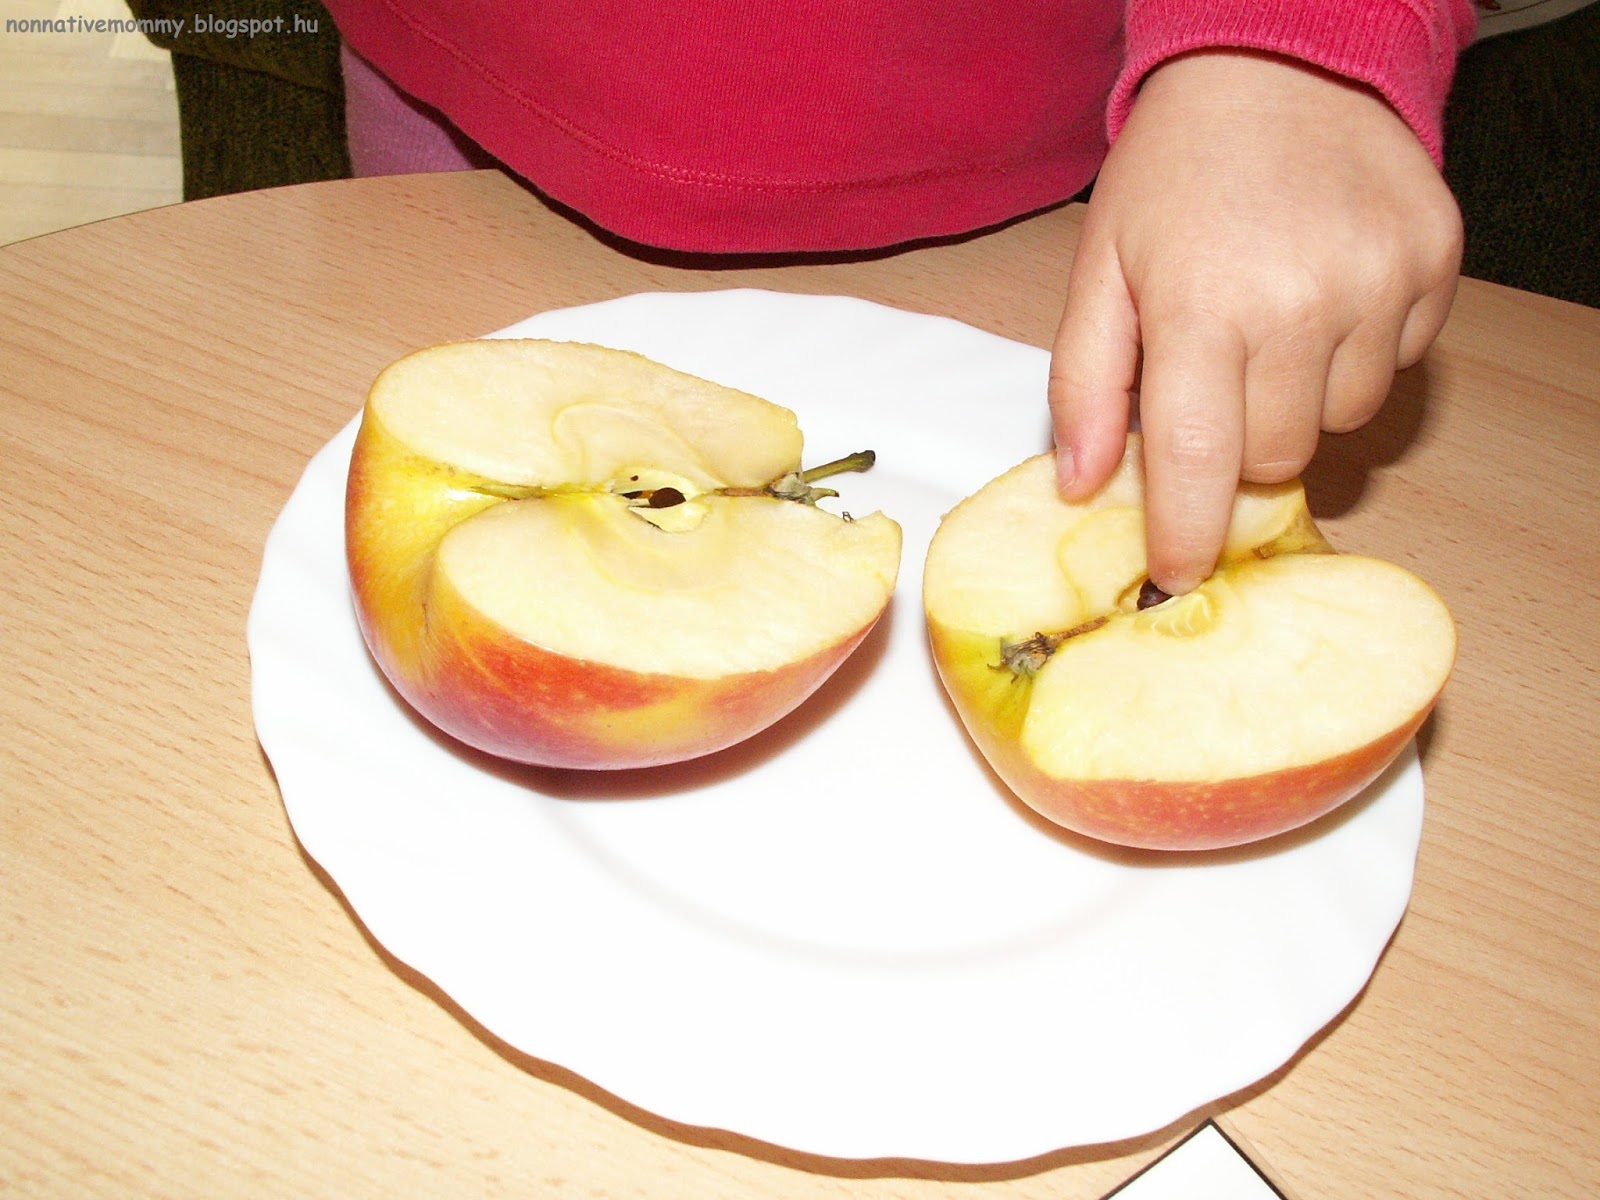
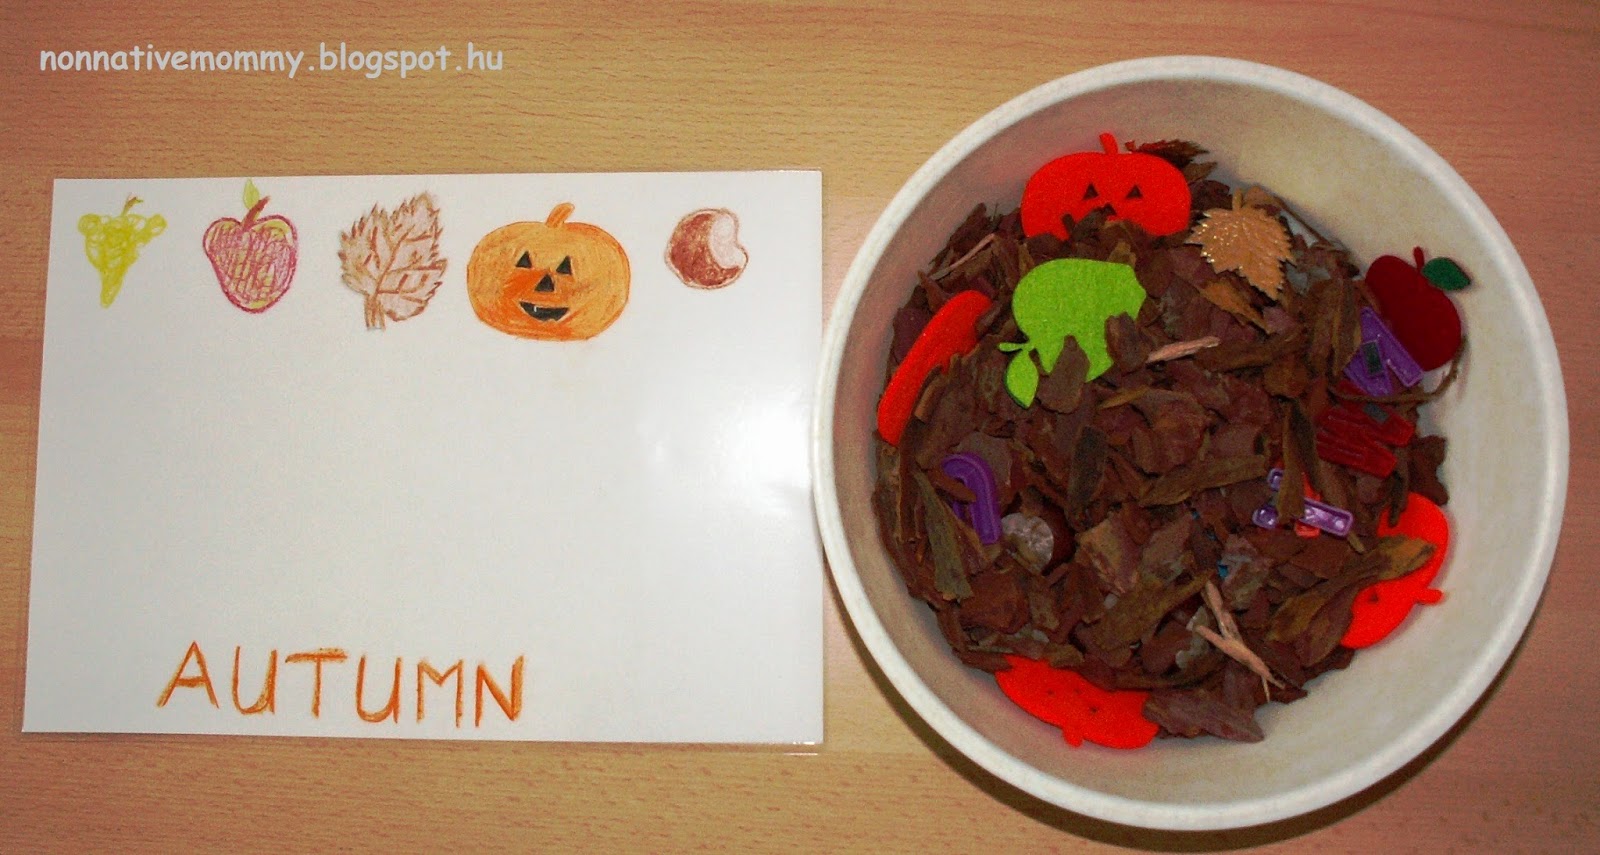
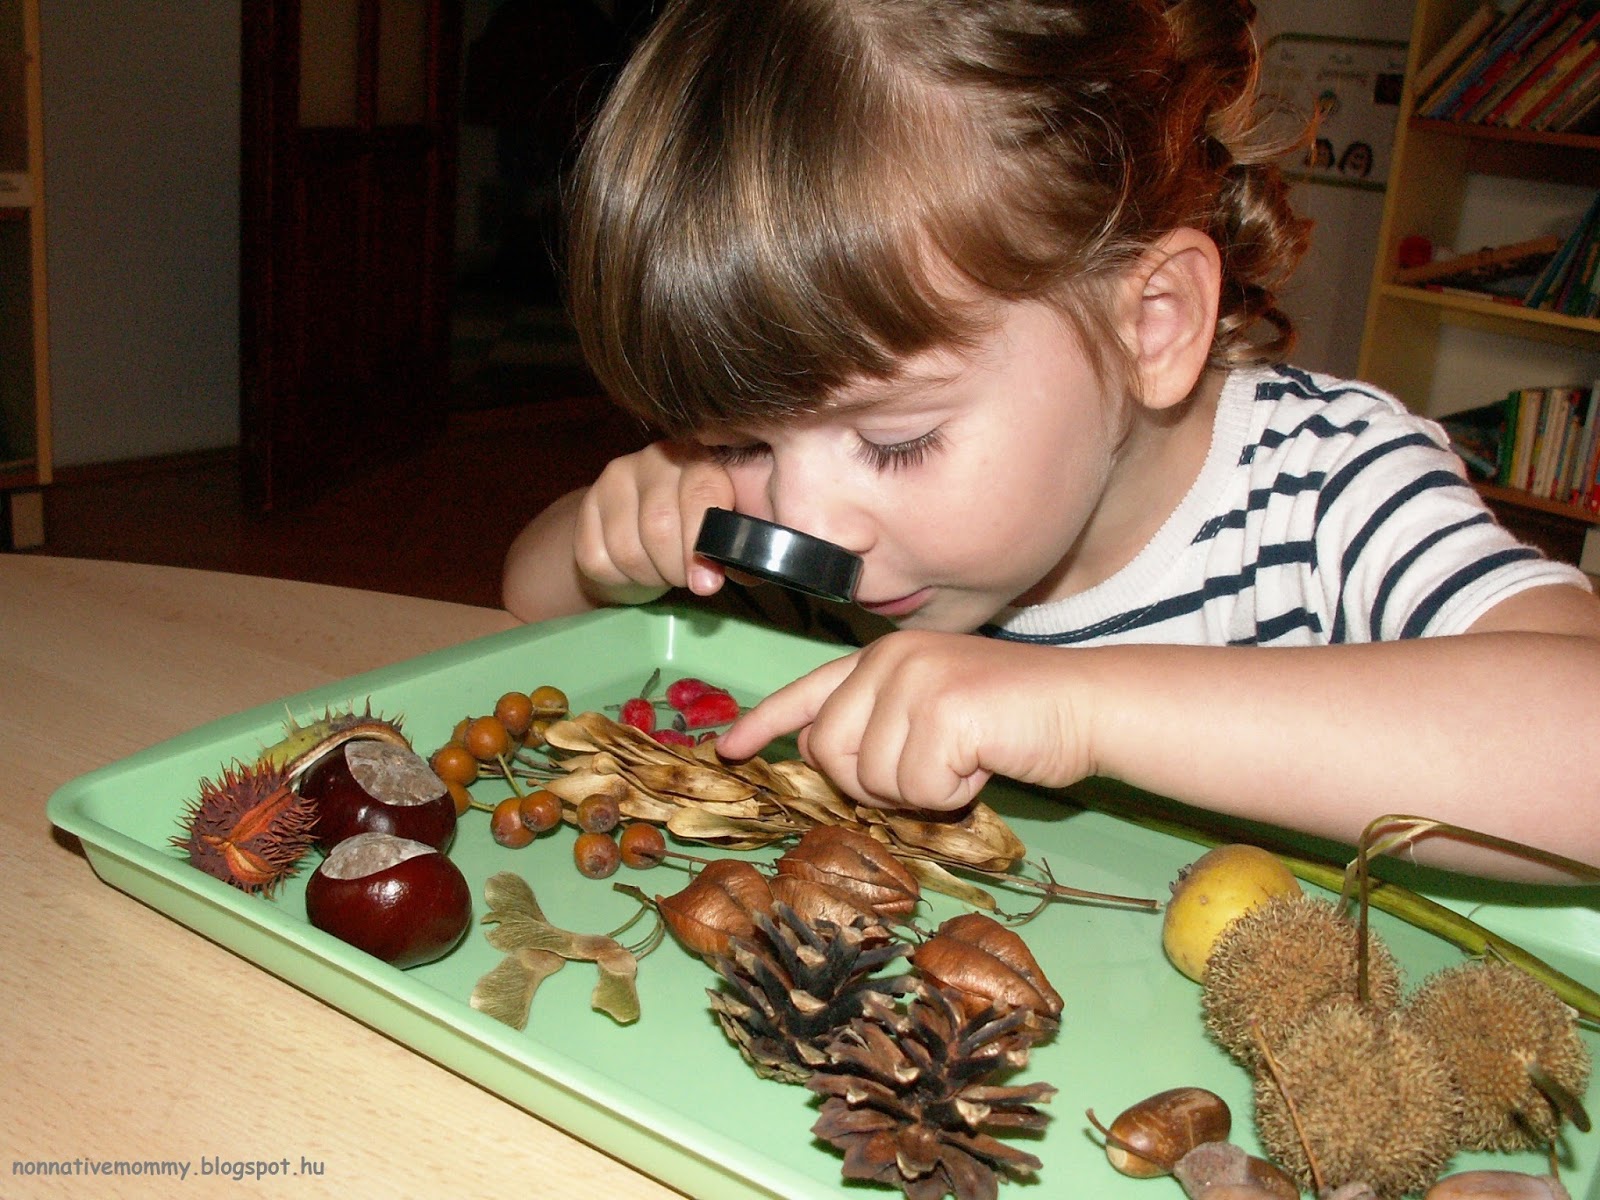
So during E.’s nap time I put together this tray of all kinds of fruits and a magnifying glass. As soon as she discovered the tray she eagerly examined their texture, the surface and the inside of the fruit.

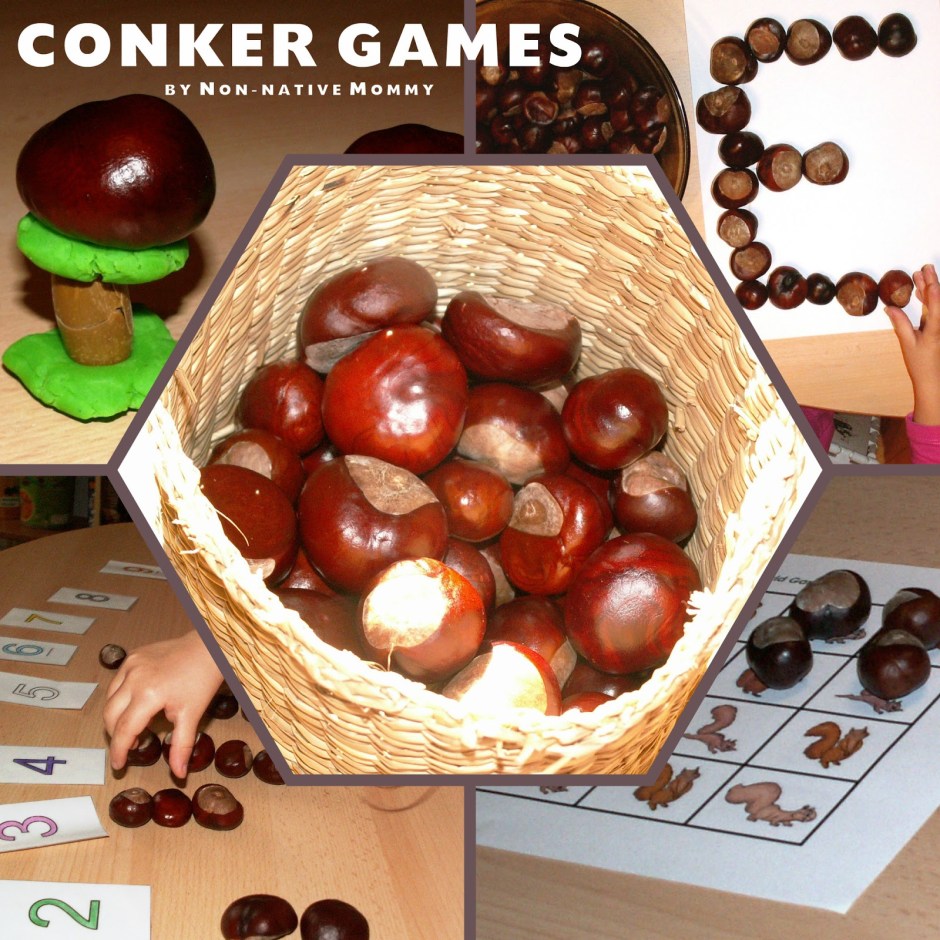
We collected a full bag of conkers and pine cones, half of which we took to E.’s kindergarten. The other half of cones we’ll use for decoration and Christmas ornaments (see a later post) and the conkers we’ve used to play games with.

Counting conkers


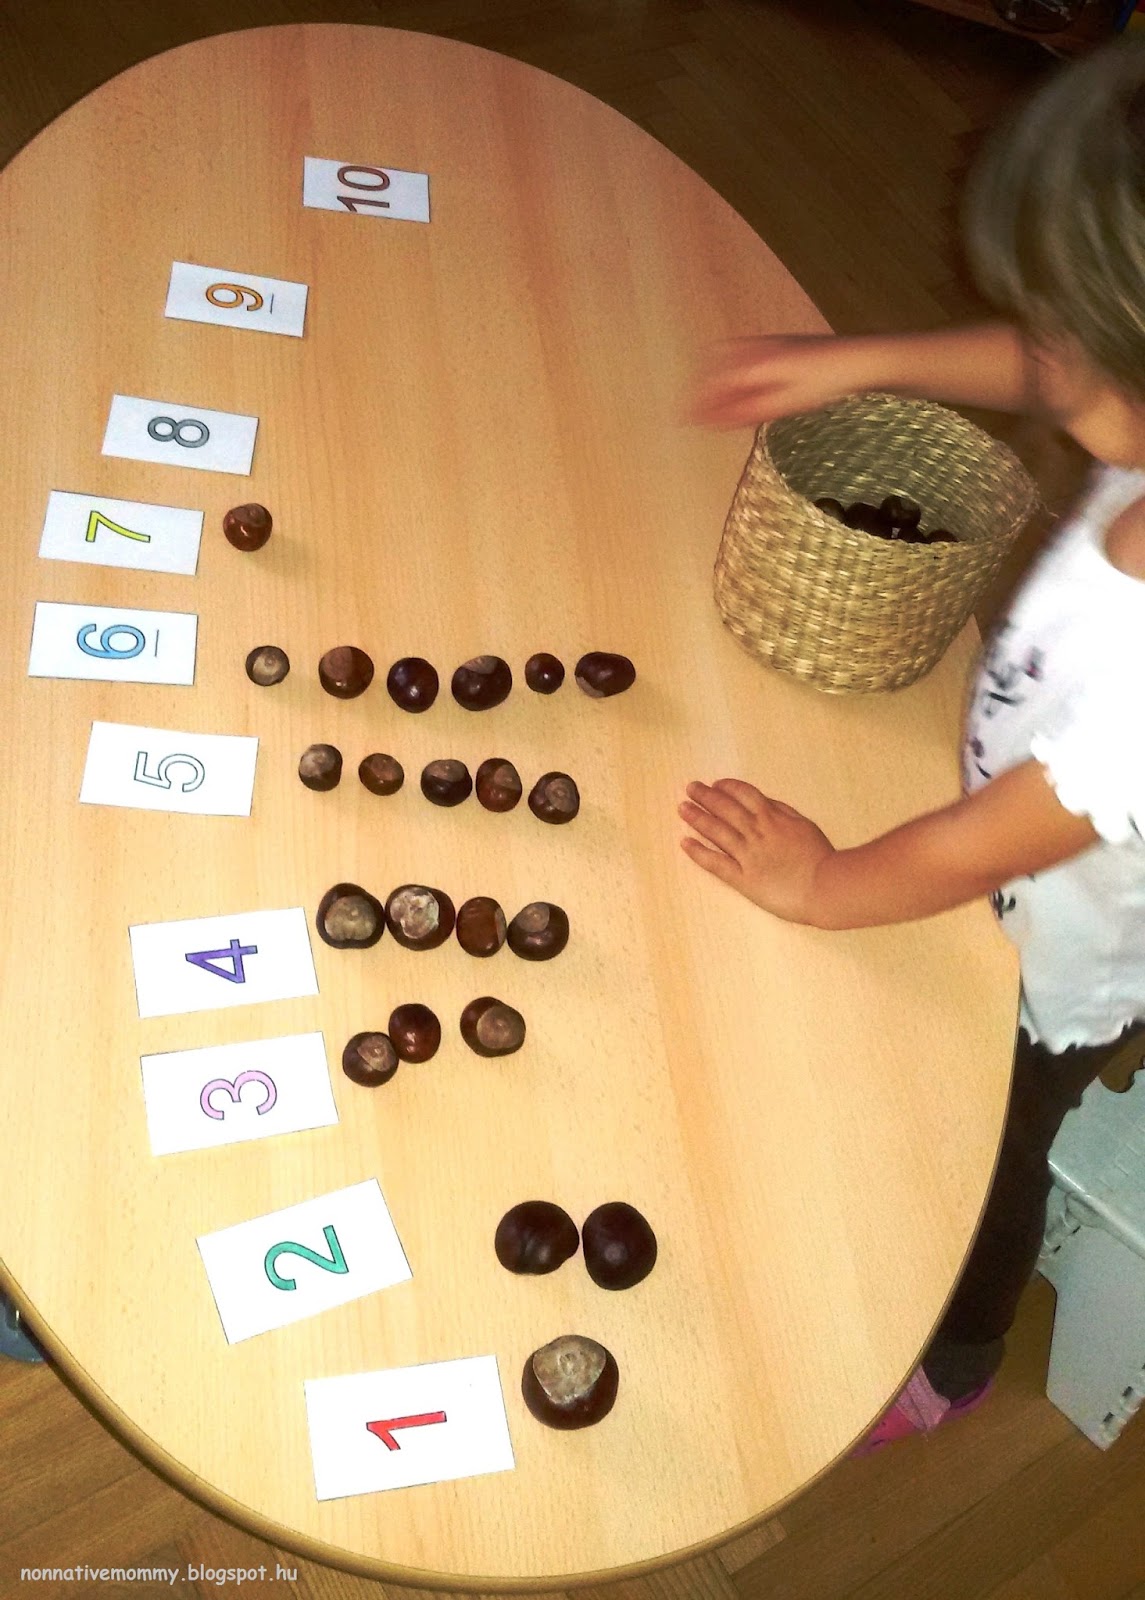
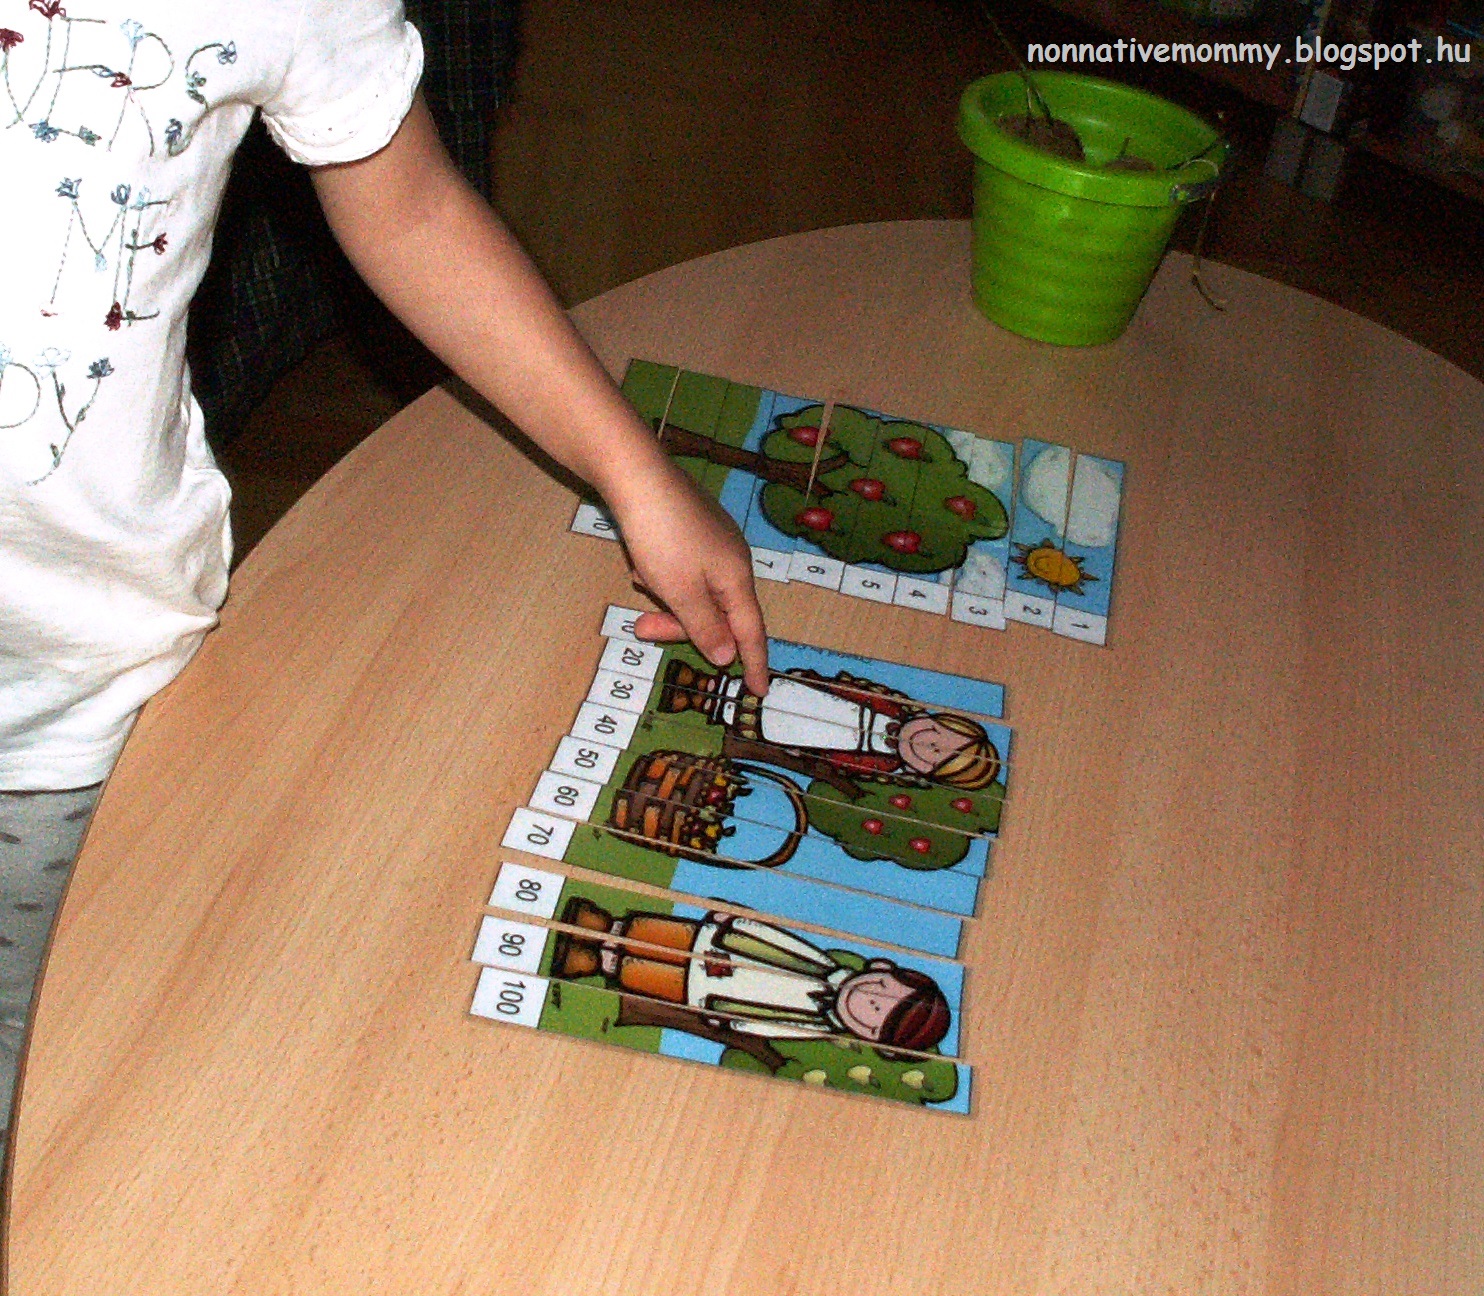
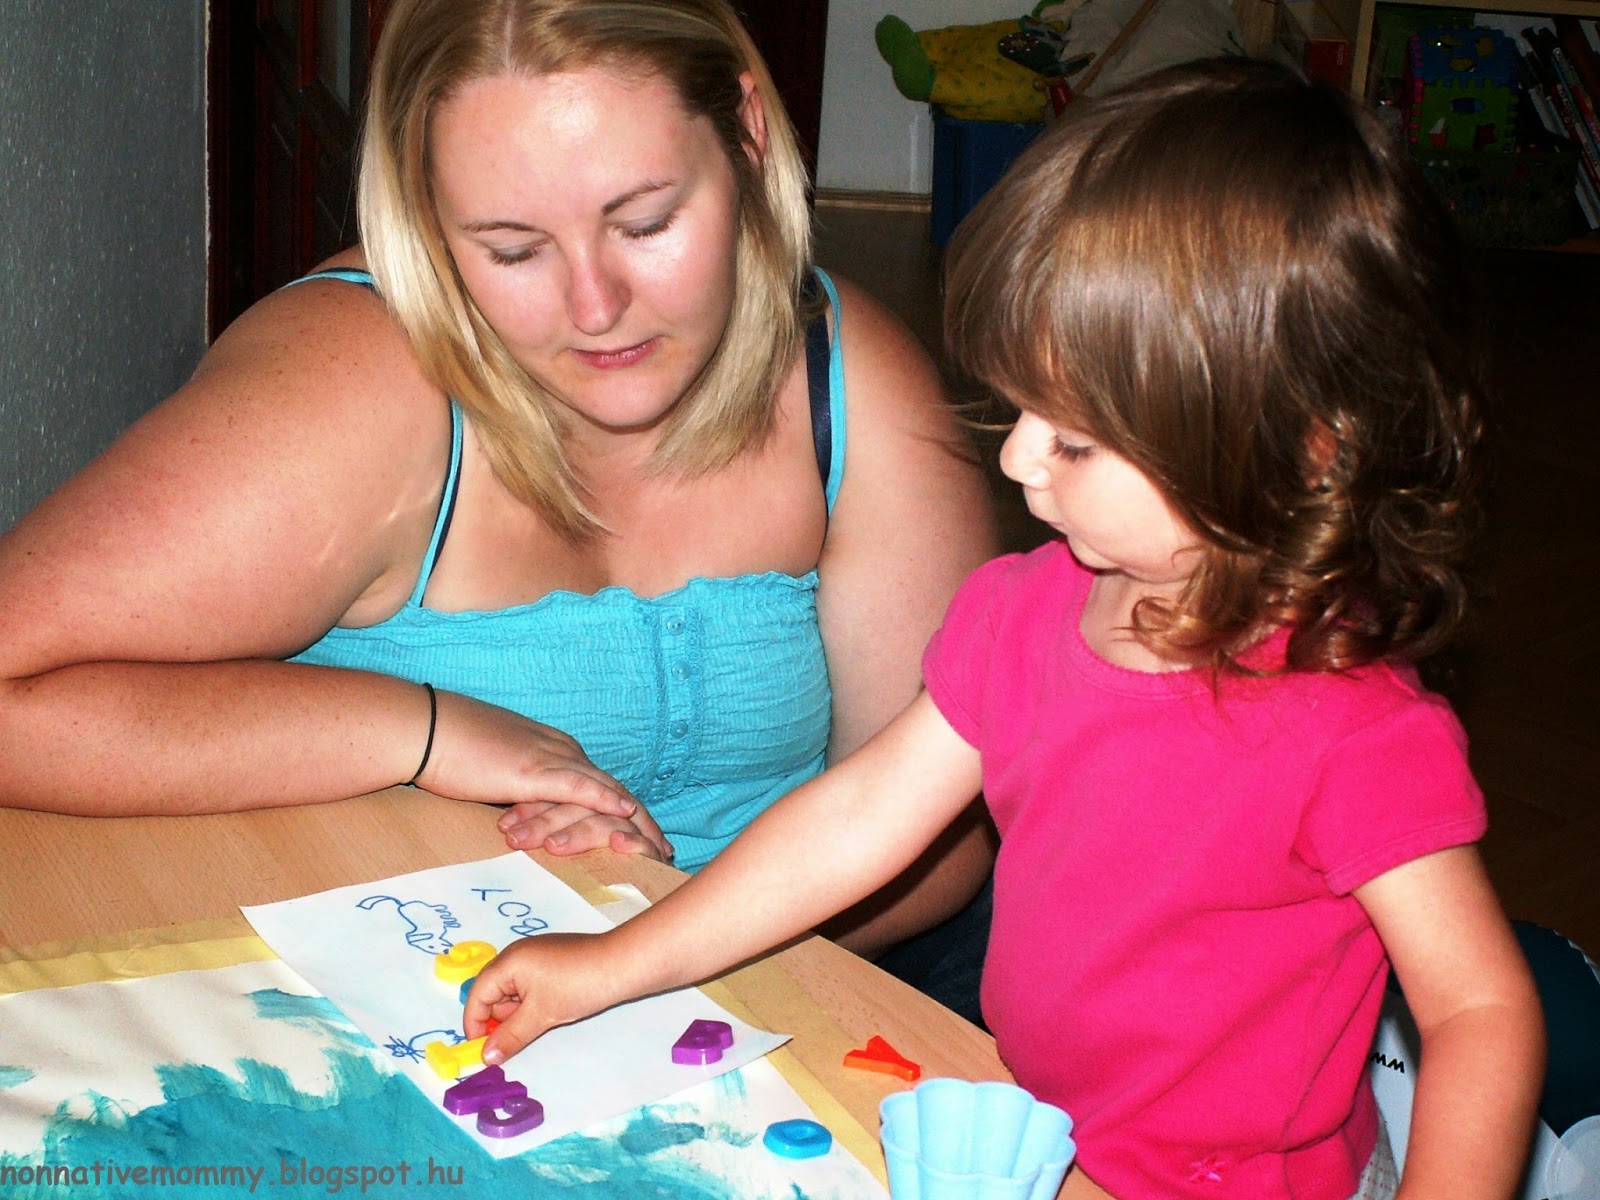
I put the conkers in a woven basket and placed the number cards on the table. E. needed to put the right number of conkers below the cards.

When we played this game we’d just returned home from the nursery and changed languages. You can hear in this video how she is mixing English and Hungarian, and also, me asking back “Sorry?” all the time in a silly way 😉

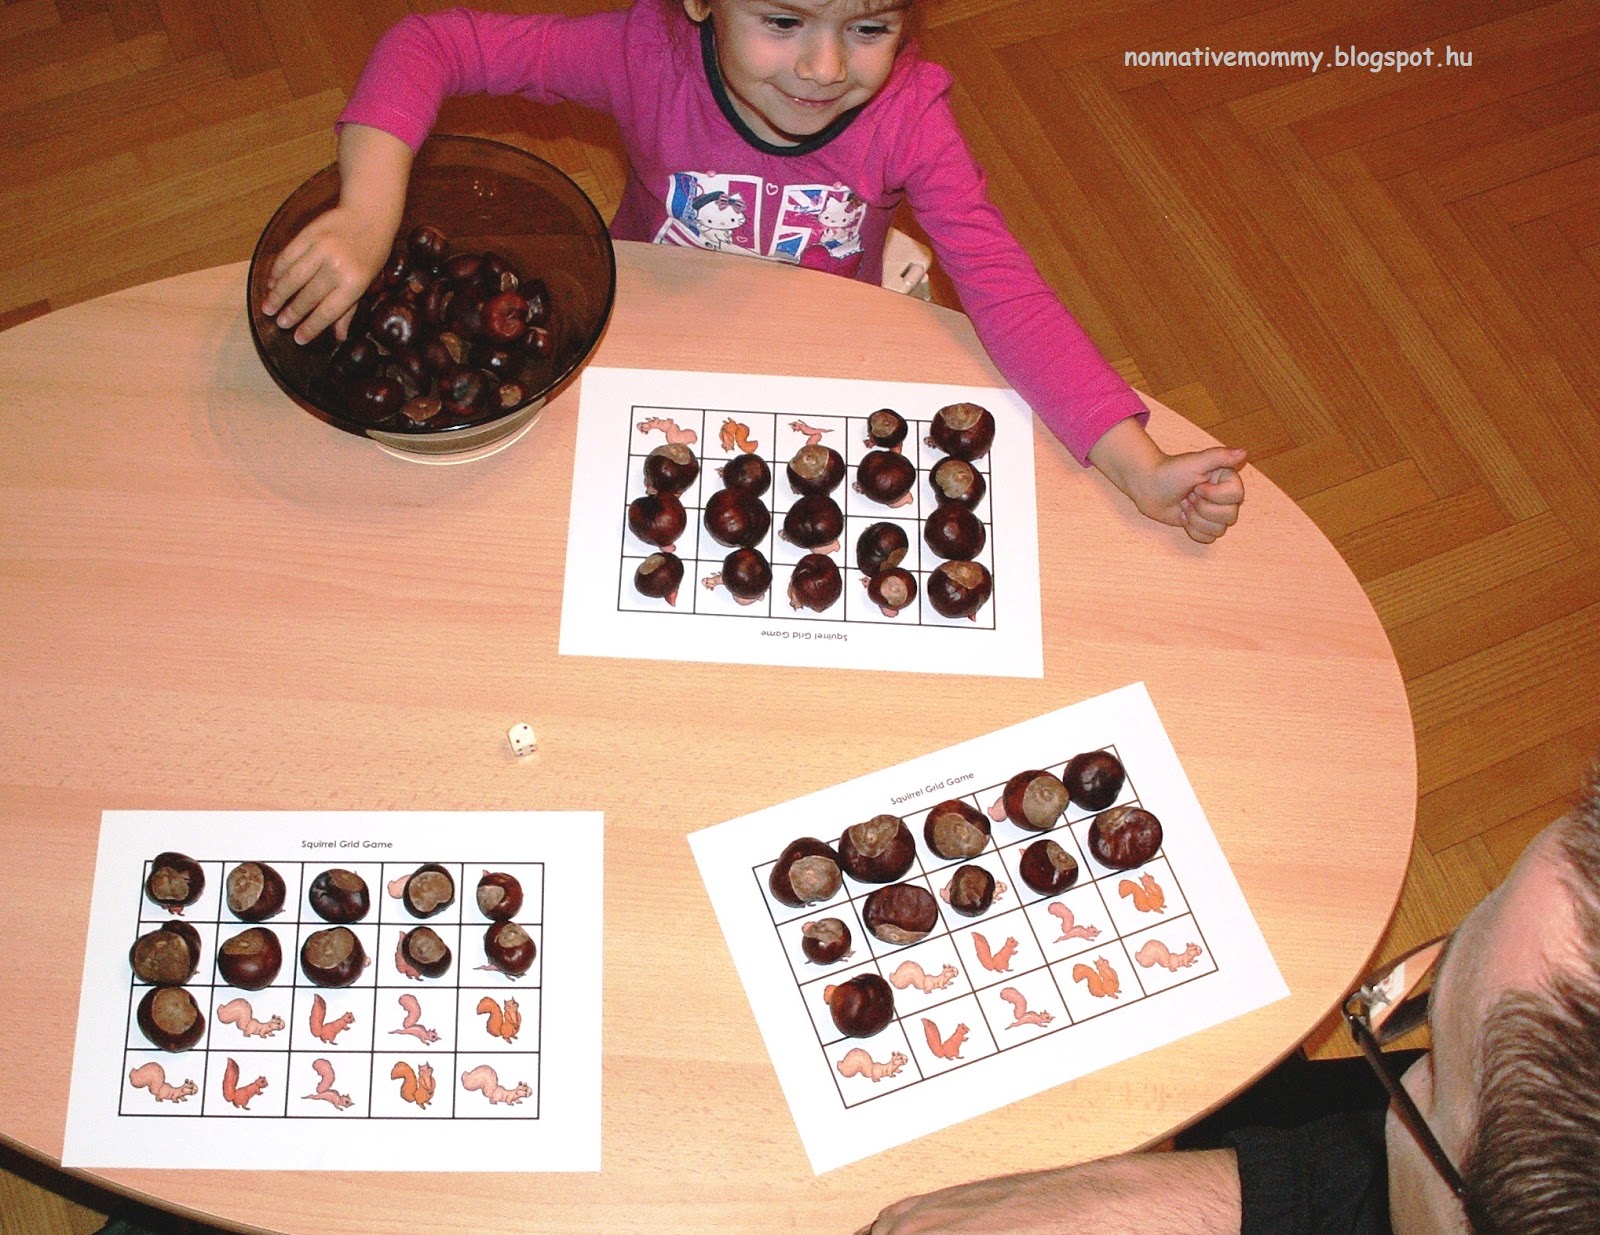
I’ve found a super-cute squirrel grid game on prekinders.com and although we didn’t have enough acorns or walnuts that squirrels love eating, we used our conkers as manipulatives for this game.

How does the game go?

E., Daddy and myself played so I printed 3 copies of the squirrel grid (of 20 squirrel) and put LOADS of conkers in a bowl. You’ll need a game die. Of course, the youngest starts the game, throws the game die and identifies the number on it. The player then needs to place the same number of conkers on the grid. We take turns and the winner is who finishes the grid first. (You can play it as an addition game with 2 dice if your child is older. If he/she is younger, you can use a special die with only 1-2-3 on it)

I’ll be the winner, not you Daddy.
Mind you! Conkers are slightly toxic, so it’s better to know that just a very few animals can eat it (like deer), but people and squirrels never.

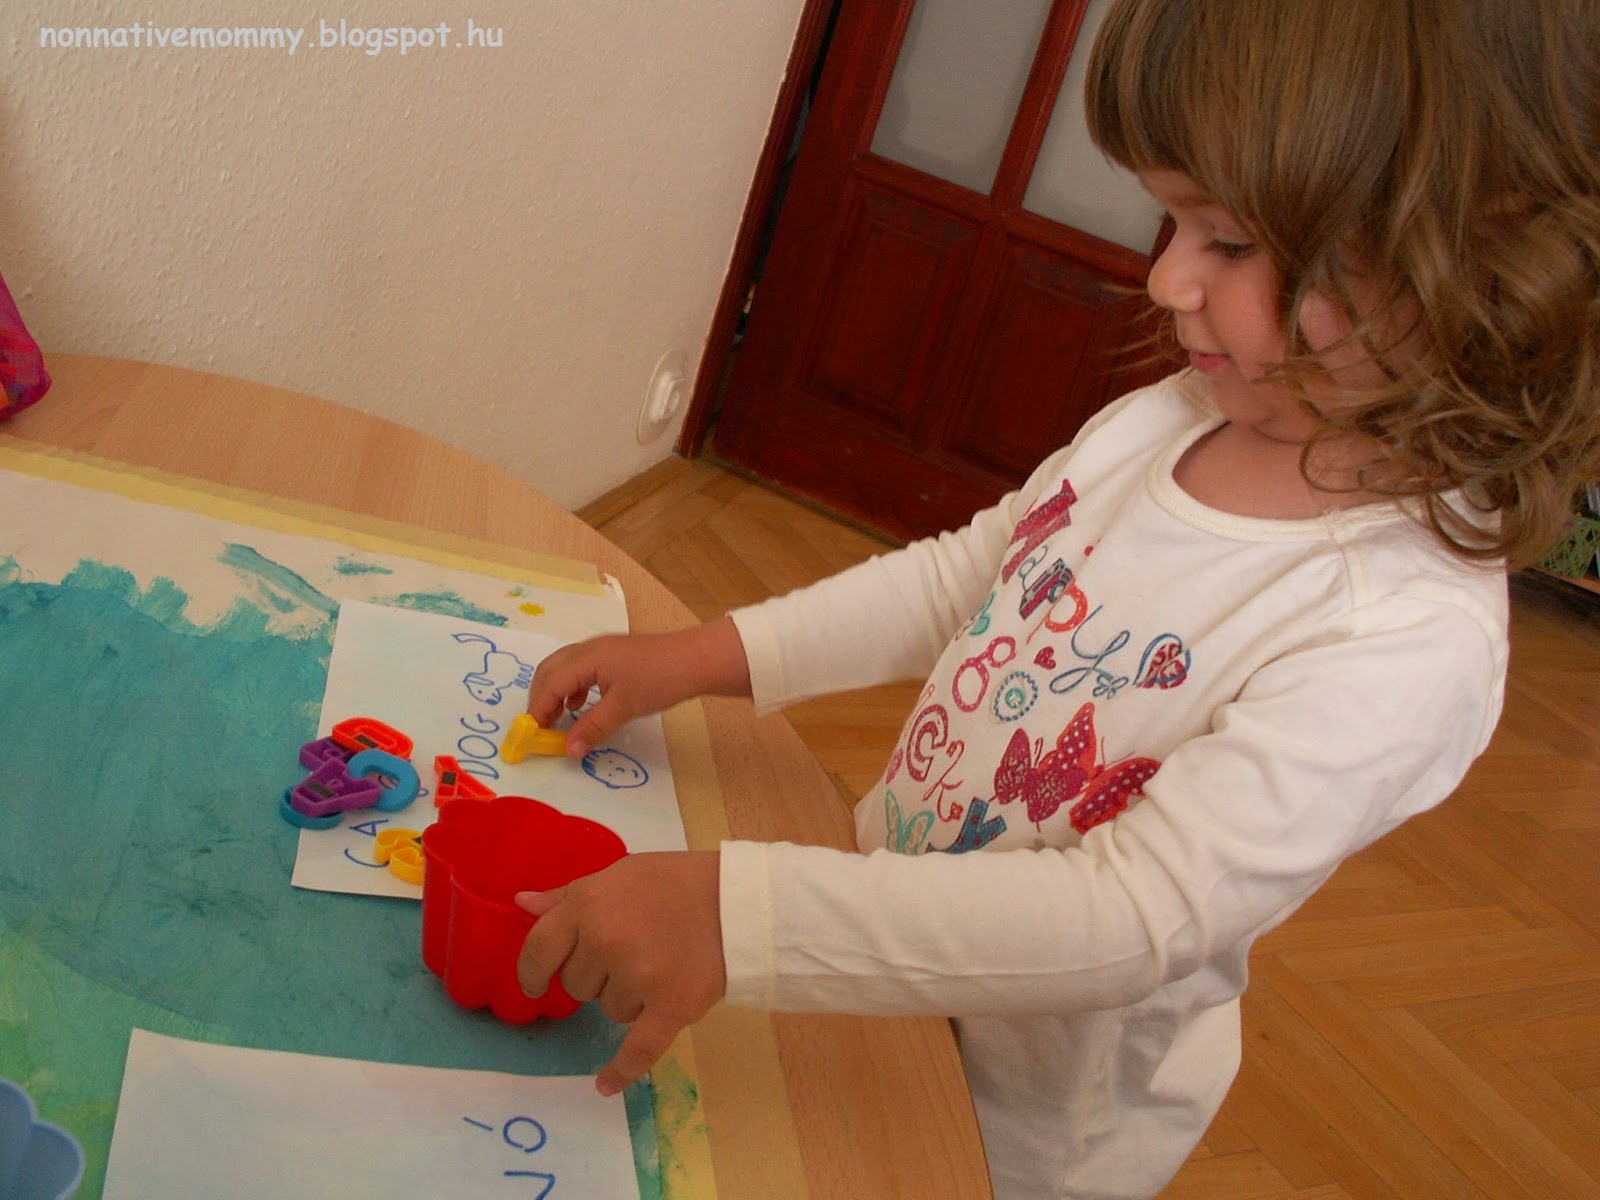
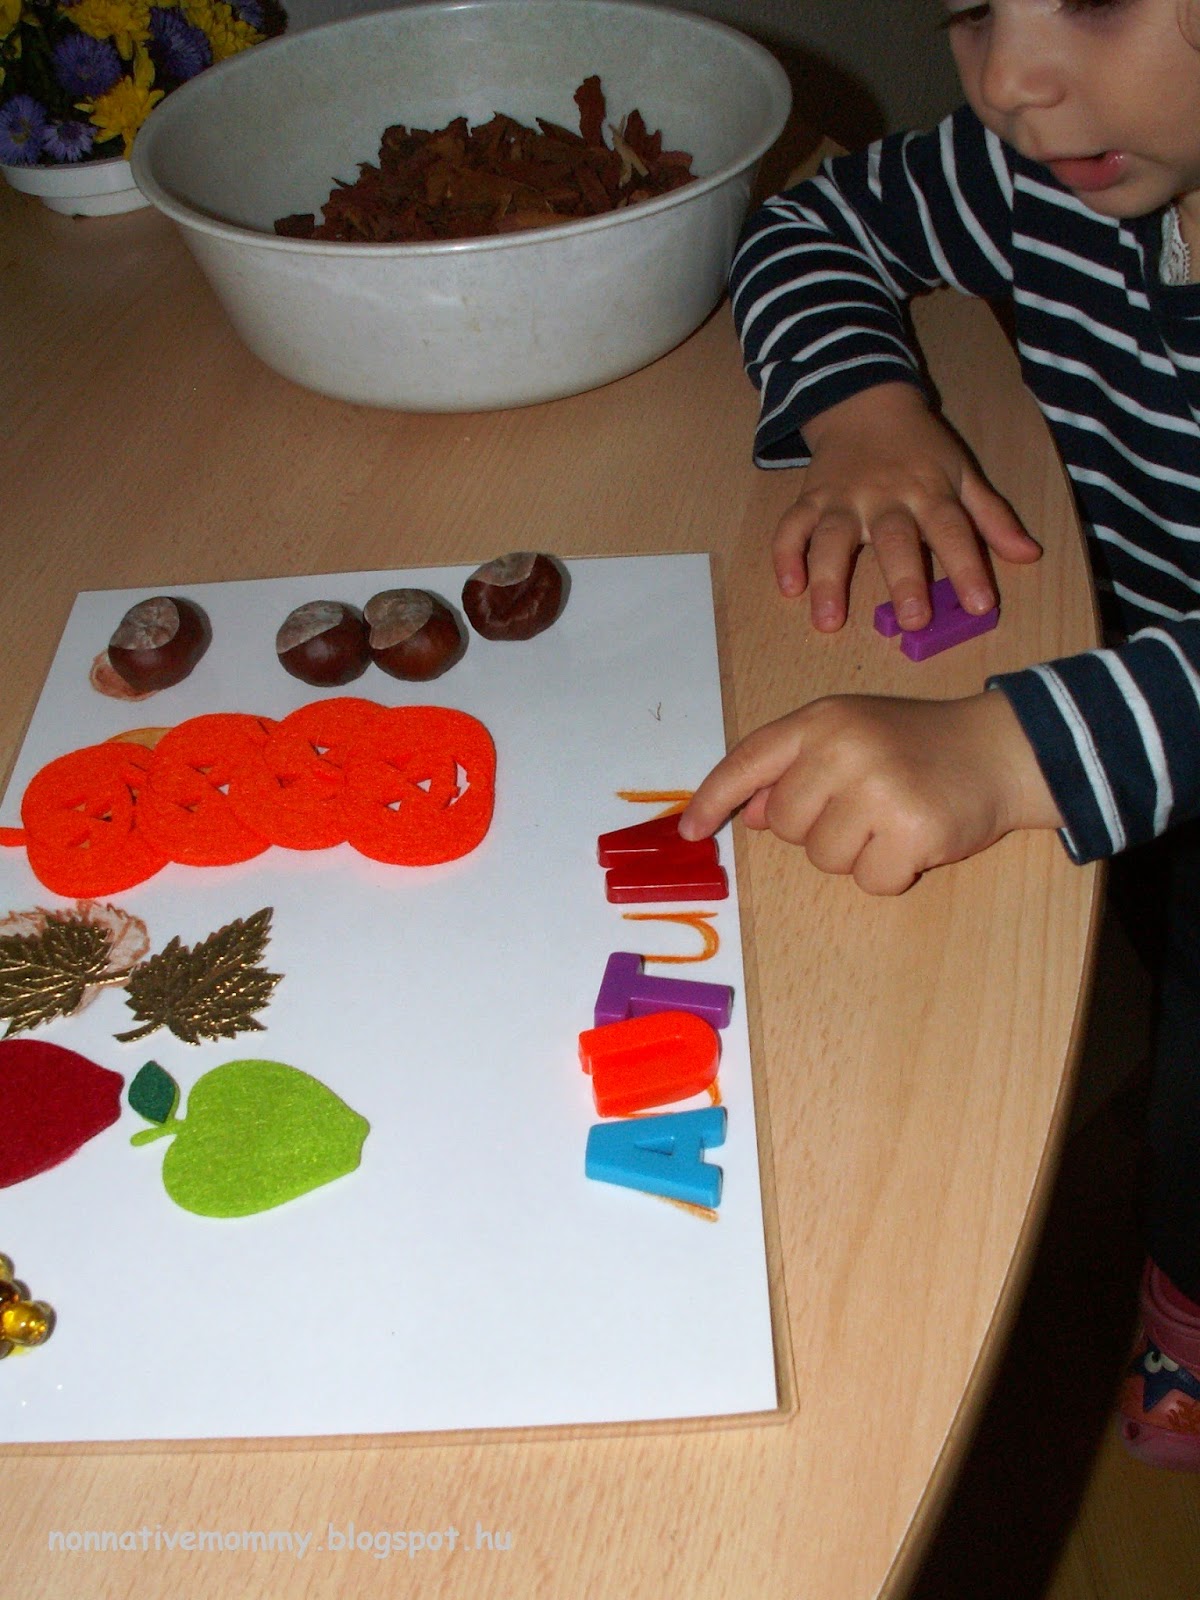
 Name written in conkers

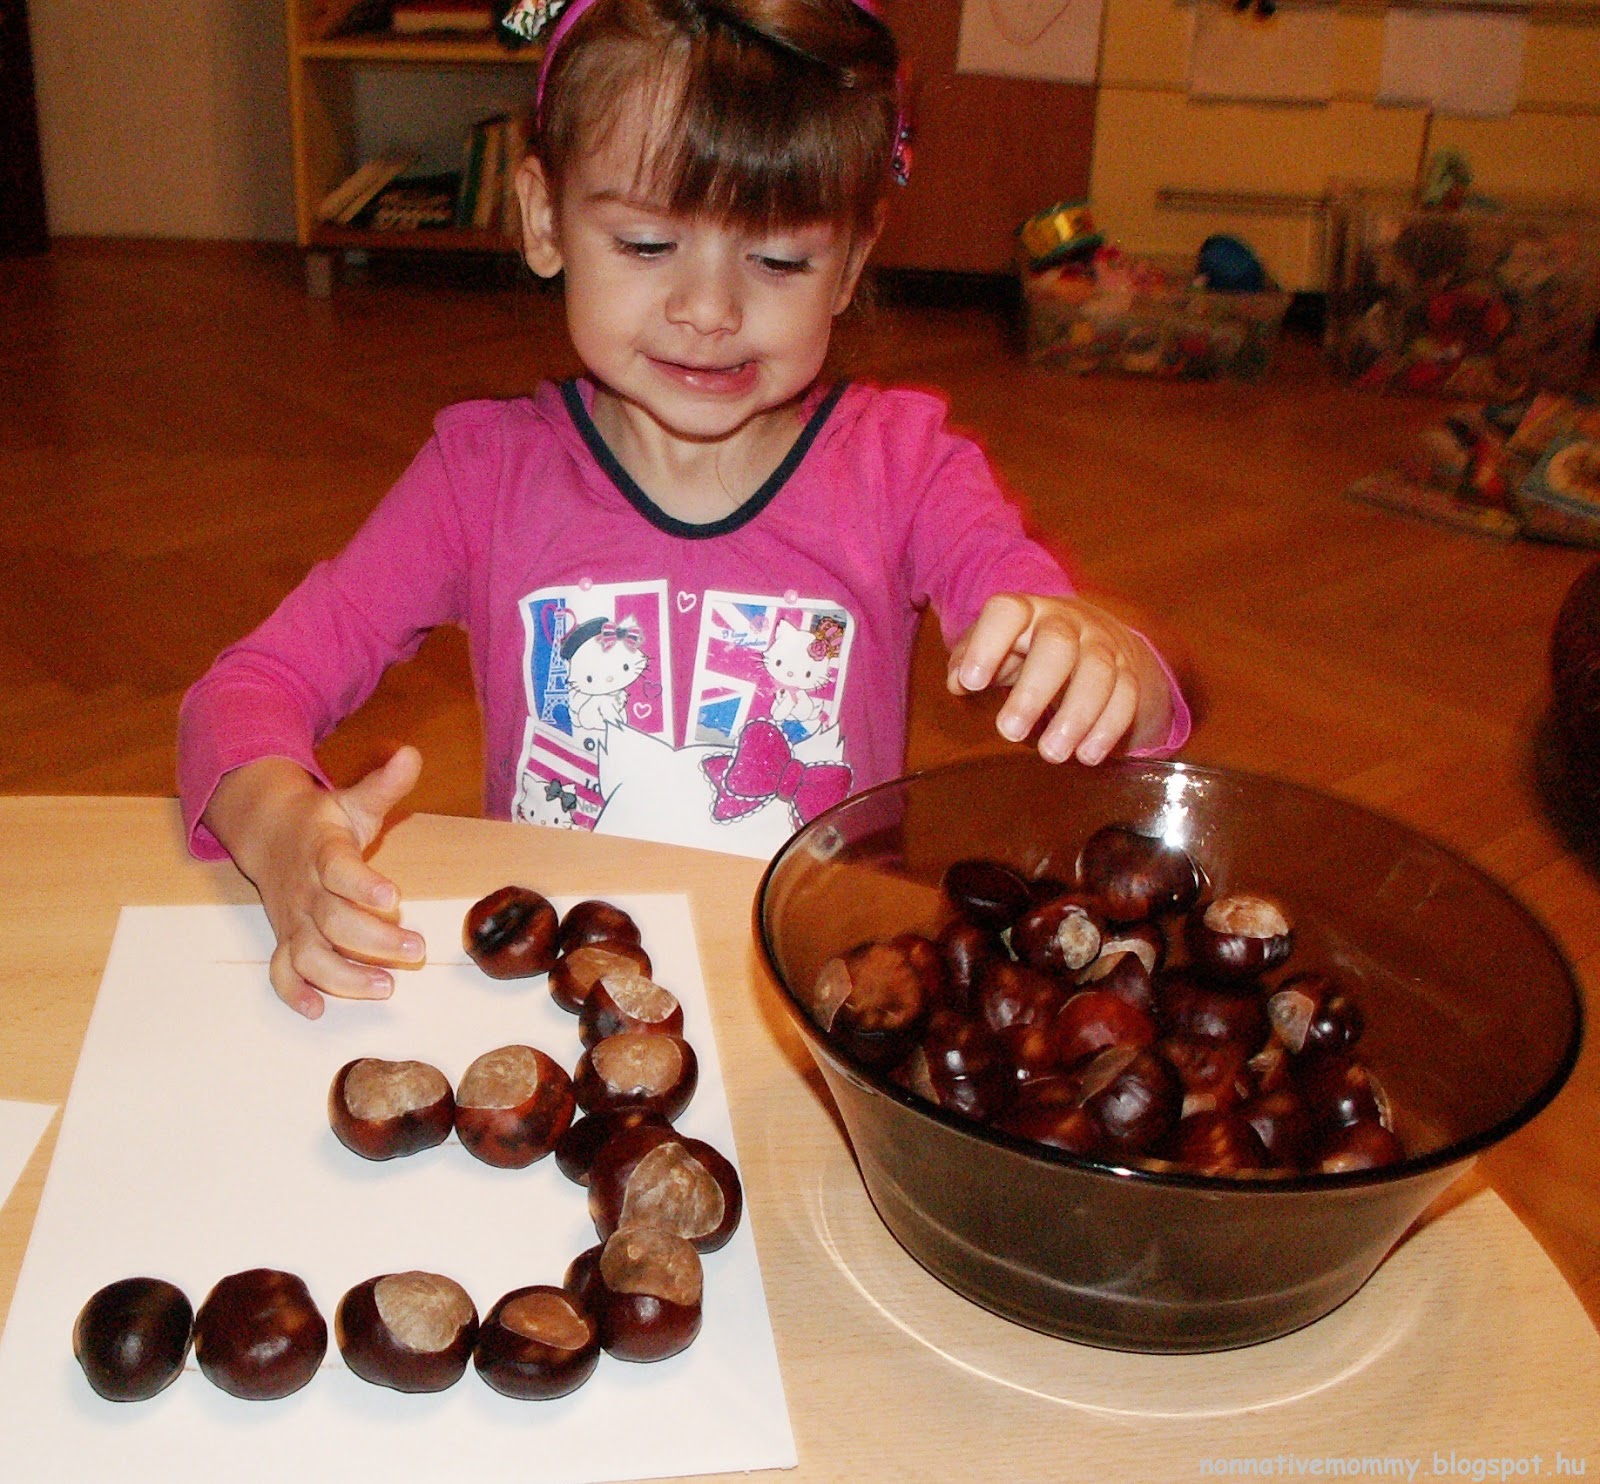
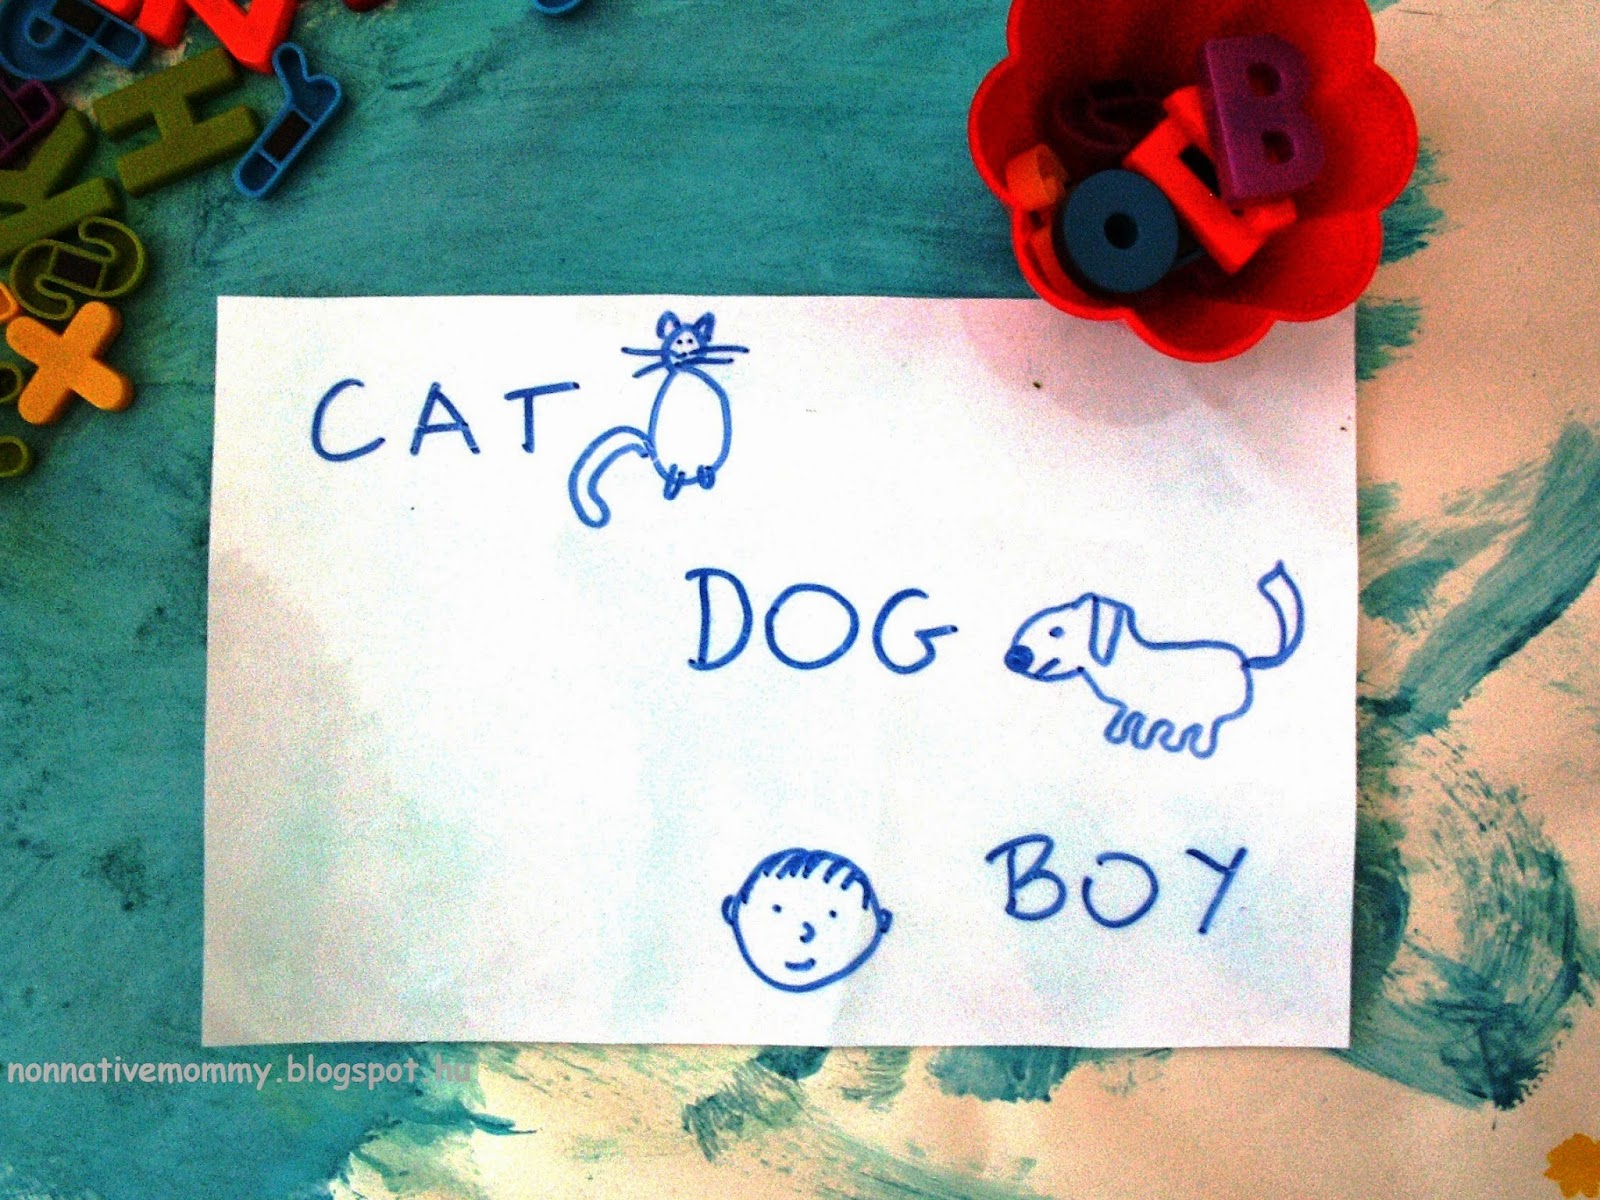
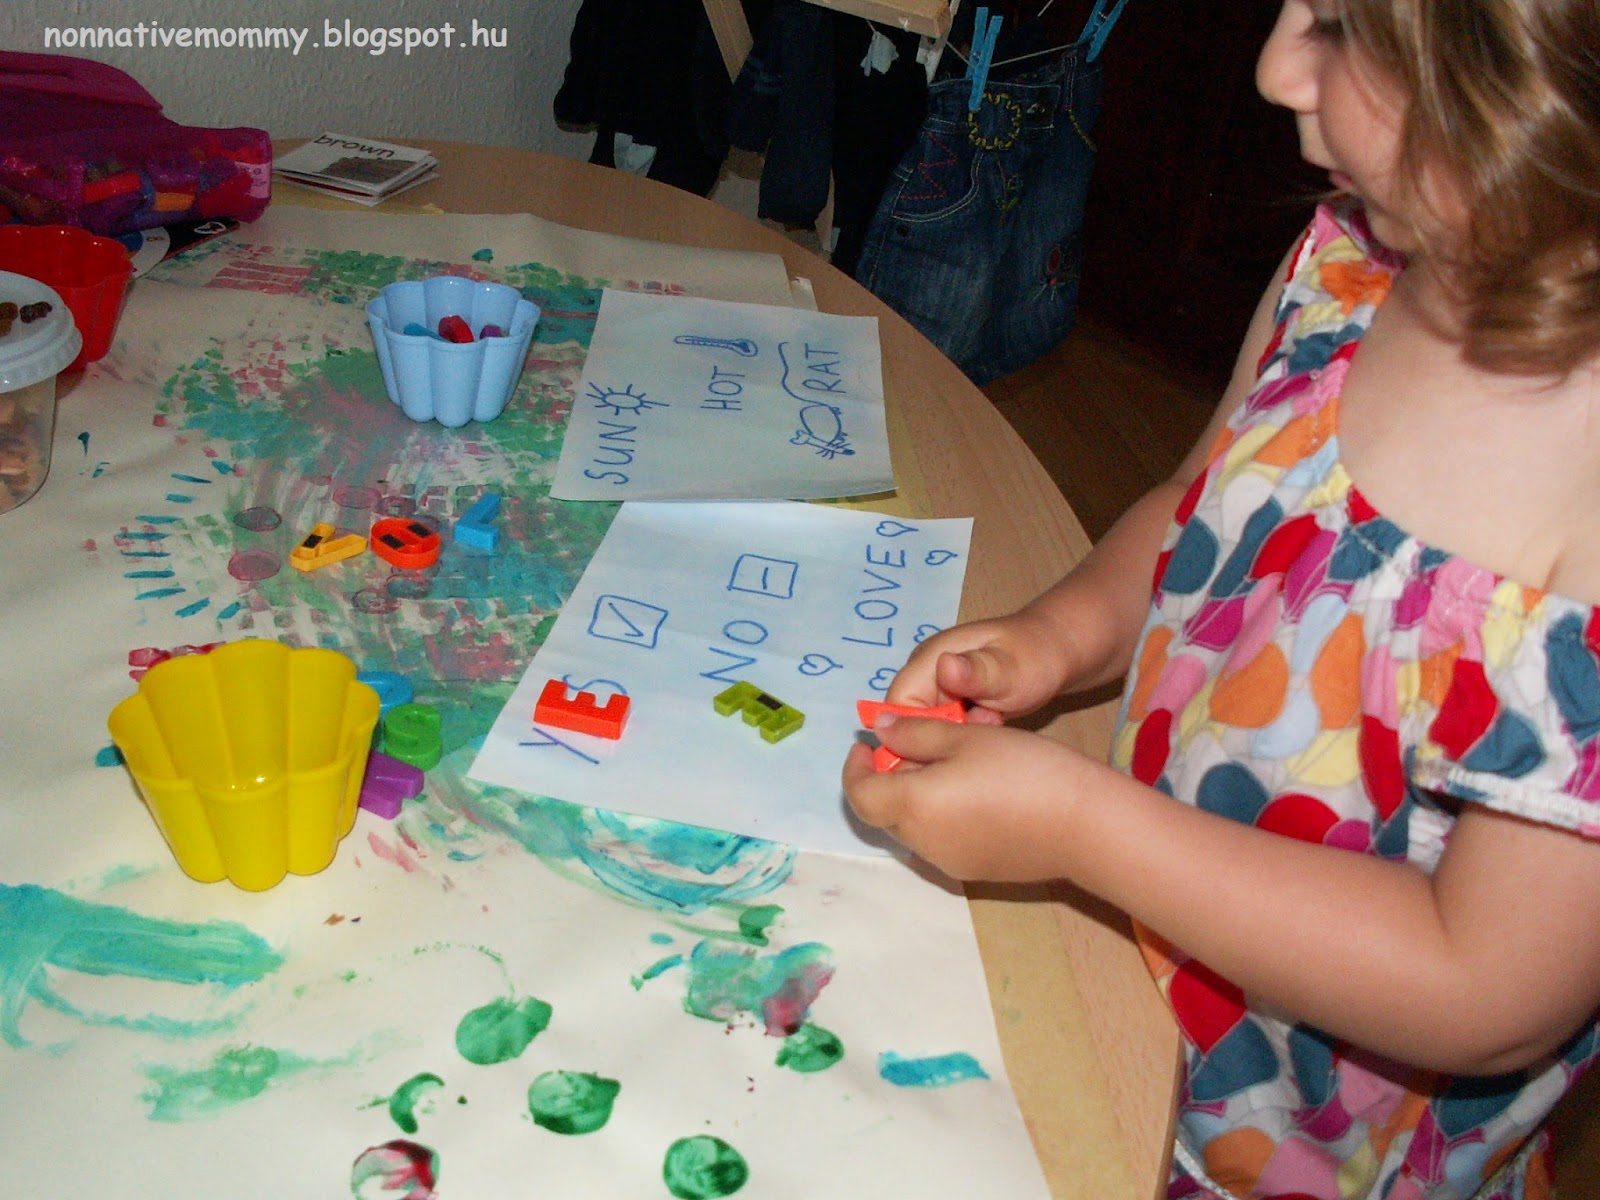
I prepared my daughter’s name, each letter on a different piece of paper. First, she put the letters in the right order, then following the lines of the letters, she placed the conkers along the lines.
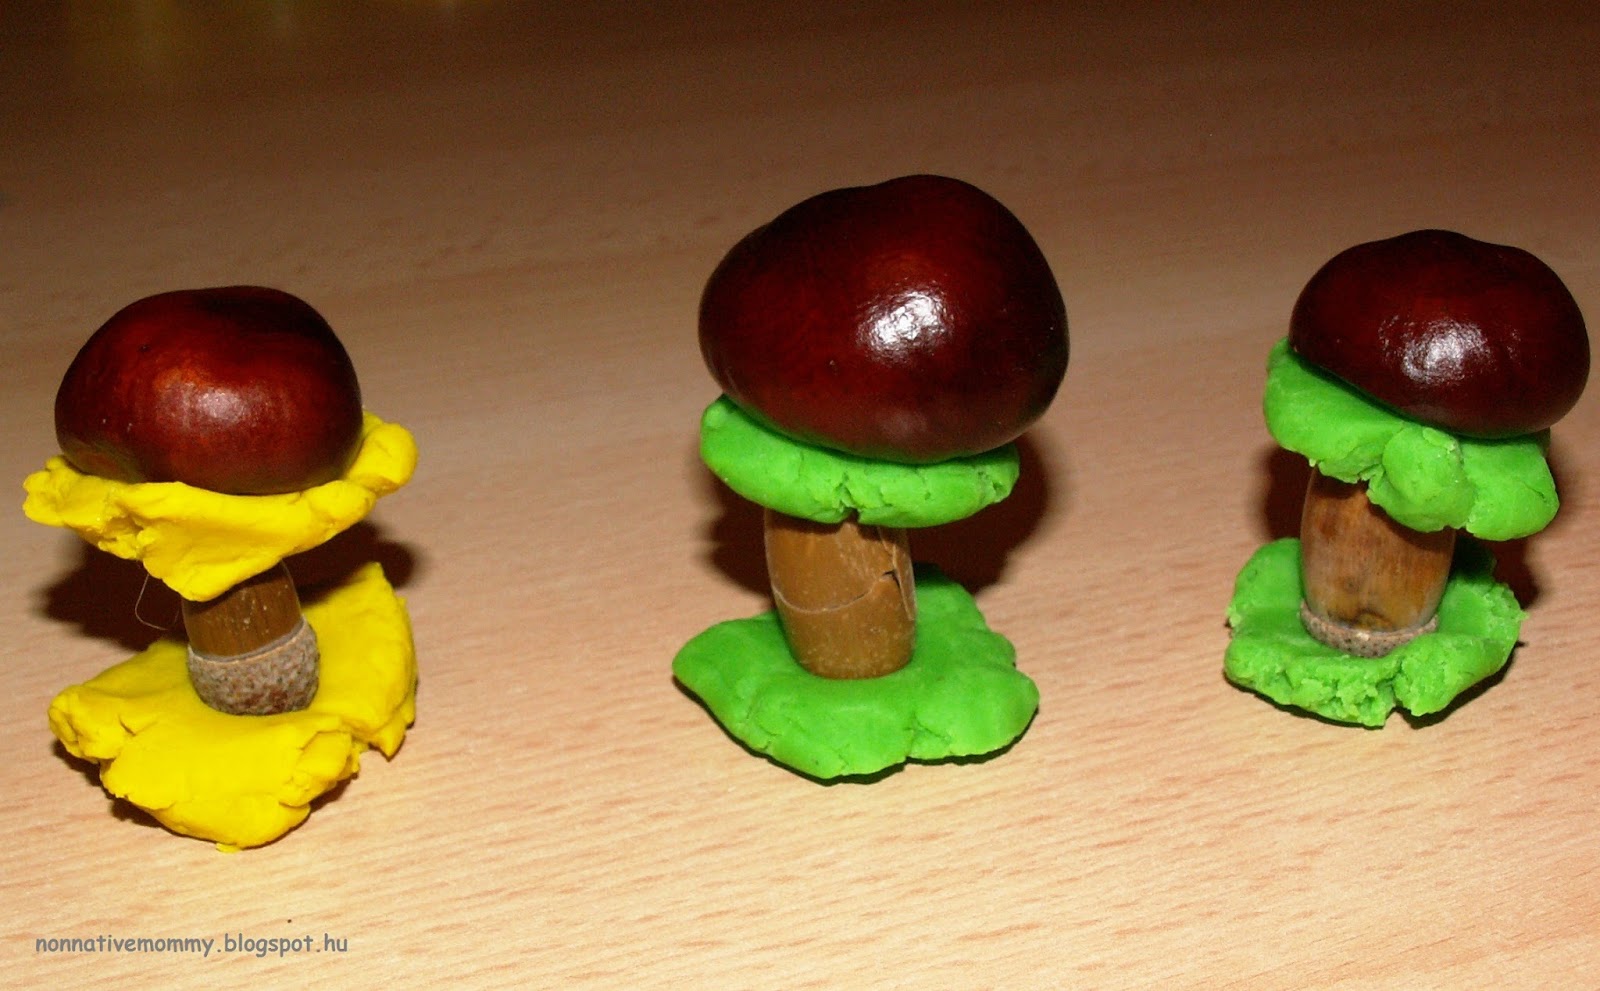
 Krokotak conker mushrooms

What you need:

  • conkers
  • acorns
  • play dough

Not as good-looking as the original idea, but they represent our family: E. mushroom, Daddy mushroom and Mommy mushroom. (from right to left)

Last year we did some conker threading after making a whole on the conkers with the help of a screwdriver. If you haven’t had enough of conkers, check it out.

What do you play with at autumn time? Share with me in the comments.

Laminated leaves

I need to share another autumn fun. As soon as I saw it on pinterest I fell in love with it. Laminated leaves. I found the laminated leaves idea there; just click on the link to get to the original idea.

First, I pressed the leaves a little. They were not totally dry when I laminated them so they kept some of their flexibility during lamination. I didn’t add magnets as it was suggested, maybe next year we’ll do this activity again and display them on the fridge.

Then we did some of the activities the Teaching Mama recommended. (On her site you can find tons of great ideas to entertain and educate you kids of all ages. I can highly recommend following it.)

  1. Colour sorting

We only had yellow, brown and green leaves, unfortunately I couldn’t find red or orange ones at that time. Later on I added some more to the collection. (there is on orangey leaf you can find totally separated on the left side)

  • Arranging leaves by size

  • Matching similar leaves

  • Making leaf faces with googly eyes and pop-pom noses (I drew the mouths E. did the rest)

  • Making leaf people (revising major body parts like arms, legs, upper body and feet)

    You can see here the nice new orange and red leaves we found in the park. The big middle figure is Daddy, because “He’s soooo big”.

  • Using the laminated leaves as rubbing plates (unfortunately the site has been removed)

I didn’t manage to take photos of this activity, but you can use the laminated leaves under a sheet of paper and use a pencil or crayon to rub on the sheet. The veins and edges of leaves will come through really nicely. Or you can check it out on the link above where the idea comes from.

If you liked this activity you can find more autumn leaves projects: More leaf activities

Or you can check out my Autumn pinterest board for more ideas.

Painting leaves – four autumn activities with leaves


As autumn has arrived we started to collect leaves every time we went somewhere. We were talking about the gorgeous colours of autumn leaves like orange, yellow, brown or red. We also observe the different shapes like circular, heart-shaped, hand-shaped as well as their edges (smooth, wavy, toothed).

I checked this image from the net to make sure I do not say anything silly.

Leaf rubbing gave us the chance to have a look at the veins:


Leaf prints

Then we had painting fun. E. chose the colours (I tried to direct her to the autumn colours with little success) and we painted the backside of the leaves and made prints. At first, we used too much paint, but then we could observe the beautiful prints the veins and the edges gave out.

First try


Second try with less paint

Another painting activity: outline of leaves:

I pressed some leaves and stuck them on a white sheet of paper with the help of small pieces of Cello-tape. Then we painted the leaves over creating an outline. This was a hit with E.


And finally a counting game with leaves:

I drew these bare trees for E. It can serve as a simple counting activity. Your child needs to stick as many leaves on the tree as the number shows.

I’ve prepared printable trees you can download at the end of this post.

As simple counting is not a challenge for E. any more I thought skip counting would raise her interest much more. And I was right.


Although it was a little too long an activity, she managed to finish it after my encouragement and help with the gluing.

Gluing


Adding the leaves


creating a leaf face with the glue


Mommy, this leaf is ill


There are not enough branches for 8 leaves, Mommy


Placing the magnetic numbers – finished!

First, I pressed all the leaves. It’s easier to work with them. Then I presented, showed and explained what to do with instructions like these:

  • Hold your paper down with one hand and rub with the other hand.
  • Let’s mix 2 colours.
  • Paint the backside of the leaf, like this.
  • You can add more glue this time because this leaf is big.


Finally, we displayed everything on our living room doors. E. shows her pieces of artwork to whoever comes to us.


And here on this link you can download the bare trees with numbers:


An apple a day…

… keeps the doctor away.

Although we had a week having fun with all kinds of apple games and activities (including the study of an apple) we couldn’t avoid being ill again. Anyway, here is a collection of apple fun we’ve done lately.

I’ve found a great number of apple activities online but I fell in love with the free printables by 3dinosaurs’ Apple Pack. This set contains 60 (!) pages of apple activities up to the age of 8-9. Wow! What a great collection! I’ve just selected a few games that would suit my 3-year old. Thank you, 3dinosaurs for this excellent Apple Pack.

Here is an insight what you could find in the pack:

  • What comes next? Patterning activity. I brushed it up a little with Velcro


“The spotty apple is coming now”
  •  Which one is different? Your child needs to find and circle (or put a manipulative on) the odd one out in the row


  • Pre-writing practice. We tried the easier sheet (laminated so we can reuse them).
Easy-peasy lemon squeezy

But the harder one seemed a little bit too challenging

  • Picture puzzles with numbers from 1-10 (We were talking about what she could see in the picture:  – How many apples can you see? etc.) well, she’s always been into numbers, even when she was little (click on the links for earlier posts)
And skip counting by 10s


  • Shape tracing and matching – a little bit of revision as we’ve already dealt with shapes a lot


After she’s placed all the shapes we practised the “there is…” structure. It didn’t appear to be a problem:
Mommy: – There is a red apple in the circle. And in the next?
E.: – In the square there’s a green apple. In the triangle there is a yellow one. In the rectangle there’s a checked apple and in the oval a spotty apple… or… what’s the other name, Mommy?
Mommy: – Do you remember?
E.: – No. You say it.
Mommy: – Polka dotted.
E.: – Haha, it’s funny. M., did you know polka dotted? (she turned to her favourite toy, the doggy you can see next to her on the table in the picture above)

Shape revision – tick.

  • Grouping. Apples and non-apples


She’s clearly enjoying it)
  • Roll and count apples. I guess she enjoyed this one the most. I couldn’t find red manipulatives, so we had “green apples” instead of red ones.
  • The Apple Pack has a die cut-out, but I used only the apples and after having laminated them I stuck them on the six sides of a big die I’d found ages before in a OneEuro shop. First, she guessed which apple will win (which apple will reach the top of the chart). Her guess was the spotty. Mine was the yellow and M., E.’s doggy’s guess was the stripy apple. Then we rolled the die. Everybody had a turn. Even the doggy 🙂
M., it’s your turn to throw the dice.

Of course, M. won.

  • Apple memory game

This game involved a lot of fun and useful tasks: matching, memorising, counting. And at the end E. tested her toy dog whether he can name what’s on the cards 🙂

E.: – What is it, M.?
Mommy (in M.’s voice): – Er… I think it’s a tree.
E.: – Good job, M.

– And this? Do you know?
Mommy (in M.’s voice): – I know, I know. It’s an apple pie. (and so on)

This was real cute.

We’ve played these games several times as she’s asked for them both in English and in Hungarian.

We also studied a real apple to see what parts it has. For this I printed the apple parts booklet by A Little Pinch of Perfect and I highlighted the parts on each card. I didn’t put them together like a book, we just had a look at the cards and also the real apple.

She examined all the parts and match them with the cards.

We practised earlier vocabulary like cut it in half, slice it, peel it, sharp knife etc.


She was fascinated by the word “flesh” so she was more than happy to consume it 🙂
I hope the weather and our health will let us go for an apple-picking adventure.

There are tons of apple games that you can check out on my Autumn ideas for kids pinterest board.

Getting familiar with the ABC

I do not want to brag, but yes… a little I do. E. is so  interested in the letters and the ABC that, I do not exaggerate if I say, within a year or two she’ll be reading. In this blog post I would like to collect some fun activities we’ve been doing with the ABC.

-Videos/Songs

The very first favourite. E. was watching this video her mouth agape in amazement when she was 8-10 months old.

Phonics Song 2

The traditional one is always the best (Upper- and lowercase)

A song about how to pronounce the letters – Phonic Song:
Since the age of 2 we have been watching a lot of Mother Goose Club songs:

She could watch it all the time. Sometimes she wants to watch them all day (if I let her).

Magnetic alphabet

I bought the first set of magnetic alphabet when E. was about 18 months old. She loved them at once.
First it was just one pack of upper case letters. We used it on the fridge, but the letters always fell under it. So I had a magnetic word game at home (for adults, the letters are too tiny for little children) and I started to use one of its steel boards (You can also use a steel tray or a magnetic whiteboard)

Then I bought another pack of both upper- and lower case letters later when we started making up words at about the age of 20-22 months. (Frankly, we don’t really use the lower case letter yet – age 2,5 years)

At the very beginning we just put together the alphabet from A to Z. We sang the ABC song and/or the phonic song while arranging the letters.

Adding the missing letters to the alphabet with Daddy

I told her words starting with certain letters, like  E. for her name or D for daddy, M for mummy, A. is for our nanny’s name etc. As time passed I added some more words, such as E. is for elephant, egg, or A is for apple, ant and so on, not just names. I always tried to include things that she knew or she was really interested at that time. Within a few days she was the one who said the words: – B is for ball and bubble.

Next, we made up short words she was already familiar with.
Daddy, Mummy, M. (our dog), dog, cat, yes, no, hat, rat, egg, bat and so on. I have no intention to teach her how to read. She is the one who, from time to time, comes to me with the letters to play with. She’ll work it out by herself.

Matching game with the magnetic letters

What you need:

  • letters (magnetic, felt, play dough, cut out from cardboard, drawn on bottle tops)
  • plastic surface (e.g.: whiteboard, but I used an A/4 sheet that I spoiled while laminating. 
  • markers (not permanent!!!)
  • sponge or tissues to wipe the surface if you want to reuse it
I put the letters of these words mixed in a little container 

E. came and emptied the container.

And matched the letter. The interesting thing was that I didn’t need to tell her toe start from left to right.

She wanted to do it with our nanny, too.
When she got bored with it I wiped the surface off and at another time I made a new one with: yes, no, love, sun, hot, rat as you can see it in the photo.
She had to start with her letter, E.

 It was summer time we last did this activity, and now sometimes she “reads” letters on her clothes or, some book’s title.

Search for the letters – sensory bin (autumn)

What you need:

  • a container
  • bark (you can buy it in a packet at animal stores)
  • small object connected to autumn in some ways (berries, grapes, apples, pears, twigs, conkers, pumpkins, leaves etc. What I did was I chose 1 bunch of grapes made of plastic, 2 apples made of felt, 3 golden leaves, 4 pumpkins made of felt, 5 real conkers.)
  • letters (wooden, foam, felt, magnetic, whatever) of A-U-T-U-M-N
  • a sheet of the object and the letters of autumn shown
Throw the bark into the container and hide all your chosen objects in the bark. Put the sheet in front of your child and whenever they find something among the bark, place them in the right group, or if it’s a letter, then on the right letter.

And the search can begin.

This activity gives you and your child plenty of opportunity to talk about not only the letters, but also colours, autumn fruit, trees, leaves and berries, and in this case numbers too.

I still have several activities, but I’ll need to come back with them in another post. Try them, enjoy them and let me know how they worked out.