Advent Calendar Activities Day 21-24

I know it’s February, but only by now have I managed to finish the last post about our advent activities of 2015. It’s hard to find time to work on the blog next to two kids.

So here comes some Christmassy and snowy projects:

  1. Count snowflakes

    I found this easy snowflake counting activity on a website I’ve been returning to a lot lately: Playdough to Plato

    I printed and laminated the snow scene cards. I gave E. a lot of snowflakes (I had different kinds at home, like felt, Styrofoam or shiny plastic)

    I thought putting the right number of snowflakes on the mat as it is shown would be way too easy for E. so I sneaked in some skip counting in the activity. I gave her the card with only the even numbers on – one at a time (2, 4, 6, 8, 10)

    At the beginning she didn’t understand why, but after having finished with card 6 she asked for card 8. So I knew immediately she understood what we were doing.

    After the activity she played a little more with the snowflakes. She grouped them according to their sizes, then made some patterns with the help of them.

  2.  Body swap

    I prepared this activity last year but she didn’t enjoy it so much. This year it wasn’t a hit either.

    I took the idea from itsybitsyfun.com. If you click on the link you’ll find the printable for free. You just need to print and cut out the body parts and give them to your child to make the snowman, the elf, the reindeer, and Santa. If your child enjoys this kind of activity (mine does not) you can build funny bodies, like one with a Santa head but a reindeer body and elf legs.

  3. Make a nativity scene

    When E. was 1,5 years old I made an advent calendar for her in which she found little farm animals every day and, as we were getting closer to the 24th, also some angels and the Holy Family. On the 24th we made the whole scene.

    November 2013 

    The base I made out of a chocolate box. I glued a brown sheet of felt on it added some shiny felt stars. This is what we called the stable and this is where we placed all the animals one by one every day.

    This year she got all the animals and angels, a Christmas tree too (not so authentic, eh?) to make the scene herself. (Although it was Christmas time, she  insisted on wearing her Halloween Jack-o-lantern costume)

  4. Christmas workout

    As I knew the 24th would be very busy time for us, parents, I prepared something dynamic for E. to run around and drain her Christmas excitement with one of her grandmas.

    I printed the Christmas workout cards and the fun could began. I couldn’t take photos as I was busy with the food and decoration for the evening. But as I heard it E. had a good time.

    http://www.toddlerapproved.com

    Join us next year too. I’m sure there will be some repetition of these activities but I’ll find out some new ones too.

    Have a look at the other advent activities:

    Advent Calendar Activities Day 1-6

    Advent Calendar Activities Day 7-13

    Advent Calendar Activities Day 14-20

Advent Calendar Activities Days 14-20

I know we are past Christmas time but I was busy with giving birth 😉 So here come some more Advent activities we did with E. waiting for Christmas (2015) to come:

  1. Snowflake out of popsicle sticks (Day 14)

    I decided to give some Christmas presents to the nursery teachers (2), the dinner lady (1) and the afternoon nurse (1). In the gift there was a bath bomb, a box of chocolates and something that E. made for them. You can see in the earlier advent post the Christmas baubles she made with pompoms and jingle bells.

    For the other two presents we prepared 2 snowflake ornaments that could be a great decoration for the Christmas tree.

    What you need (for 1 snowflake):
    – 3 popsicle sticks or spatulas (you can buy them in a box of 100 at the chemist’s or in crafts shops but the latter is more expensive)
    – blue and white paint
    – paint brush
    – shiny sprinkle (I had tiny, blue and silver stars)
    – sliver snowflakes (optional)
    – gray ribbon

    How to do it:

    Before she started I glued 3 popsicle sticks together in the shape of a snowflake.

    E. painted the popsicle sticks white and blue. She also experimented to mix the 2 colours to get a light blue hue. She painted both sides of the 2 snowflakes.

    While the paint was wet she scattered some sprinkle on them. This was the time she had enough. She did a great and thorough job with the painting and the sprinkling.

    We needed to wait for the paint to dry, so I put the snowflakes aside to return to them later when they’re dry. She didn’t want to do anything else with them later on, so I needed to finish them. I added the sparkly, silver snowflakes at the end of the stick and also attached a silver ribbon on top so that they can be hung on the Christmas tree.

    Unfortunately, the photo I took of the final result is blurry.

    She helped me put the presents together. She also made a Christmas card to each little packet with stickers and she traced my letters inside but signed them all by herself. This is what they looked:

  2. Roll and Count Christmas (Day 15)

    After the crafty day we played a counting game. I found this activity in the Christmas Tot pack by 3dinosaur. I printed pages 37/38.  I laminated the counting sheet and added green marbles for the counting.

    Opening the activity pack

    I didn’t make the die but cut out the pictures and stuck them on a big Styrofoam die we have at home.

    The whole family played. At the very beginning we all guessed which picture will have 5 counters for the first time. Then we rolled the die and placed the marbles on the mat.

  3. Window stickers (Day 16)

    I didn’t need to prepare much for this activity and still, it was fun. What’s more, this one also involved the whole family.

    I bought (at KIK) winter and Christmas themed window stickers. I just presented to E. and she did the job. Actually she did a great job decorating her windows.

  4. Christmas tree decoration with play dough (Day 17)

    I printed a Christmas tree and coloured it, then laminated it. I put out some play dough, and Christmas related moulds like a candle, a bell, a circle shape for the baubles, a star etc.


    The fun began. E. decorated the Christmas tree and was really proud of the final product.

  5. Christmas patterning  (Day 18)

    I made the Christmas pattern activity back in 2014. We hadn’t got to play with it then but a year later. The set needs retouching and after that I’ll add it as a free printable.

  6. Decorate the Christmas trees with pompoms – counting activity (Day 19)

    I found this counting activity on one of my fav blogs: Welcome to Mommyhood.

    I printed and laminated the tree cards and provided E. with small, colourful pompoms.

    She ordered the number cards then placed the pompoms on them accordingly.

    She wasn’t too fascinated by this activity. It wasn’t too challenging for her, though she liked the pompoms, which she grouped according to colours at the end of the activity.

  7. Roll and build a snowman (Day 20)

    Here is the link to the printable: roll and build a snowman. (ateachingmommy has a Snow and ice pack, which is more than worth downloading including a lot of winter activities for preschoolers)

    You just need to print the snowman parts. It is optional to laminate them but I did as I want to play with it more and probably next year two kids will test its durability.

    E. selected the different shapes and grouped them before the game.

     The hat suited the dog too 🙂

    I presented them with a big die then we could start playing. E. called her Daddy to play:
    – Daddy, come. A lot of people have to play this game.

    So the three of us played.

    We rolled the die and got a body part, a hat or a scarf depending on the number we threw. The first person to finish the snowman was the winner.

    If your little one doesn’t like it if he or she is not the winner, you can build the snowman as a group.

    I’ll be back with 4 more Advent activities you might like and wish to try next Christmas time.

Advent Calendar Activities Days 7-13

Here come the activities of the second week of our Advent:


Christmas wreath from pasta – fail 😦 (Day 7)

  1. What you need:
    * pasta (farfalle)
    * green paint
    * paintbrush
    * glue
    * cardboard ring (cut out of a cereal box)
    * red ribbon/bow
    * glitter sprinkle (I left it out this time as E. loves to spread it all over the flat)

    How to make it:
    Cut out the cardboard ring beforehand for your child. Let the kid paint the pasta green and let them dry. Glue them on the cardboard ring in a circle. Tie a bow (I tied it) and glue it on. You can hang it on a door with some more ribbon.

    In our case E. wasn’t in the mood to finish the wreath after having finished with the painting. She started to paint her apron and hair, then it was time to stop.

    here still happily painting the pasta

    We’ll get back to this project later on as the outcome is so sweet.

    Though we used a lot of English phrases:
    This kind of pasta is called farfalle.
    – I have paint all over my hand.
    – Can I get some more paint?
    – I don’t want to do it any more.

    —o—o—o—o— UPDATE—o—o—o—o— coming soon—o—o—o—o—

    It should have turned out something like this… but better later than never…
    bow-tie-noodle-wreath-christmas-craft-for-kids-

  2. Christmas dominoes + Santa patterning and reindeer puzzles with numbers (Day 8)

    The domino was a great hit. We needed to play it 3 times and the next day when E. was with her Grandma, she showed the game to her and played it in Hungarian several times as well.

    Source: http://www.activityvillage.co.uk/christmas-dominoes

    If she hadn’t been interested in the dominoes, I had a plan B this time. Finally, we did the plan B tasks as well since there was a lot of time before dinner.

    Source: http://gyereketeto.hu/kiemelt/mikulas-minibook (Santa and reindeer puzzles)


    Christmas tree puzzle (Day 9)
    As E. spent the afternoon with her Grandma, I didn’t want to put great pressure on either of them so I’d just prepared all the previous tasks and this extra one. E. showed them all to her Grandma and played with them all afternoon… this time in Hungarian.

    No photos have been taken but here is the source where you can find the Christmas tree puzzle (Part 1)

    Sticker Christmas tree (Day 10)


    I printed out a Christmas tree template from the internet and made some dark green and light green cardboard Christmas trees. St. Nicolas has brought E. loads of Chritsmassy and winter stickers (with owls, snowmen, snowflakes, Christmas trees, presents etc.) so I wanted her to use them in this activity.

    She needed to decorate the Christmas trees but there was a tiny bit of educational twist. I wrote letters on the trees and she had to cover each with a sticker. She needed to use a sticker which started with the same letter (C – candy cane or Christmas tree, B – bell, S – star, snowflake, snowman, G – gingerbread man, A – angel, P – present etc.) The dark tree had letters corresponding Hungarian words and the light green trees the English ones. (We did this task in two or three rounds)

    She enjoyed it soooo much, she was busy with it for 40-45 minutes each time. (Sometimes she asked for a letter so she could cover it with something special (H for holly, for instance).

    As I made the same number of trees as we are in the family, Daddy and I helped out a bit. (Not as if she’d needed any, just for fun. It could be a great family activity.)

    When she’d finished with all the trees, I stuck them up on a ribbon in a line and displayed it on her door frame. She likes it a lot. Mostly the little green bell at the bottom (you can’t see it in the photo.)

    Make a Christmas card for a friend (Straw Christmas tree) (Day 11)


    Again I prepared everything for her beforehand. A A5 size construction paper (yellow) folded in half. Inside I wrote MERRY CHRISTMAS! (in capitals) and signed some spots with crosses where she could stick her stickers (we are in a sticker craze phase). I’d also cut up some straws (red and green) with different length so she can build a Christmas tree in the front (of course I provided her with some glue too.)

    First, she stuck in the Christmas stickers.

    Second, she traced the letters in Merry Christmas and signed the card.

    Lastly, she built the Christmas tree on the front (She wanted to put a star on the top – “Can I get a star? I want to put it on top” so I gave her a golden felt one – this is what I could find.) She needed help with the straws as they were too thin for her little hands. But the final result was really nice. (Here is a very bad quality shot of the card. I had very little time to take photos as B. came earlier and we really needed to focus on finishing the card. But you can get the idea.)

    Christmas ornaments: baubles filled with pompoms  (Day 12)

    (present for the nursery teachers)

    From last year I had two plastic baubles which can be taken apart. I gave E. some pompoms (red, yellow and green – some of them sparkly) and jingle bells (gold and silver). She needed to decide what colour combination she wished to fill the baubles with. It was also her choice which bauble would go to which nursery teacher. (The light/dark green is for R. and the red and yellow is for M.)

    It’s a real easy craft (the only thing I did at the end was fixing the bottom of the baubles with transparent cello-tape and tied a ribbon on it.) Even a 2 year old can do it. What’s more, you can fill the bauble up with anything: beads, ribbons, nuts, fake snow, coloured rice, tiny Kinder egg objects, torn crepe paper etc. – you name it)

    Christmassy pre-writing practice (Day 13)


    As I have already mentioned I found a great Christmas pack for preschoolers (it has a version for toddlers too – see the source information bellow), which offers a great number of activities: puzzles, pre-writing activities, find the difference, memory games – just to name a few). So I printed some of the pages and used them separately, like these two types:
    *Which one is different?
    *Pre-writing sheets in Christmas style.

    Source: http://www.3dinosaurs.com/printables/packs/christmas.php (part 1)

    And also this Santa and stocking matching activity from gyereketeto.hu


      Source: 
      http://gyereketeto.hu/kiemelt/mikulas-minibook

      I’ll be back with some more activities hidden in our advent calendar.
      Here’s a teaser:

      Advent Calendar Activities Days 1-6

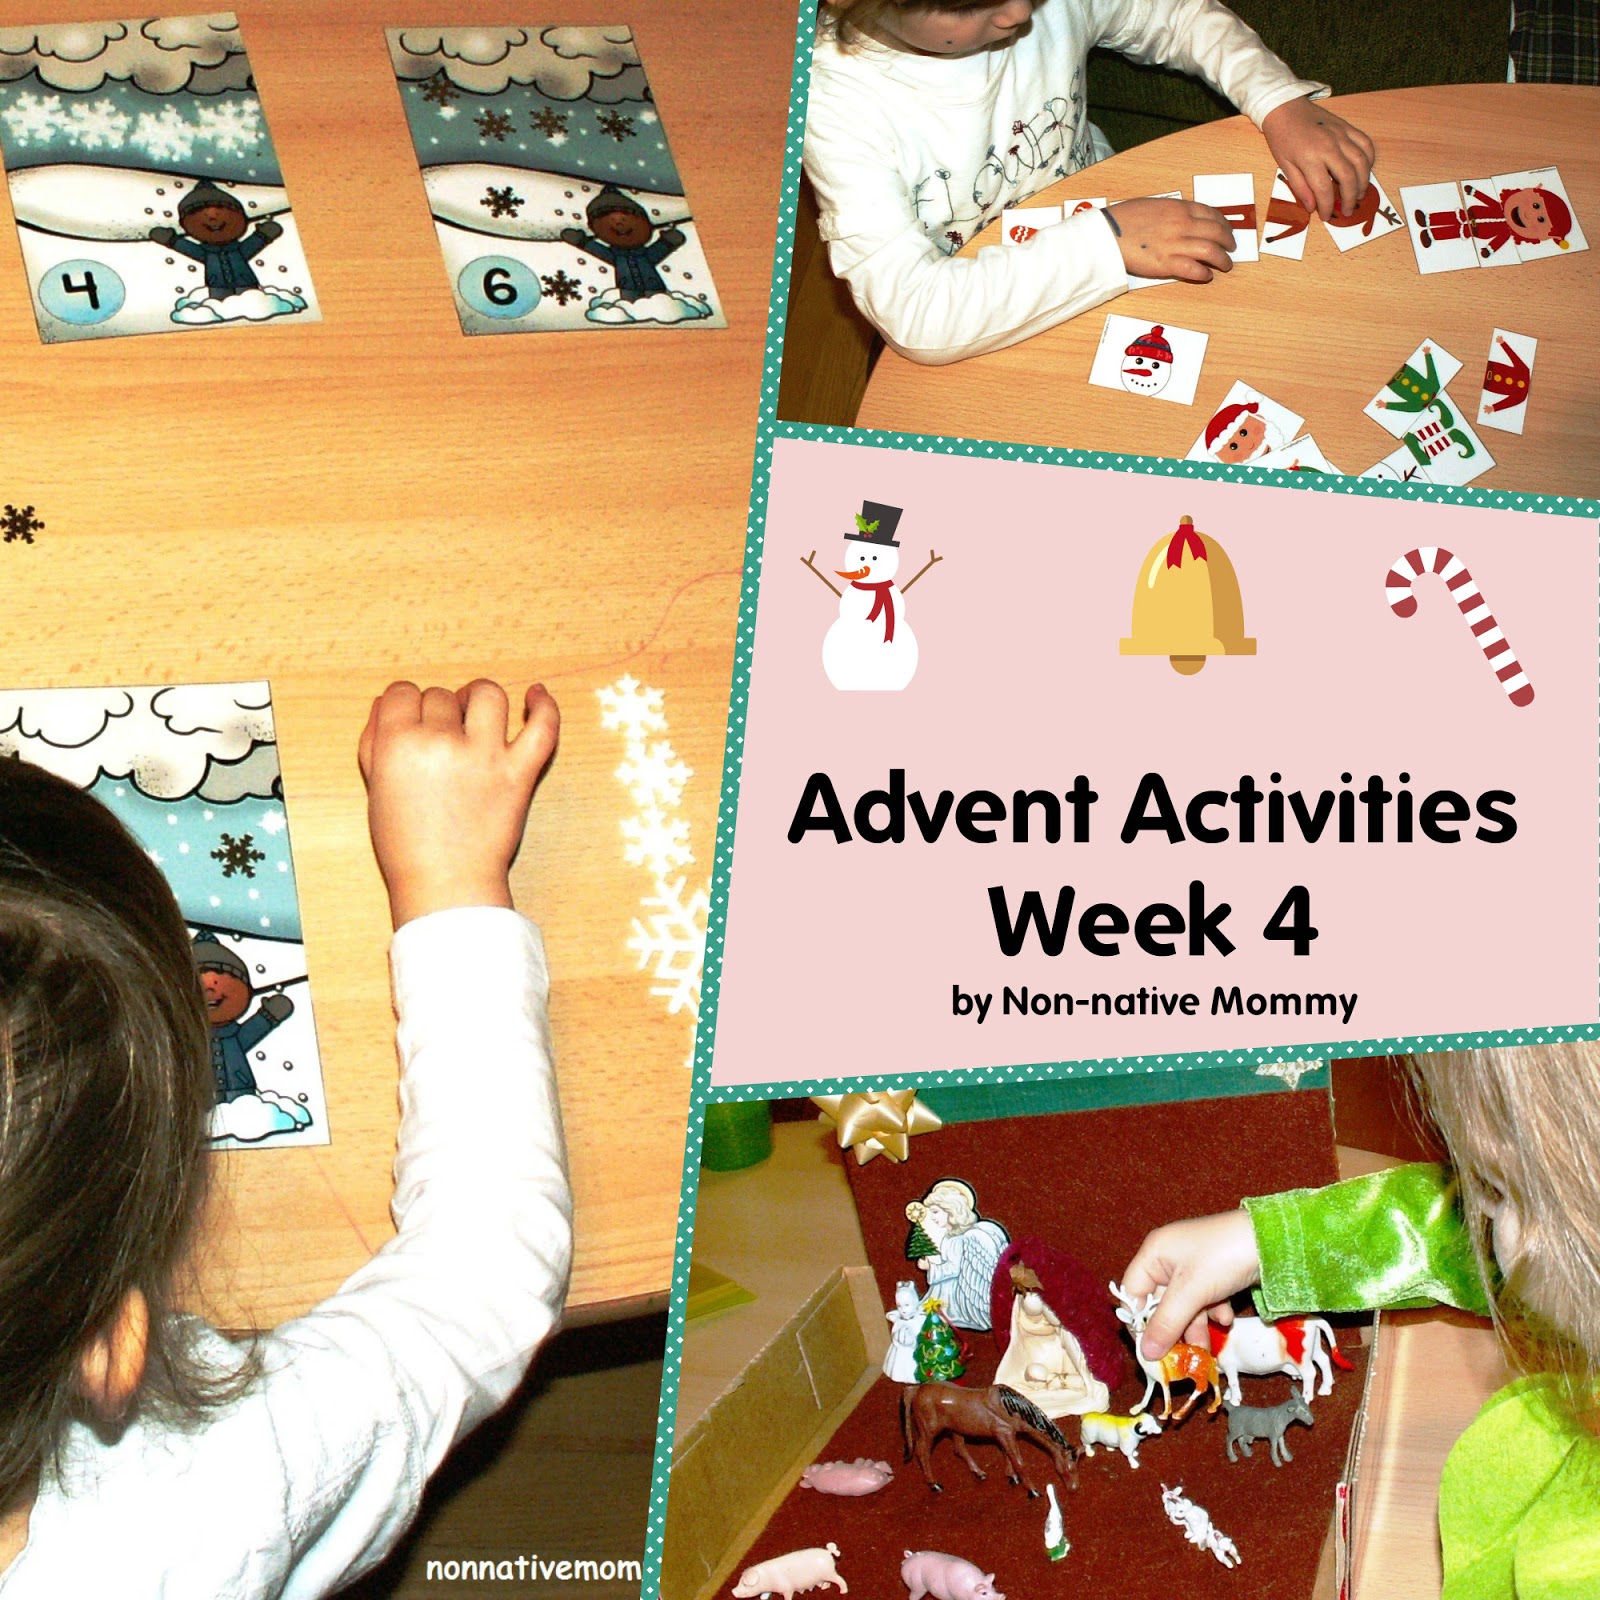
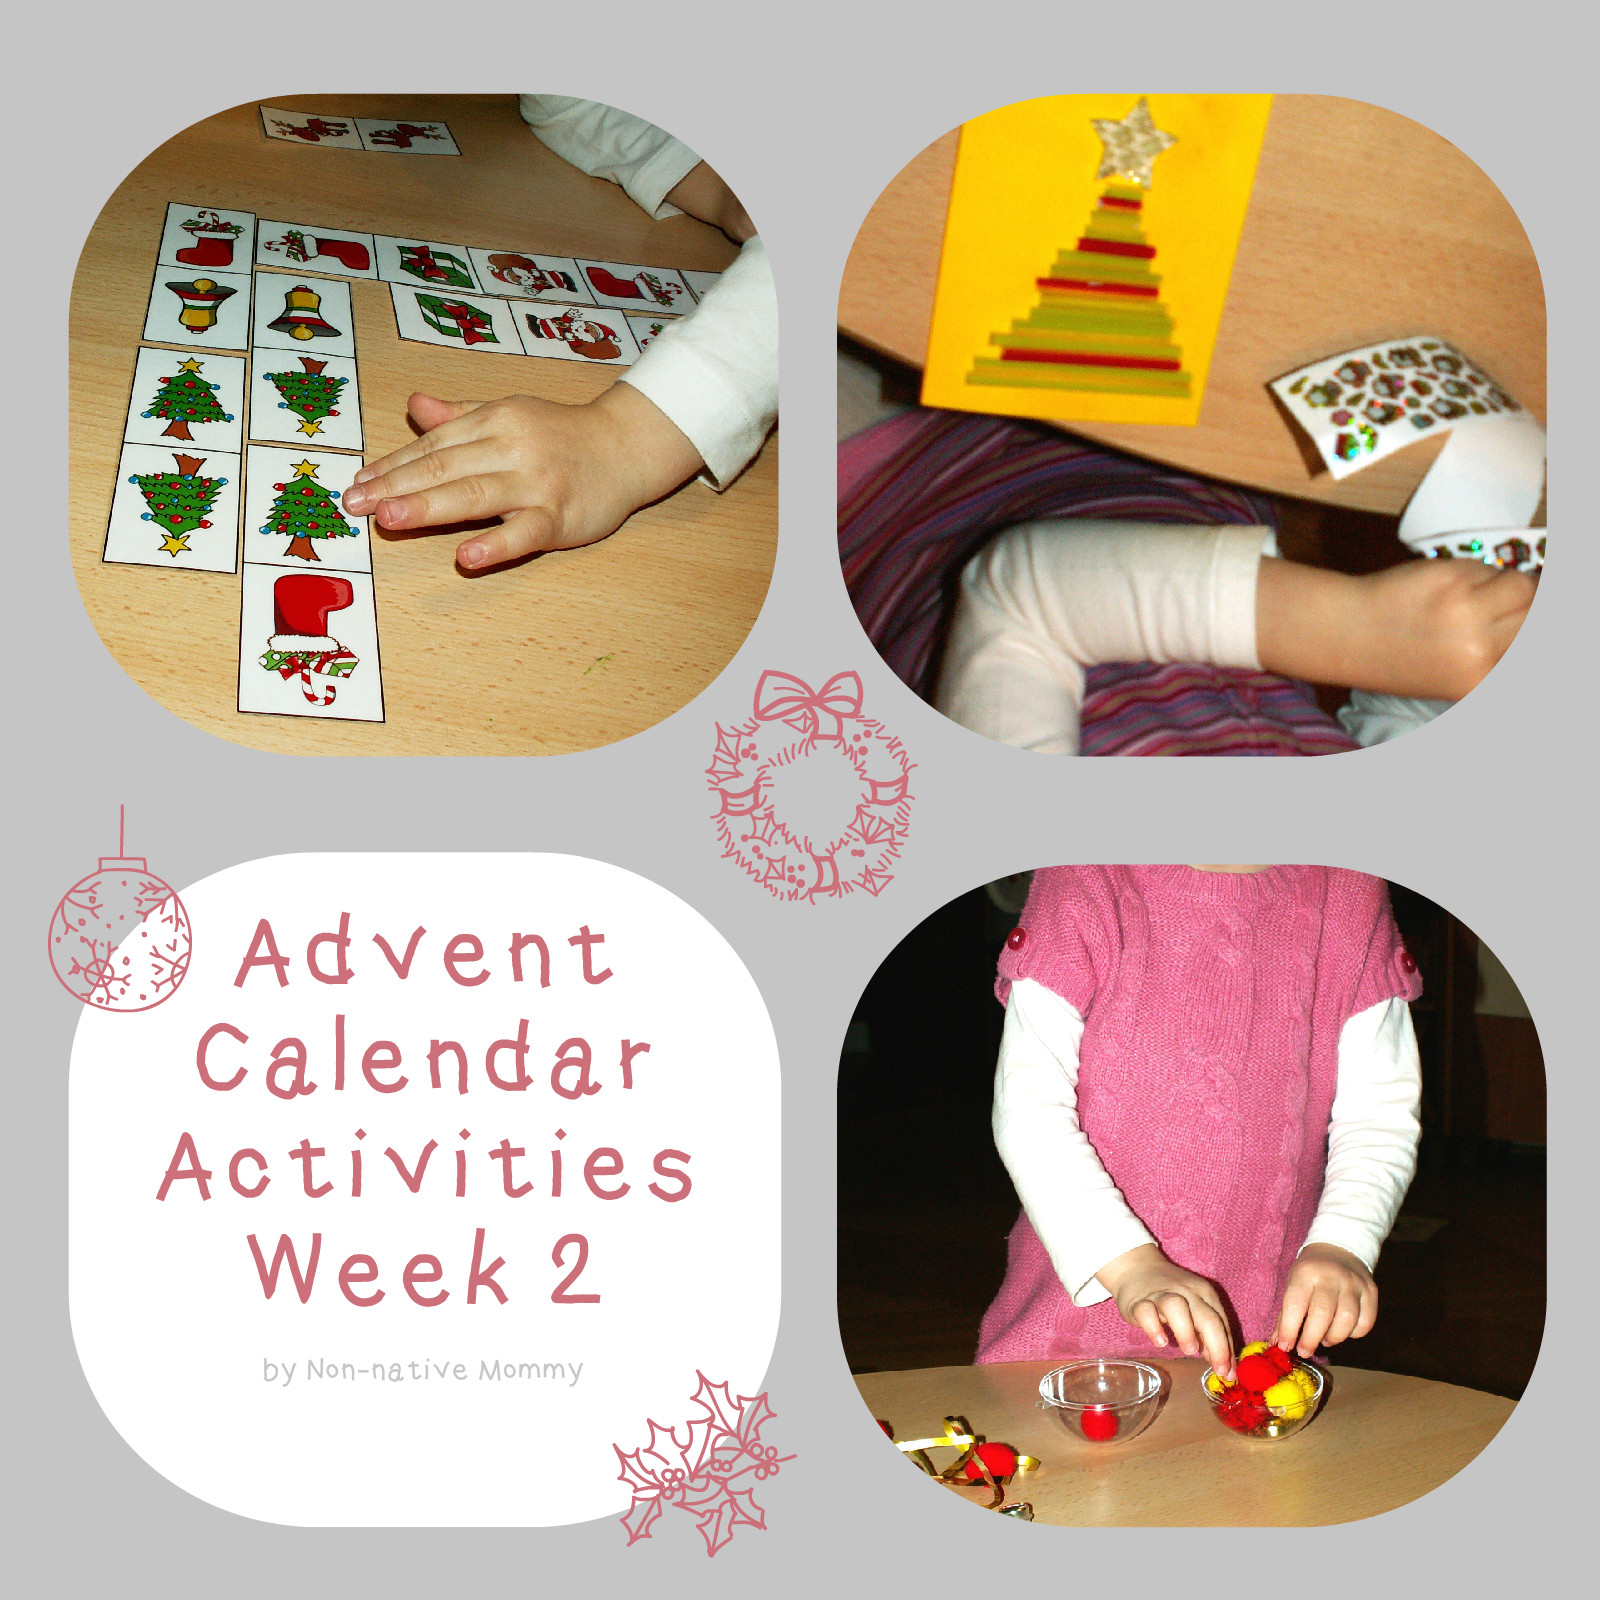
      This year we have two ways to prepare ourselves and wait for Christmas. I have already written a post about a Book Advent Calendar, and now I’ll share with you the activities we’ll be doing in the next couple of weeks week by week. Here are the first 6 days:

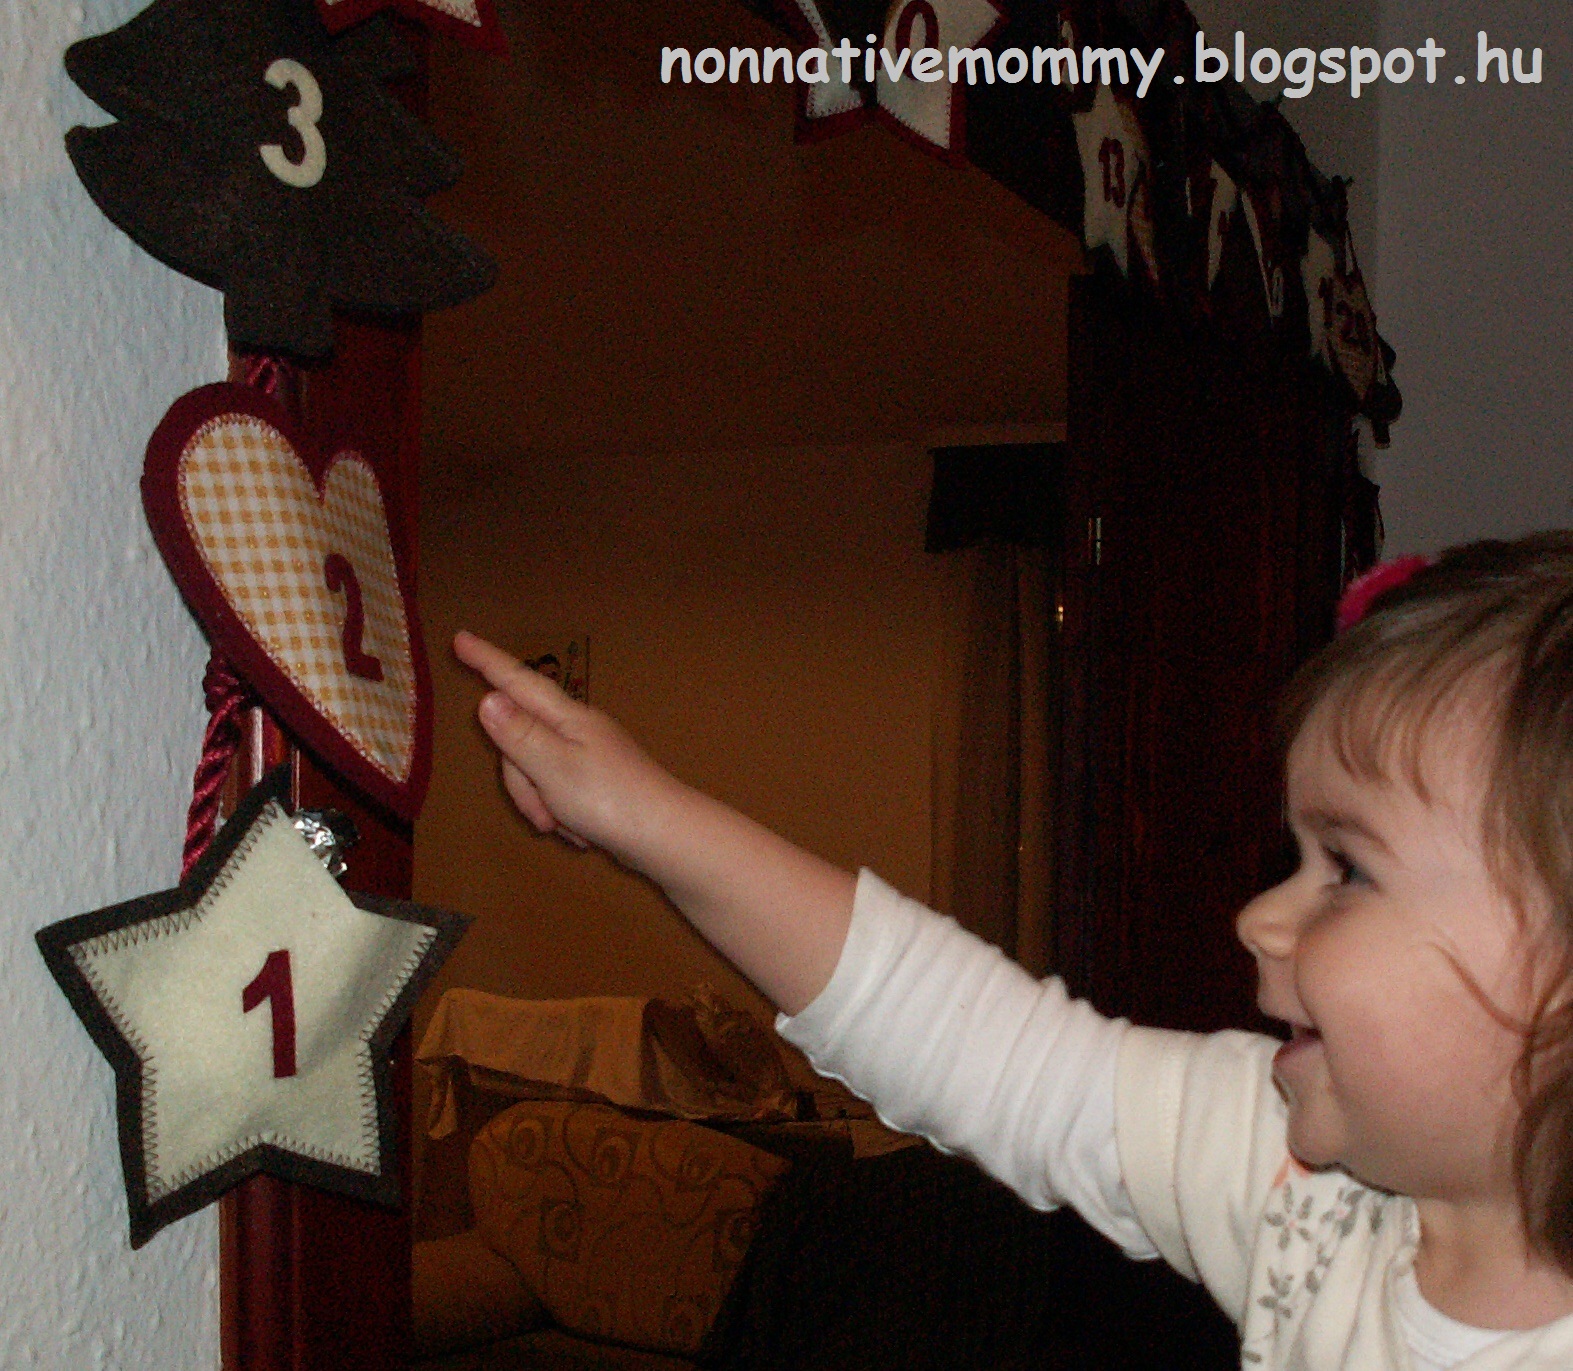
      This Tchibo Advent Calendar that I managed to get a few years ago hides small presents and an activity card every day. Most of the time the cards are written in English so we can spend a little time doing something in the second language on a daily basis apart from the books we read.

      Sometimes we have simple instructions in the calendar, like “Clean your boots and put them out in the window for St. Nicolas”. Or we decorate our home together and the ornaments are in the calendar. (They often cannot fit in the pocket so I put them near the calendar and E. can find them easily) In these case, there are no crafts.

      Here is the list of activities for Days 1-6:

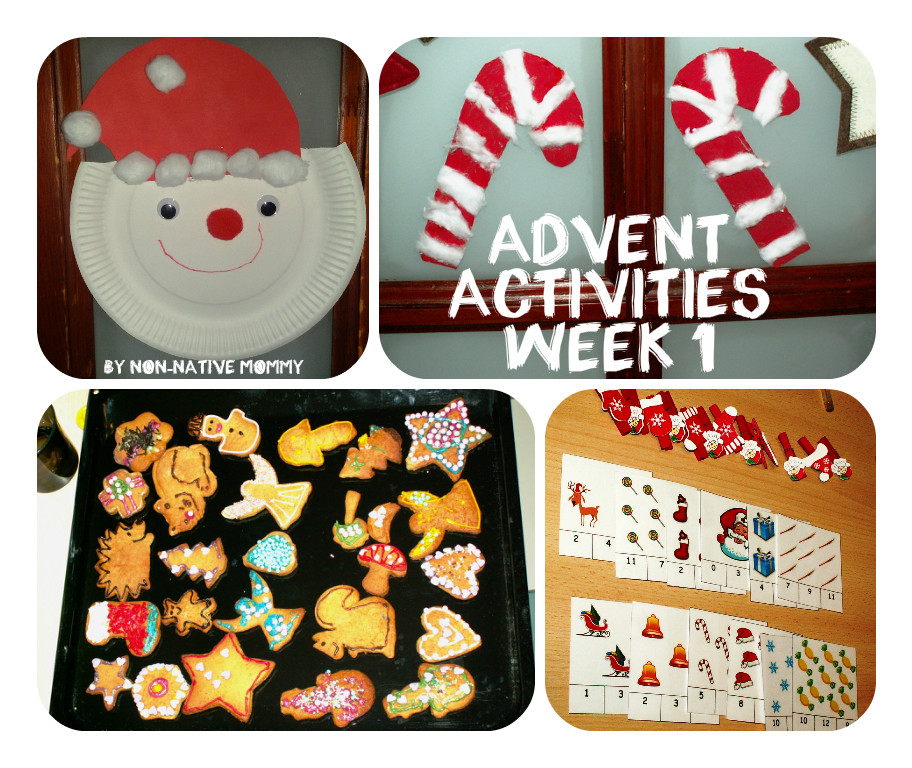
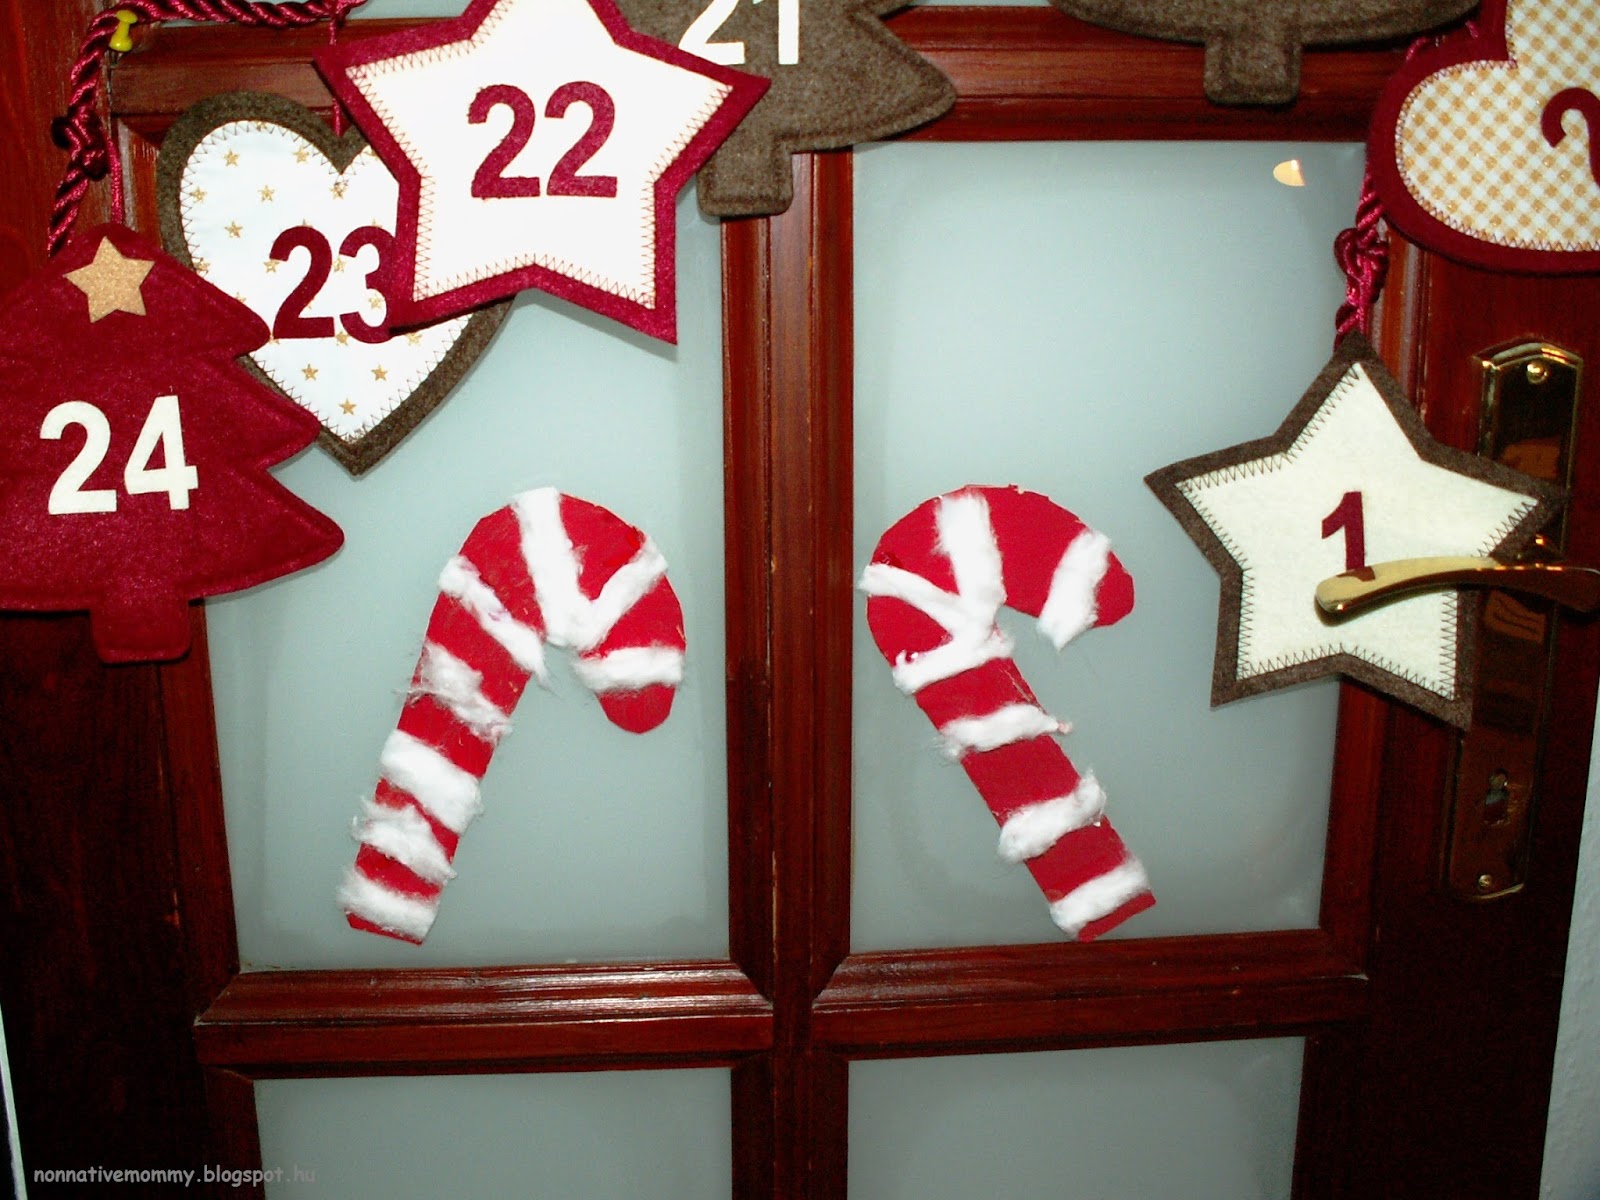
      1. Cardboard candy cane (Day 1)
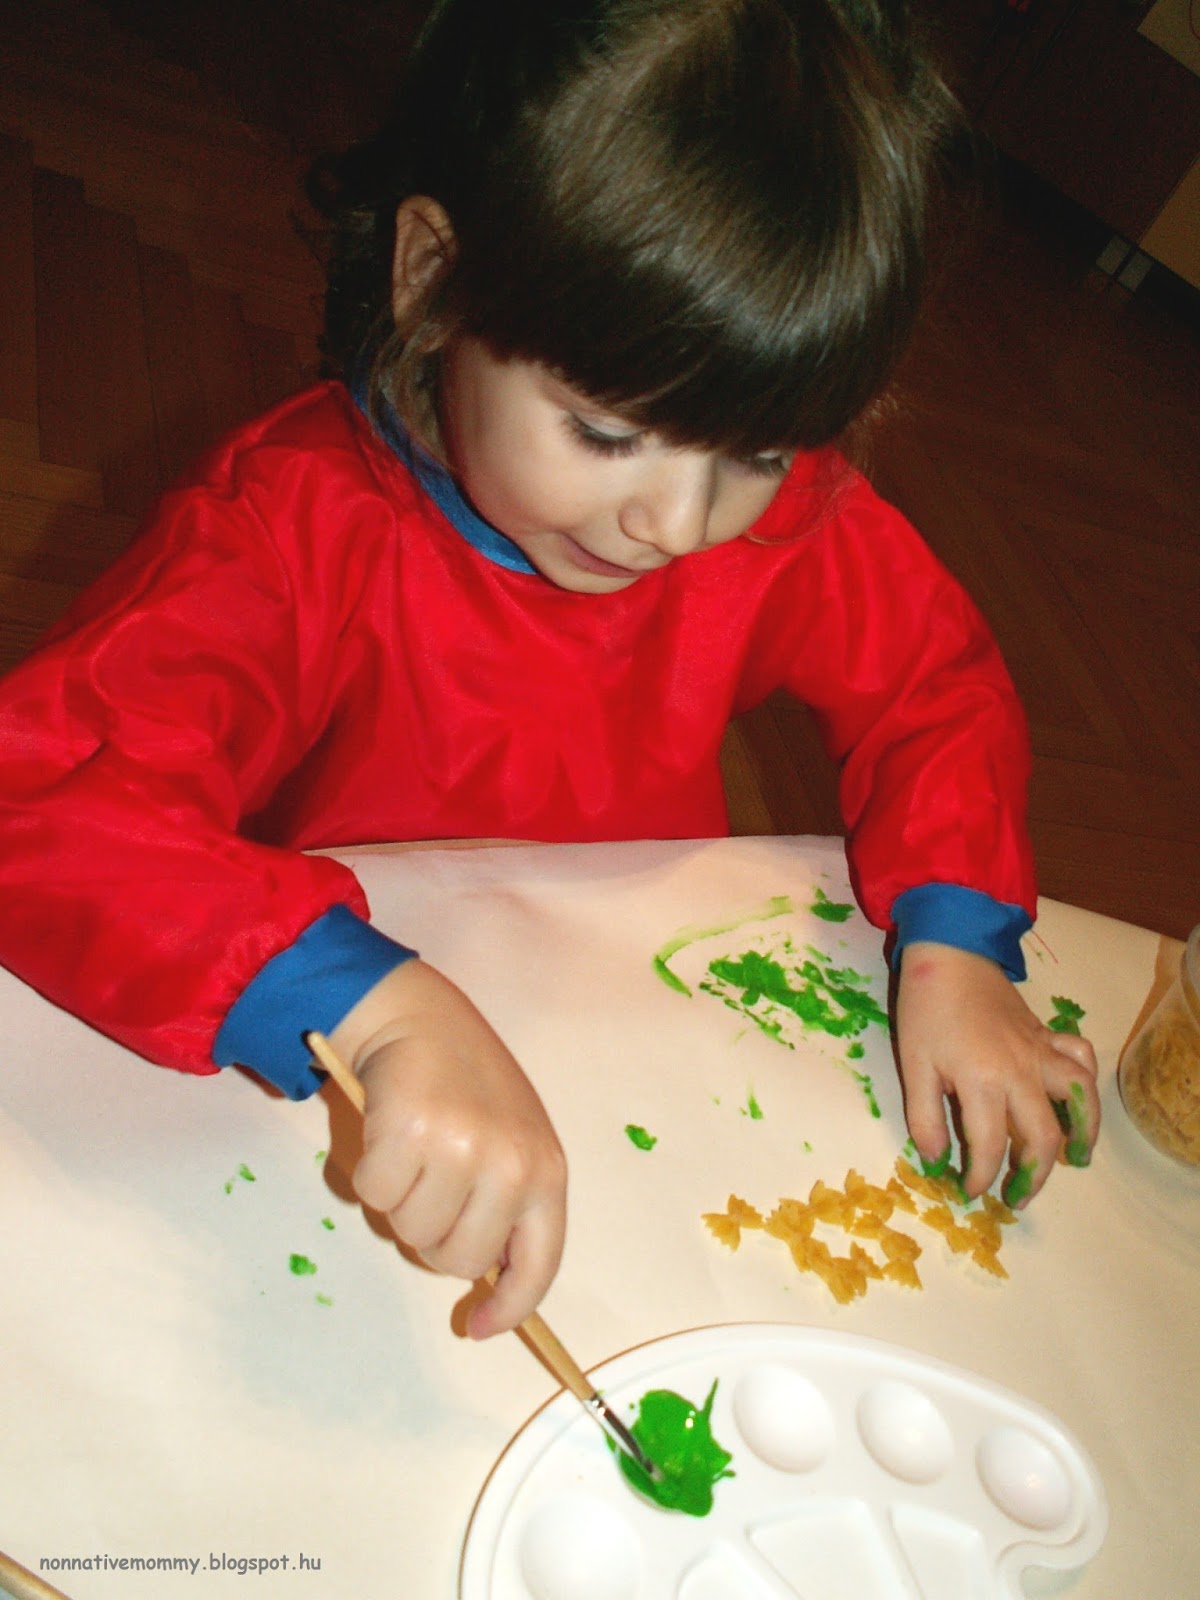
       

      painting
      sticking the cotton wool
      on our door

      What I prepared beforehand:

      – 3 cardboard cut-outs
      – red paint
      – paintbrushes
      – glue
      – little cotton wool balls

      We painted the candy cane cardboards red and let them dry (on the radiator).

      We glued lines on the candy cane and stuck on the cotton wool to make it stripy. When we finished we displayed them on our door.

      Source: http://www.notimeforflashcards.com/2008/12/how-sweet-it-is.html

      • Decorating E.’s window with flashing snowflake ornaments (Day 2)


      On one of our Christmas shopping we bought 2 snowflakes that have little batteries and if you turn them on they have flashing led lights (I didn’t realise the colours are red and blue – so they are a bit strange, but E. loved them at first sight anyway). You can attach them to the window with suction-cups.

      Every evening E. asks us to turn them on.

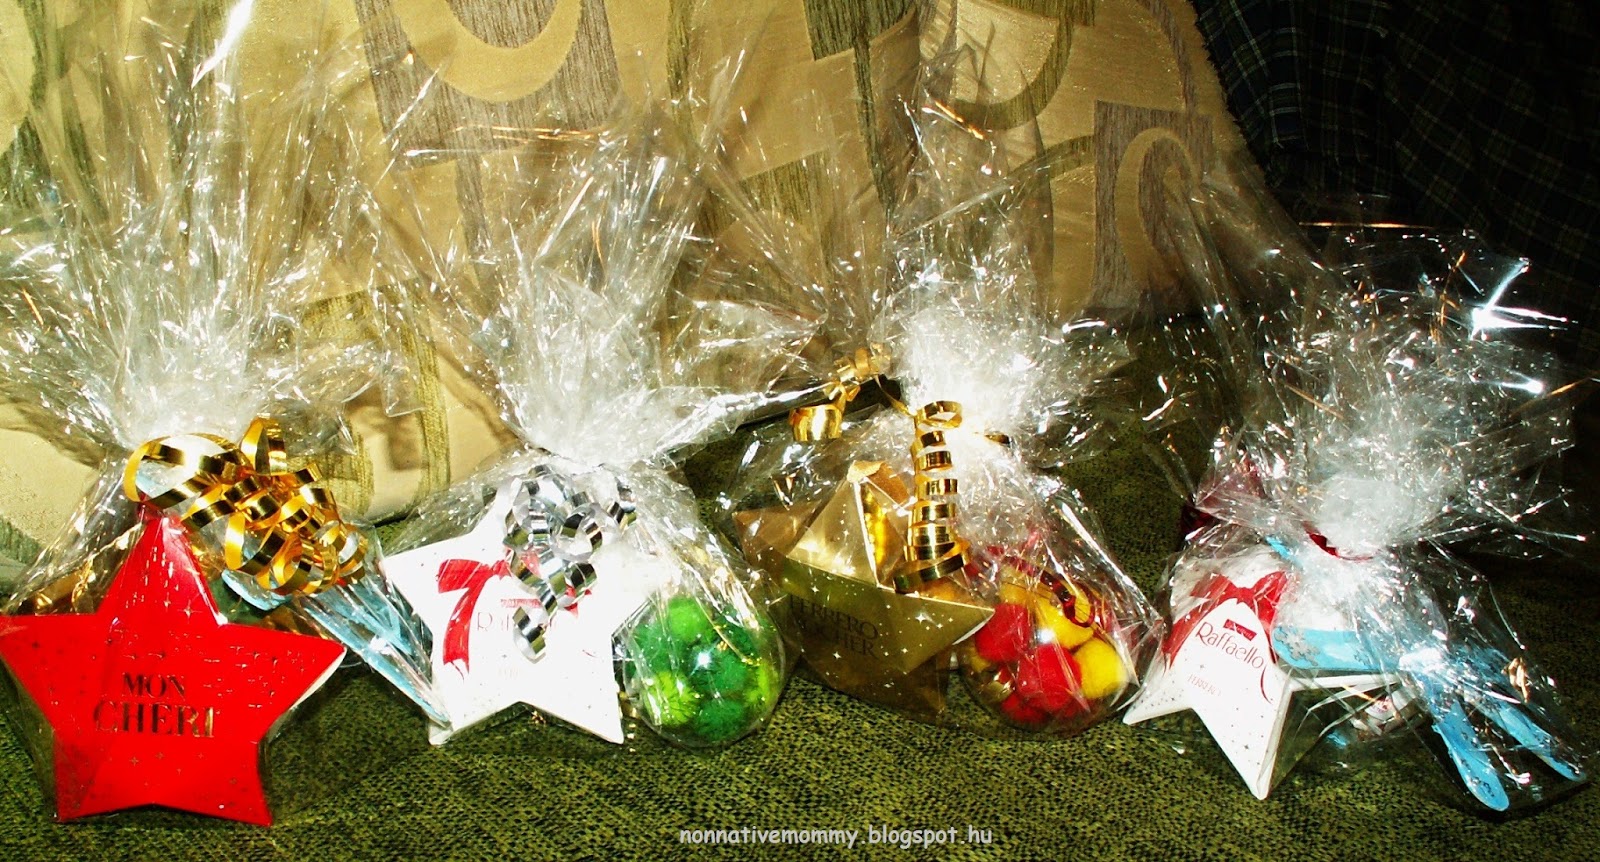
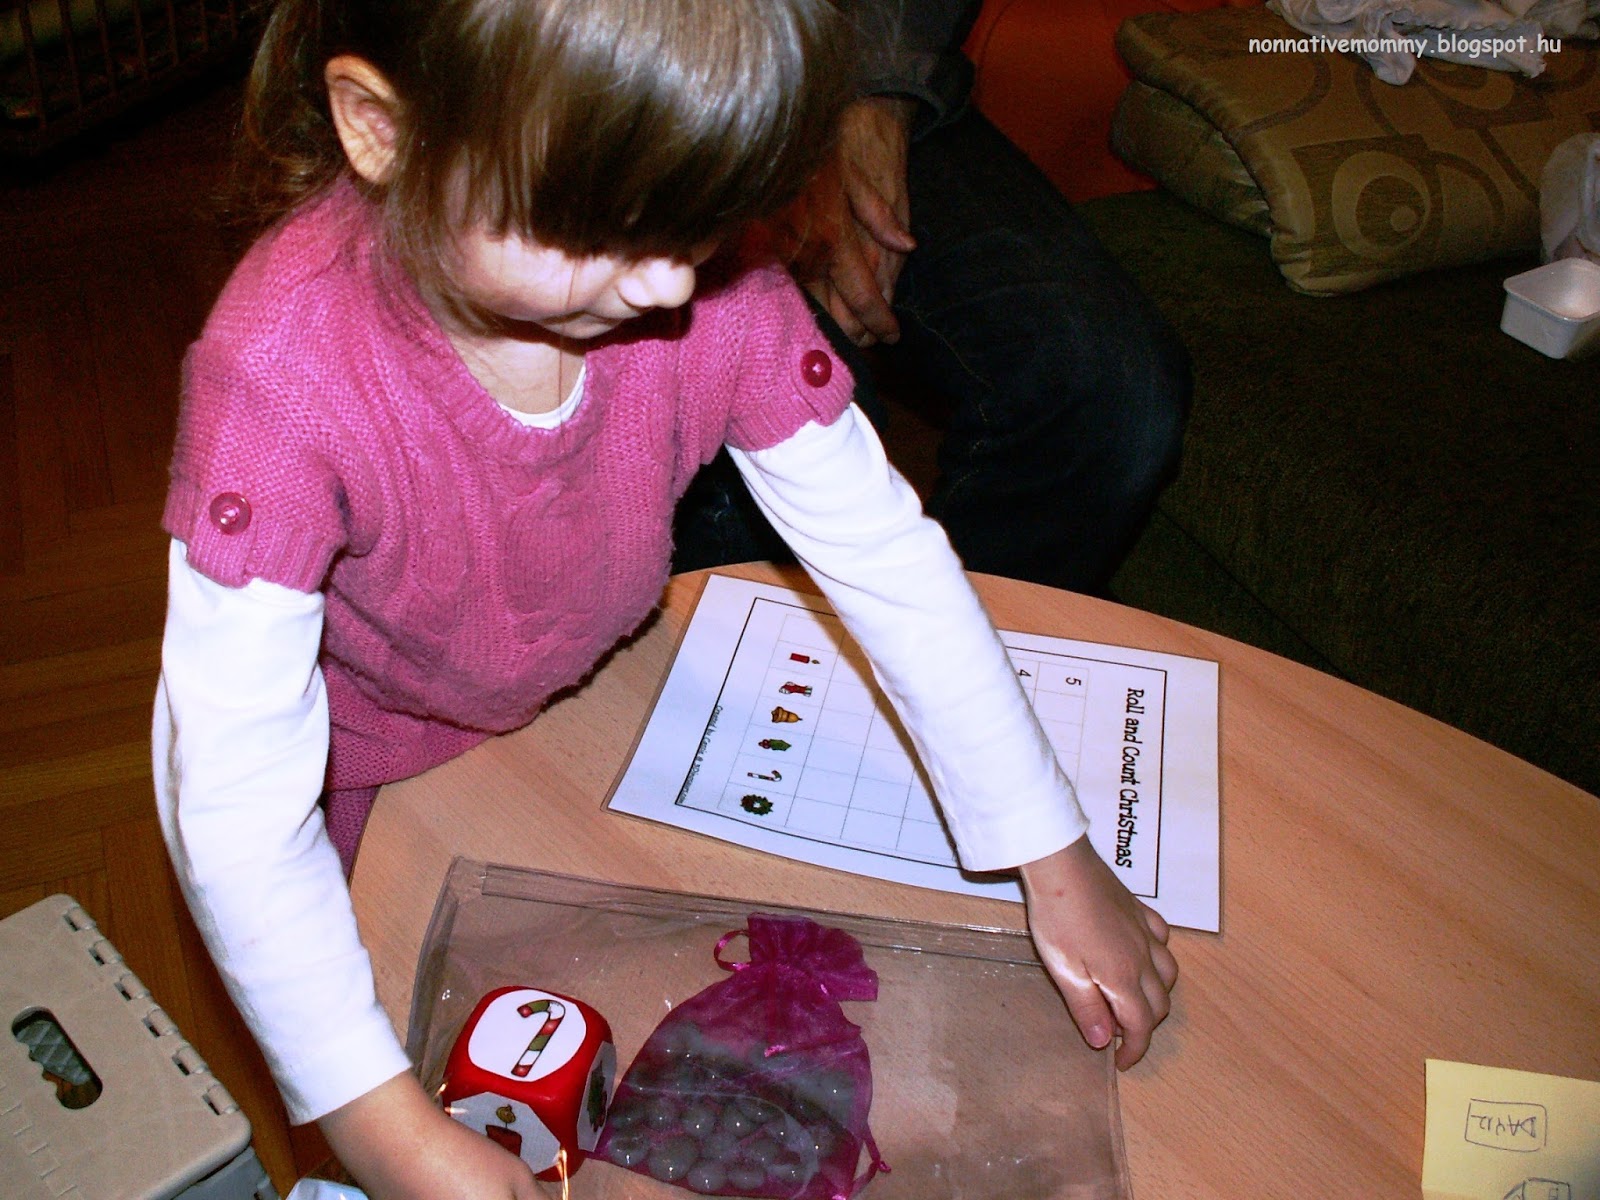
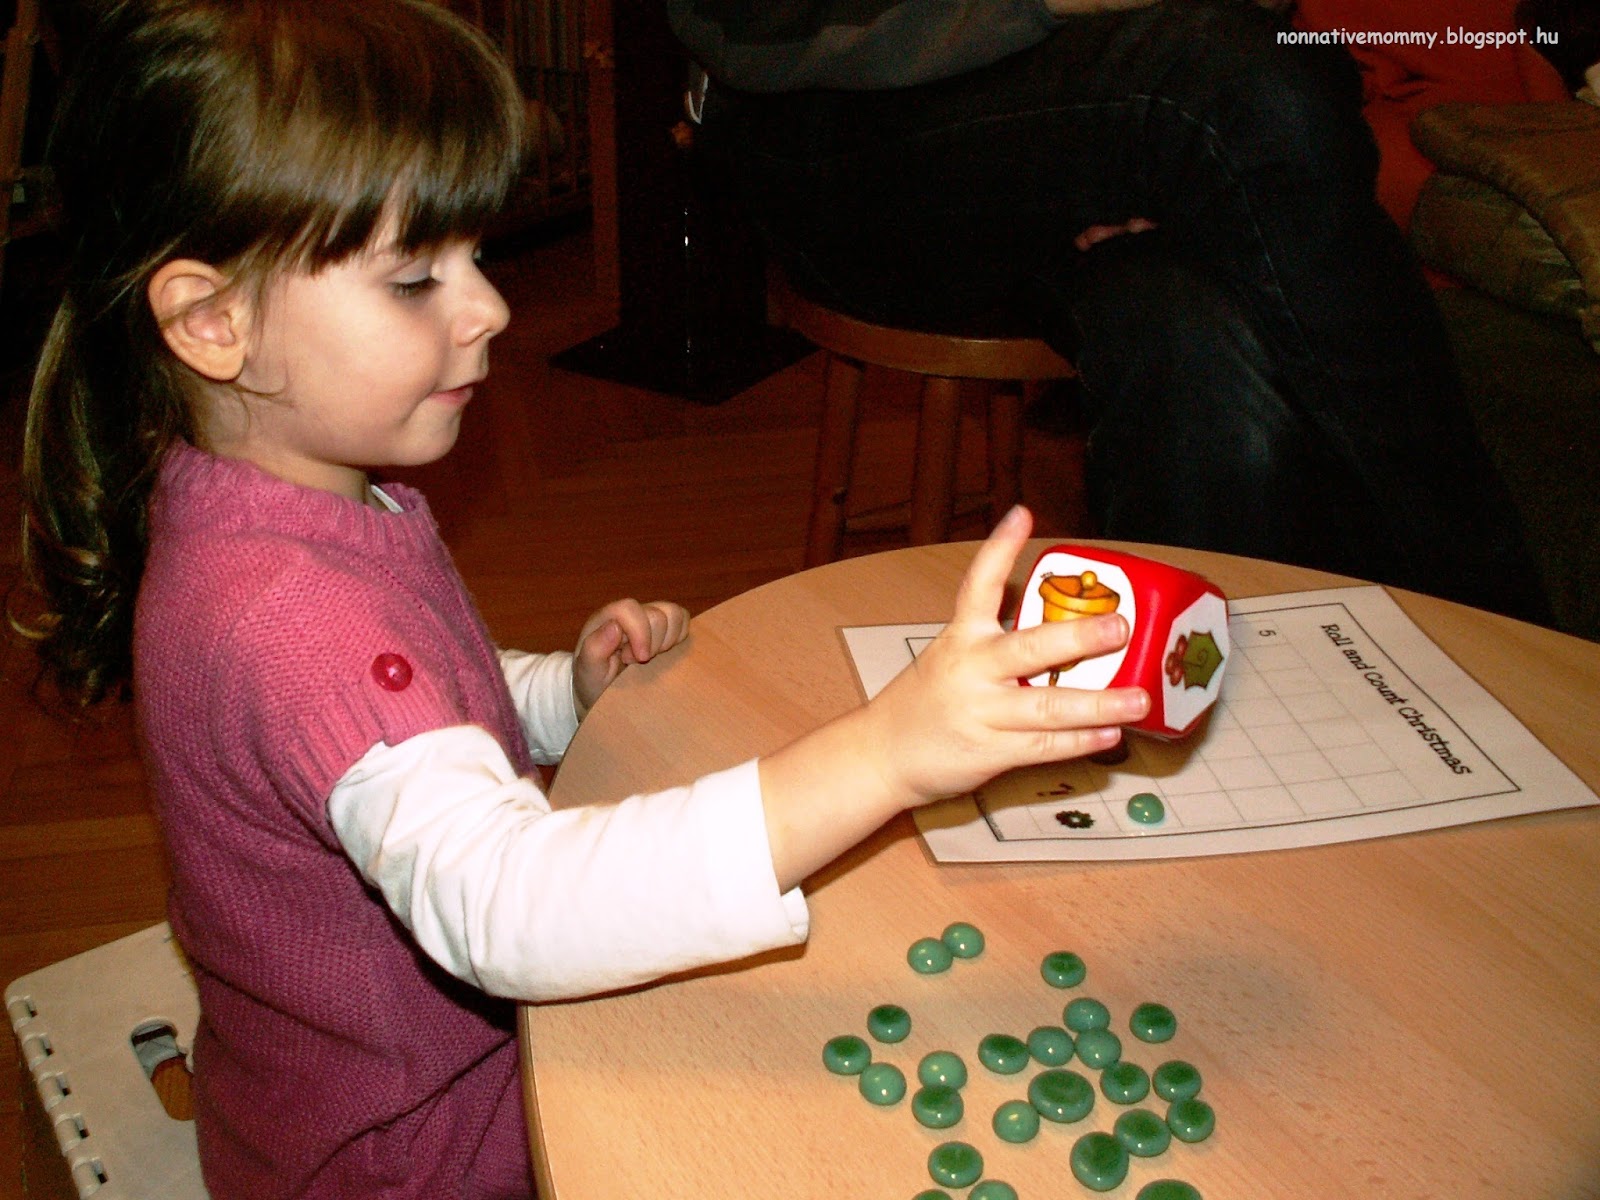
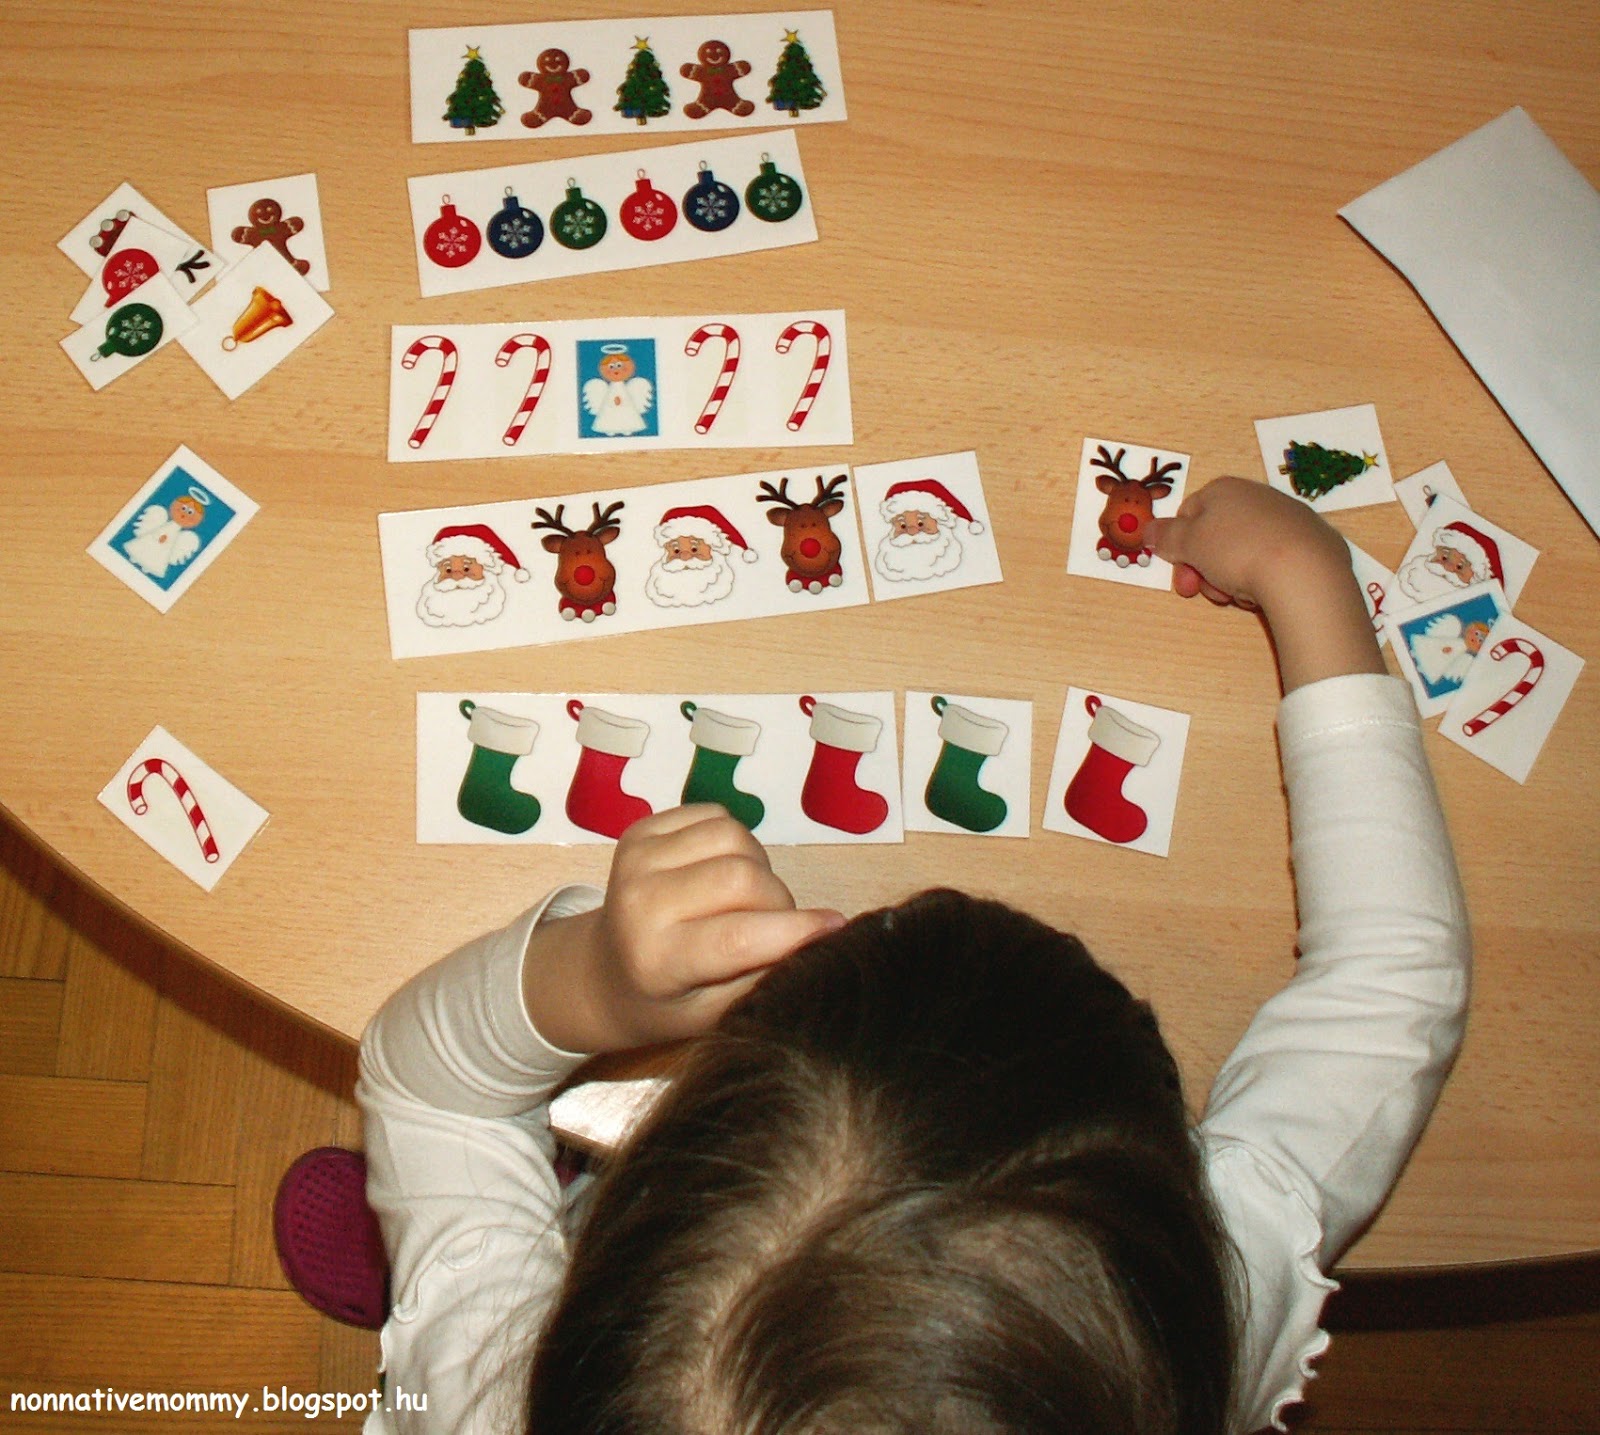
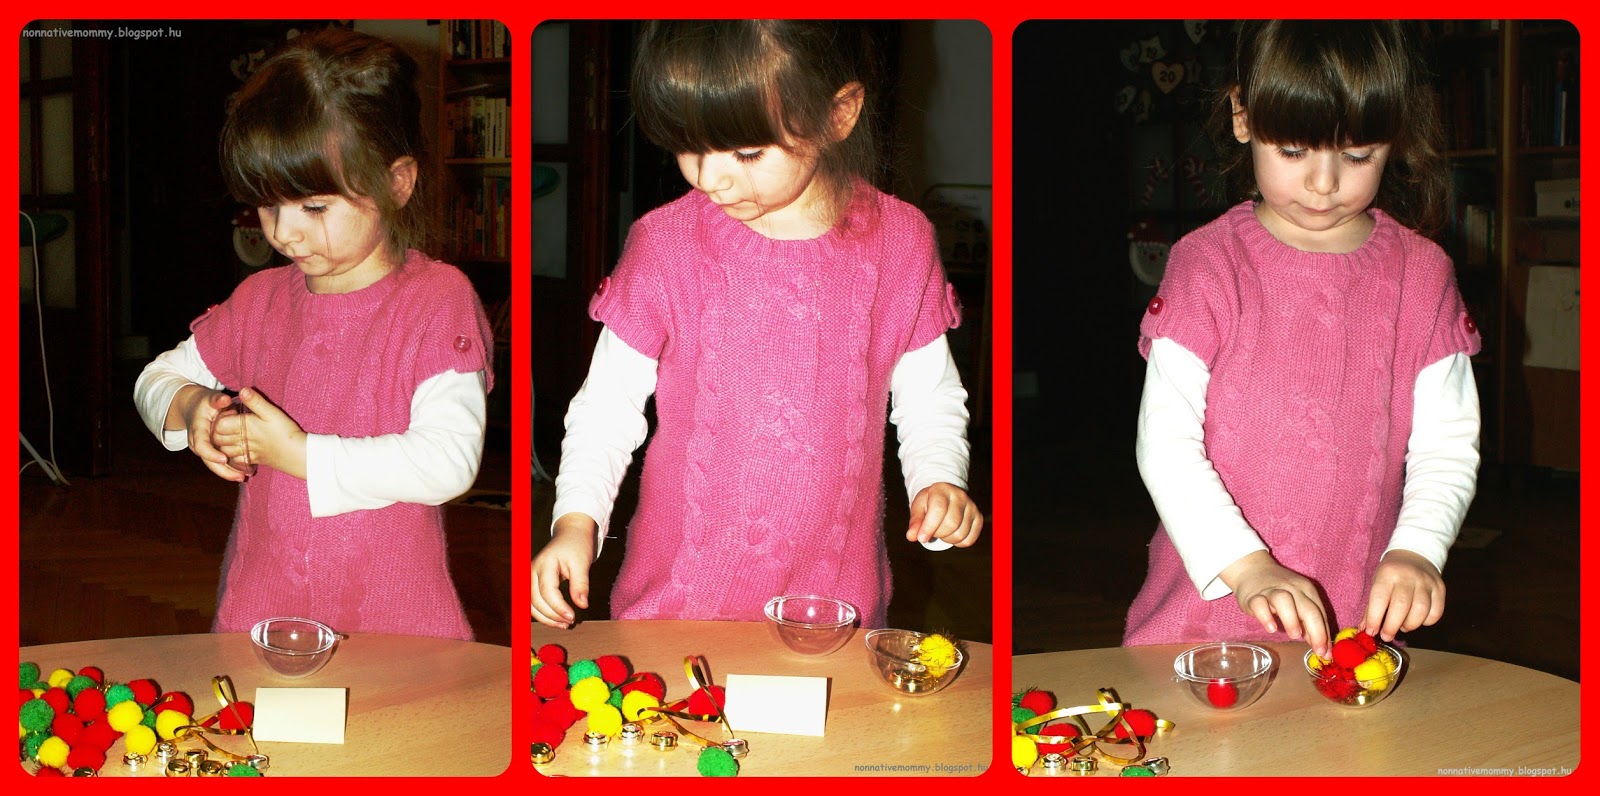
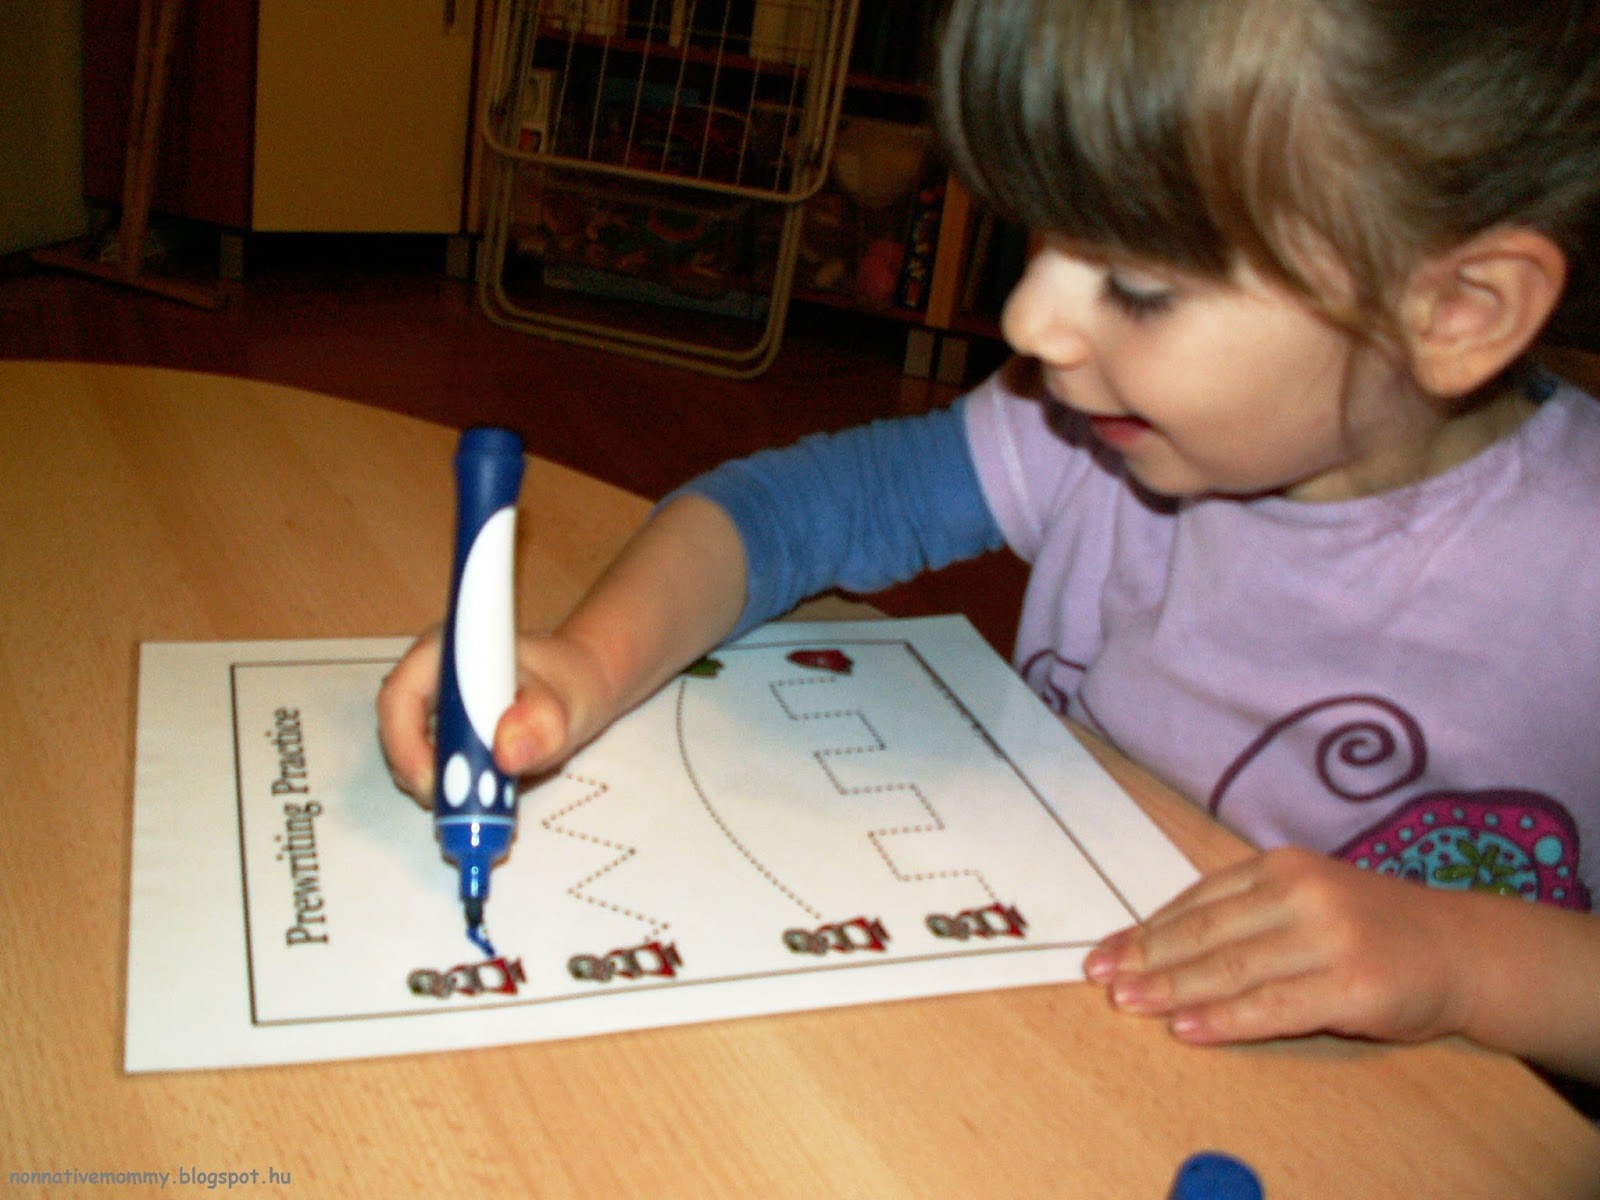
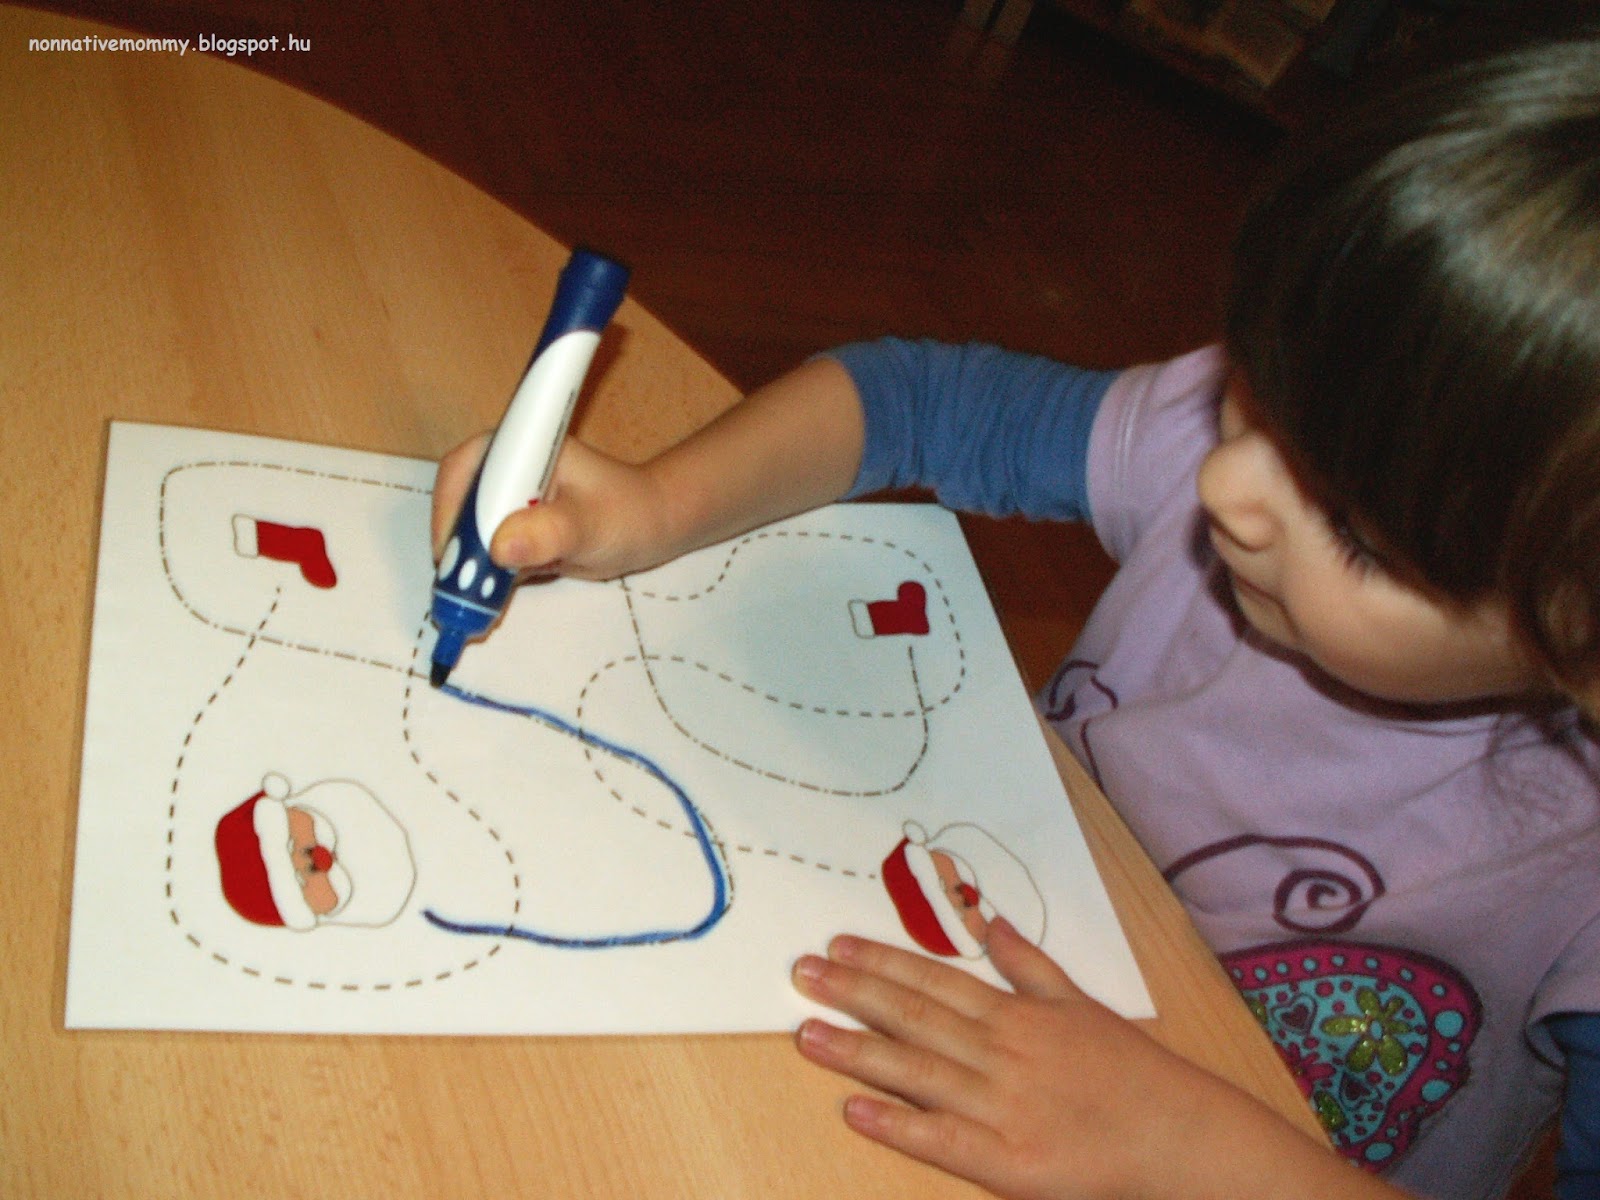
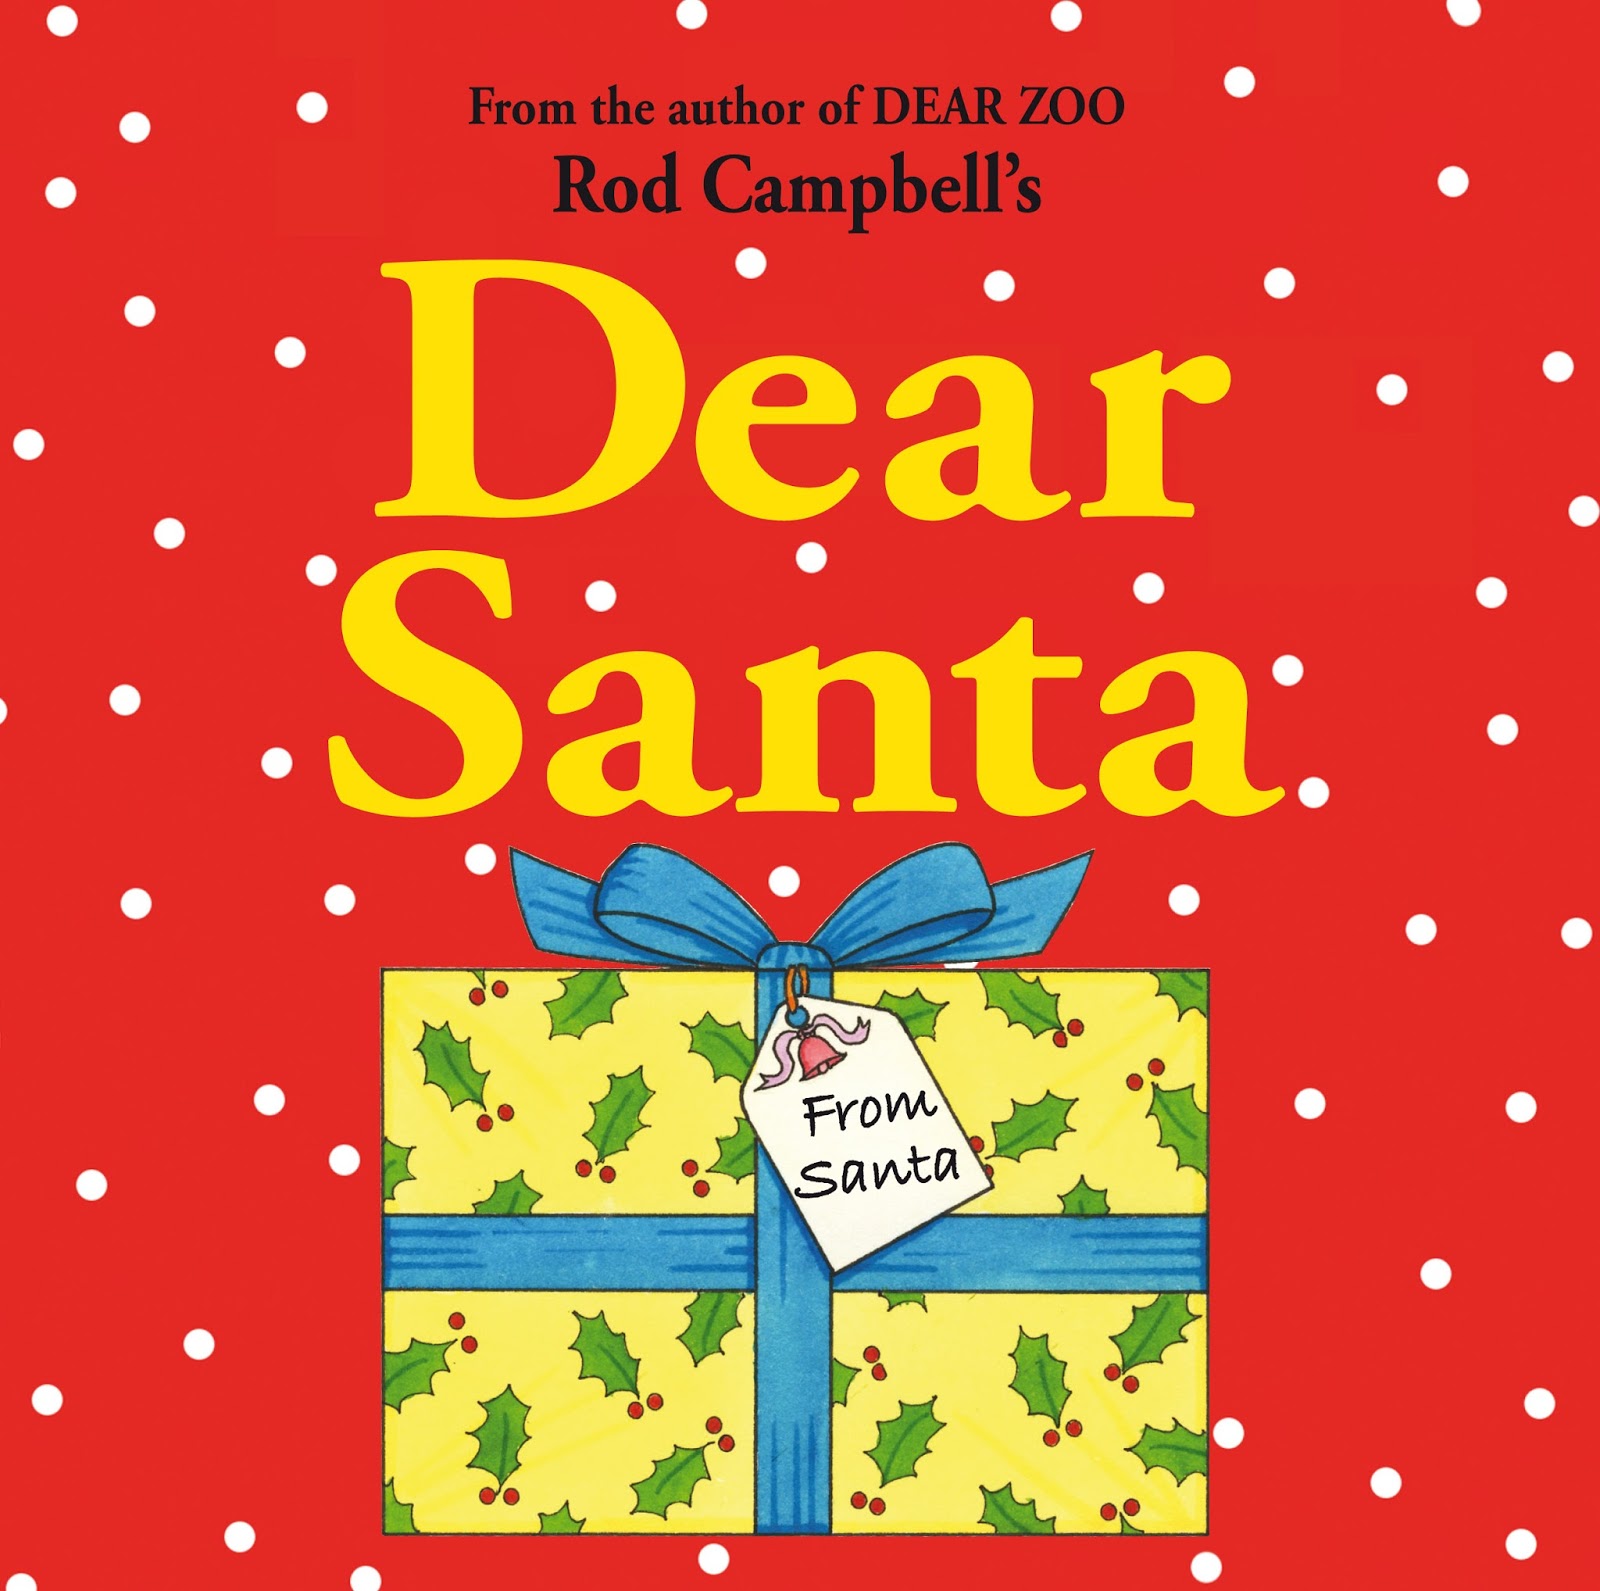
      • Write a letter to Santa + Santa counting cards with festive peg + hair bobbles and clip present (Day 3)


      First, she didn’t want to write a letter to Santa (St. Nicolas) so played with the cards. She loved the tiny pegs with Santa, mittens and boots on them. She counted and clipped and counted and clipped. I made the printable myself, and you can download it at the end of the post.


      • Gingerbread dough making (with a recipe) (Day 4)


      Last year I found a really good gingerbread recipe on bebeangol.hu. It’s easy to make, smells wonderful, and stays soft.

      So on the 4 December (before the next day’s gingerbread party) we prepared the dough with E. So many people were coming we needed to make two batches. E.’s enthusiasm lasted only for one.

      It was rather messy with lots of ingredients and measuring I couldn’t take photos.

      Here is the recipe in English:
      Ingredients:
      For the dough:
      – 500 g white flour
      – 2 teaspoons of baking soda
      – grated zest of an orange (the colourful part of the peel)
      – grated zest of a lemon
      – 1 egg + 2 egg yolks
      – 2 tablespoons of freshly pressed orange
      – 130 g honey
      – 100 g butter
      – 150 g sugar (powder)
      – 1 tablespoon of gingerbread spice

      For the decoration (optional):
      – 1 or 2 egg’s white
      – about 150 g sugar powder

      Preparation:

      Put the honey, butter and sugar into a pot and heat it up until they melt. Let them cool (on the balcony or in the window sill, while you are making the rest of the dough)

      Mix the dry ingredients in a bowl: flour, baking soda, gingerbread spice, grated lemon and orange zest, then add the whole egg and the two egg yolks. (Put the whites in the fridge, you can use it for the decoration). Mix in 2 tablespoonfuls of freshly pressed orange and finally the cool mixture of honey+butter+sugar. Mix them all together with a hand mixer (dough hooks on). In the very end I knead it a little to make it stick together.

      Wrap the dough in cling film and place it in the fridge for 6-8 hours. (The best is if you can prepare it the day before baking and the dough can rest the whole night in the fridge. If you’re pushed for time, it is OK if it rests in the fridge only for a few hours. (I’ve tried it and it worked the same)

      When you’re ready to bake, take the dough out and knead it a bit on a board covered with a thin layer of flour (also add flour to your rolling pin).

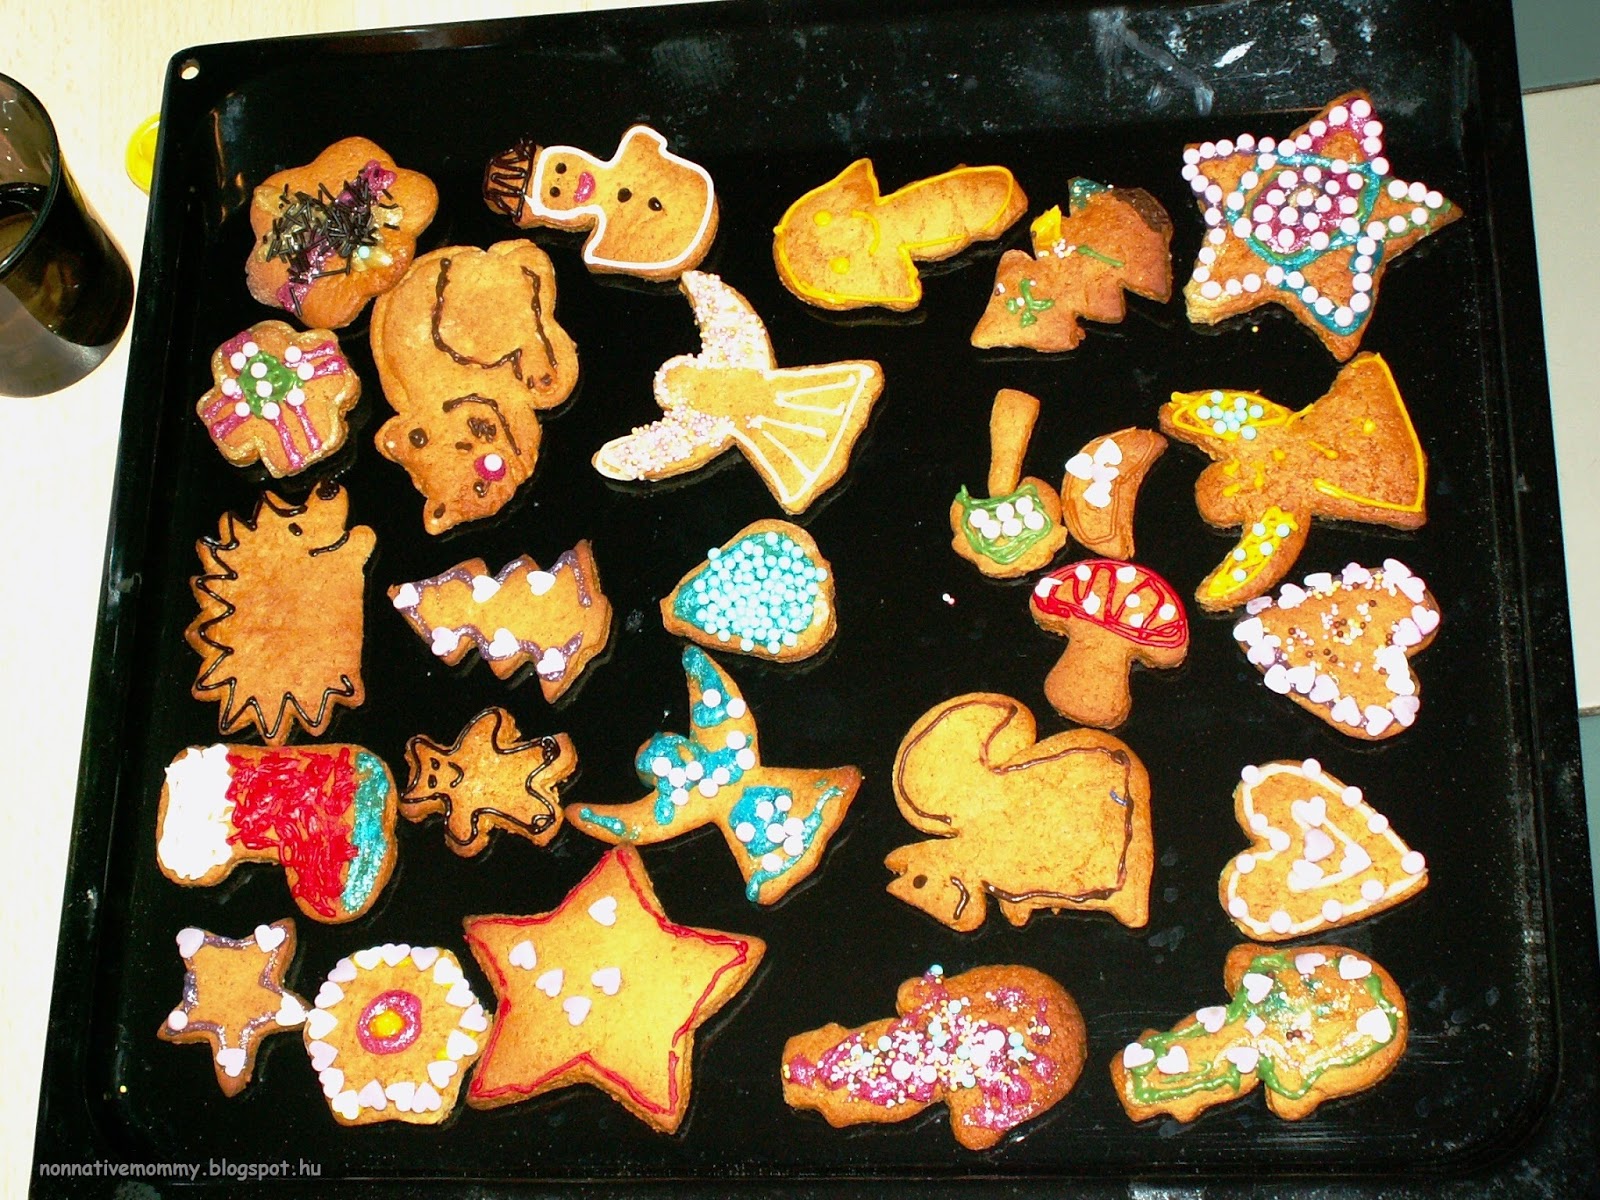
      Then roll the dough 3-4 mm thin and use your cookie cutters to cut out the shapes. Put them on baking paper on a tray and bake them for 8-10 minutes in the oven that you’ve preheated at 180 Celsius degrees.

      Let it cool down and decorate it with the whisked mixture of sugar powder and egg whites (whisk them until they are hard and fill them in a plastic bag. Cut a tiny hole in the corner of the bag and push the white stuff out on your gingerbread) or with other decorations (nuts, almonds, sugar sprinkles, hearts or beads etc.) We always use the Dr. Oetker edible decorations.

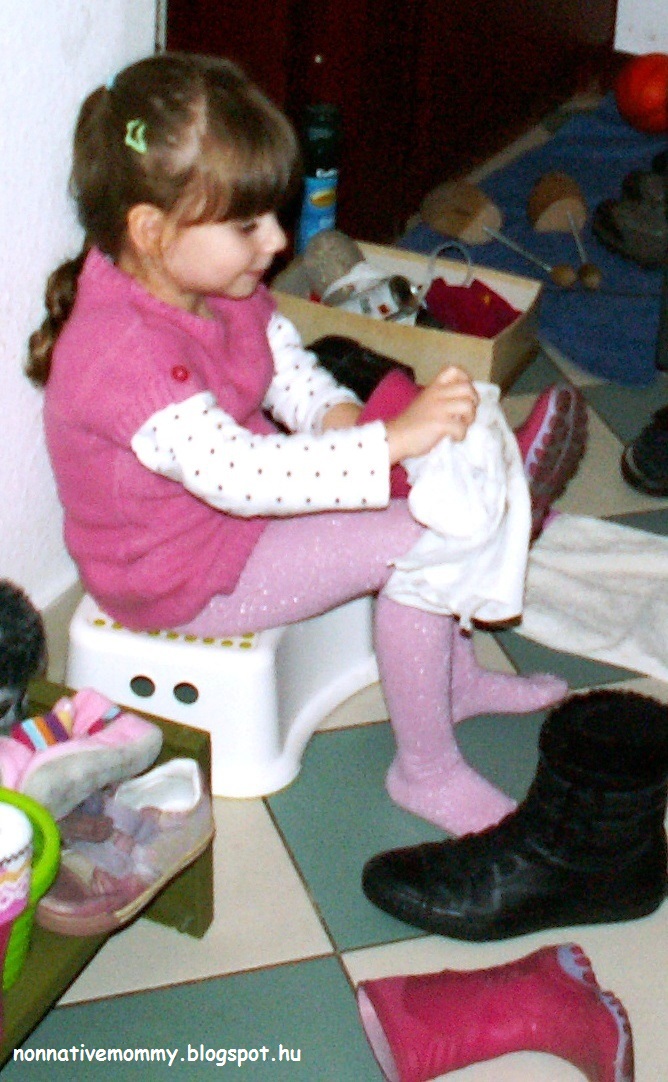
      • Clean your boots and put them out in the window for St. Nicolas (Day 5)


      As in Hungary St. Nicolas (Santa) brings presents on the night of 5 December, children need to clean their boots and put them out in the window so St. Nicolas can fill them up with goodies and presents.

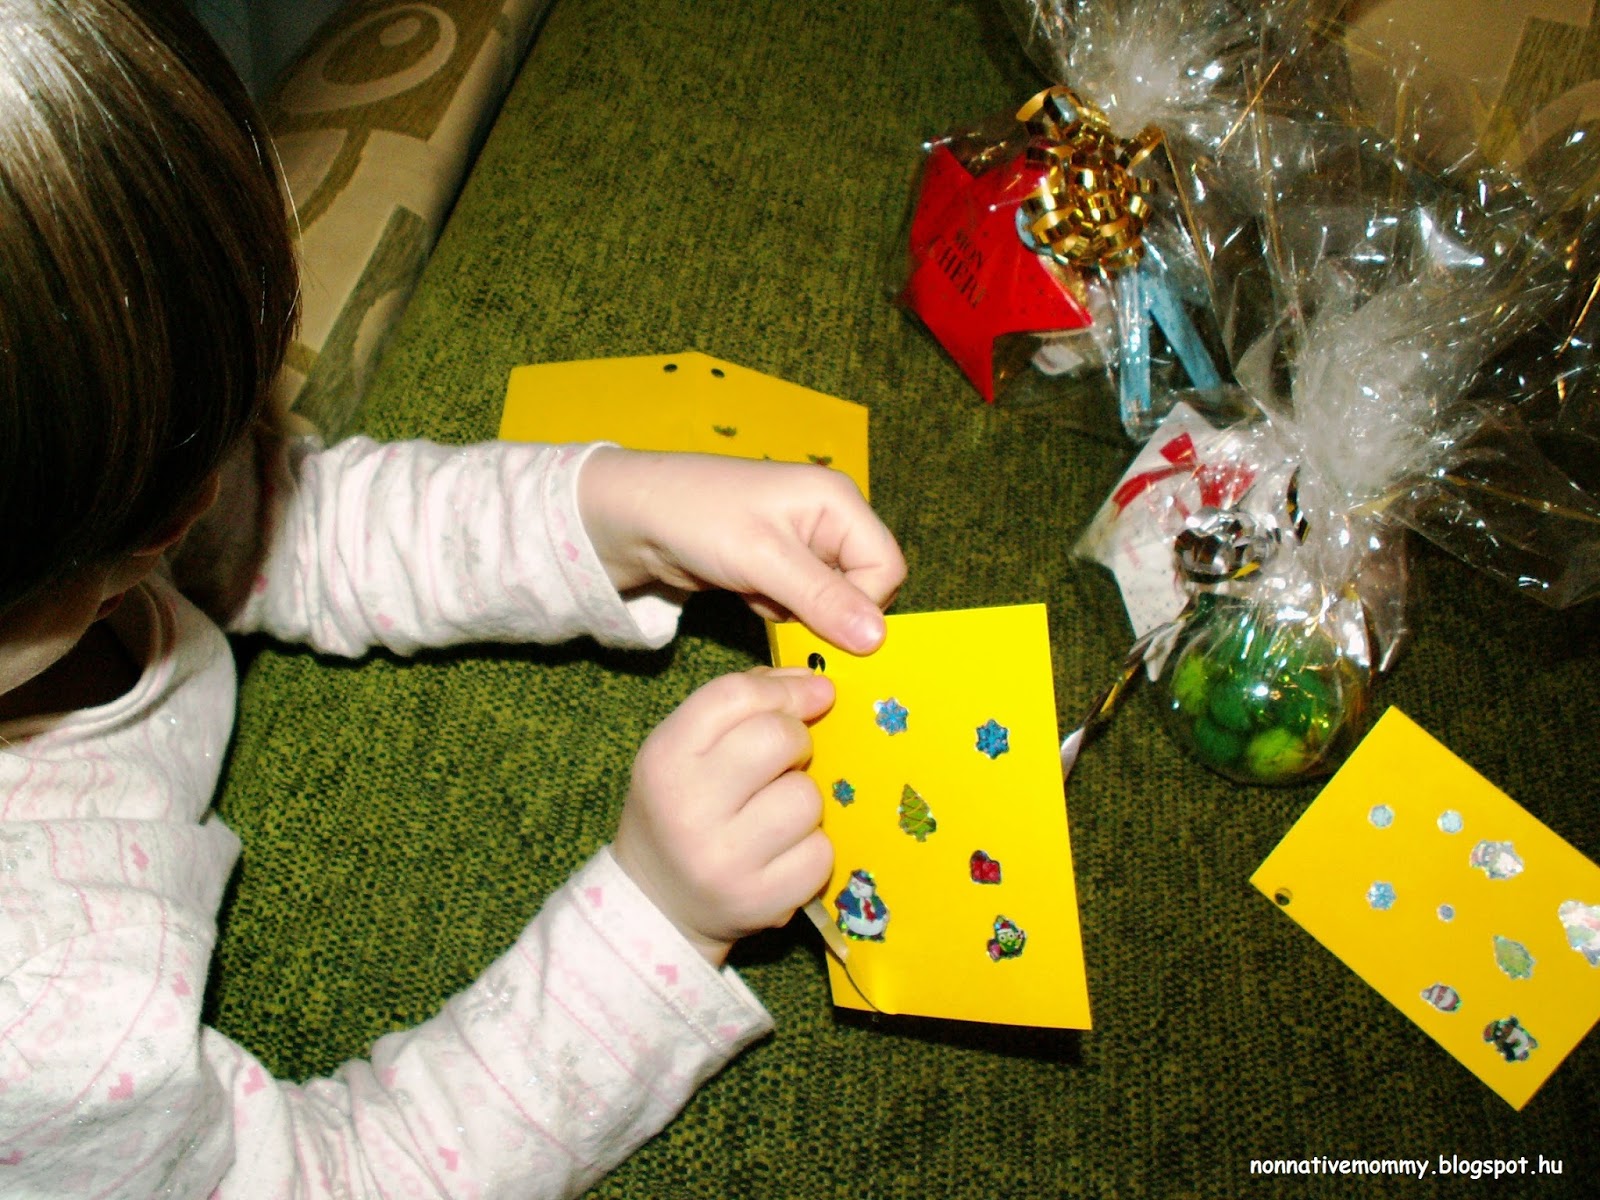
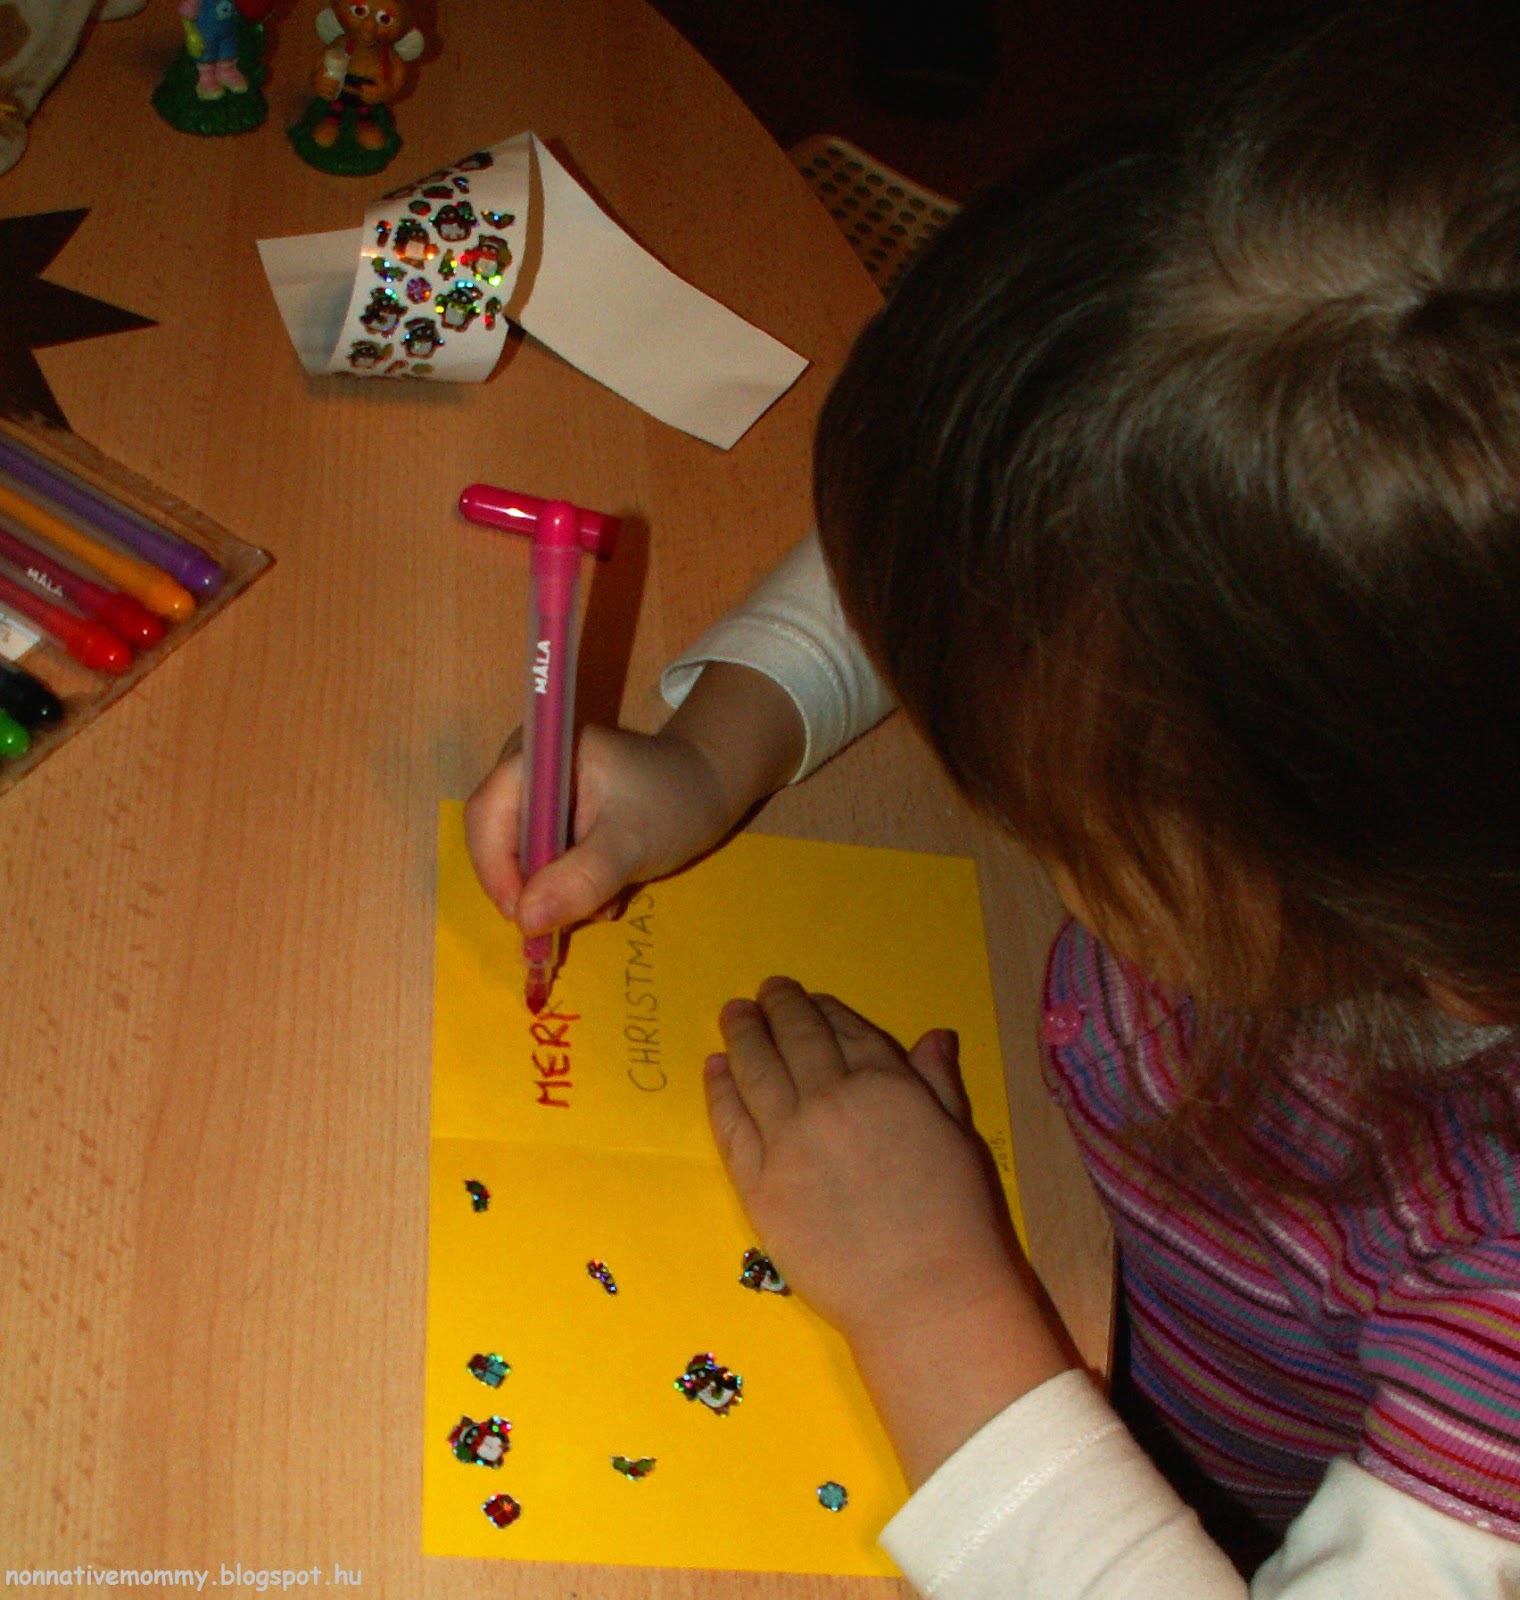
      And then in the morning (6 Dec):


      •  Santa craft from paper plate (Day 6)

        On the 6 December E.’s Godparents and God-sisters came to visit. So we did this advent activity together. They were more than happy to take part.


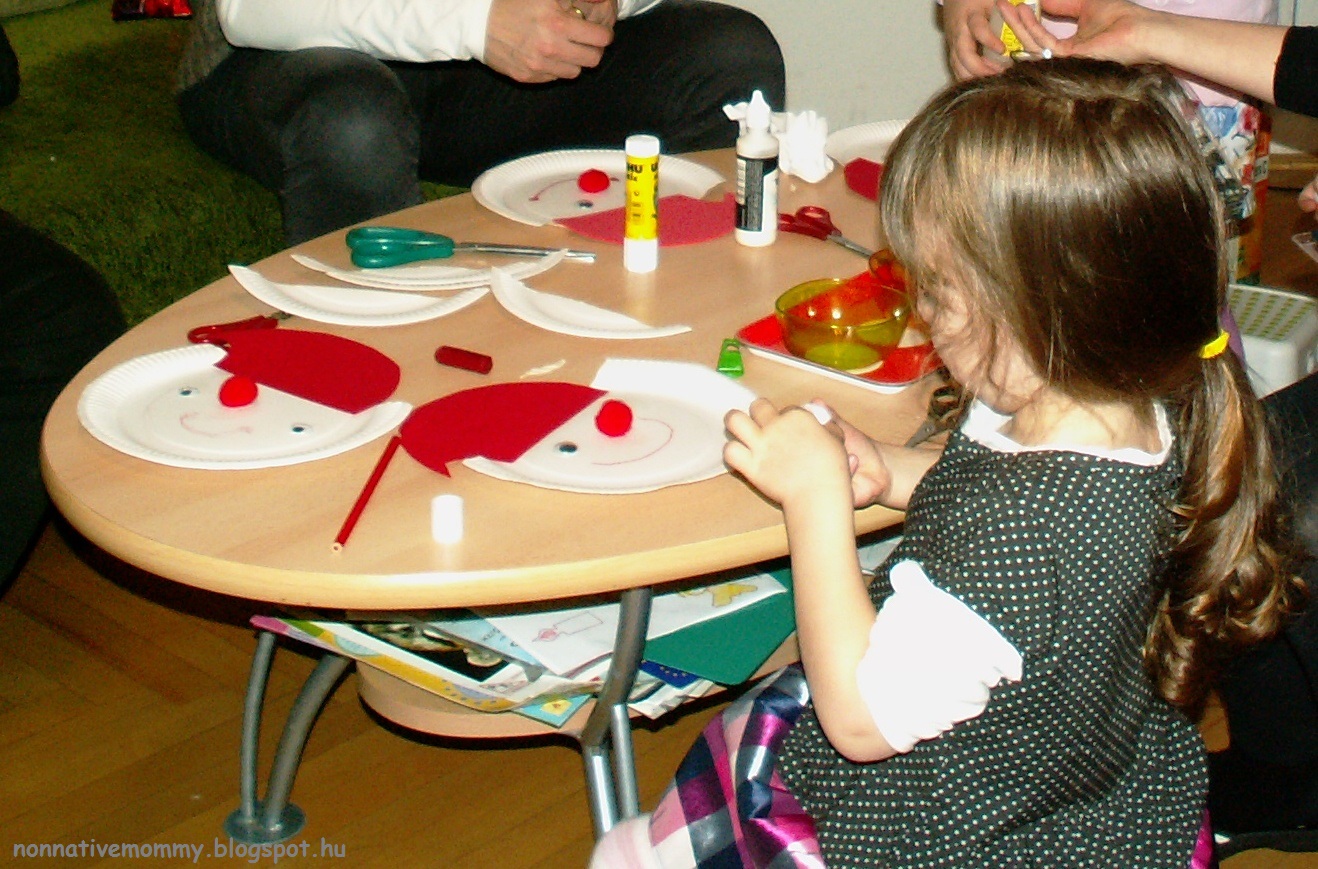
      (By the way, I saw this Santa paper plate craft activity on Pinterest but after some rethinking I changed it a bit.)
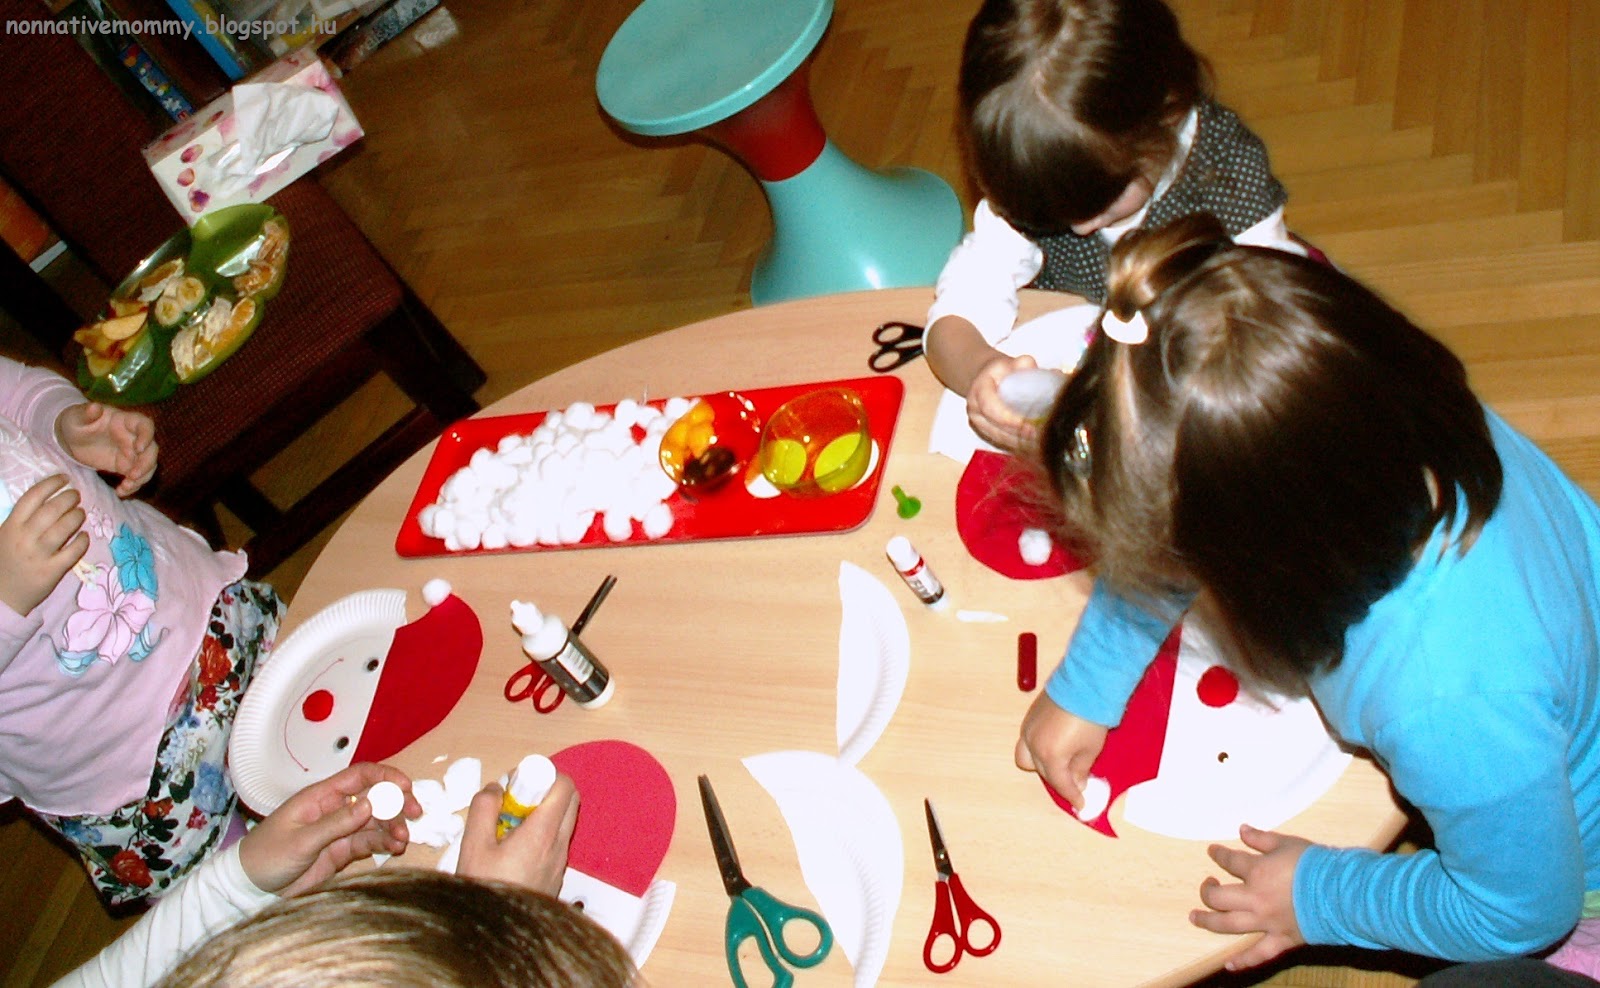
      You need:
      * paper plate
      * red construction paper/foam sheet
      * googly eyes
      * red pompom
      * white cosmetic cotton wool balls
      * scissors
      * glue

      What you need to do:

      I prepared the hats out of the red cardboard in advance and drew a line on the top of the paper plate where the kids could cut along.

      First, stick on the hat, then add the googly eyes, the pompom nose. You can use any kind of glue you have at home. For smaller kids (about age 2 or younger) you can pre-draw the places of the eyes and nose and mouth).

      Next, with a crayon or marker you can draw the mouth.

      To finish with, you can add the cotton balls on the tip of the hat and along the head line. If you have a lot of cotton balls the sticking can go on the beard too.

      There was an extra special activity with Daddy at bath time: tea lights were lit and placed around the bathroom and the tub and they were blowing bubbles while bathing. It was so much fun… unfortunately I couldn’t take photos in the dark and I preferred to watch how they enjoyed the bath 🙂

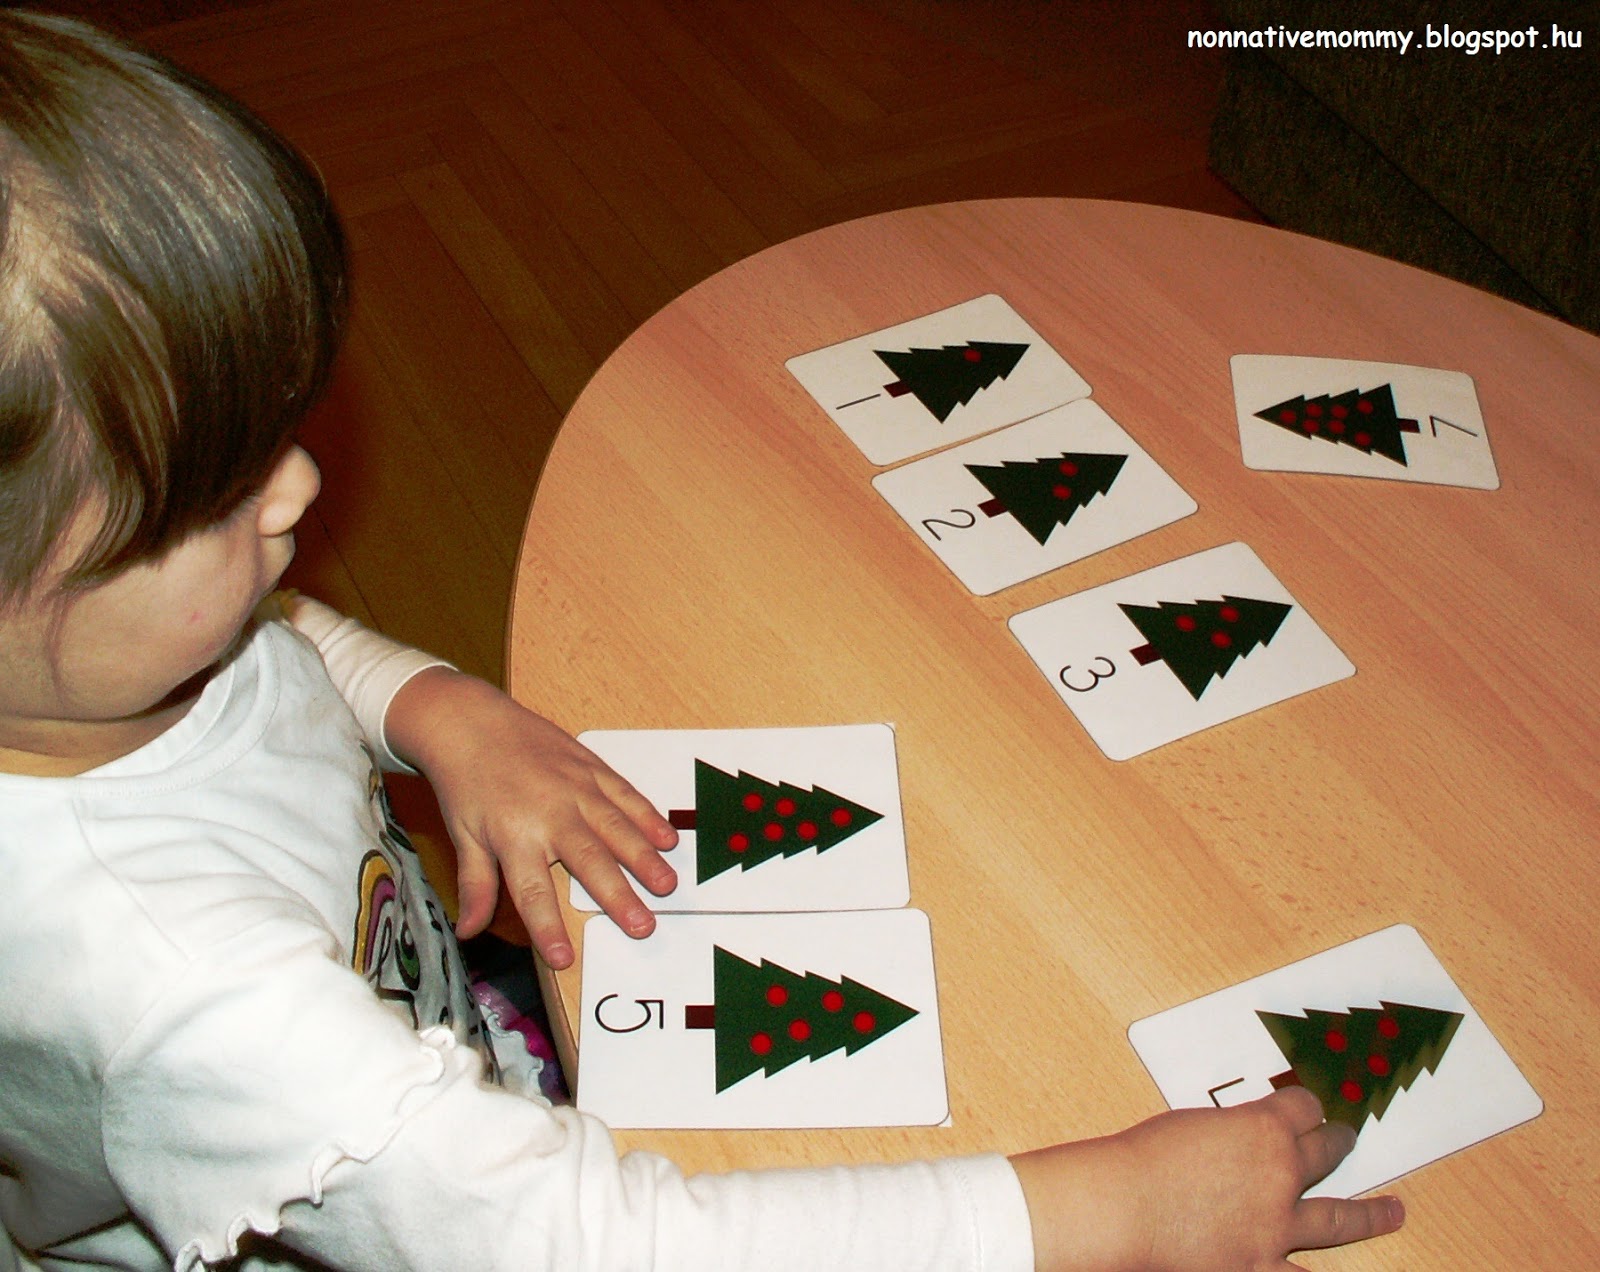
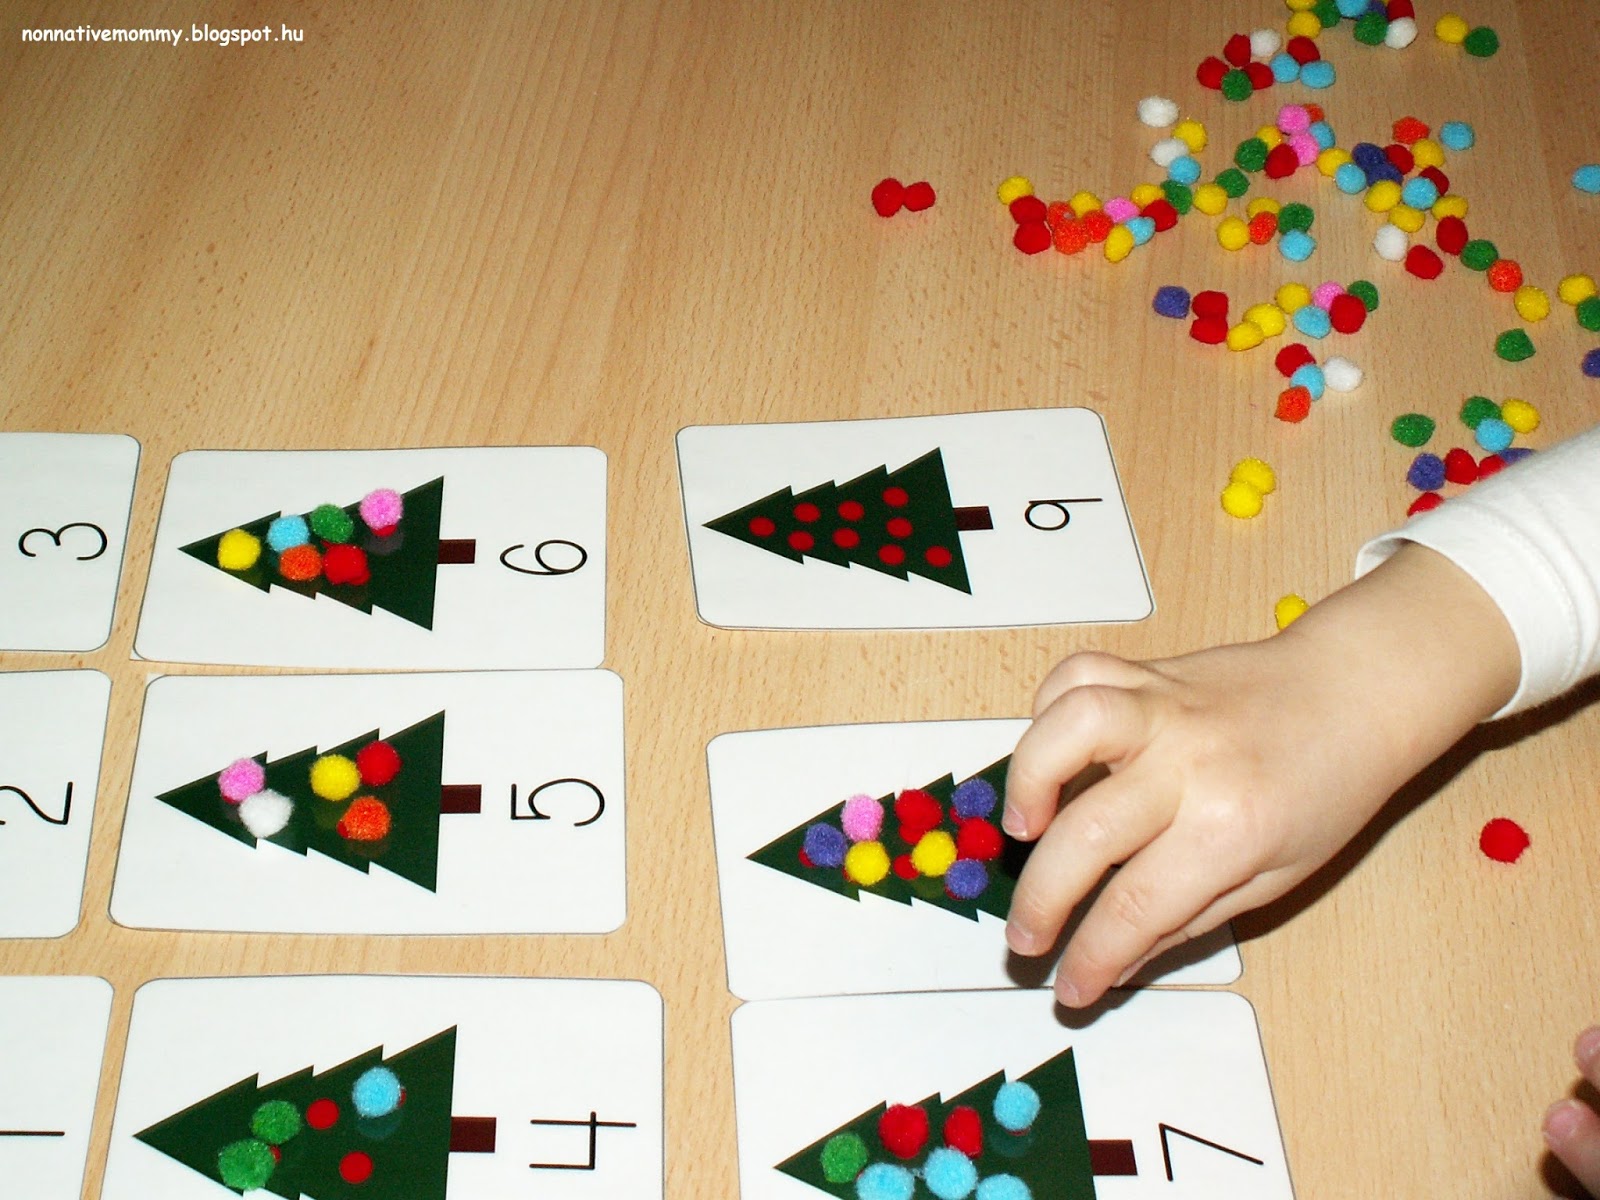
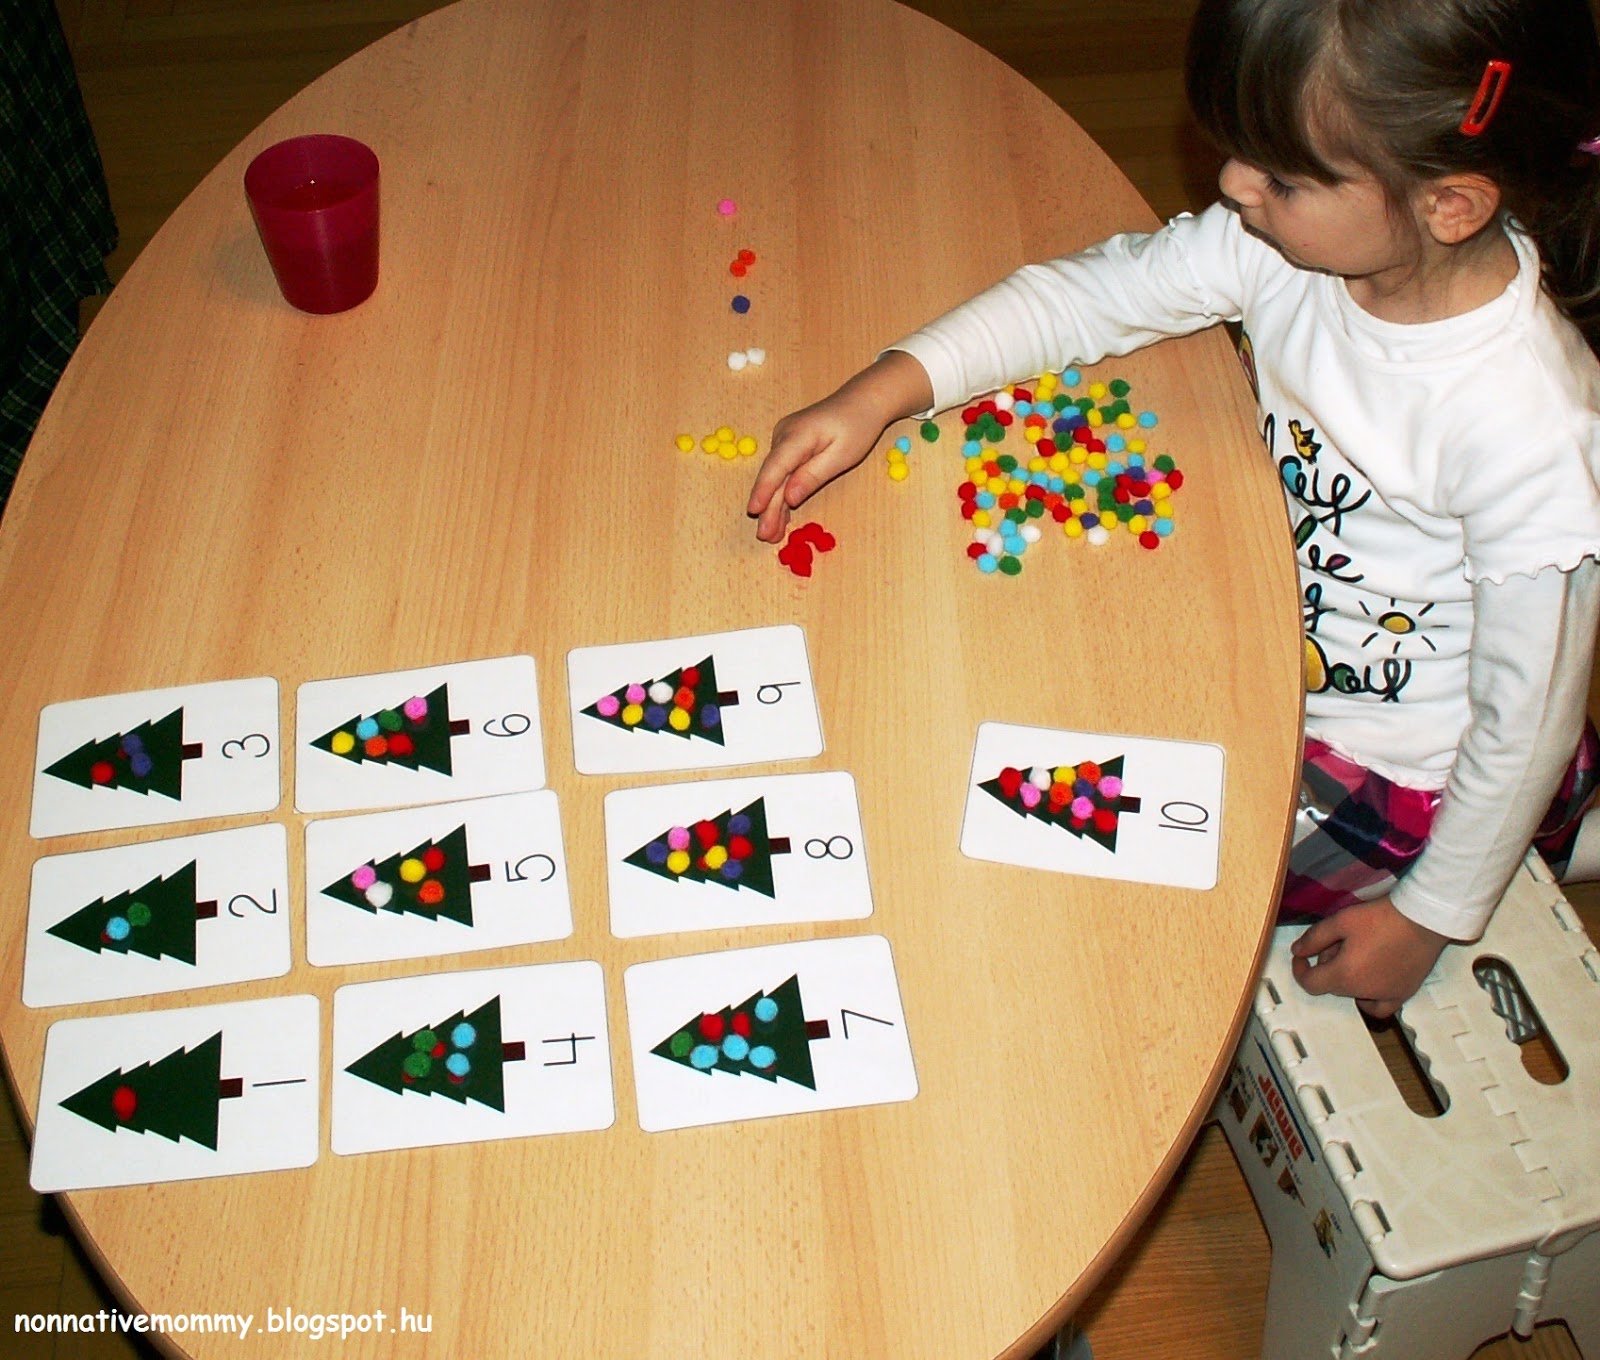
      Here you can download the Christmassy counting cards

      More activities are to come!
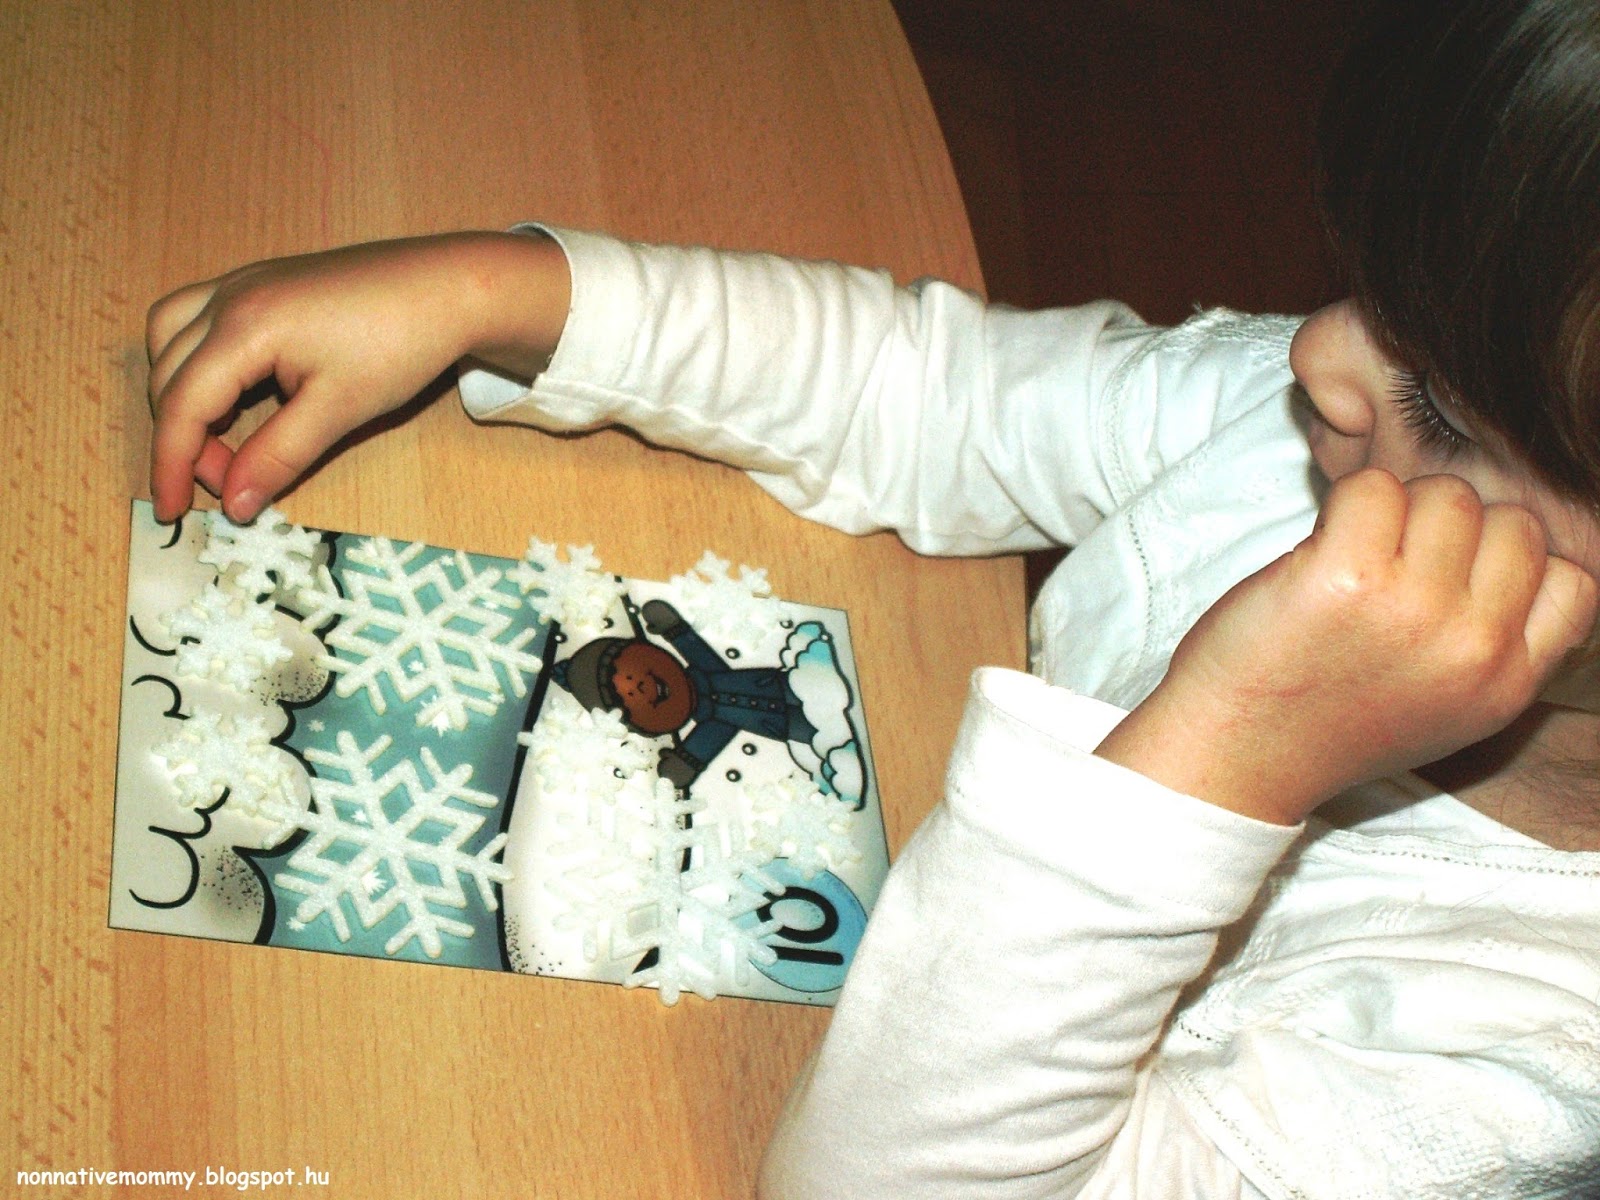
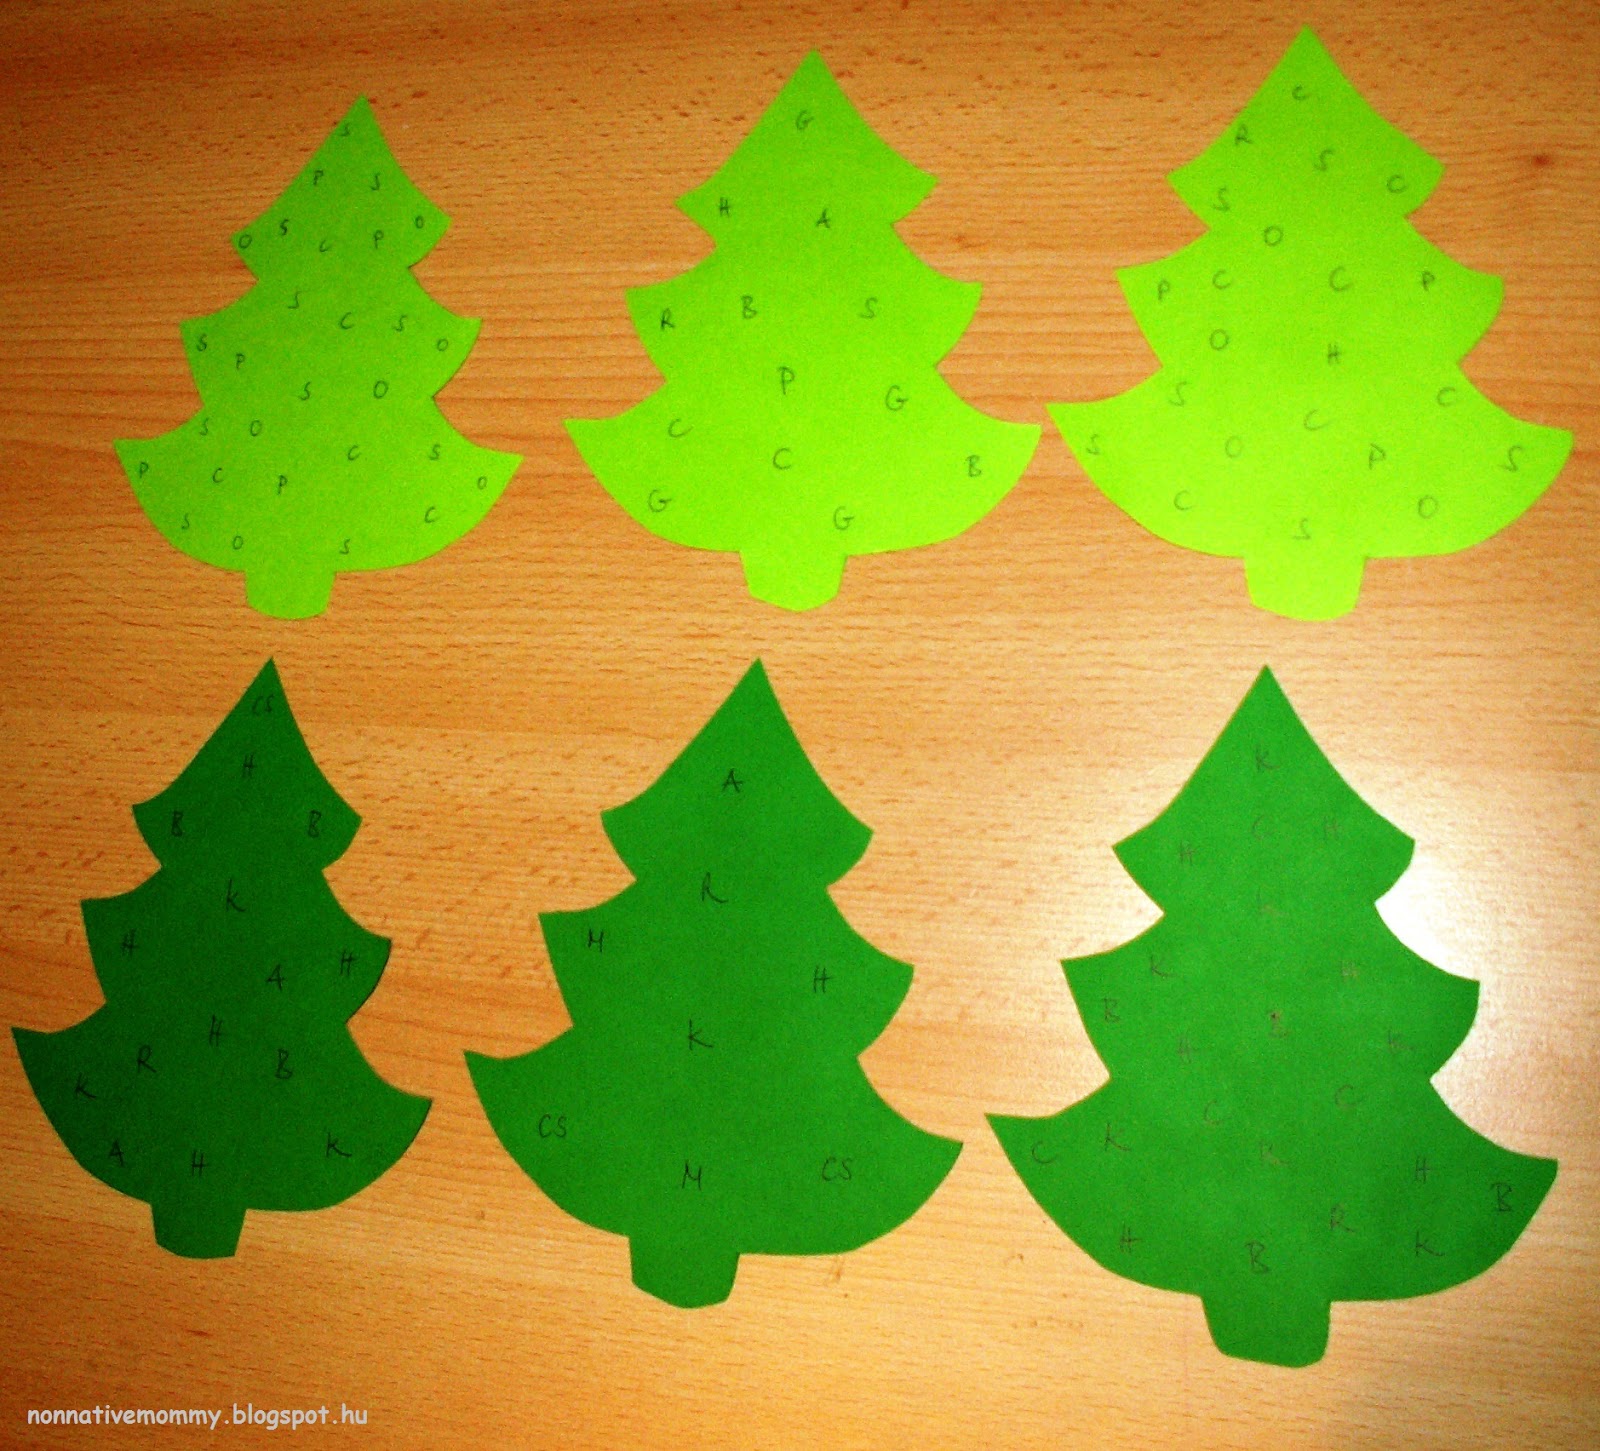
      Book Advent Calendar

      Like last year we’ll have a book advent calendar, however, this year I managed to put together more Christmassy books than last year. And there are some surprises among the 24 books… read on to find out what they are.

      I always go to second-hand toy shops which also offer English children books at a very low price. All through the year I’ve been collecting these books (some of them we had last year too) I wrapped them in red and green paper and stacked them up like a Christmas tree:

       Here is the list of the books:

      1. Dear Santa

      2. A busy Christmas (board book)
      3. Mr Men – 12 Days of Christmas
      4. Mr Christmas
      5. Little Miss Christmas
      6. Here comes and Angel
      7. Dora Starry Christmas
      8. The Manger
      9. The Gingerbread Man (Ladybird)
      10. The Nutcracker (Usborne)
      11. Snappy Little Christmas (pop-up book)
      12. Reindeer- a Christmas Story
      13. Clifford’s First Christmas
      14. Maisy makes gingerbread
      15. The very first Christmas (Beginner’s Bible)
      16. The night before Christmas
      17. A Christmas Hug (Marks and Spencer)

        I also included books on some of E.’s favourite topics:

      18. The Little Brainwaves investigate… The Human Body
      19. It’s so unfair (illustrated by Jonathan Allen – author of I’m not reading, I’m not cute, I’m not scared)
      20. I like it when… (Mary Murphy)

        And 2 books in Hungarian 

      21. Zelk Zoltán: Karácsonyi ének
      22. Télország (Lili és Lala versei)

        And the surprise books … on a new born baby

      23. The New baby
      24. Za-za’s baby brother (by Lucy Cousins)

      Yesterday we opened the first one: Busy Christmas – a tiny board book with rhymes about the preparations for Christmas. I needed to read it twice. E. wanted to open the Advent book first, rather than the Activity Calendar. I’ll write a post about that one too.
      Today we’ve read the second one from the top of the pile: Little Miss Christmas – it wasn’t so very well welcome but E. liked it. The story is about Little Miss Christmas going on holiday before Christmas and leave her brother, Mr Christmas and uncle,Father Christmas finish the wrapping of  all the presents. Of course, they couldn’t get ready in time. But Little Miss Christmas saves the day with a brilliant idea.

      Would you like to get short reviews of the Advent Books we’ll be reading?