
One of the biggest national holidays in Hungary is the commemoration of the Hungarian Revolution of 1848. As it is filled with national feelings and politics I won’t go into details about history and other stuff but I’d like to show how we prepare for it in our home (this year together with St. Patrick’s Day)
The activities we have done are in mainly Hungarian.
How do we prepare for a Hungarian and an Irish celebration at the same time? We are sharing time between English and Hungarian. Let’s say in the morning we do tasks in English concerning St. Patrick’s Day. In the afternoon we spend time in Hungarian doing some fun activities around the Hungarian Revolution. Or the other way round.
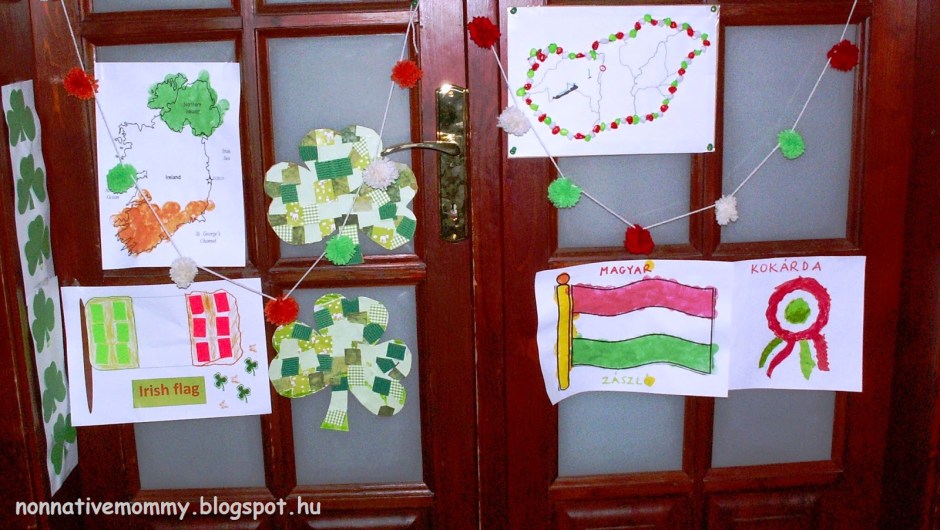
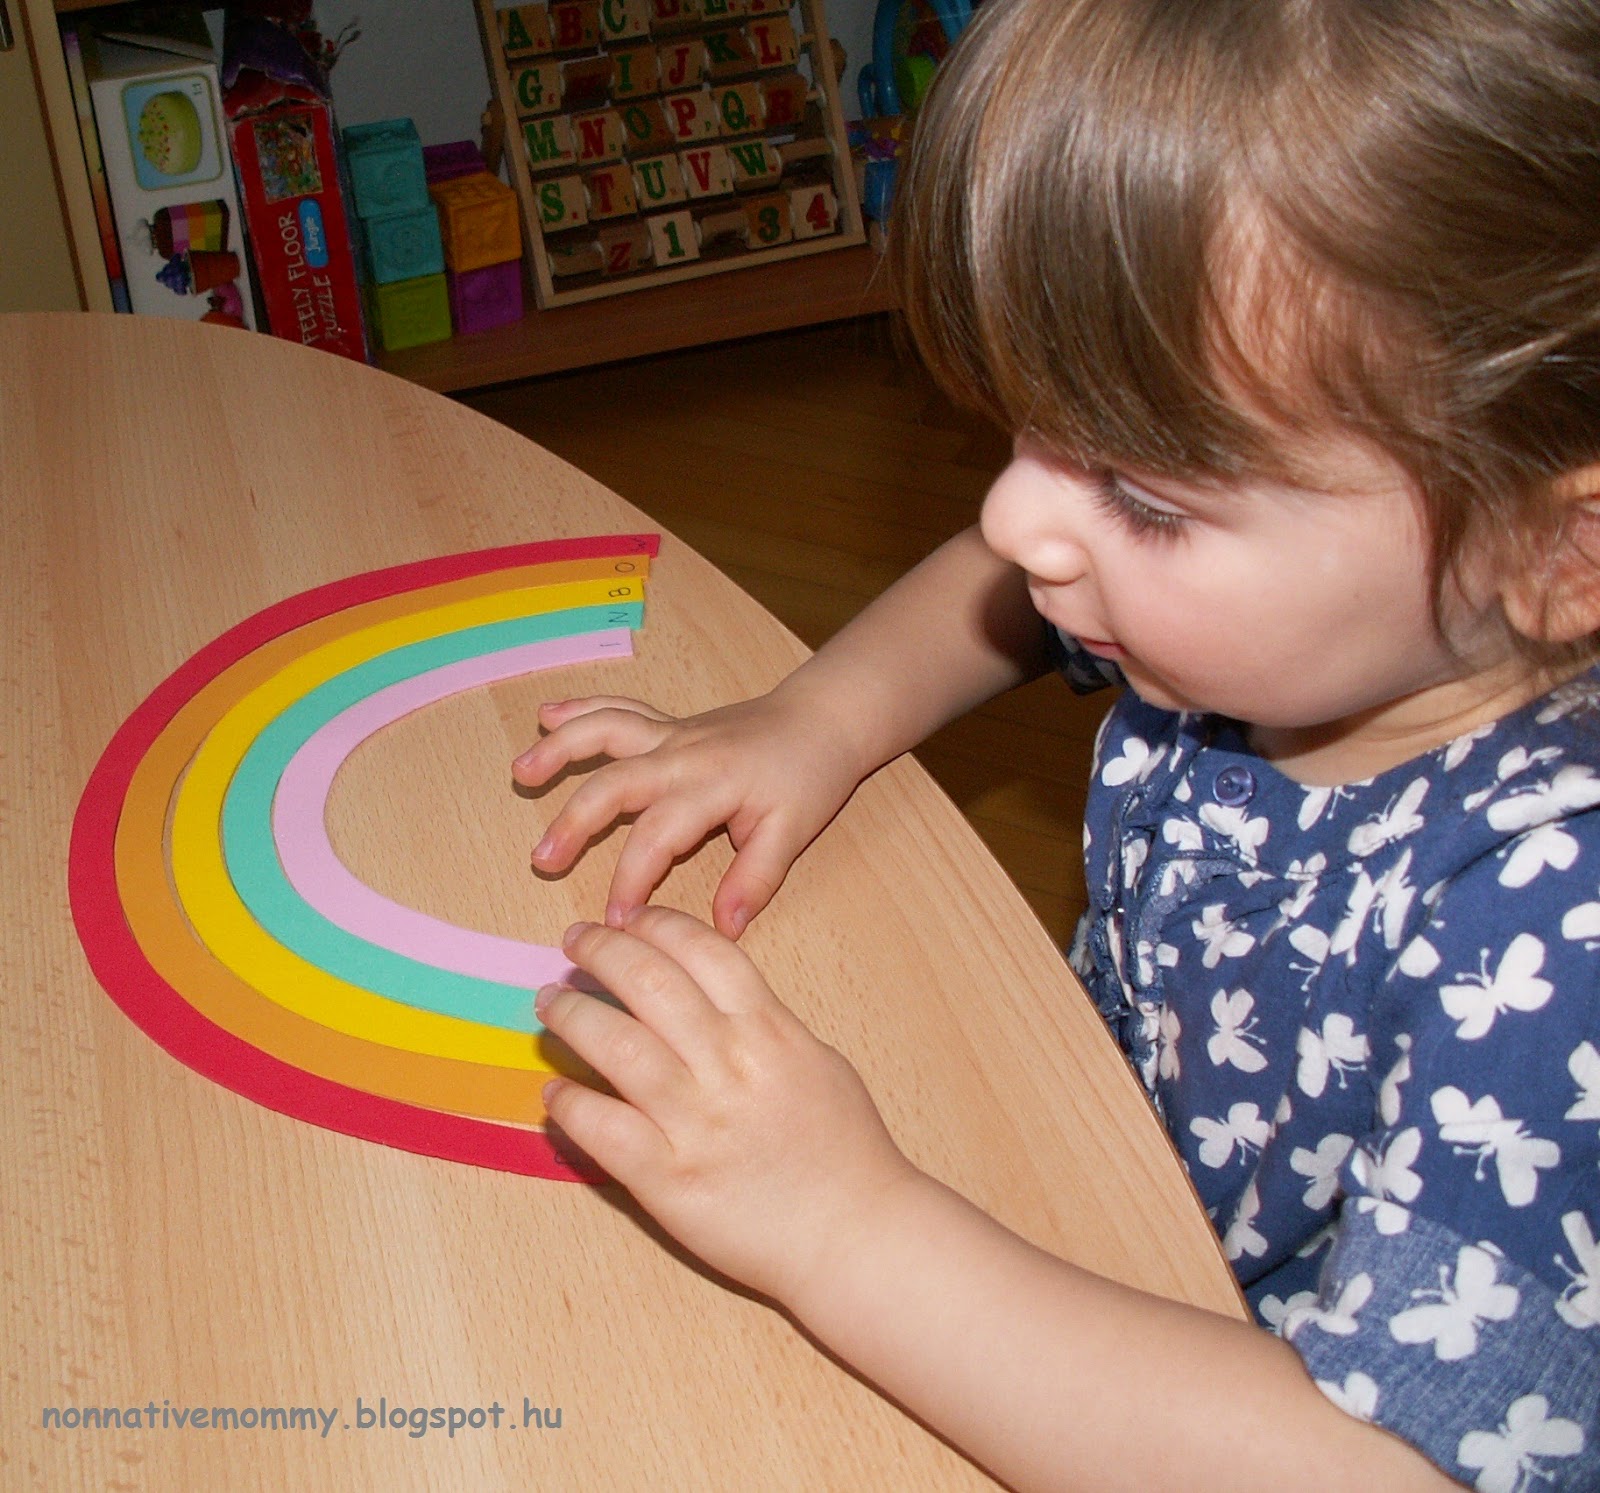
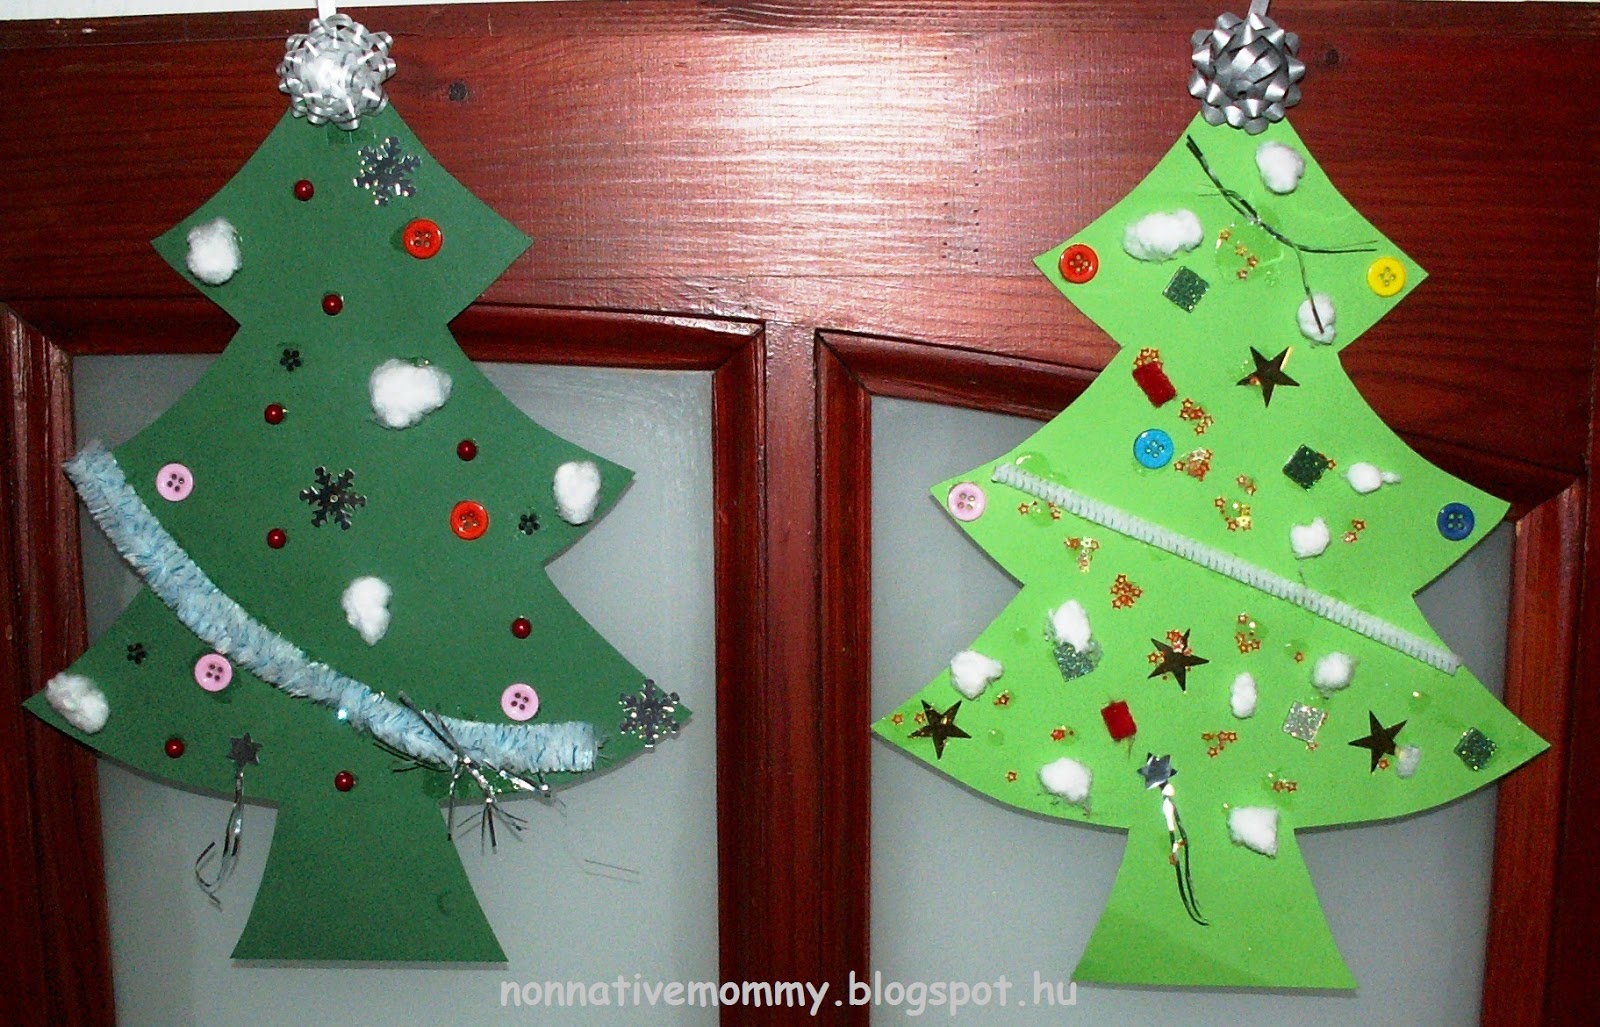
We display the art E. makes on our double doors in the living-room.
 |
| St. Patrick’s Day door wing on the left, Hungarian Revolution door wing on the right |
I’d like to list some ideas I found online or we made up ourselves concerning our national holiday. This blog wouldn’t be complete without Hungary/the Hungarian language related happenings.
Luckily, last year I made our own button cockade. There’s nothing to do with it this year. We’ll just pin them on our coat on 15 March. (I hope I’ll find them)
 |
| E.’s coat and cockade from 2014 |
It is made out of 3 buttons: a big red, a smaller white and a little green button. I sewed them together with a pin like these:

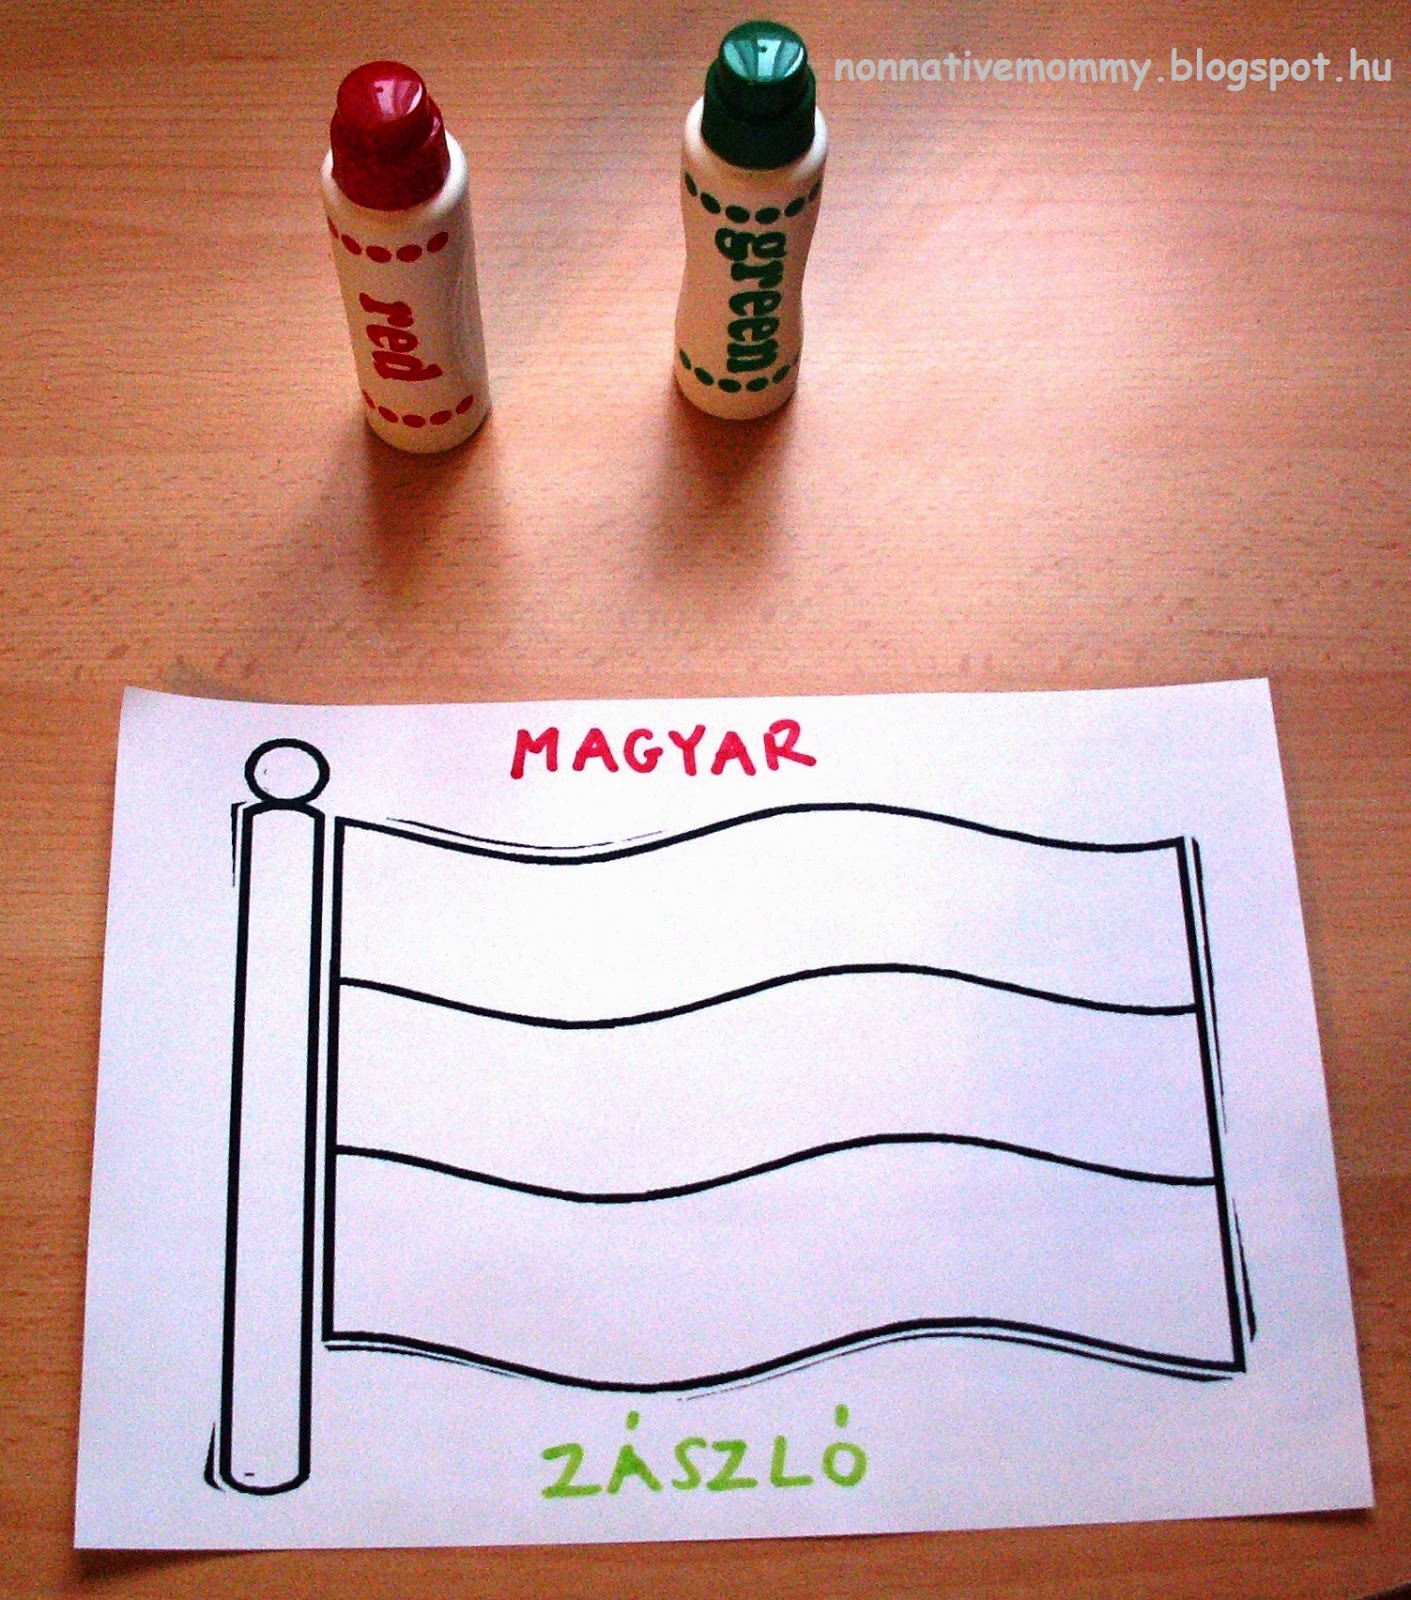
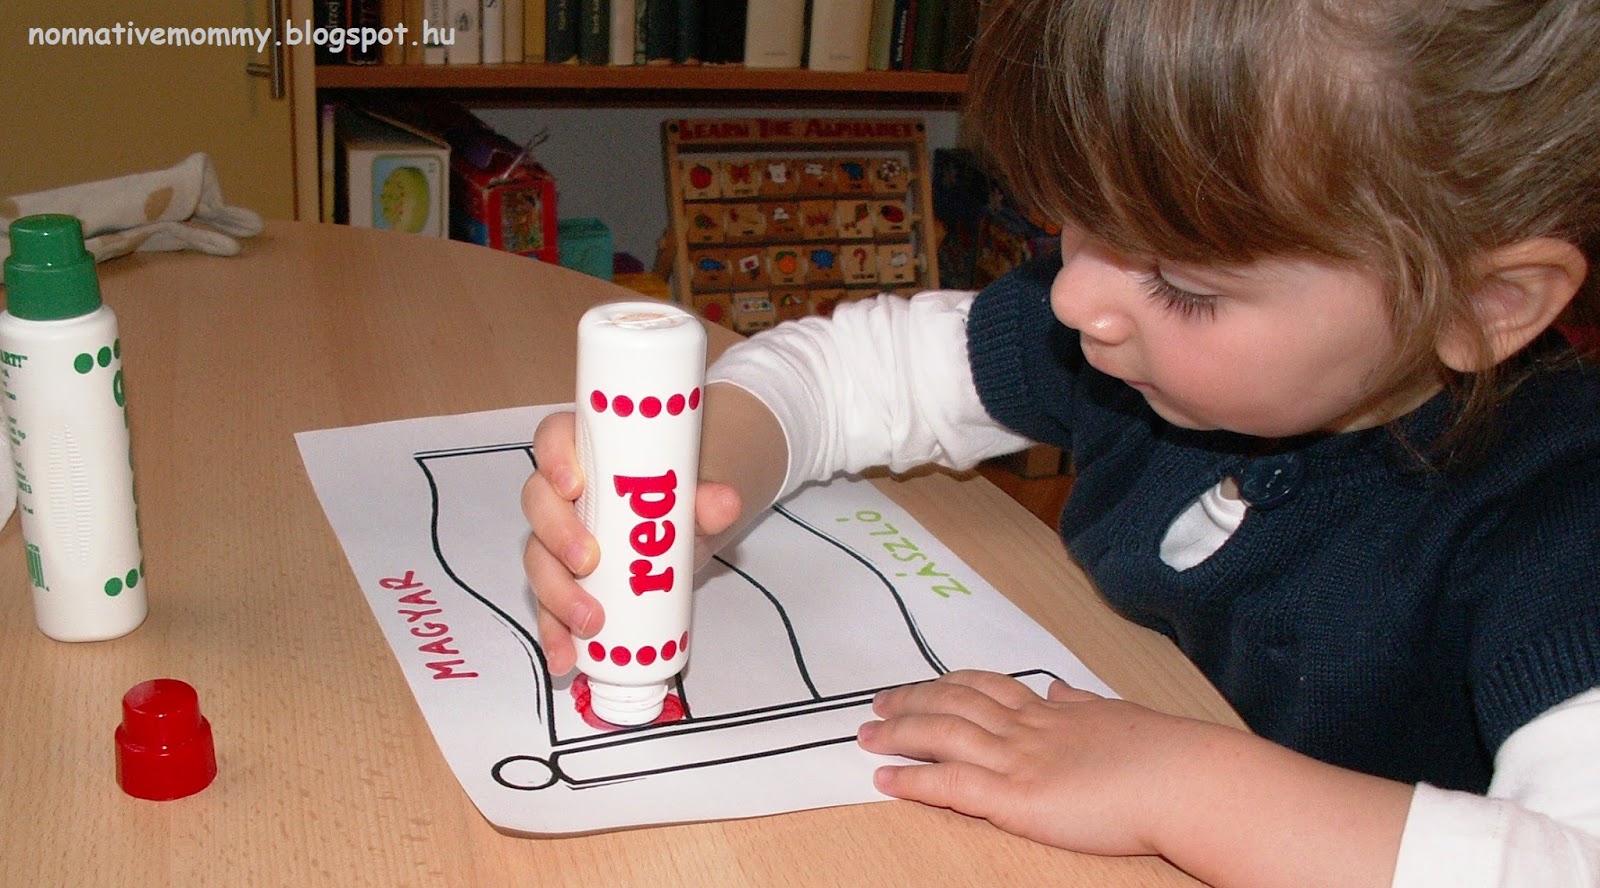
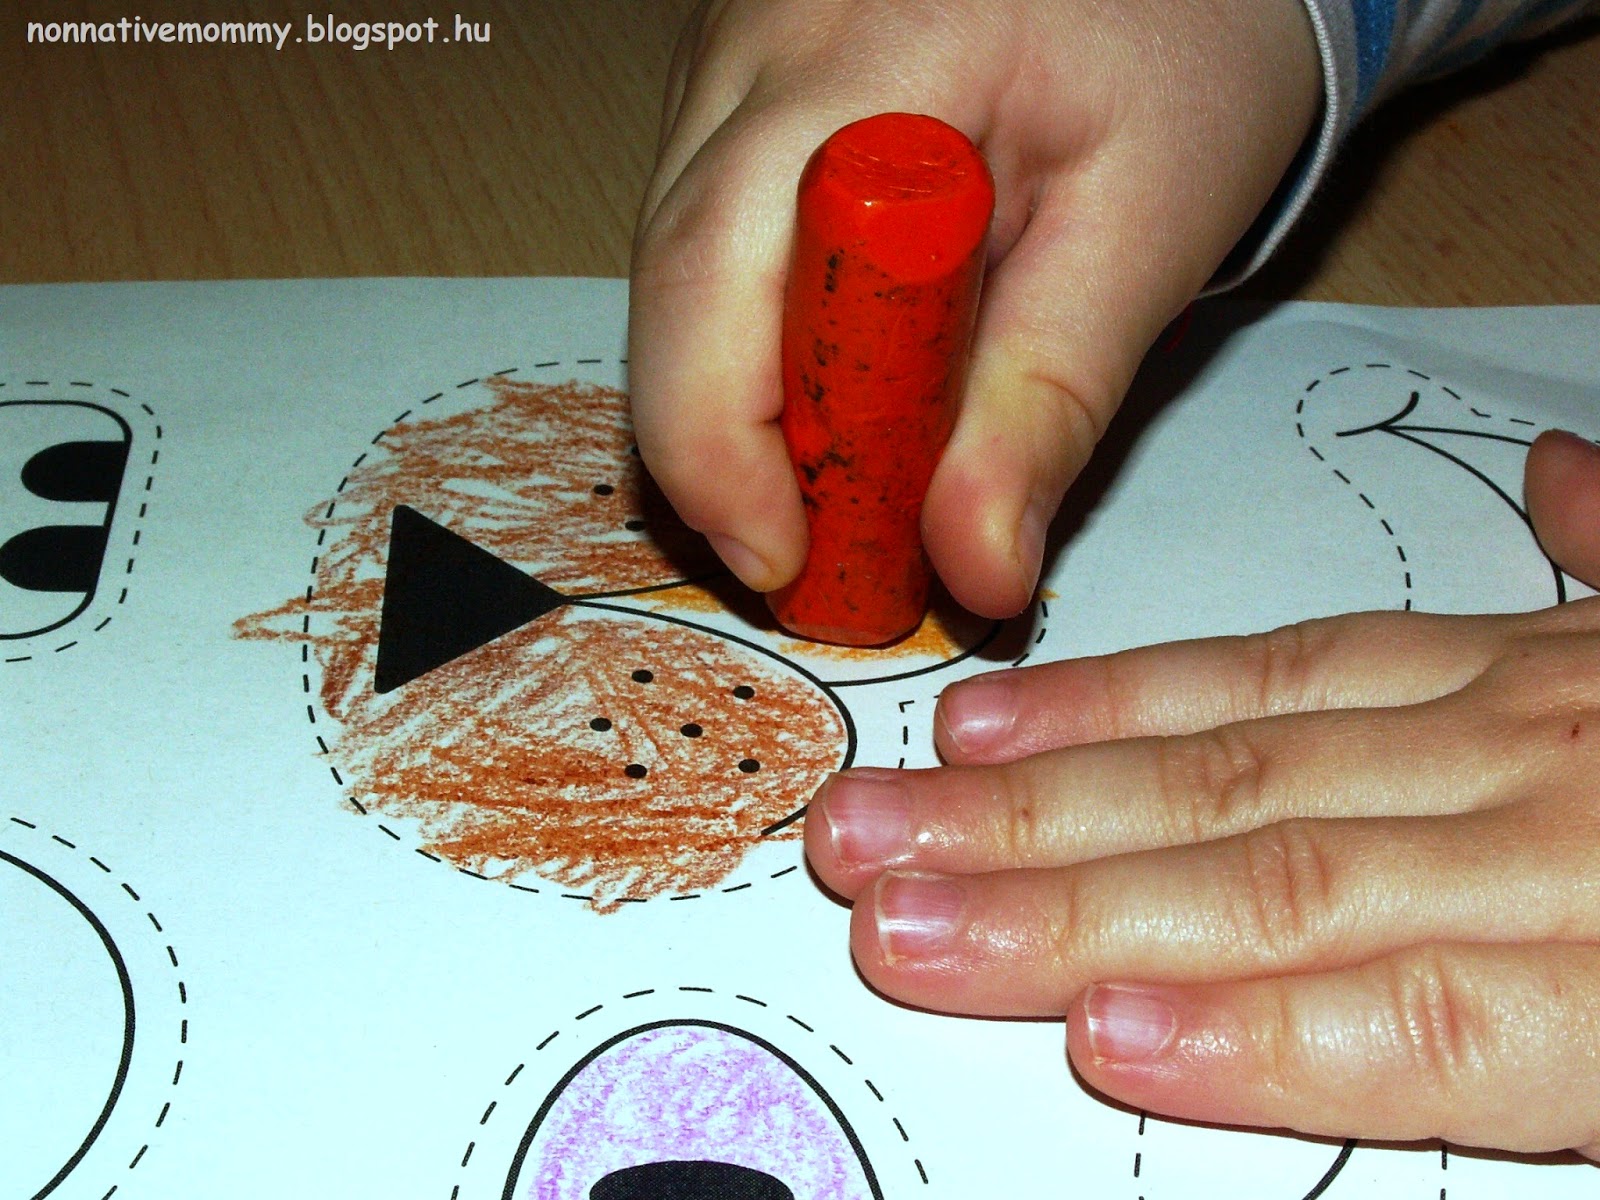
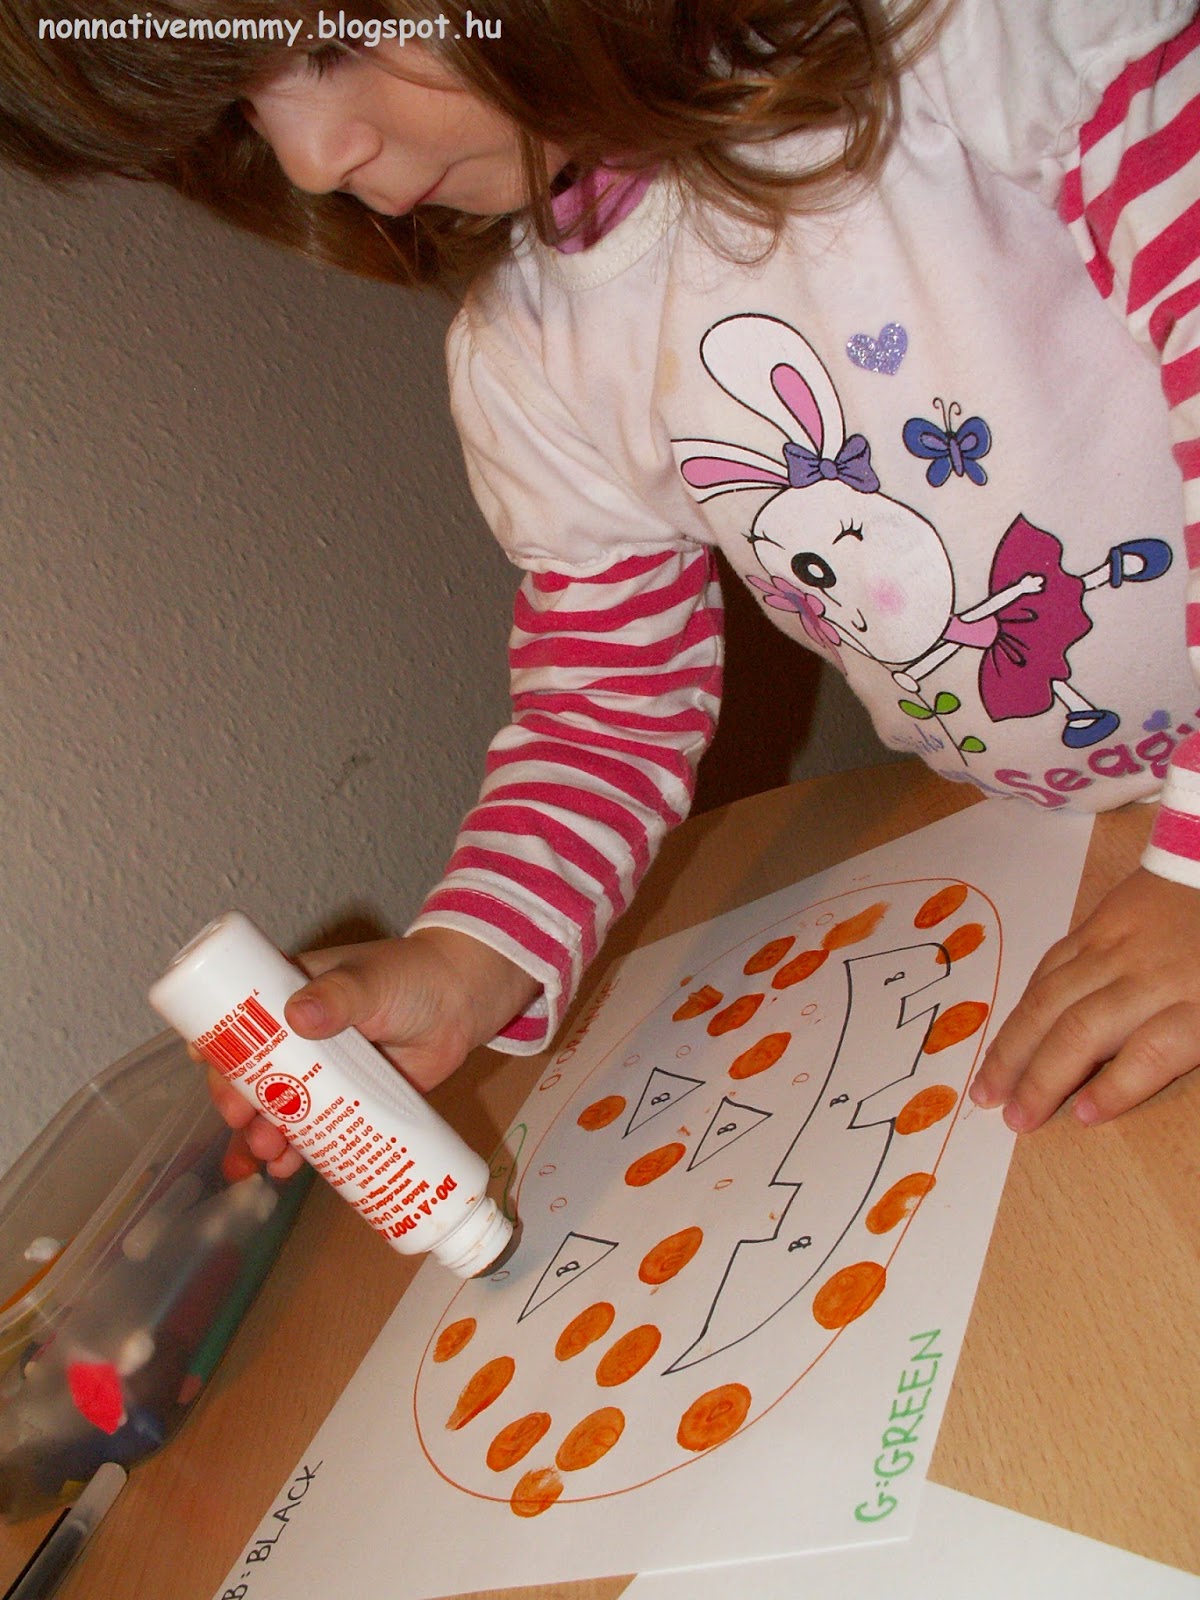
Colouring the flag is the most traditional way children prepare for this holiday. We put some fun into it. Thank Goodness for dot markers!
When she saw the sheet E. asked me who wrote there “MAGYAR ZÁSZLÓ” (=Hungarian flag)

With dot markers all kinds of colouring is more fun. E. did some more of it (colouring a KOKÁRDA=cockade, for example)
Daddy and E. were colouring in full fling so I printed them a map of Ireland and they coloured it too. You can see it in the top picture on the St Patrick’s side. (They didn’t really care about Northern Ireland. We’ll put things to rights next year, when she’ll be more capable of understanding it.)
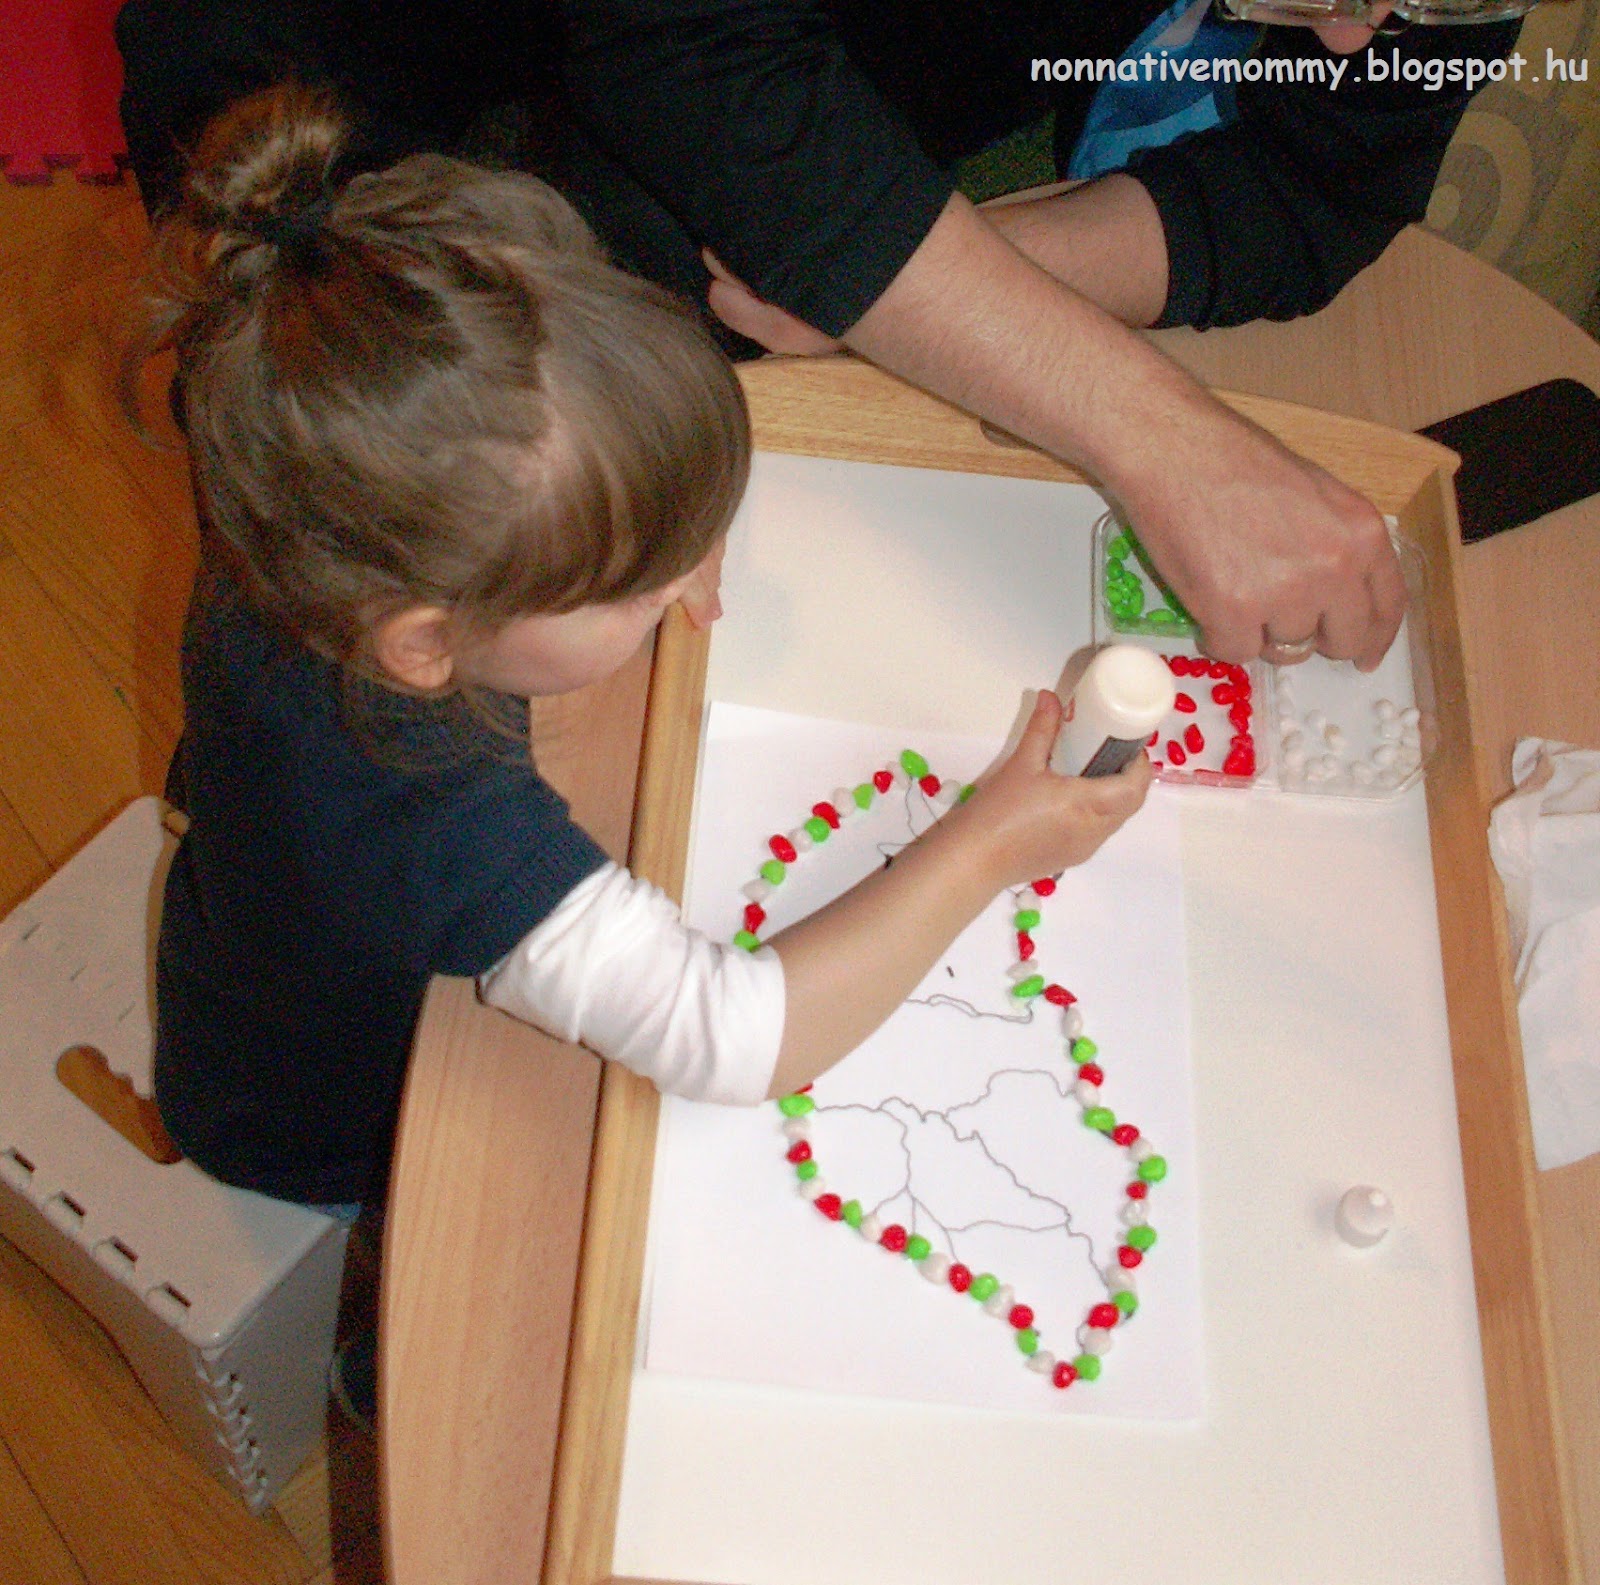
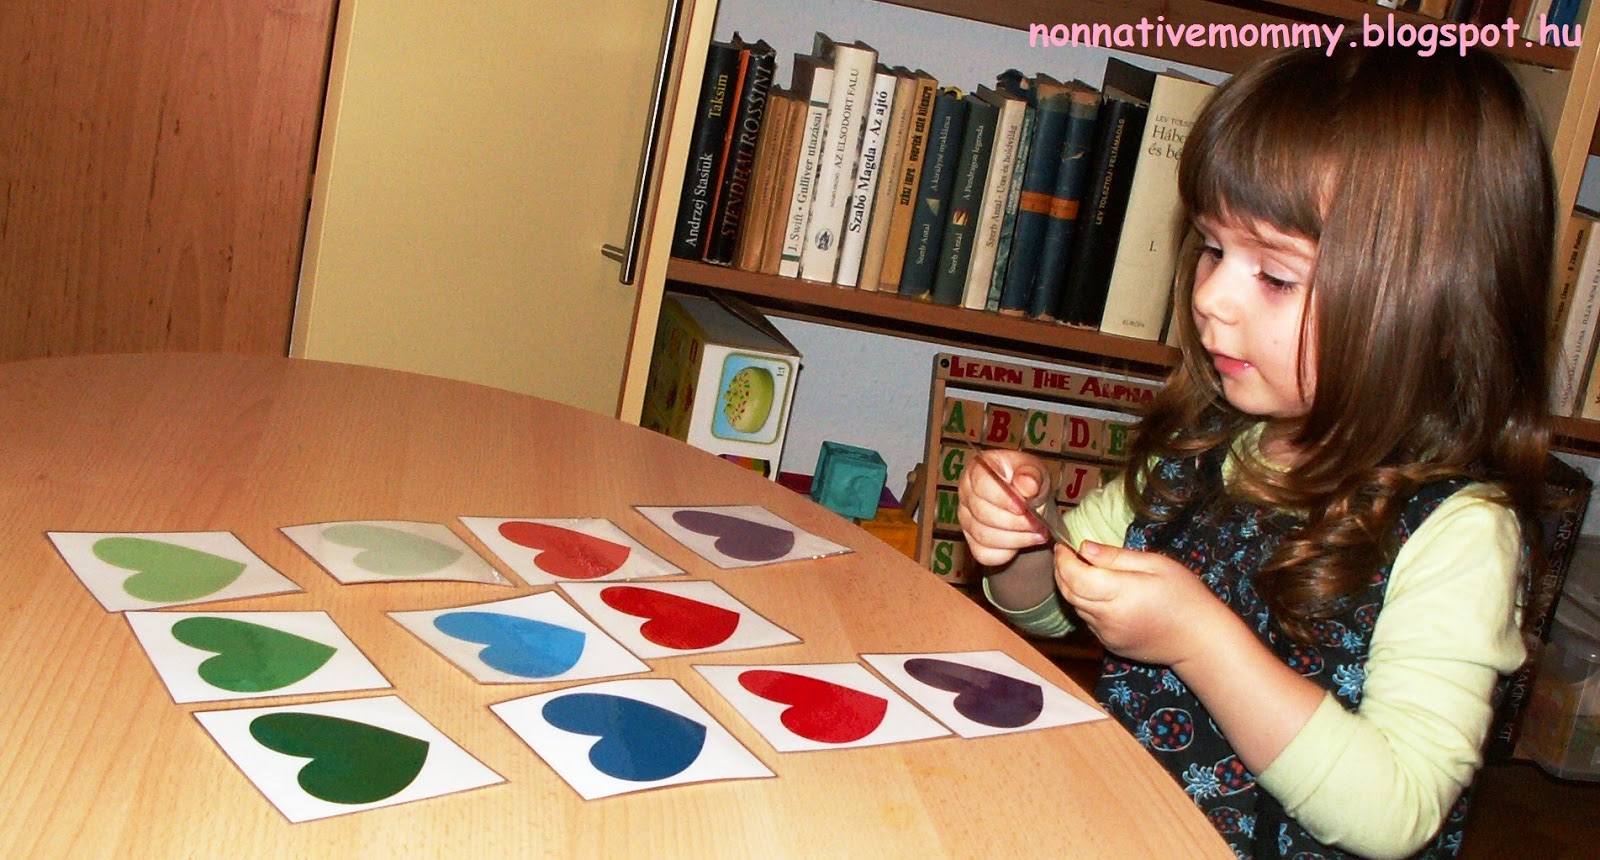
Red, white and green are used in almost all of our activities. I bought some decor stones in a One Euro Shop (I had to separate the red, white and green stones from many other colours)
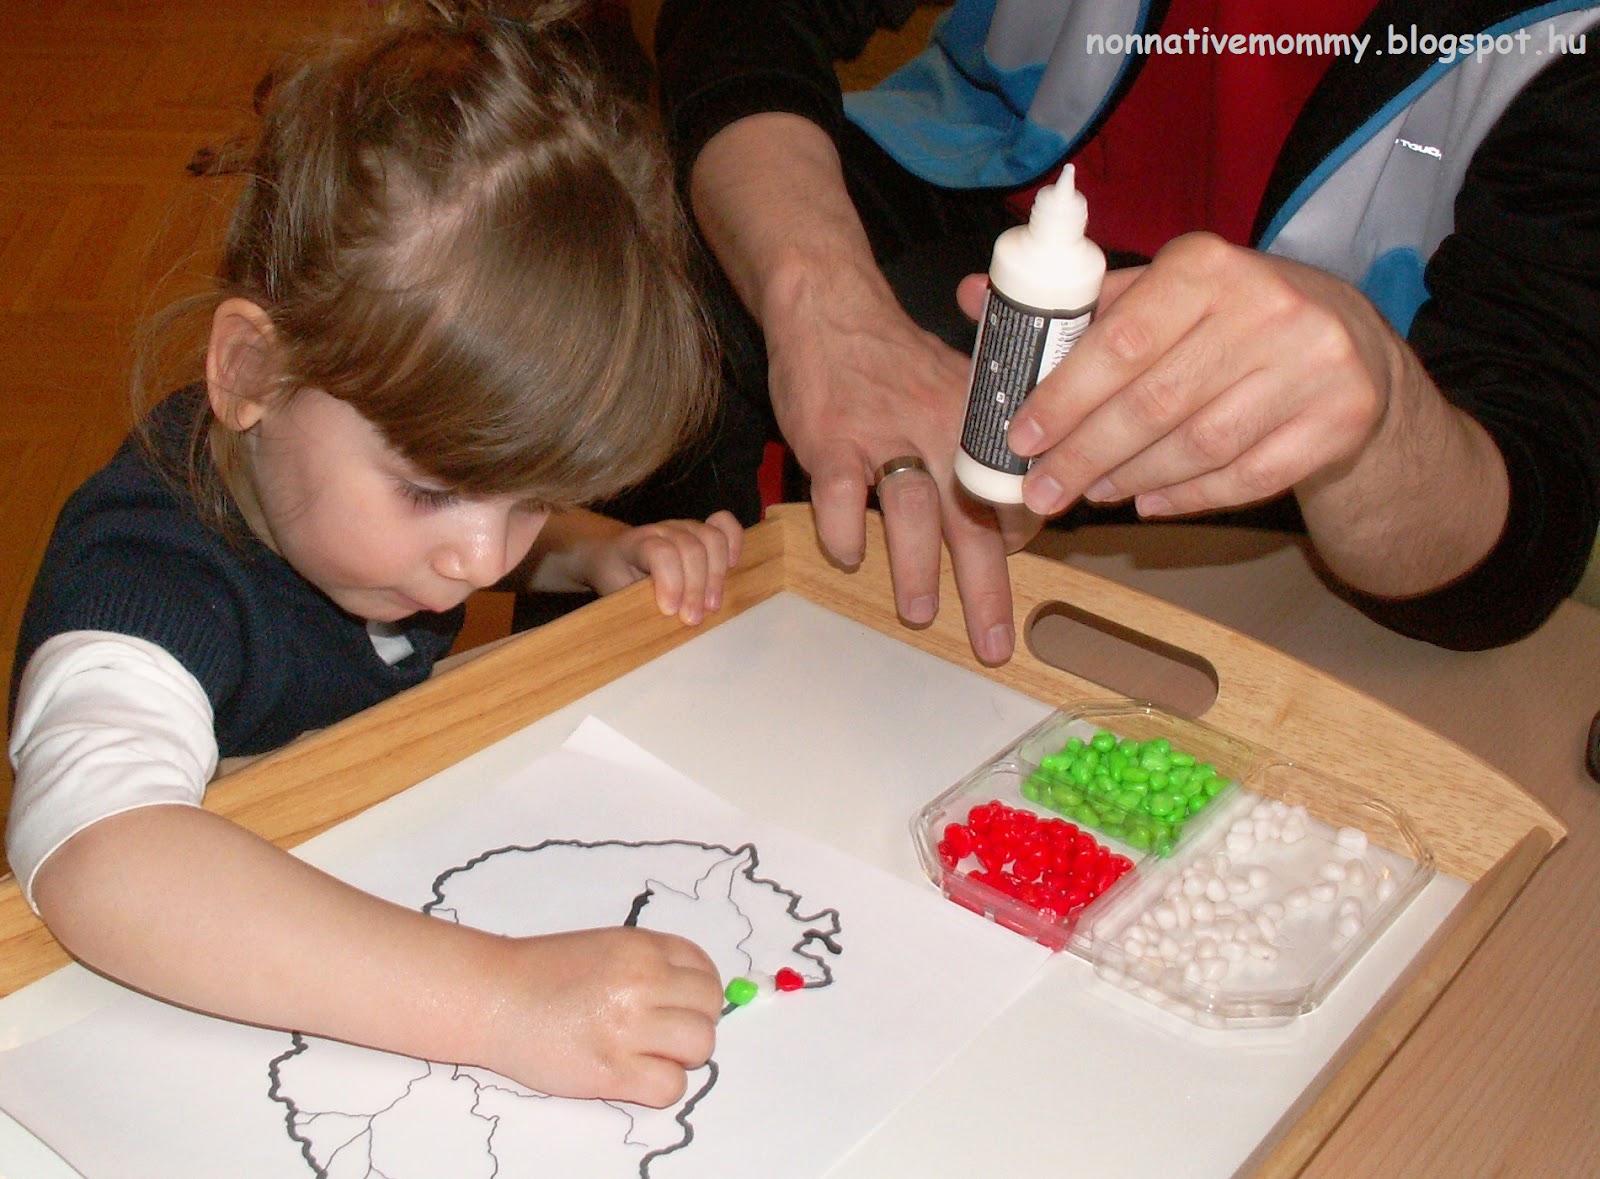
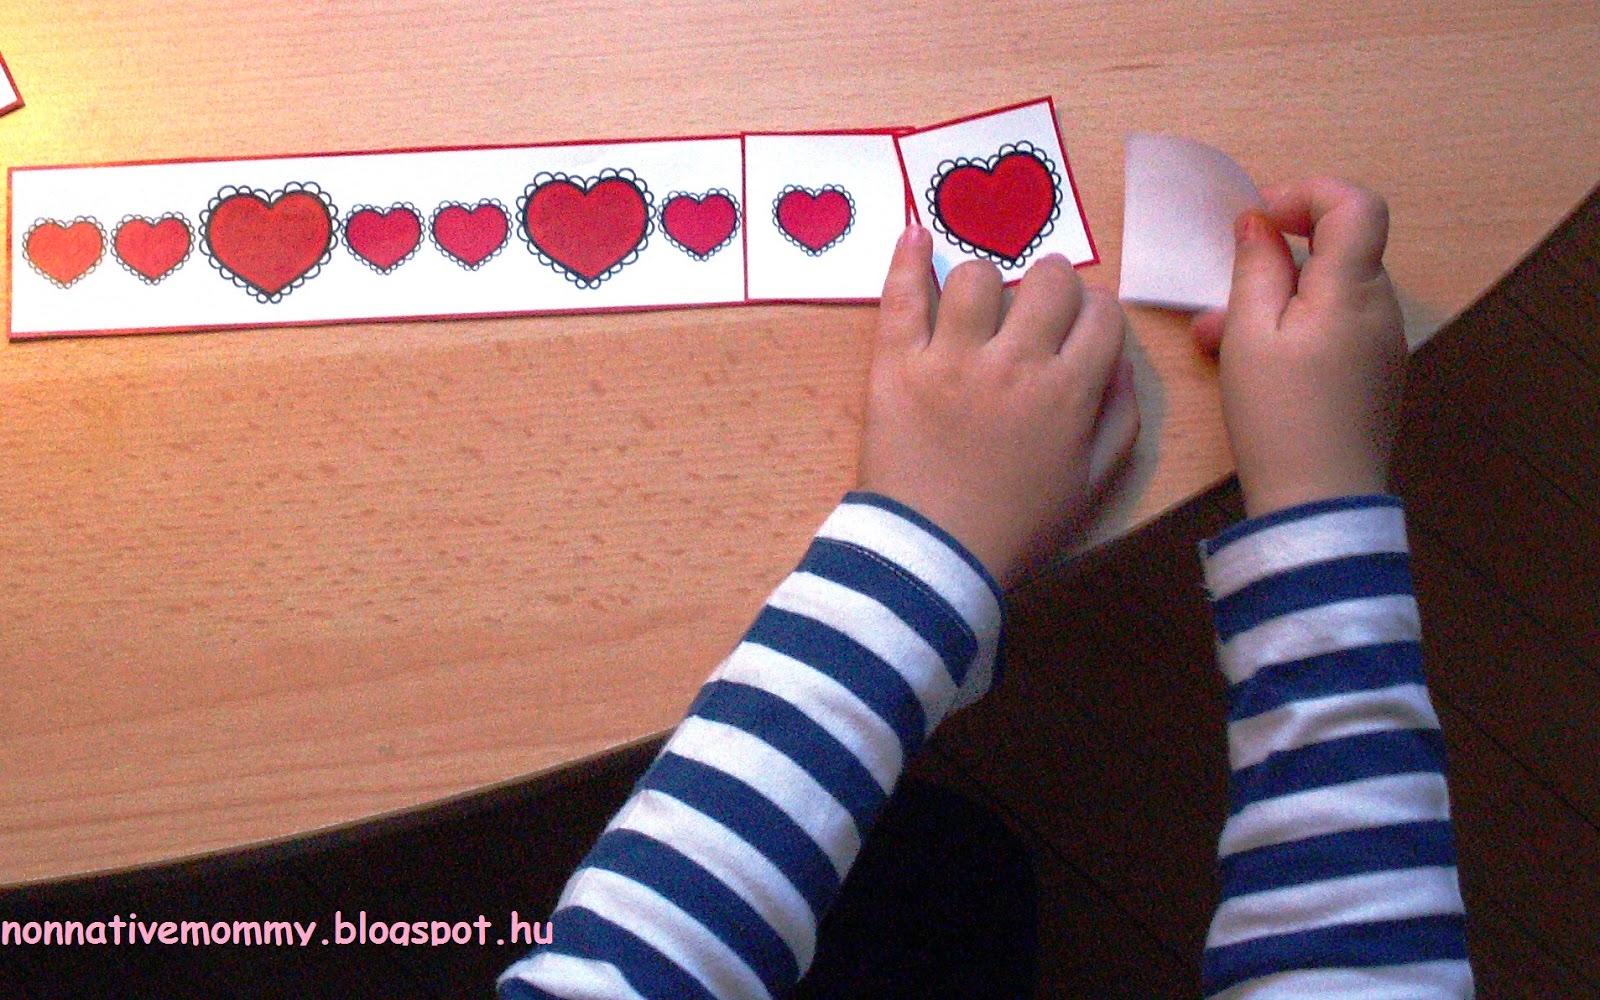
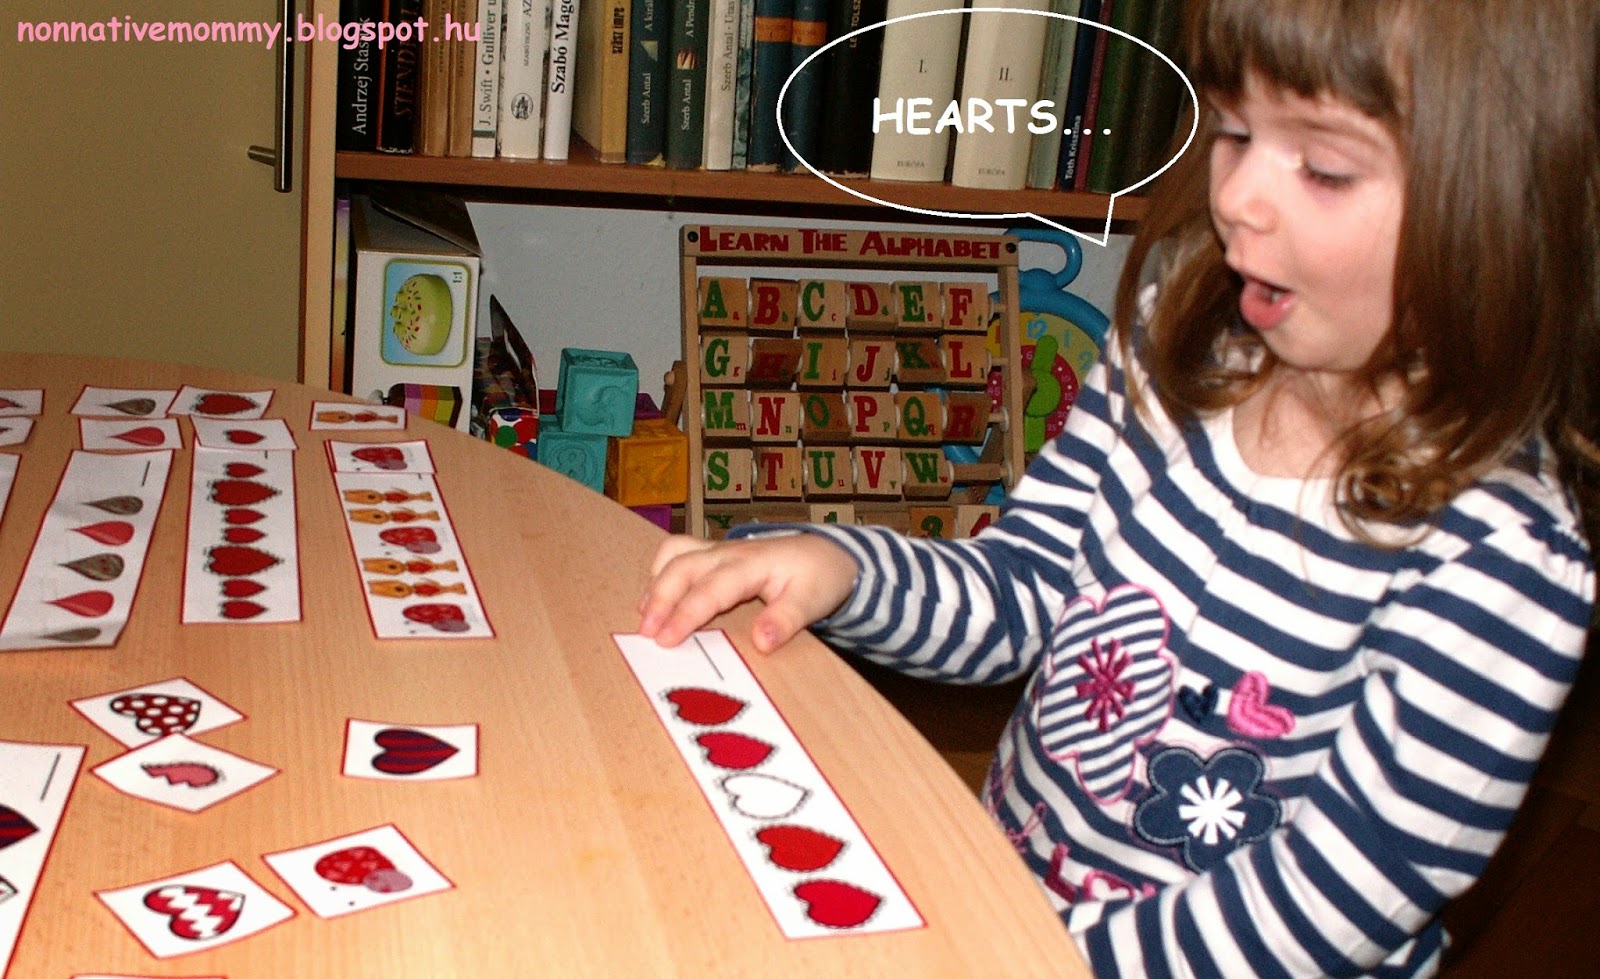
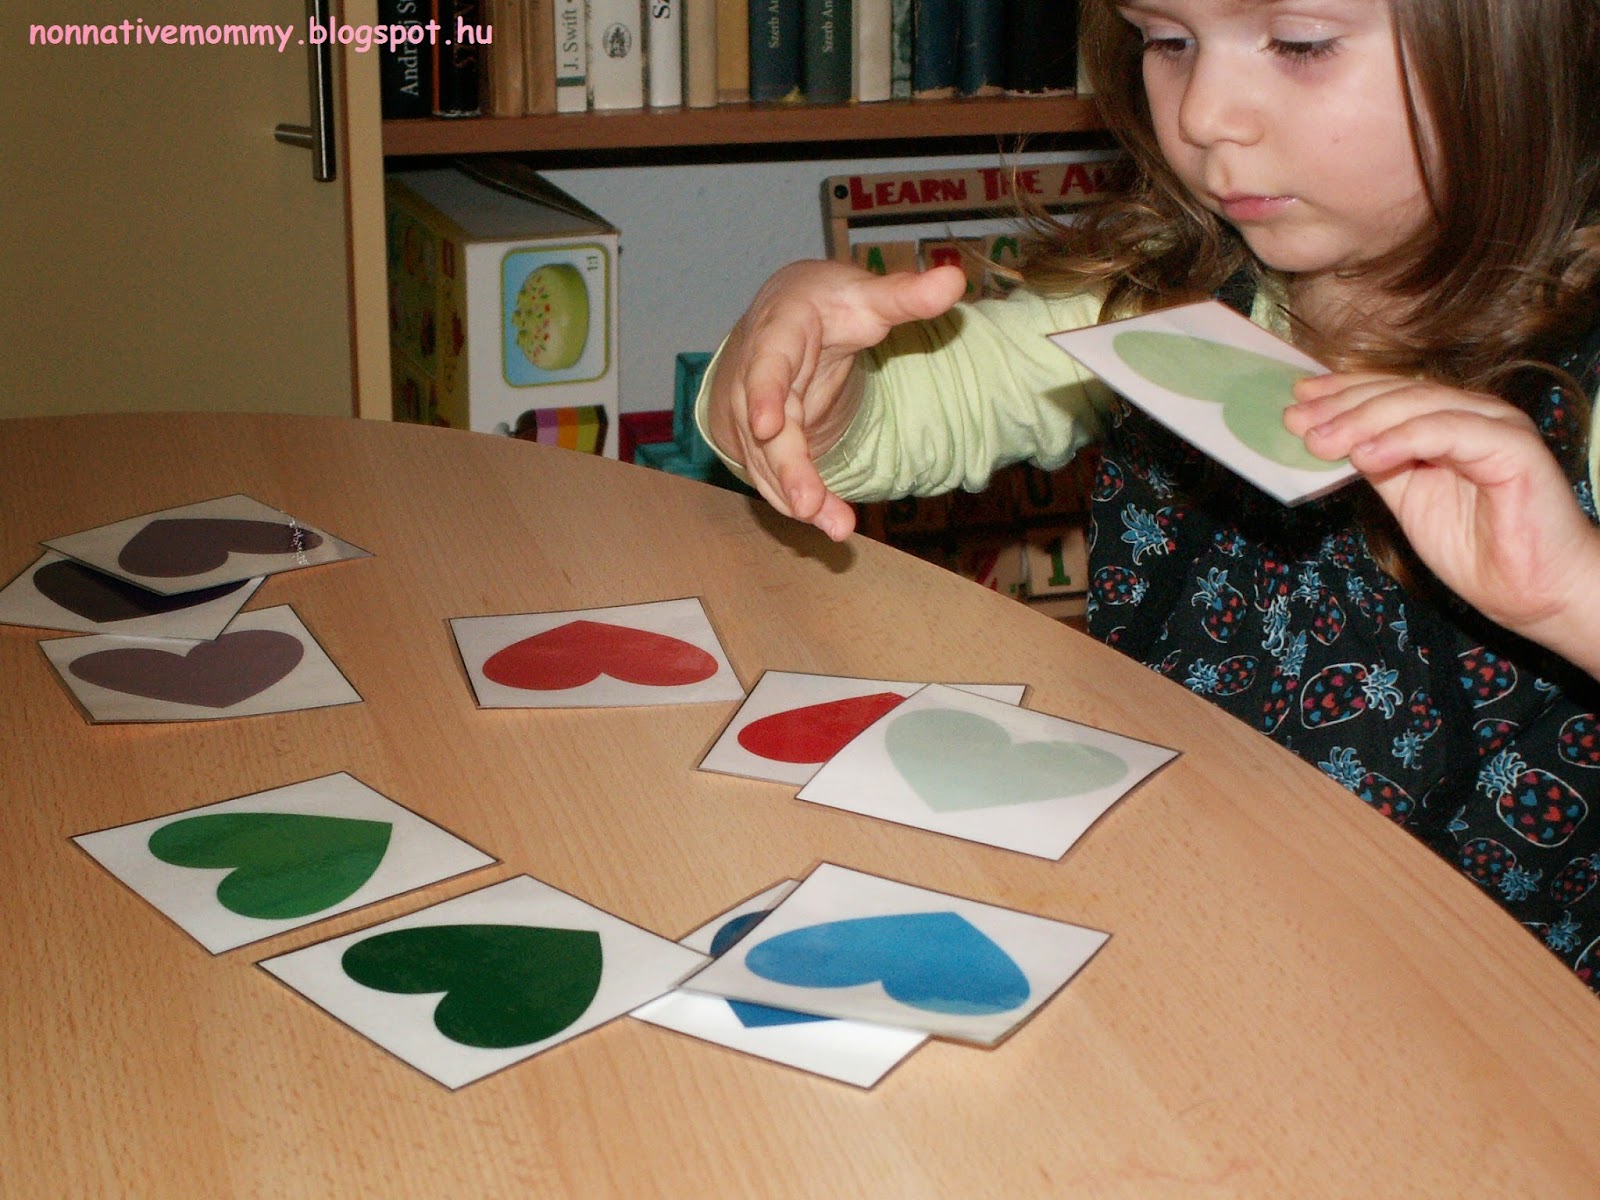
We printed the map of Hungary and made up a kind of patterning activity.

The stones had to be placed along the borderline as on the Hungarian flag (red, white, green) making a pattern ABCABC. This pattern is difficult for my daughter to follow so it was quite a strenuous exercise for her.
 |
| I’m concentrating like there’s no tomorrow |

It was a long activity and towards the end it was difficult for her to concentrate. This is quite understandable, she’s not even 3. But Daddy was there for her.
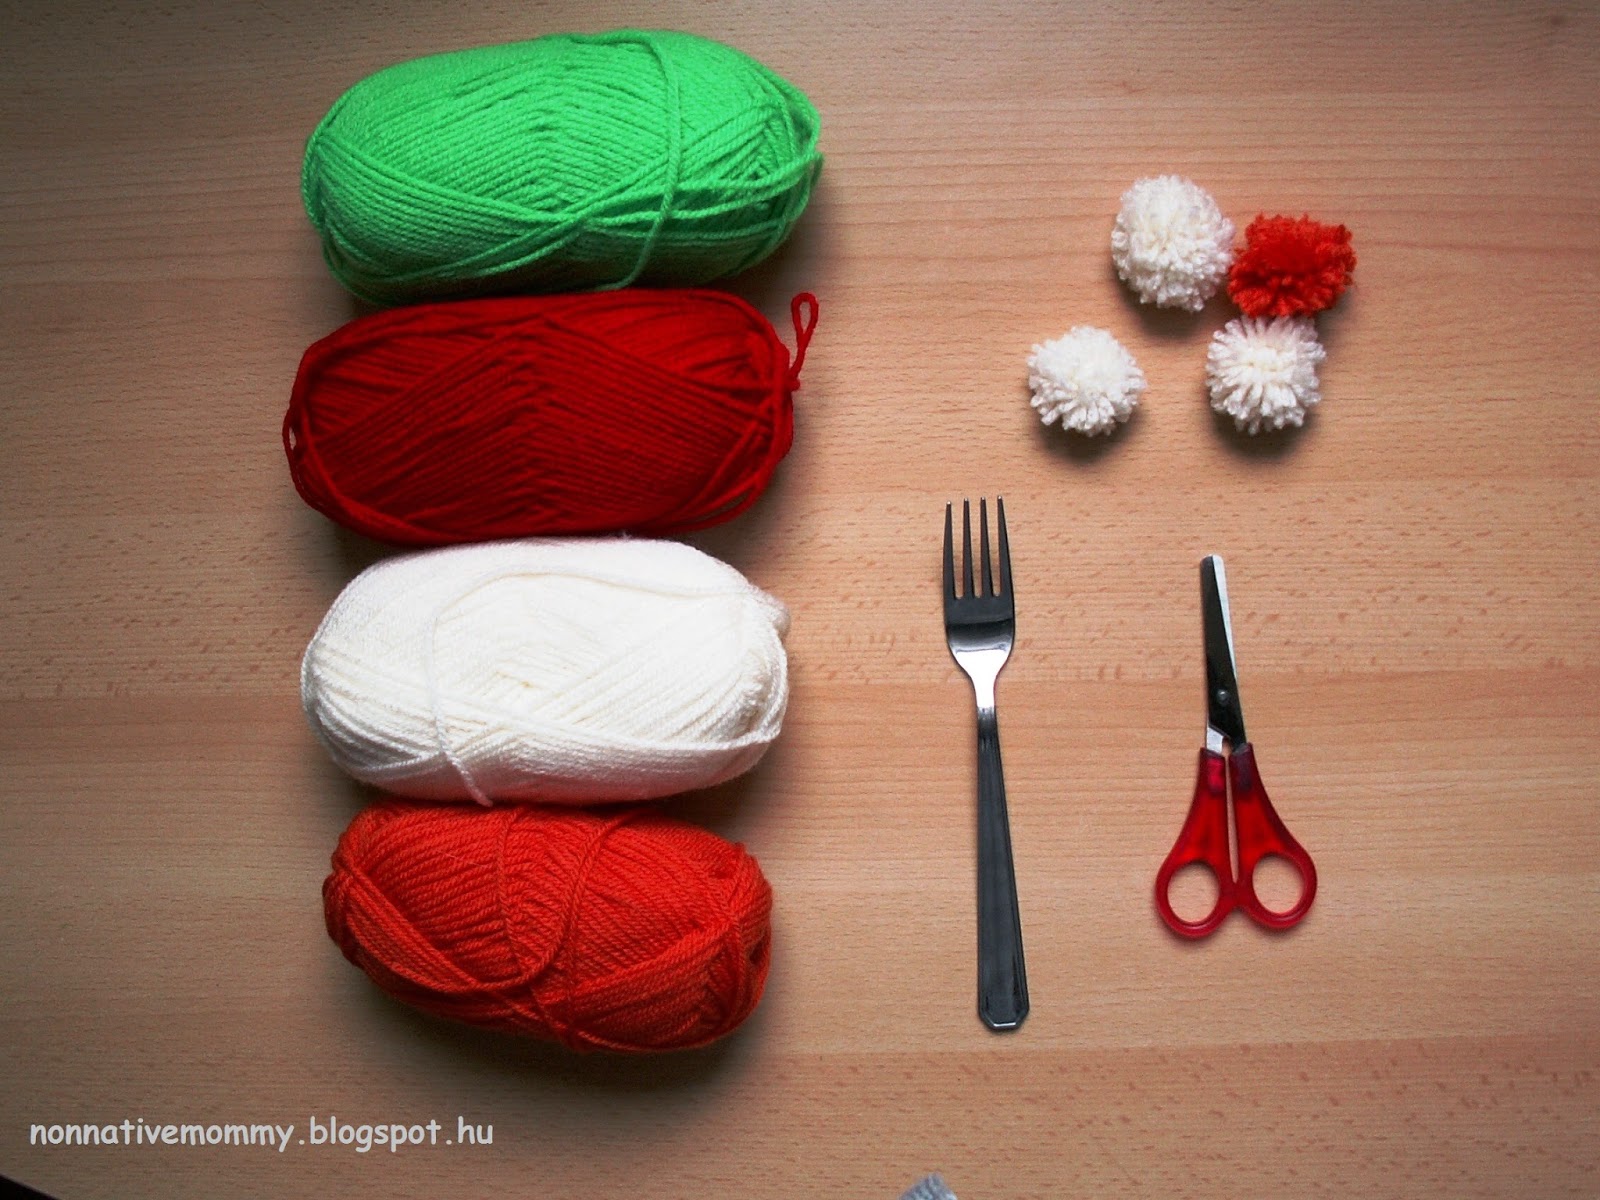
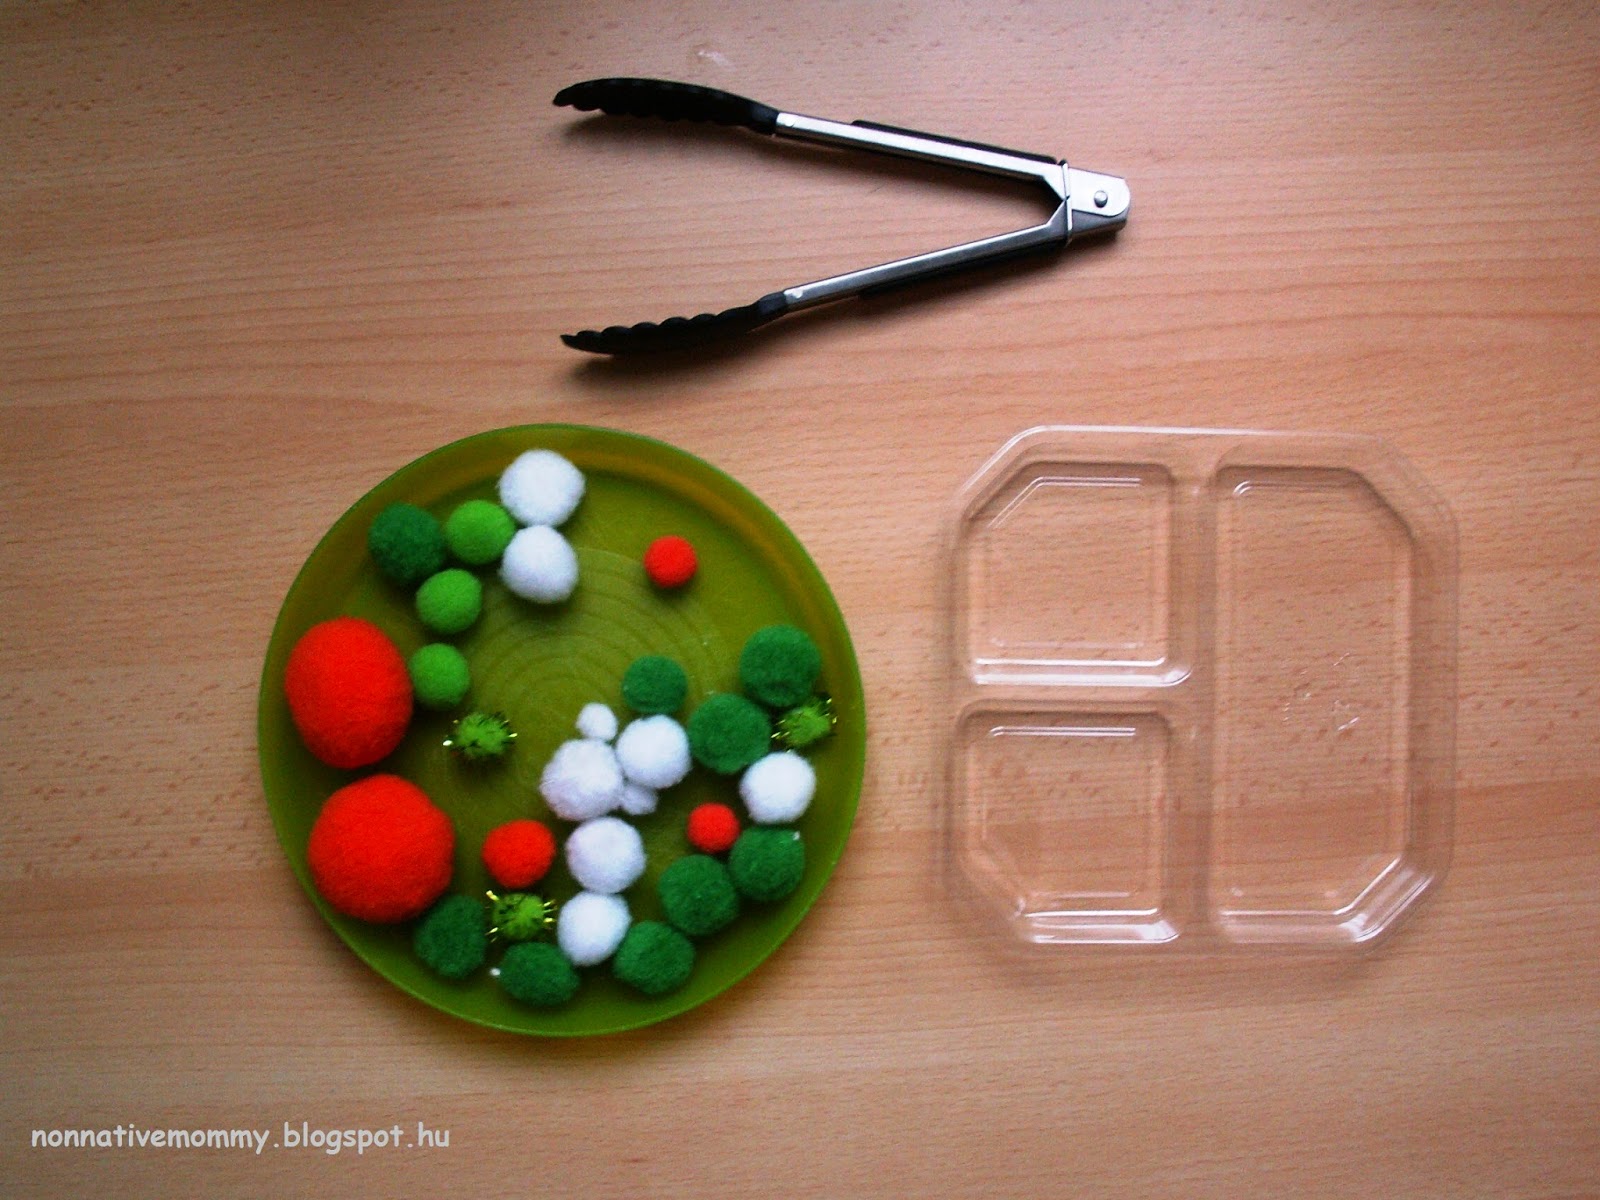
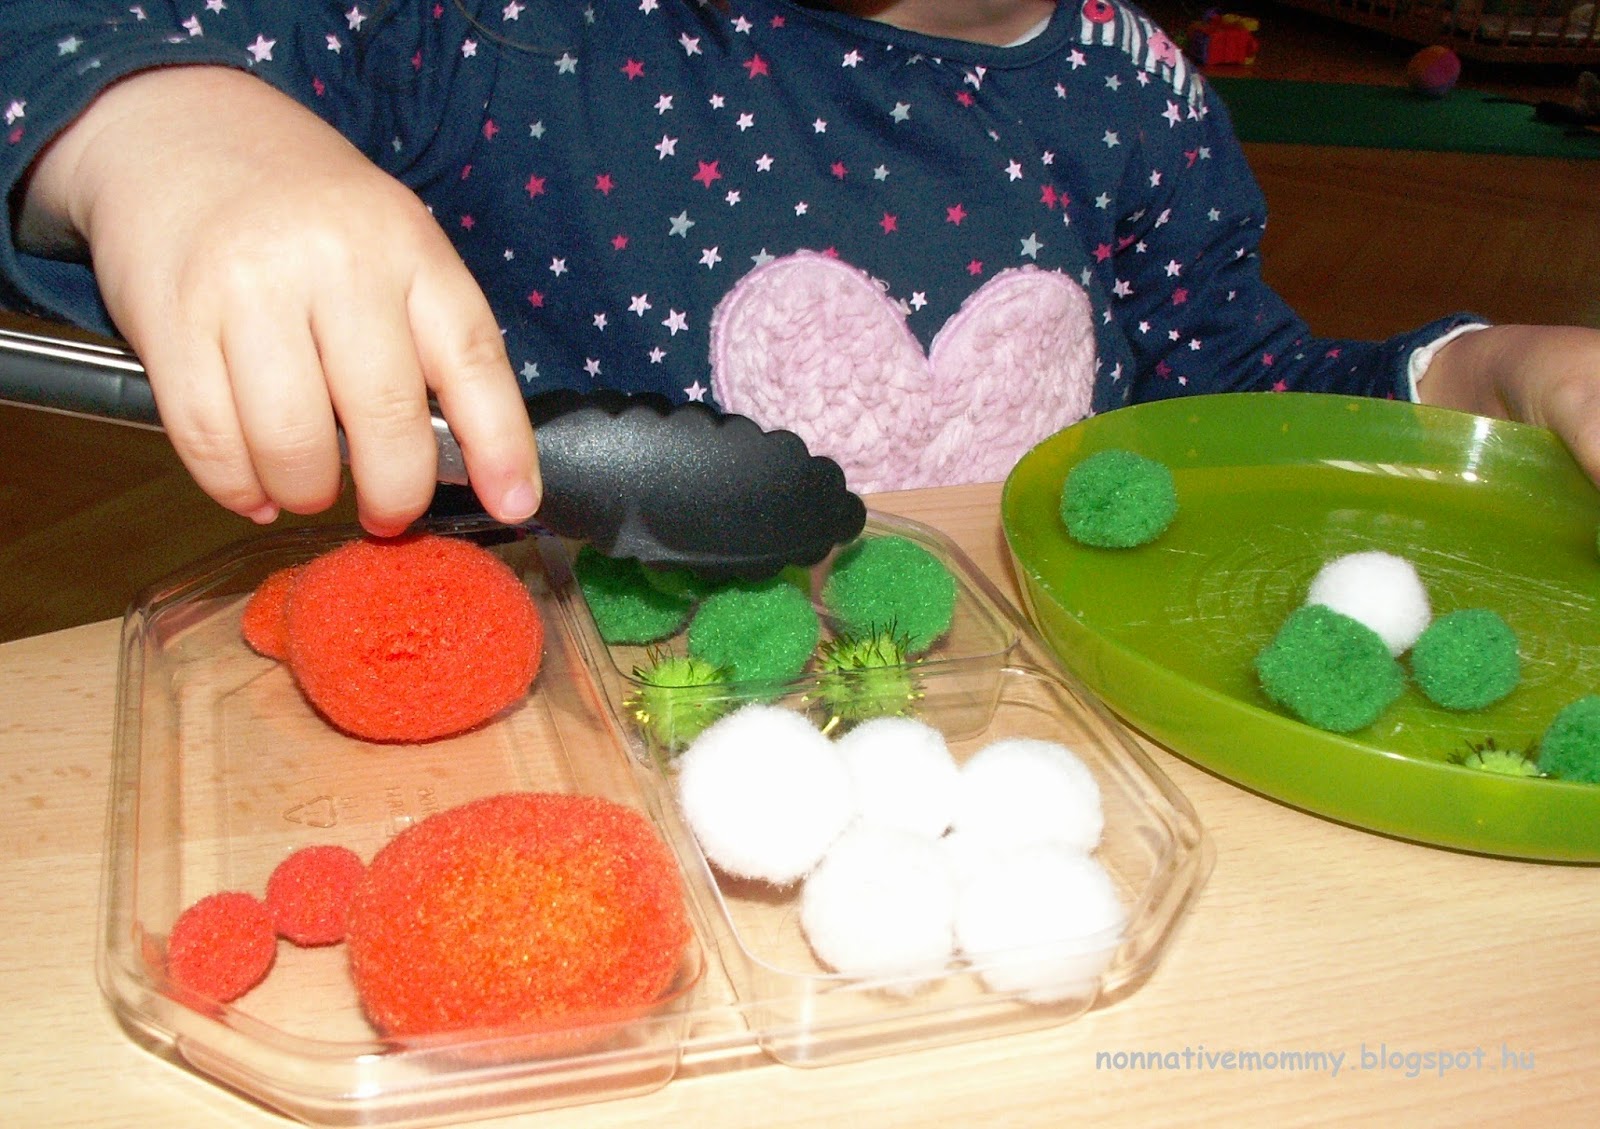
Pinterest offers a lot of wonderful ideas for the occasion. For instance, this pom-pom garland with the national colours. (Through the link you can read about the detailed explanation how to make a pom pom with the help of a fork). If it is too much for your little one just buy some pompoms and
What you need:
- red, white, green (and orange) yarn
- a fork
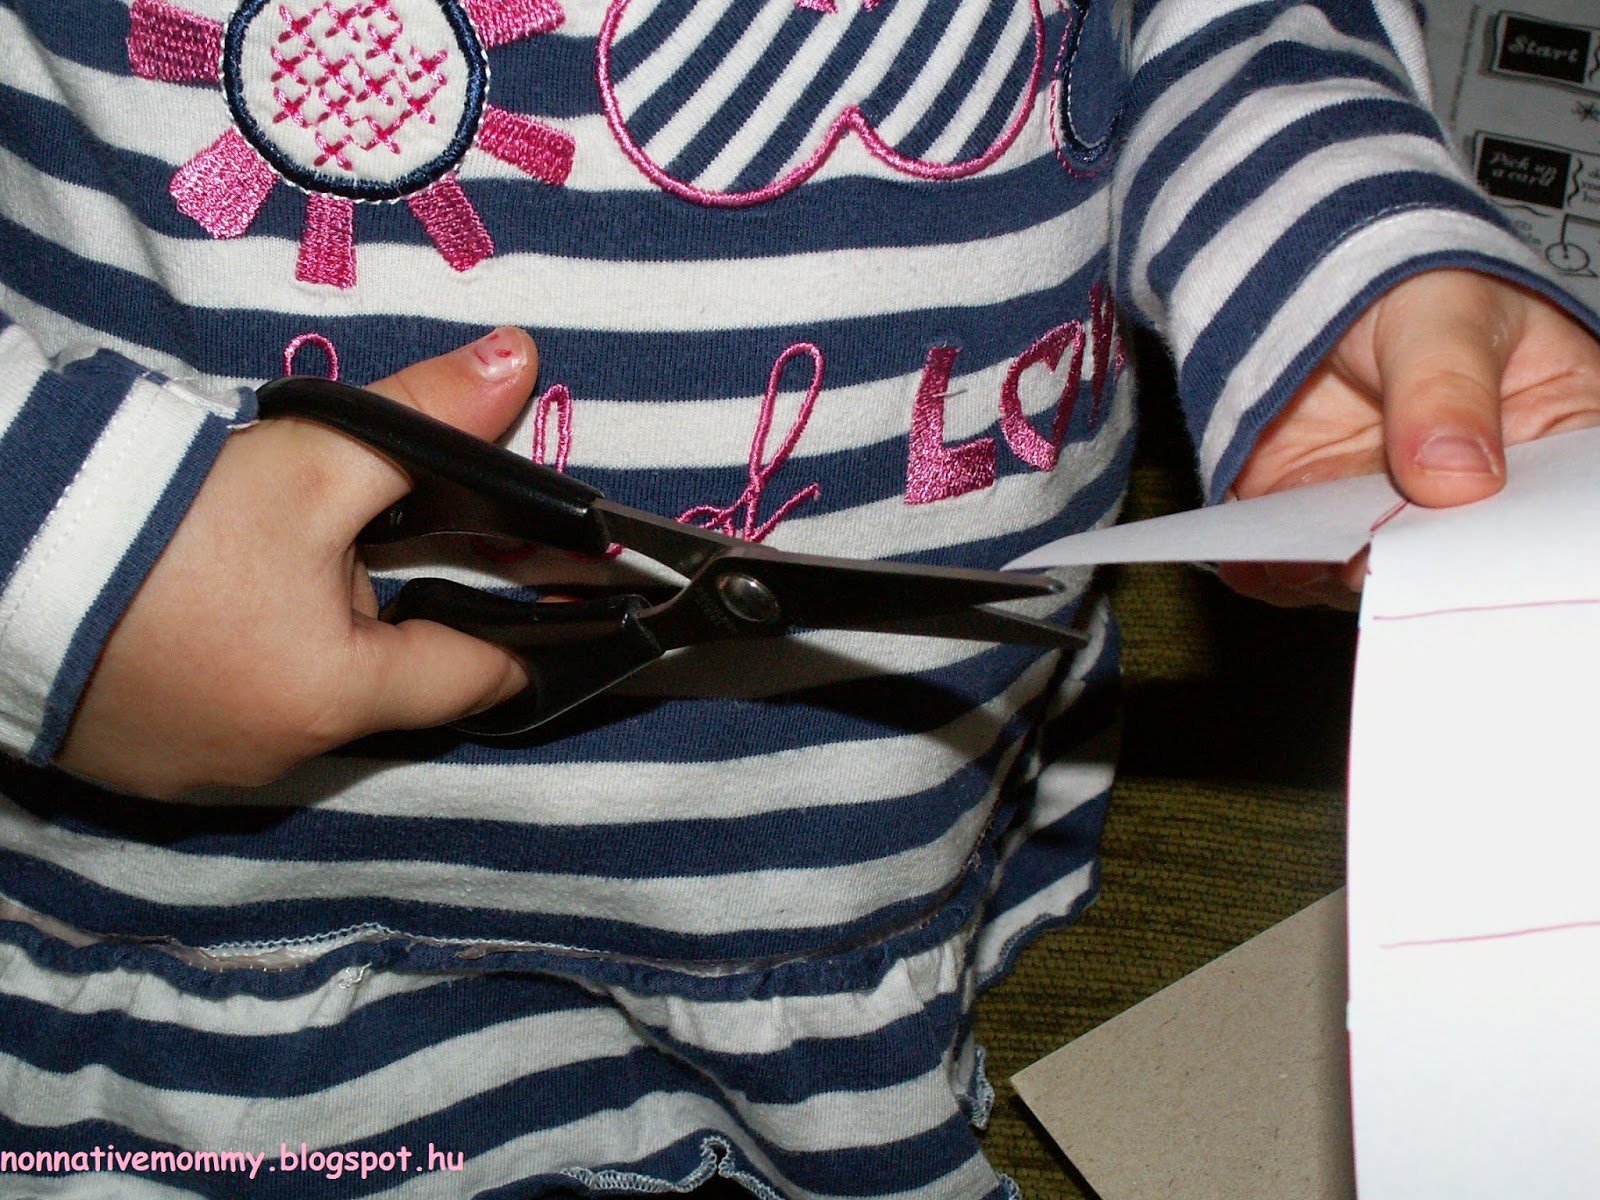
- scissors
E. tried to make a pom-pom, but she couldn’t. Maybe half a year later she’ll understand how to do it and will be able to make it. We’ll give it a try again.
So I made the pom-poms myself….

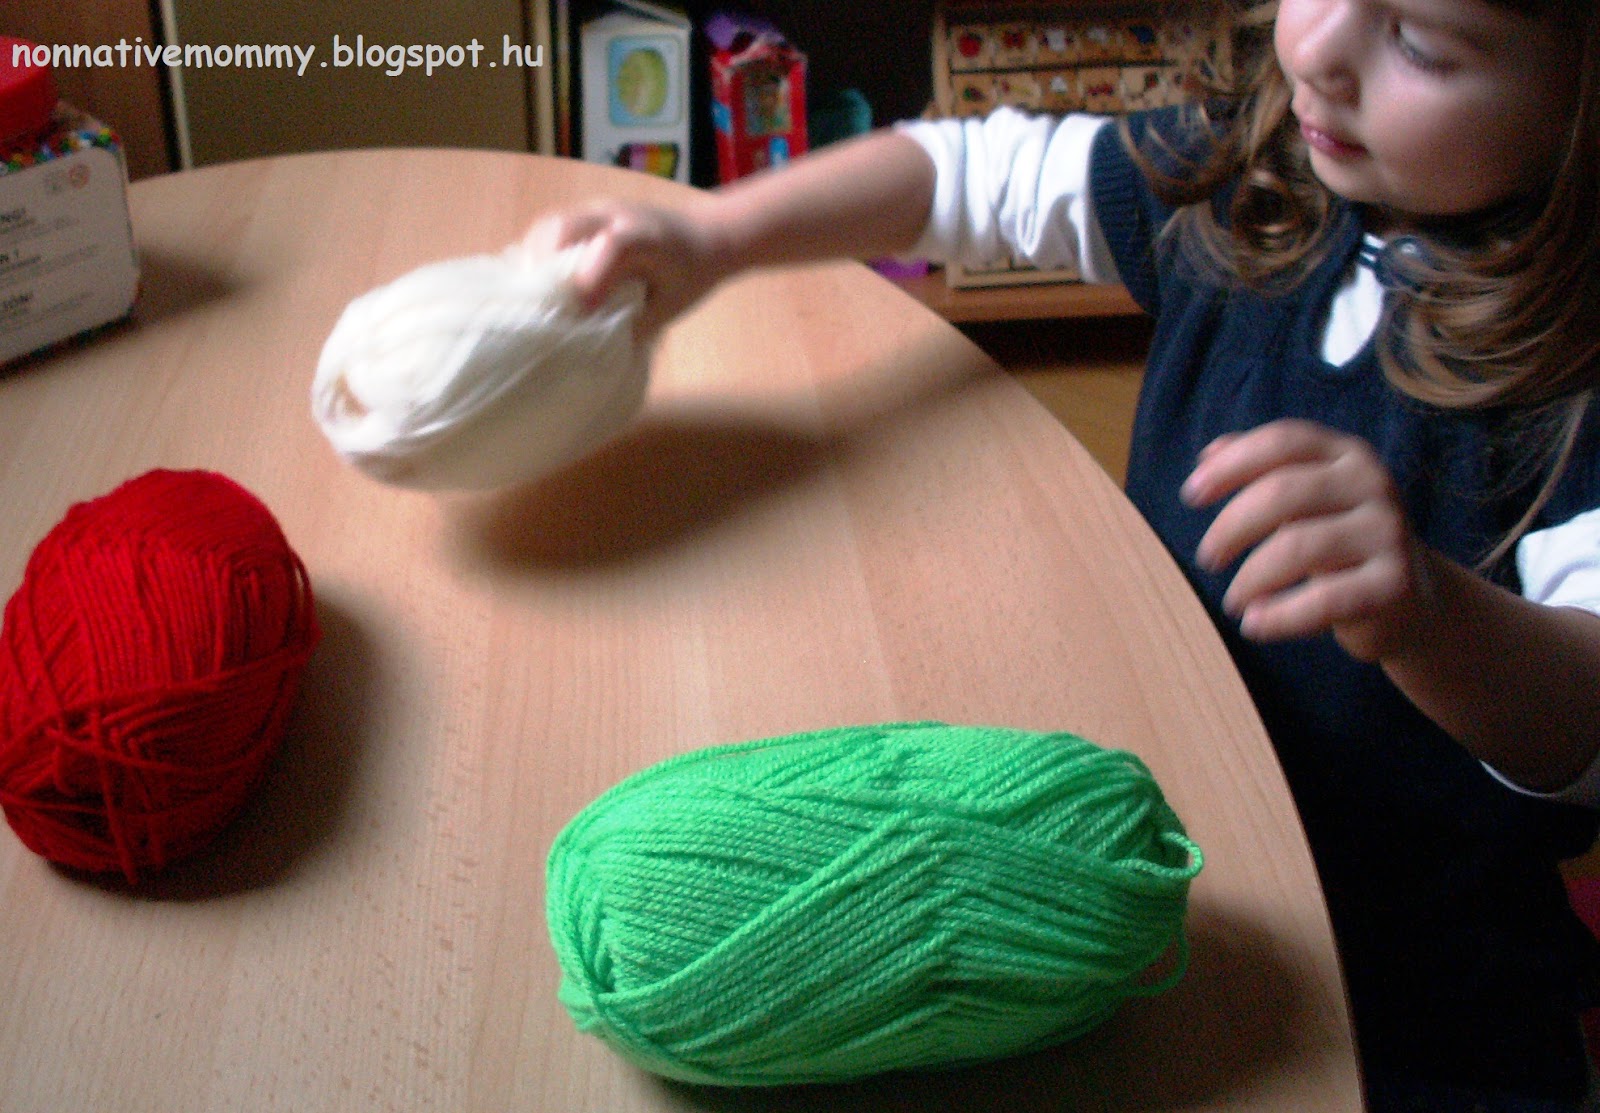 |
| At first, she was just playing with the yarn. |
then she was cutting the yarn like a maniac 🙂

She cut the yarn for 25-30 minutes and I could finish the garland with the Hungarian colours only.
The next day I made the pom-poms for the Irish garland and she was …. *surprise, surprise* cutting the yarn. She can’t get bored of it. E. kept asking: – What I’m doing? which I rephrased:- What am I doing? And then she answered her own question after having repeated it correctly. – I’m cutting yarn.
This short conversation was repeated for 8-10 times without any alternation.

We’ve hung our pom-pom garlands (with the Irish and the Hungarian national colours) on the double doors.
Tricolour Pizza
Your toddler ALWAYS wants to help you with cooking, not to mention the great excitement if you make pizza. Why not in tricolour? Everybody loves pizza and it’s easy to make it with a toddler.
 |
| It’s not our pizza, but it’s coming soon |
Red= tomato sauce with some basil and oregano (minced meat if you wish)
White= loads of grated cheese
Green= broccoli, spinach or any other green vegetables in our case it’ll be ruccola
The lollipop stick is optional, too… but don’t they look cool? Like real flags 🙂
We are making our own on the 15th so I can upload photos of the process later.
I still have some activities up my sleeve, however, I’m not sure we’ll have time for them. Anyways, I’ll have to share some ideas next year too.


