Rainbow, Pom-poms and shamrocks for St Patrick

More and more St. Patrick’s Day stuff. If you haven’t done anything that is colourful, shamrock-shaped or fluffy, then have a look at our collection.


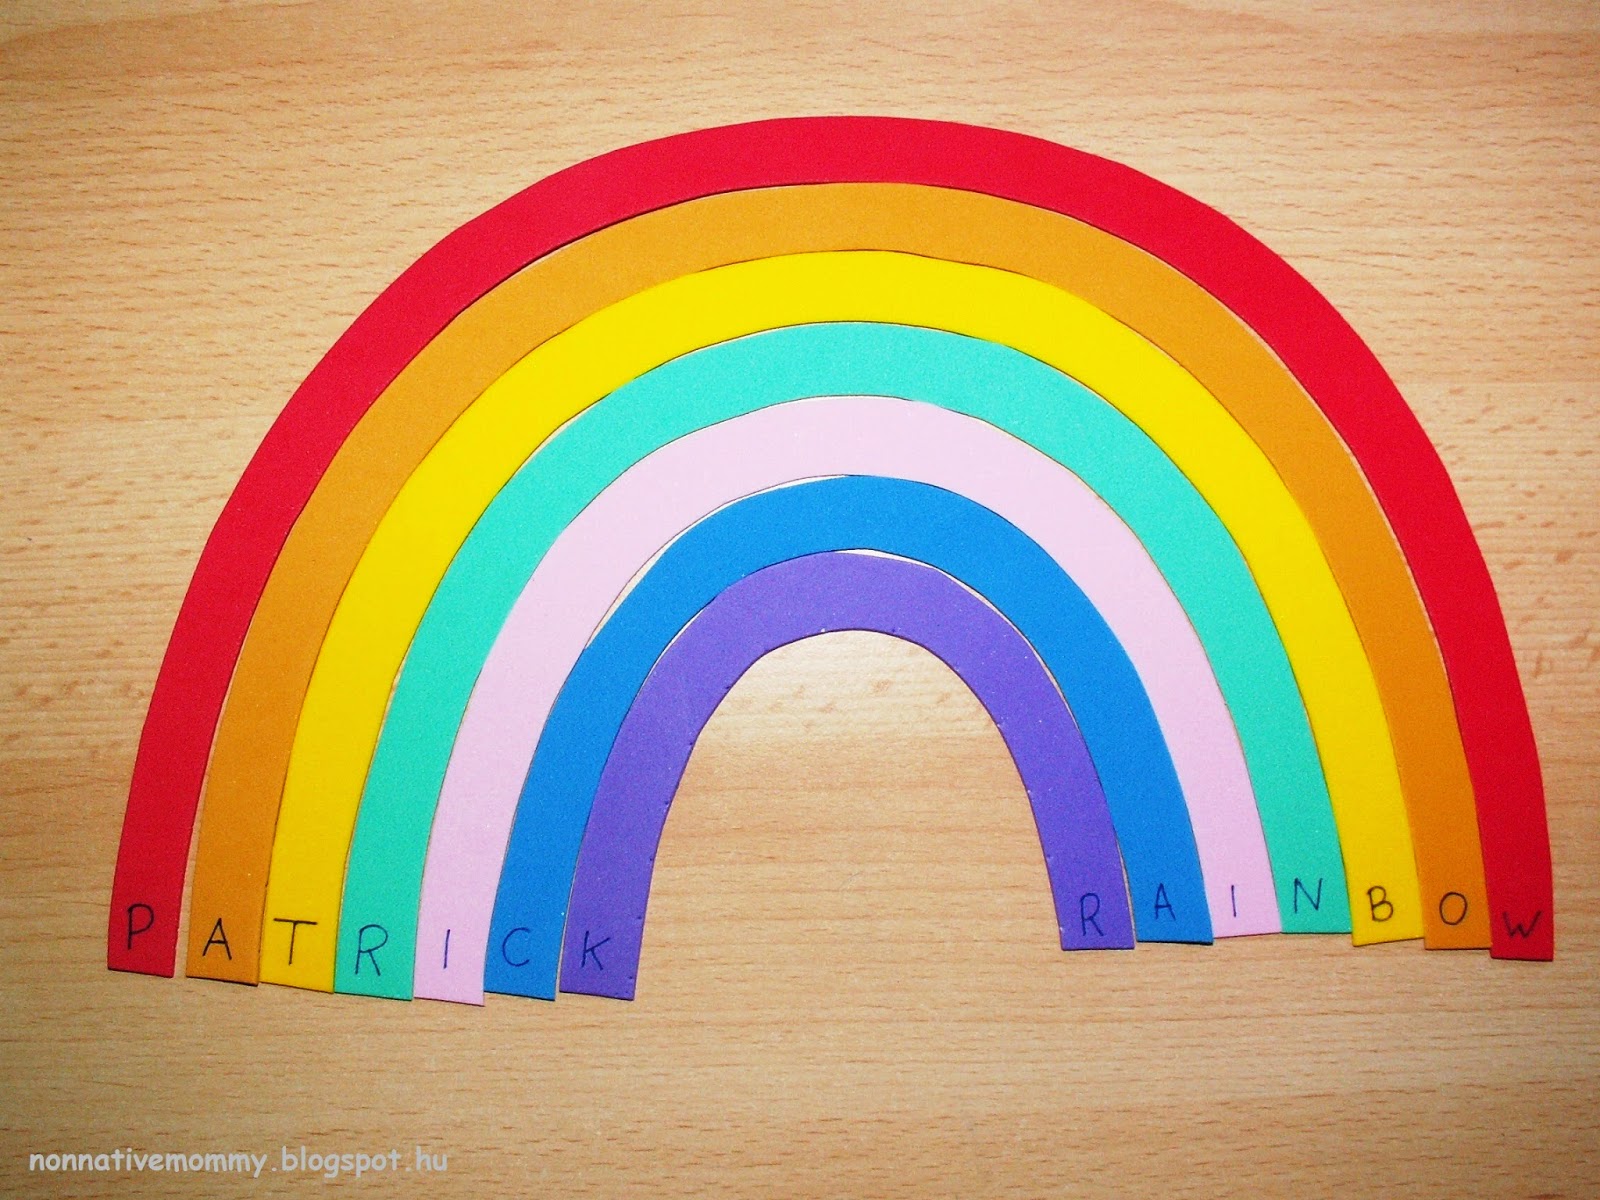
Rainbow Name Puzzle (via Still Playing School)

What you need:

  • 7 coloured craft foam sheets (red, orange, yellow, pink, green, blue, purple)
  • printed rainbow template
  • 2 clips
  • 1 pin
  • scissors
  • marker

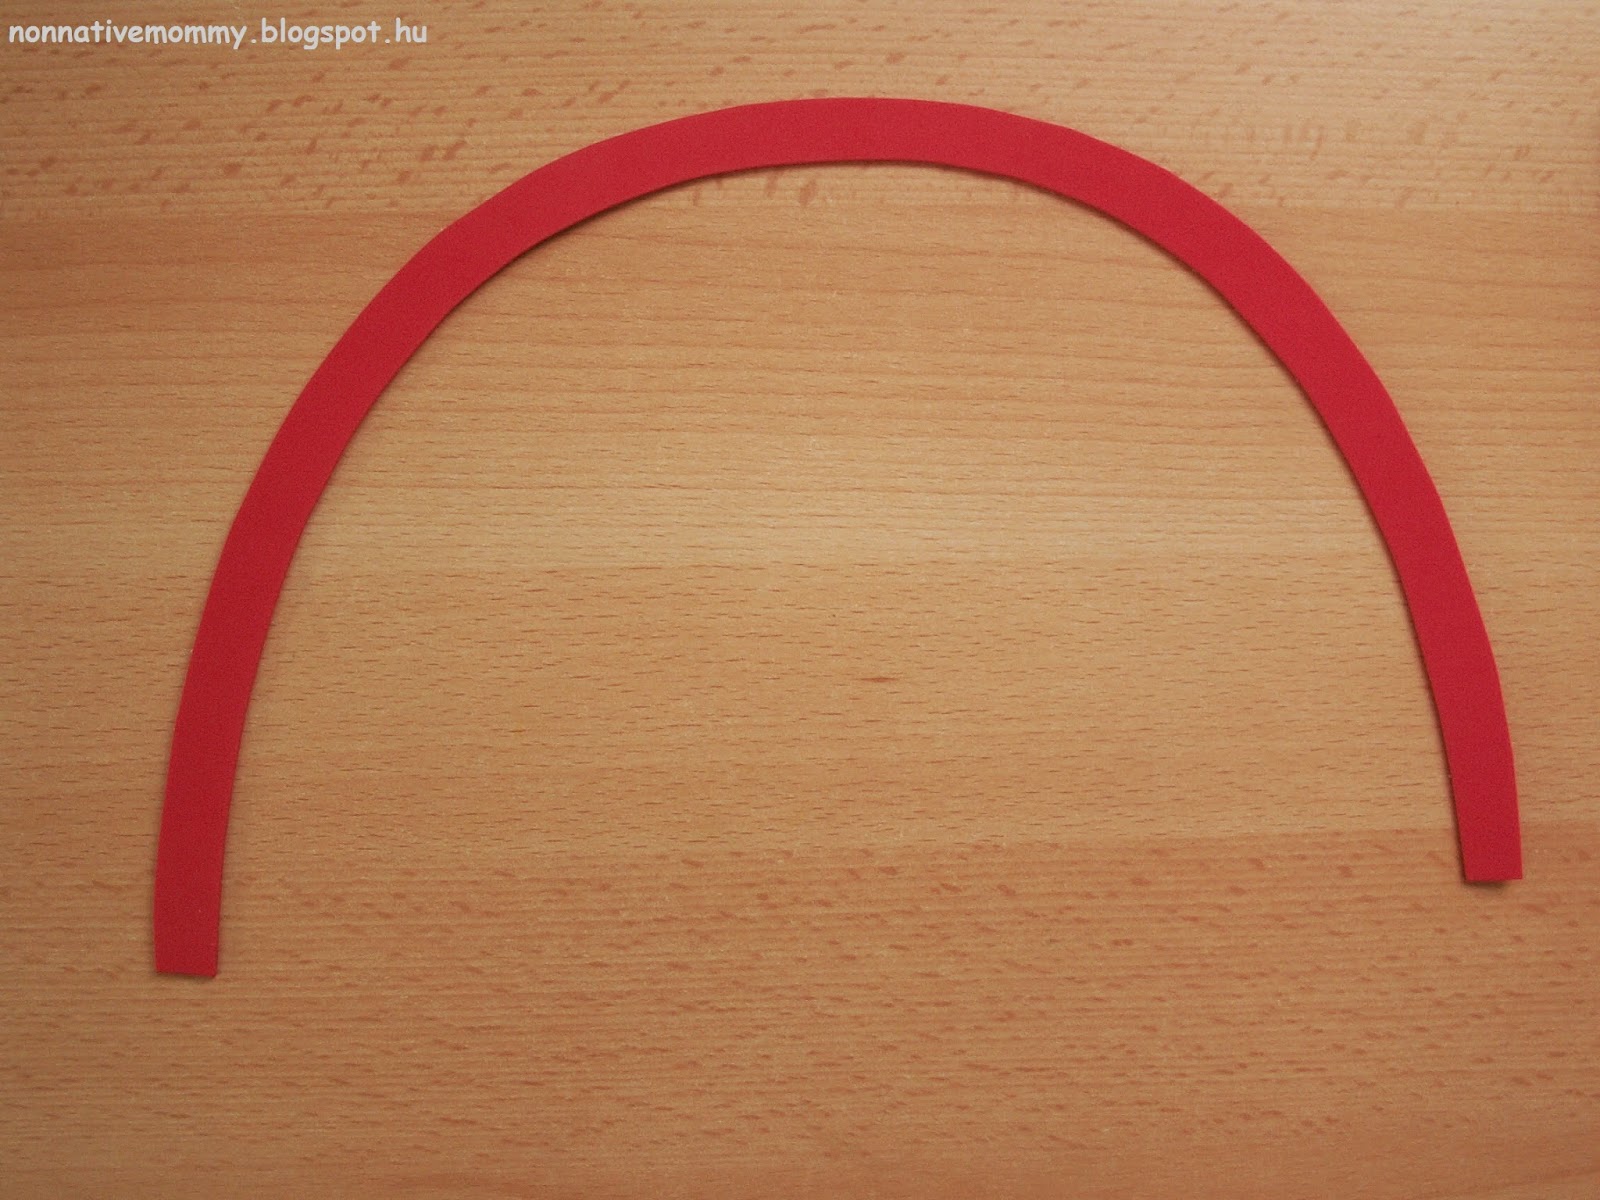
Still Playing School didn’t go into details how to cut the foam so they fit together nicely so I came up with my own idea.

I placed the printed rainbow template on the foam sheet and fixed it with 2 clips

Then I used the pin to pierce through the paper (and the foam sheet) along the line

You can see here that it is much easier to cut out the strips along the holes


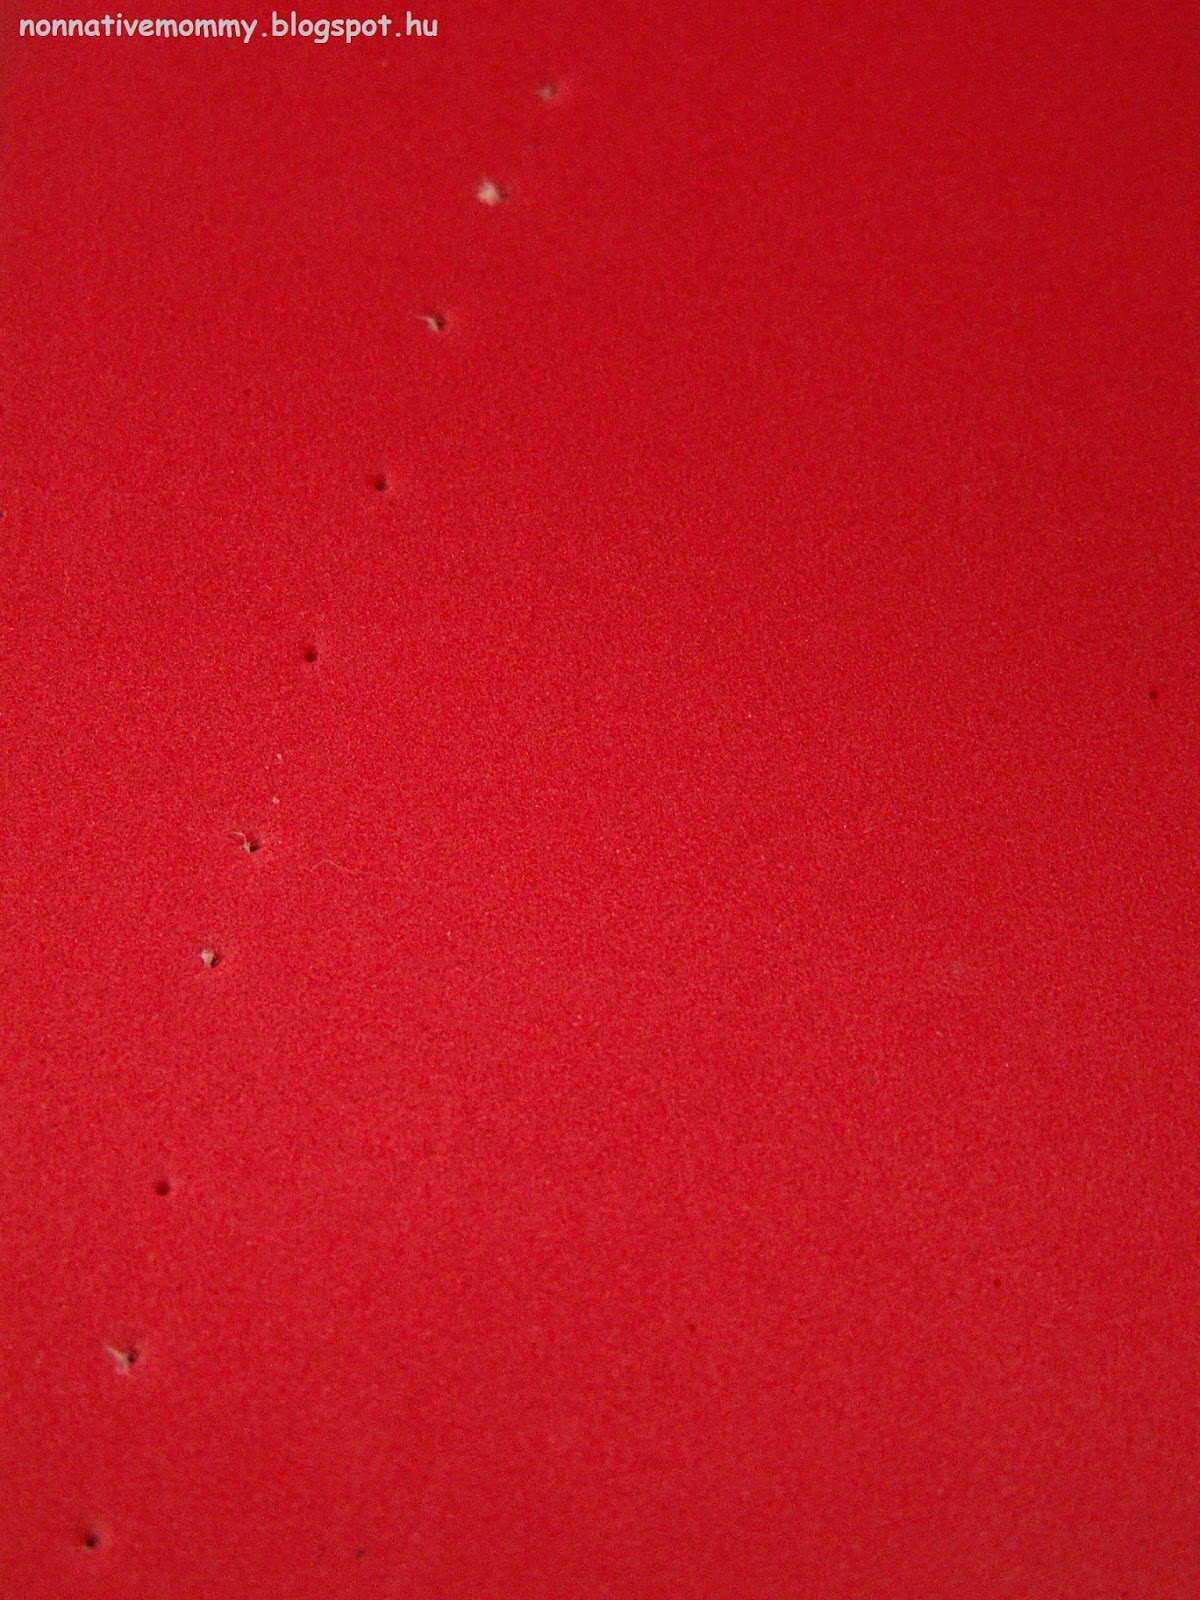
It takes time but it’s worth it

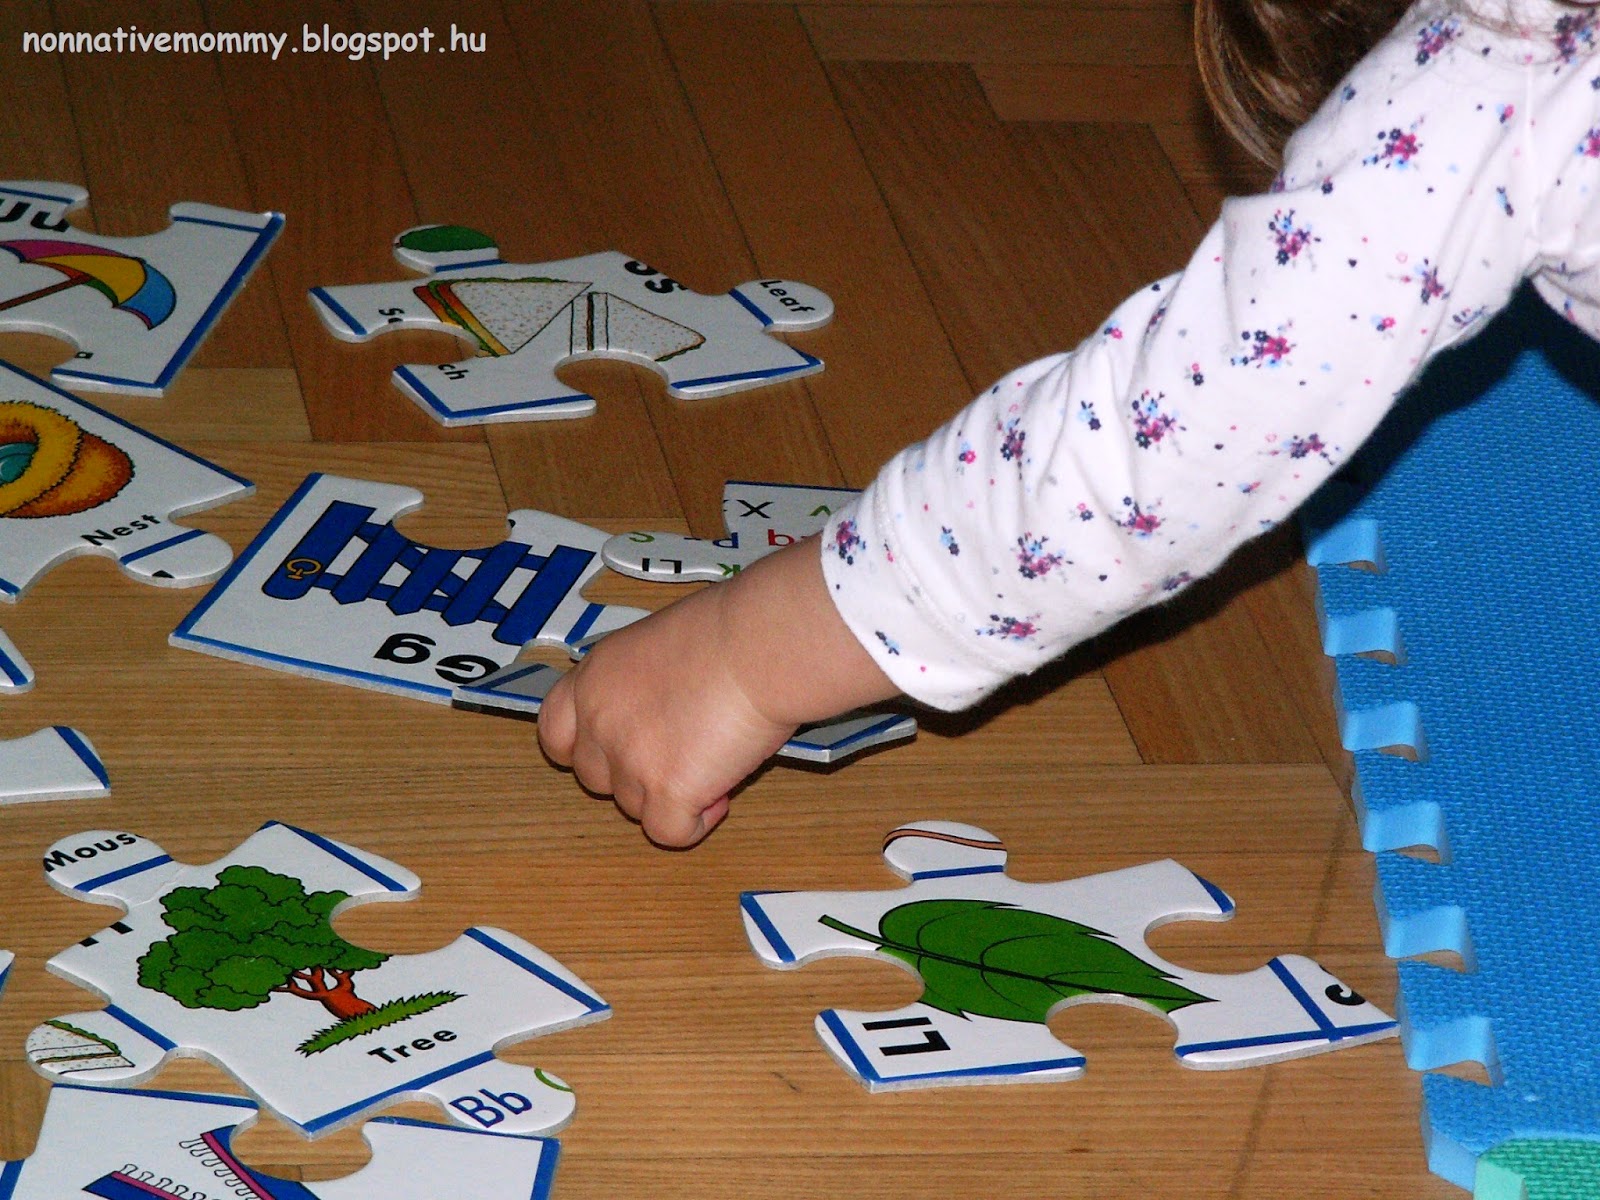
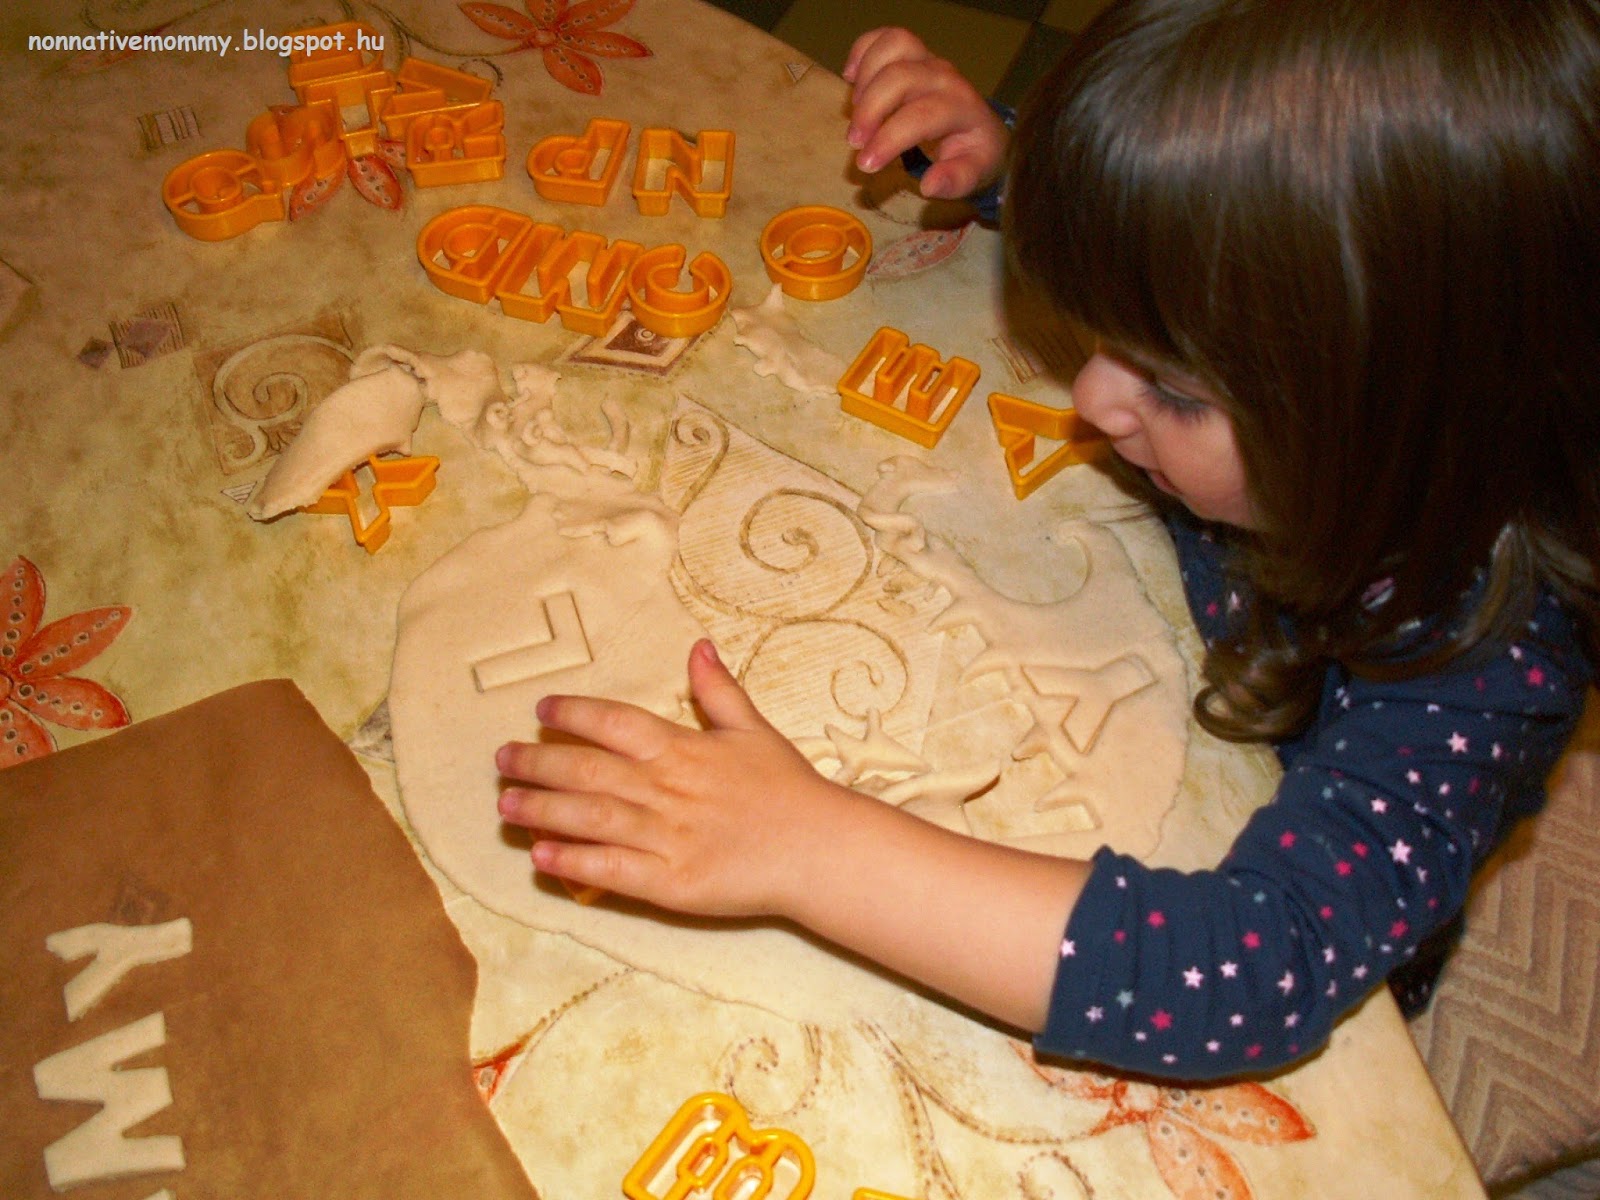
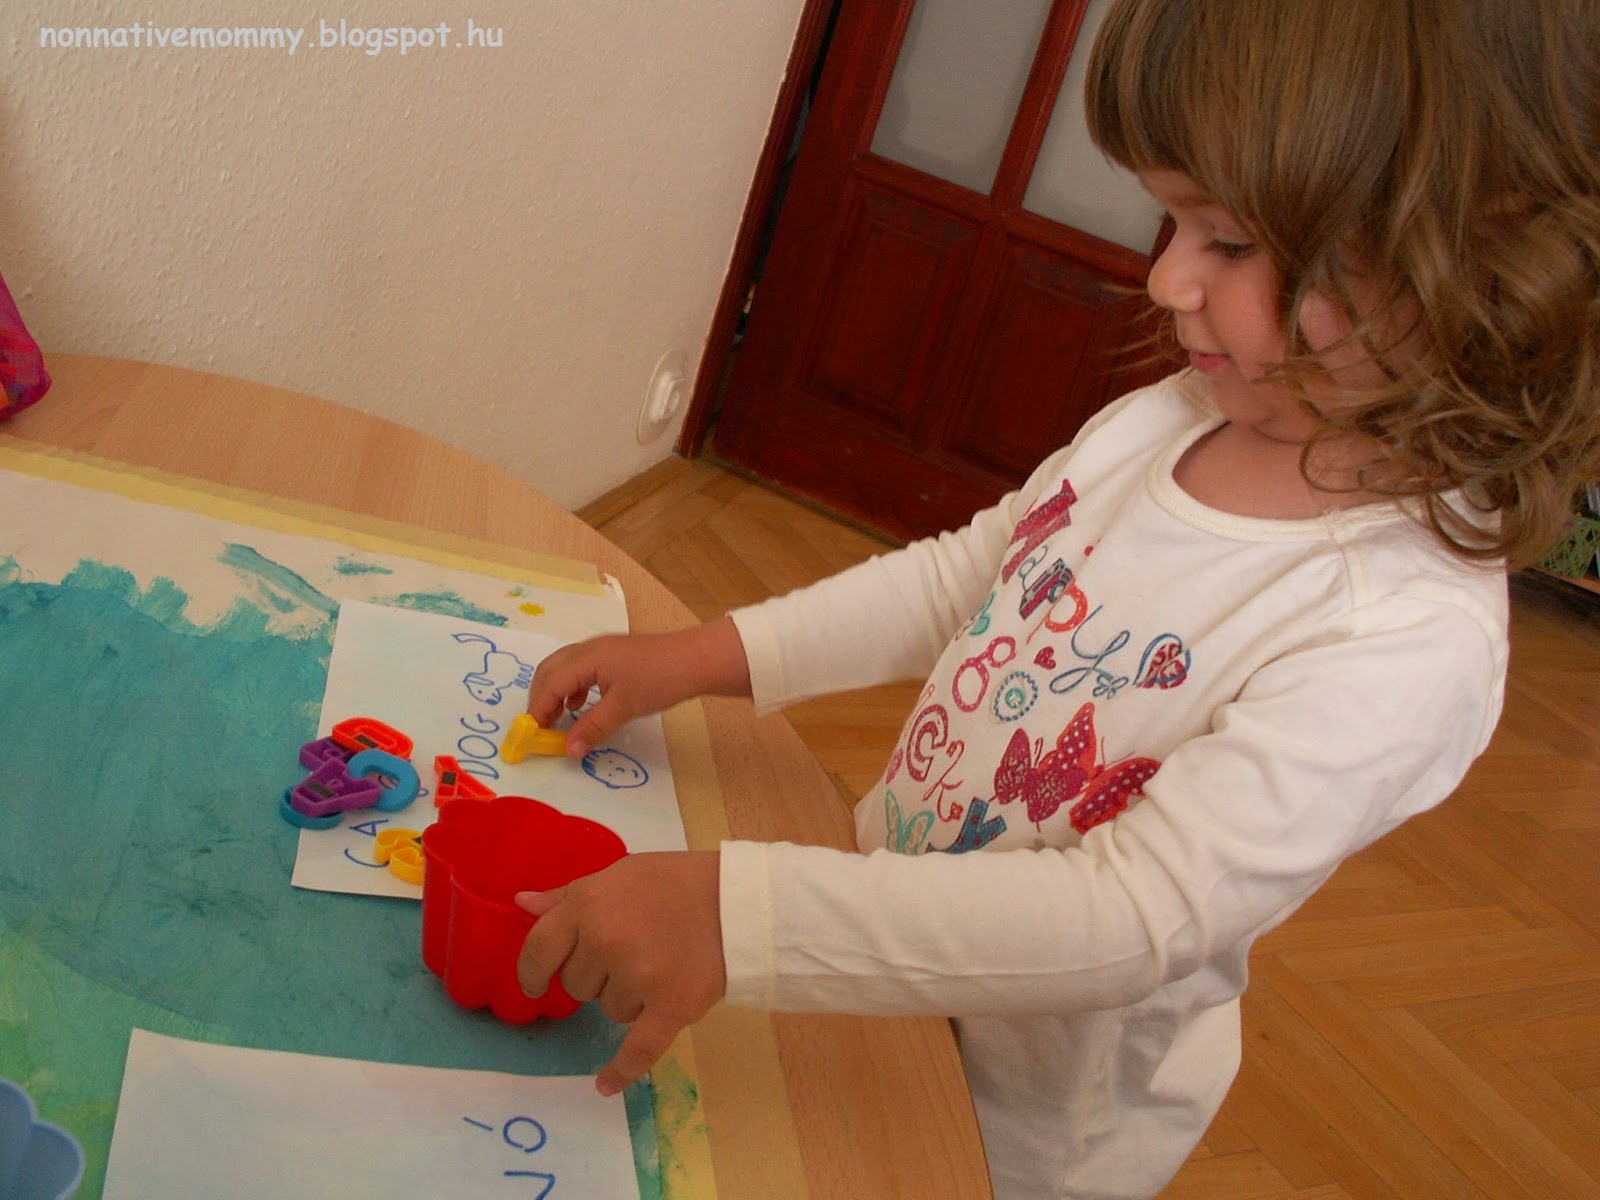
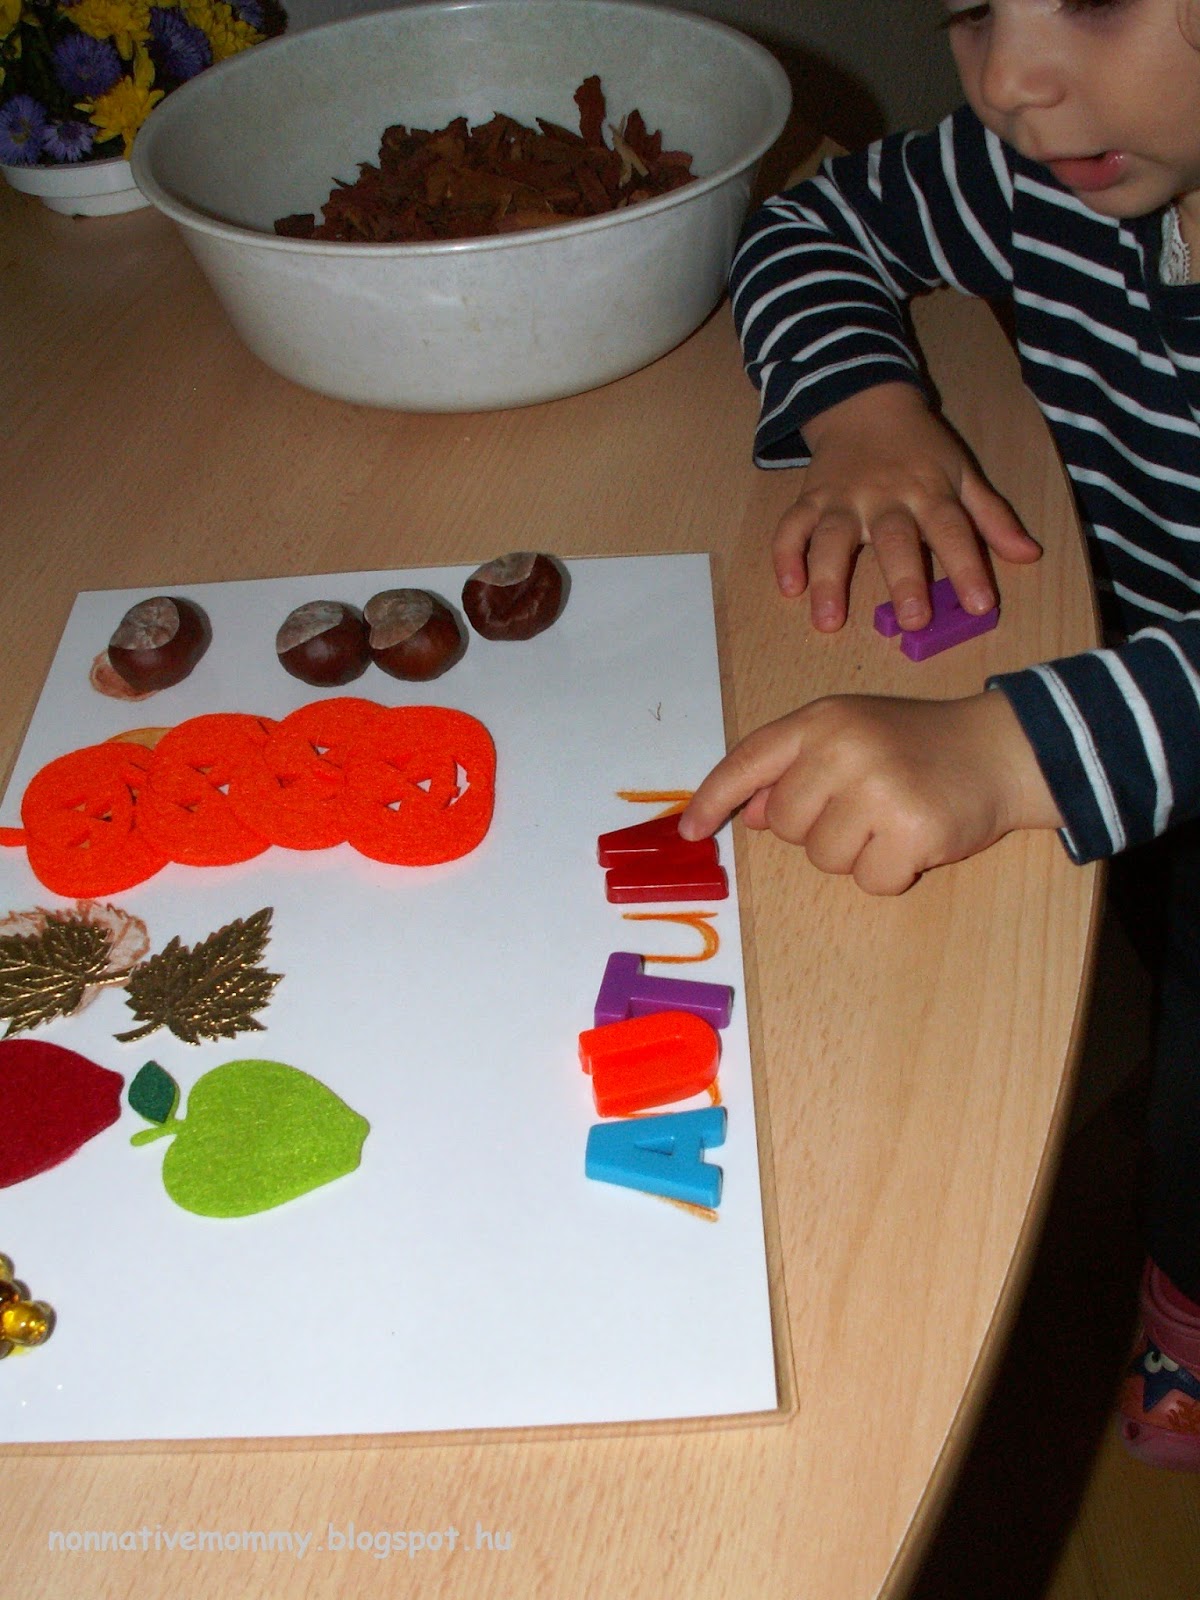
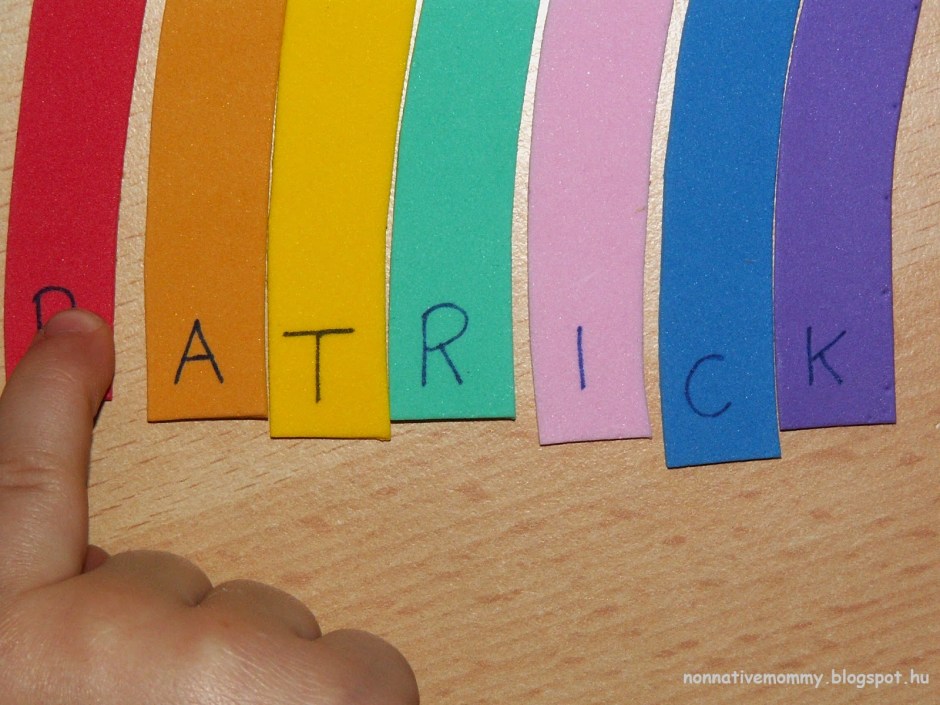
Our foam rainbow with Patrick and rainbow on one side and my daughter’s full name on the other side.

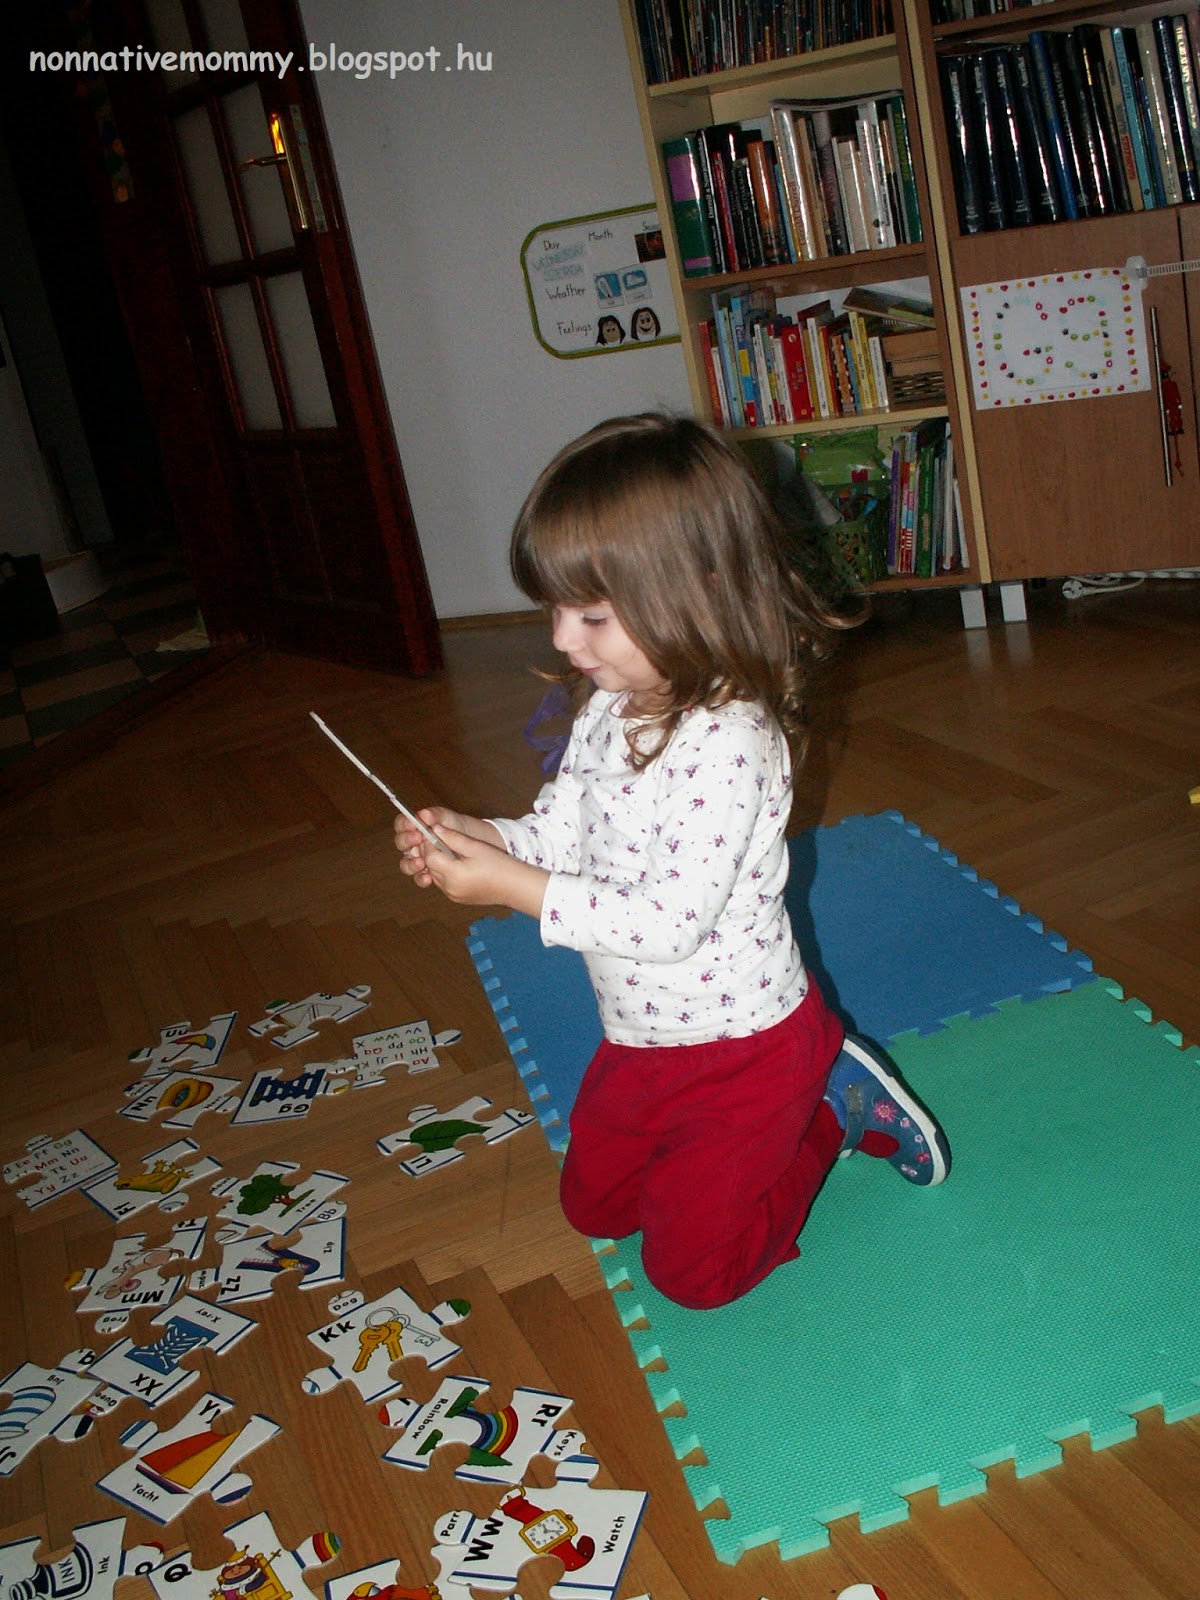
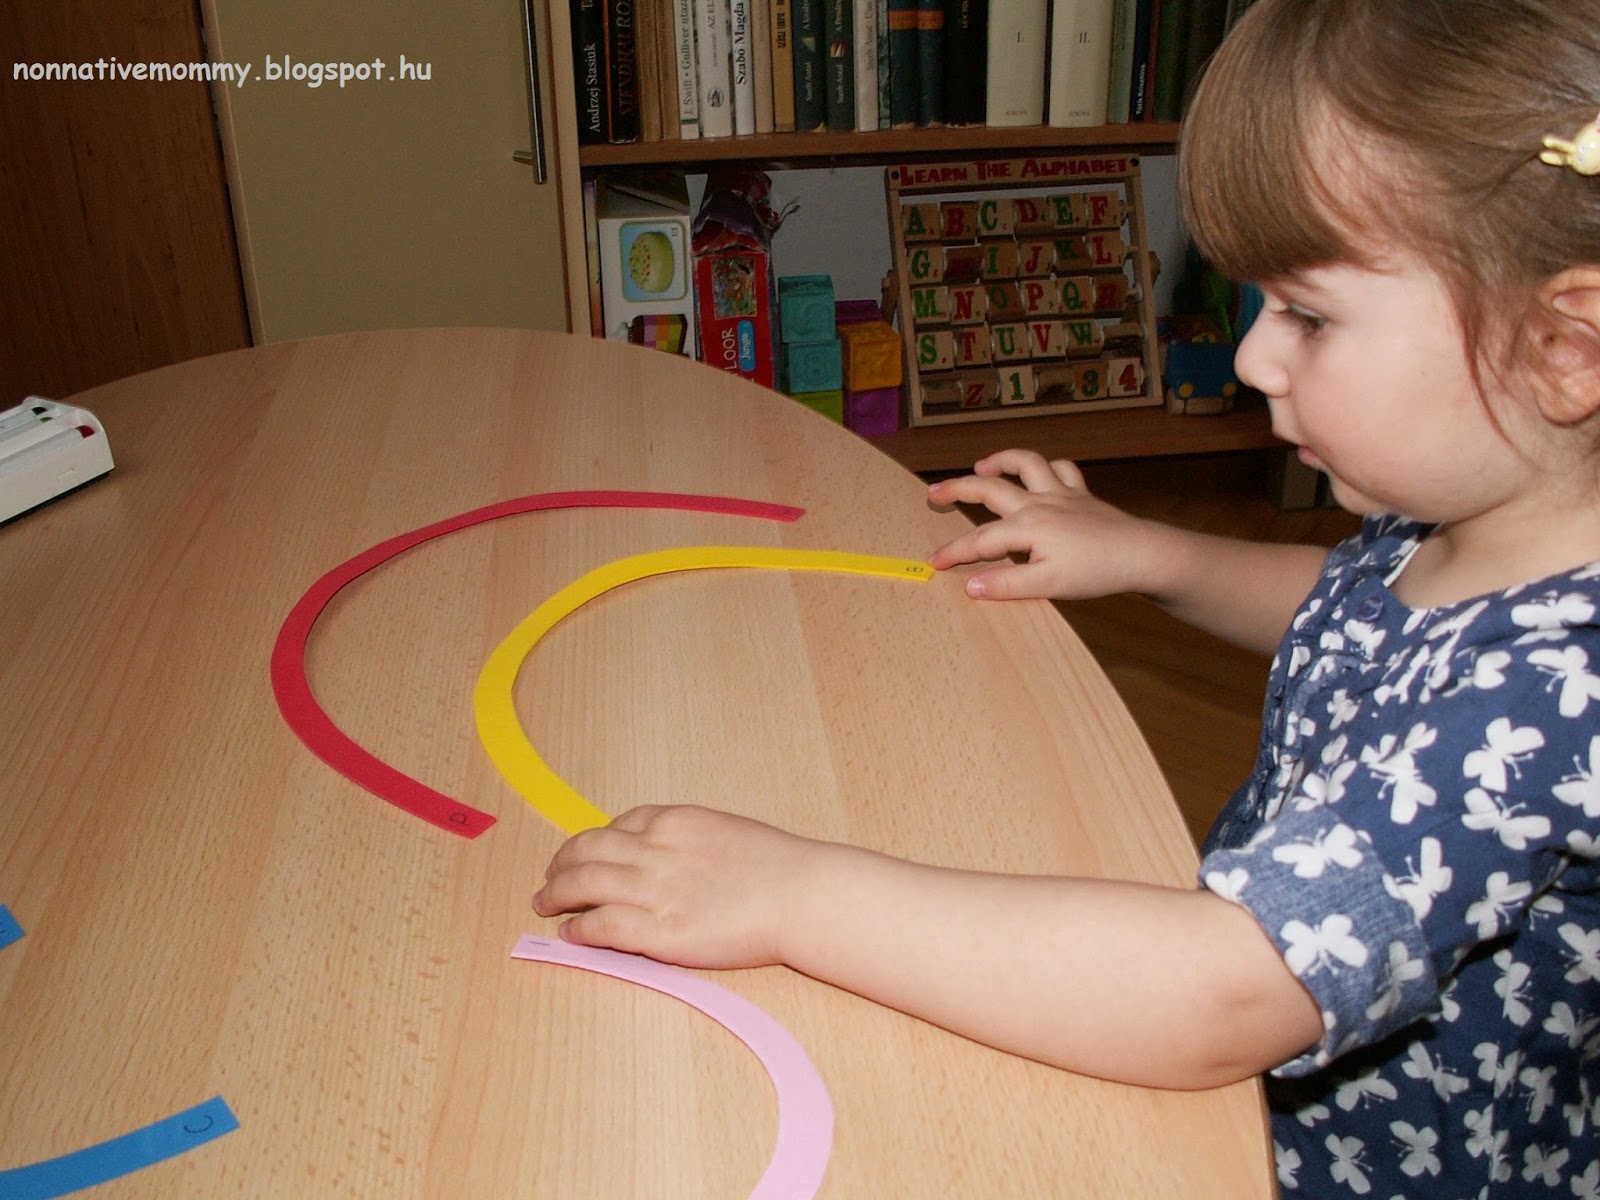
When I first show her the strips she was puzzled and a little frightened as they were wriggling in my hand. But as soon as I put the colourful strips down on the table she loved them.

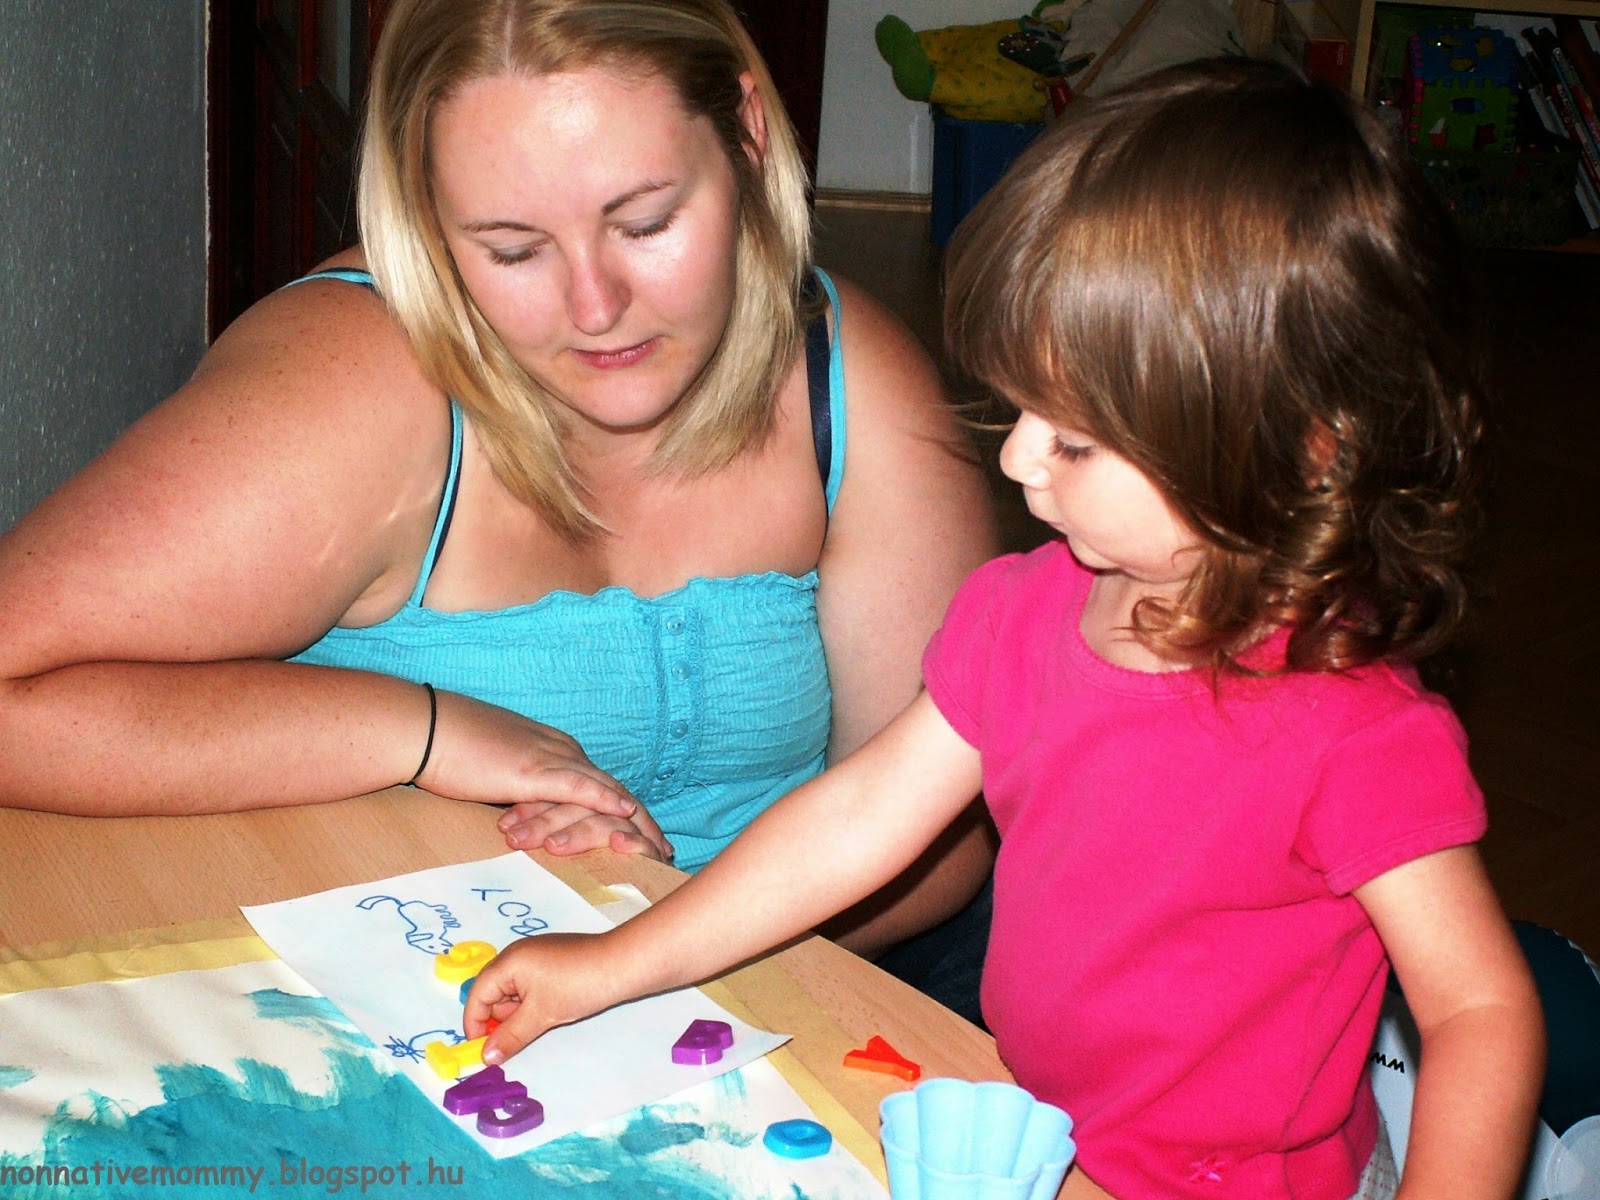
She needed to concentrate hard on putting them in the right order according to their size


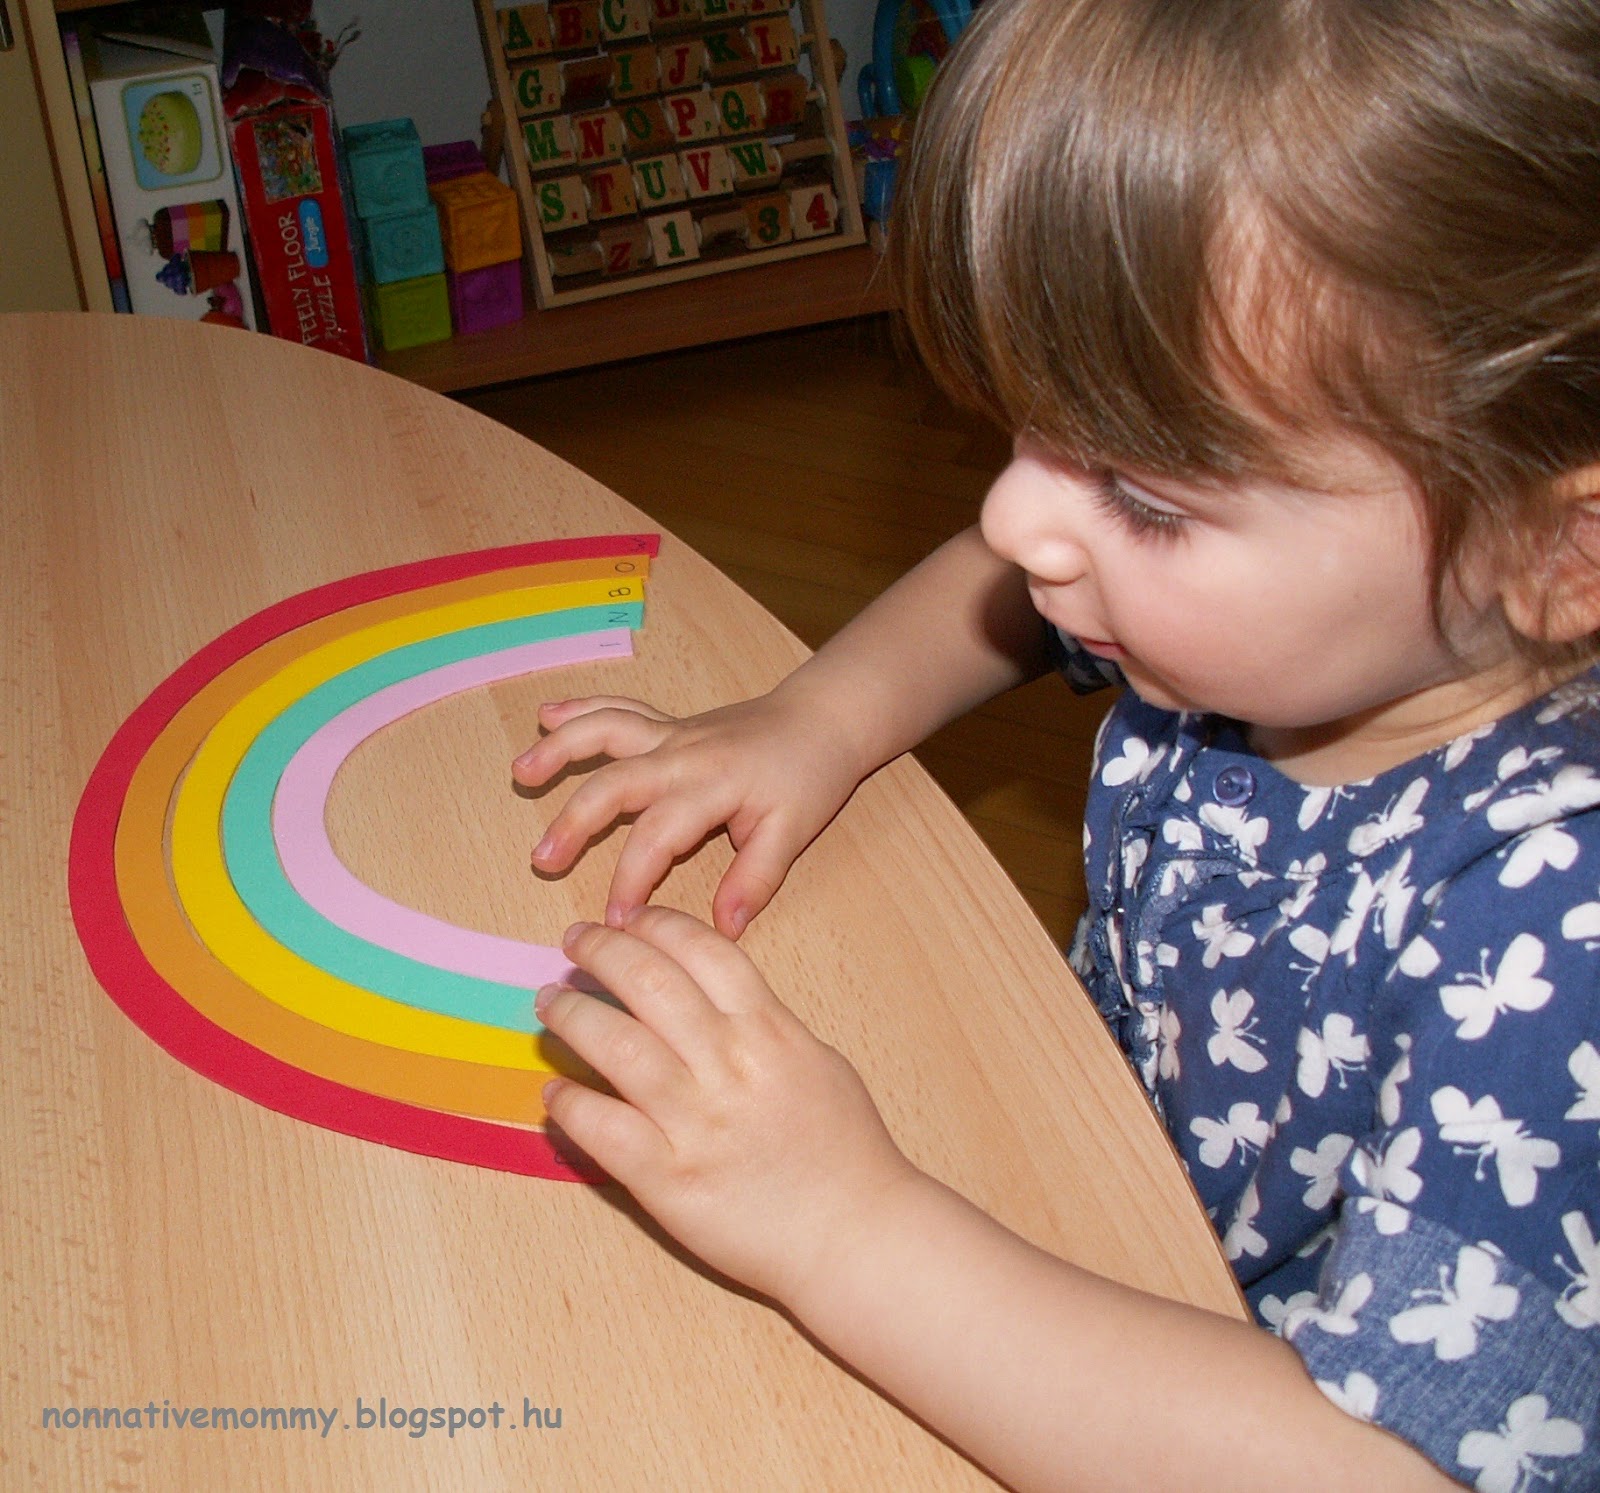
In the end she spelled the letters then I read them out.

We’ll play more with it. Rainbow in the bathtub is on our list.

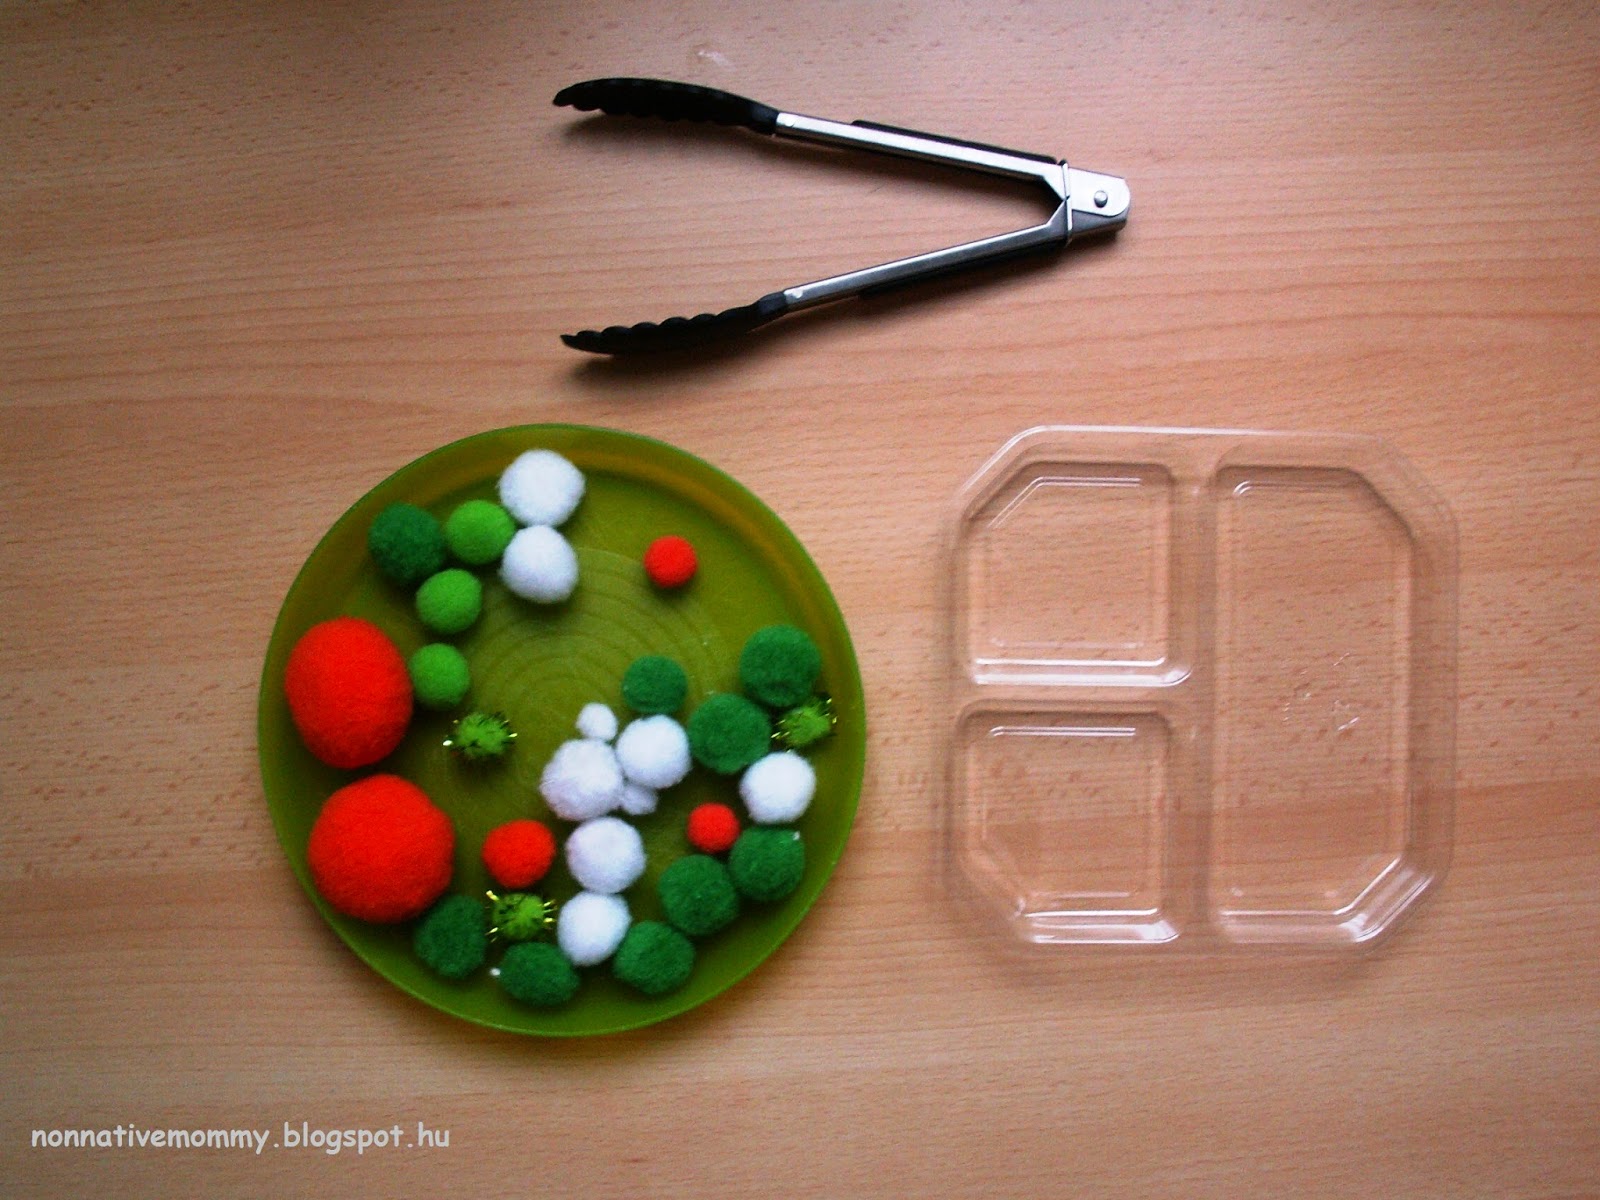
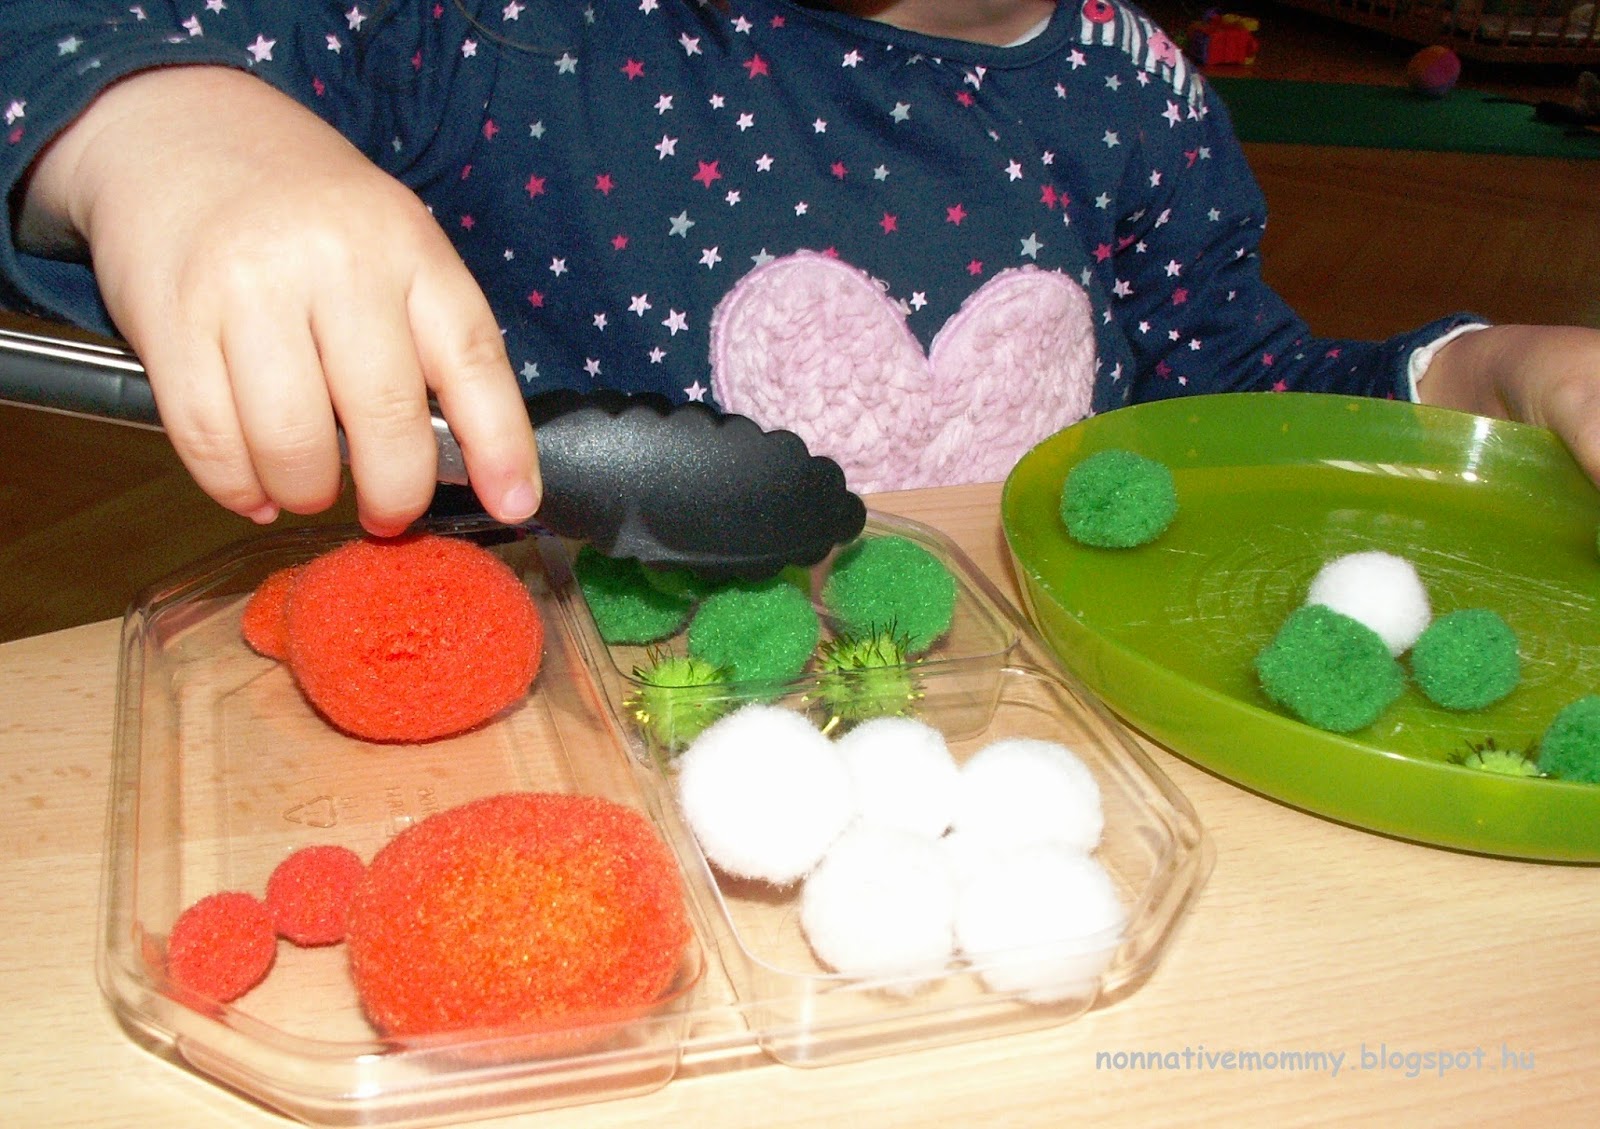
Pom-Pom Colour Selection with tongs

To extend our colour activity I gave E. some pom-poms of 3 colours (of the Irish flag): green, white and orange. With the tongs she separated them in 3 groups.
Easy to prepare and a popular activity with my daughter.

Number practice

I also wanted to do some tasks with numbers involved as my little one loves numbers. I was hesitating between these great number cards by Welcome to Mummyhood

and a number activity from Pinay Homeschooler’s St. Patrick’s Day Unit.

StPatrickDayTinyTots

As I couldn’t find nice and St. Patrick related (shamrock shaped or horseshoe) counters and I didn’t want to cut out numbers, I picked the latter.

From the unit above I printed the number cards and laminated them. From Christmas time I had some green counters.

E. did this activity with Daddy as we’d been having a bad cold. Although she’s better now I haven’t had time to relax a little and get my strength back. So I decided to take a little rest in the afternoon. I prepared everything for them in advance.


They named the object/things on the card. E. counted them and placed the counters on the right number. It took her 3 minutes to finish. She knows  her numbers. They left the cards on the table for me to have a look at the great work they’d done. How cute!

Heart-shaped Shamrock Leaves

I cut out a lot of heart shapes and some triangles. I used green construction paper and presented them like this with an example she can follow.

Daddy supervised this activity, too, and they had lots of fun. And did a little drawing as well.


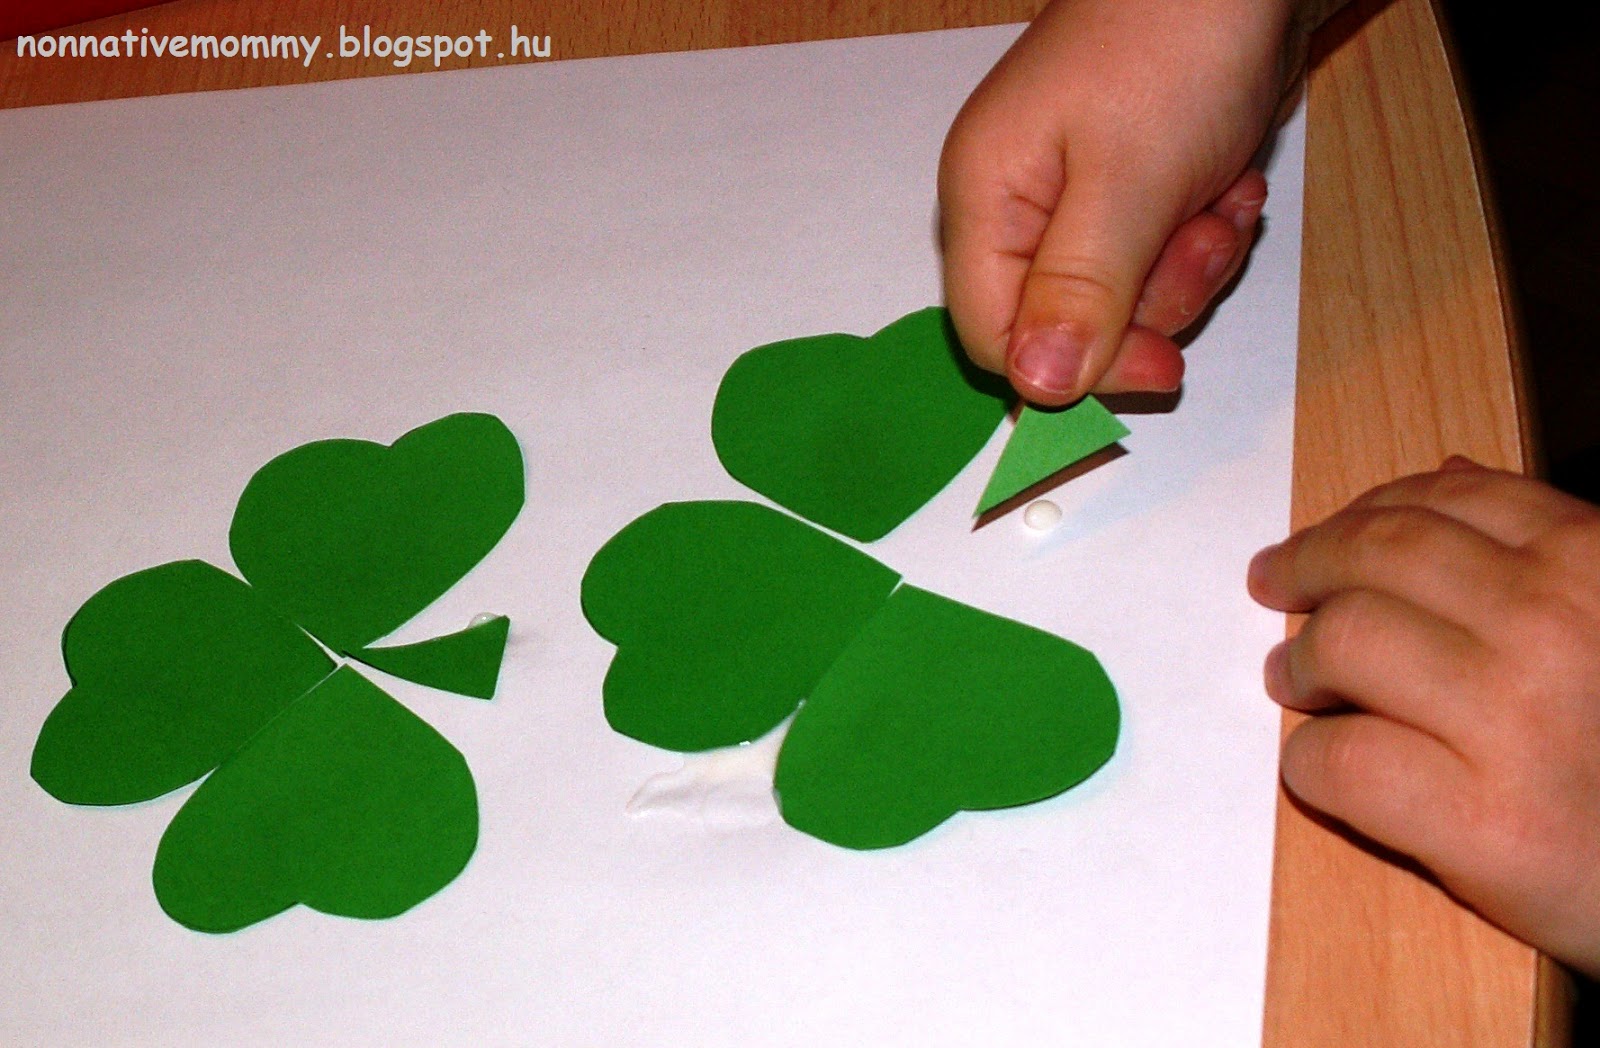
As they put the shamrocks under one another I placed them in our St Patrick’s Day corner as a banner.

We’ve been doing loads of activities lately. Not only these ones but other fun tasks concerning our National Holiday coming on 15 March. I’ll come back with some Hungarian Revolution related activities for the Hungarian Moms. Stay tuned!

More fun with the ABC

E. has an unquenchable thirst for the letters and the alphabet. Here are 2 more activities we’ve done recently.  

1. Giant alphabet puzzle
2. Salt dough letters

– ABC giant puzzle

I was lucky enough to get hold of this giant alphabet puzzle in a secondhand toy shop. No piece is missing. There are one or two pieces that are a little stained but otherwise it is in great condition.

When E. is putting the puzzle pieces together she is singing the ABC song or we need to listen to it. (A money-saving trick: you do not need to buy a lot of English music CDs. Just turn the youtube videos into mp3 music files with a converter)

While we are putting the puzzle together we name the pictures like A is for apple (like in the picture) and add some more words starting with that letter: ant or angel or antler. (I usually come up with words that she knows but if not we always have paper and pencils around to draw the unknown thing, or if we have it at home we go and have a look at it)

We have some foam letters which are the same size as the capital letters written on our giant puzzle. In the picture below E. is placing the foam letters on the puzzle. It was her own idea.

I use this alphabet puzzle even with adult students; it helps a lot with spelling and pronunciation.

– Salt dough letters

When E. turned 2 and a half last November we made her the very first home-made salt dough (1 cup of salt, 2 cups of flour, 1 cup of boiling hot water). And it was a hit.

I found this  cheap set of ABC cookie cutters in a One-Dollar shop. It has just one problem: letter S is the other way round.

spooning the ingredients

Not only was she learning/pracising words like kneading, rolling pin, mix and stir, add, measure but also strengthened her arms and hand muscles.


my little helper
 
First, the letters need to be in the right order of the alphabet


Cutting
 
 
E. helped to put the letters on a baking paper that I’d place on a tray and we put them all in the oven to dry (at 50 °C).


Next day the painting started:


We used one colour at a time, but when we did this project this year colour mixing kicked in to make new colours like purple, brown or orange.
 
Ever since we have been playing with the letter as they are lying on E.’s shelf in the living room.


Getting familiar with the ABC

I do not want to brag, but yes… a little I do. E. is so  interested in the letters and the ABC that, I do not exaggerate if I say, within a year or two she’ll be reading. In this blog post I would like to collect some fun activities we’ve been doing with the ABC.

-Videos/Songs

The very first favourite. E. was watching this video her mouth agape in amazement when she was 8-10 months old.

Phonics Song 2

The traditional one is always the best (Upper- and lowercase)

A song about how to pronounce the letters – Phonic Song:
Since the age of 2 we have been watching a lot of Mother Goose Club songs:

She could watch it all the time. Sometimes she wants to watch them all day (if I let her).

Magnetic alphabet

I bought the first set of magnetic alphabet when E. was about 18 months old. She loved them at once.
First it was just one pack of upper case letters. We used it on the fridge, but the letters always fell under it. So I had a magnetic word game at home (for adults, the letters are too tiny for little children) and I started to use one of its steel boards (You can also use a steel tray or a magnetic whiteboard)

Then I bought another pack of both upper- and lower case letters later when we started making up words at about the age of 20-22 months. (Frankly, we don’t really use the lower case letter yet – age 2,5 years)

At the very beginning we just put together the alphabet from A to Z. We sang the ABC song and/or the phonic song while arranging the letters.

Adding the missing letters to the alphabet with Daddy

I told her words starting with certain letters, like  E. for her name or D for daddy, M for mummy, A. is for our nanny’s name etc. As time passed I added some more words, such as E. is for elephant, egg, or A is for apple, ant and so on, not just names. I always tried to include things that she knew or she was really interested at that time. Within a few days she was the one who said the words: – B is for ball and bubble.

Next, we made up short words she was already familiar with.
Daddy, Mummy, M. (our dog), dog, cat, yes, no, hat, rat, egg, bat and so on. I have no intention to teach her how to read. She is the one who, from time to time, comes to me with the letters to play with. She’ll work it out by herself.

Matching game with the magnetic letters

What you need:

  • letters (magnetic, felt, play dough, cut out from cardboard, drawn on bottle tops)
  • plastic surface (e.g.: whiteboard, but I used an A/4 sheet that I spoiled while laminating. 
  • markers (not permanent!!!)
  • sponge or tissues to wipe the surface if you want to reuse it
I put the letters of these words mixed in a little container 

E. came and emptied the container.

And matched the letter. The interesting thing was that I didn’t need to tell her toe start from left to right.

She wanted to do it with our nanny, too.
When she got bored with it I wiped the surface off and at another time I made a new one with: yes, no, love, sun, hot, rat as you can see it in the photo.
She had to start with her letter, E.

 It was summer time we last did this activity, and now sometimes she “reads” letters on her clothes or, some book’s title.

Search for the letters – sensory bin (autumn)

What you need:

  • a container
  • bark (you can buy it in a packet at animal stores)
  • small object connected to autumn in some ways (berries, grapes, apples, pears, twigs, conkers, pumpkins, leaves etc. What I did was I chose 1 bunch of grapes made of plastic, 2 apples made of felt, 3 golden leaves, 4 pumpkins made of felt, 5 real conkers.)
  • letters (wooden, foam, felt, magnetic, whatever) of A-U-T-U-M-N
  • a sheet of the object and the letters of autumn shown
Throw the bark into the container and hide all your chosen objects in the bark. Put the sheet in front of your child and whenever they find something among the bark, place them in the right group, or if it’s a letter, then on the right letter.

And the search can begin.

This activity gives you and your child plenty of opportunity to talk about not only the letters, but also colours, autumn fruit, trees, leaves and berries, and in this case numbers too.

I still have several activities, but I’ll need to come back with them in another post. Try them, enjoy them and let me know how they worked out.