Squishy bag

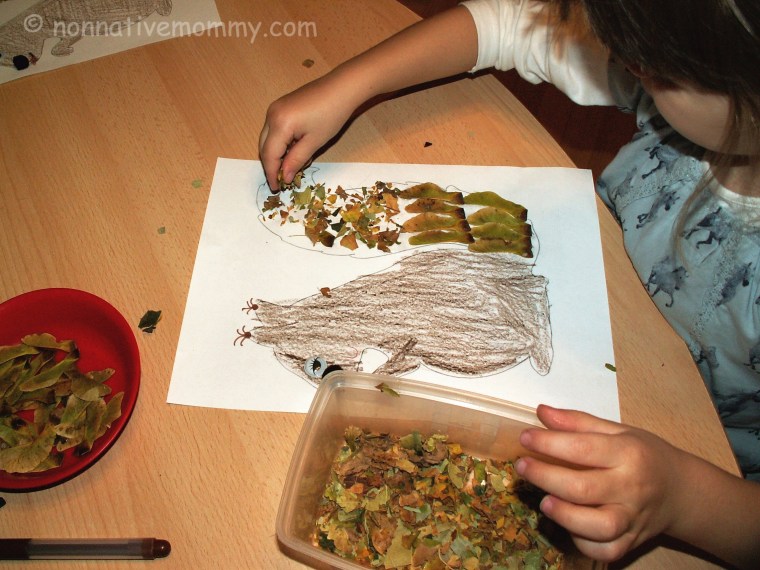
Breakfast time is quite difficult with 2 kids. L. finishes with her breakfast quickly and gets bored in her high chair. E. is as slow as a snail so it’s hard to finish at the same time.

While E. is eating and I’m busy in the kitchen or clearing the table I always give L. something to play with. One morning this squishy bag.

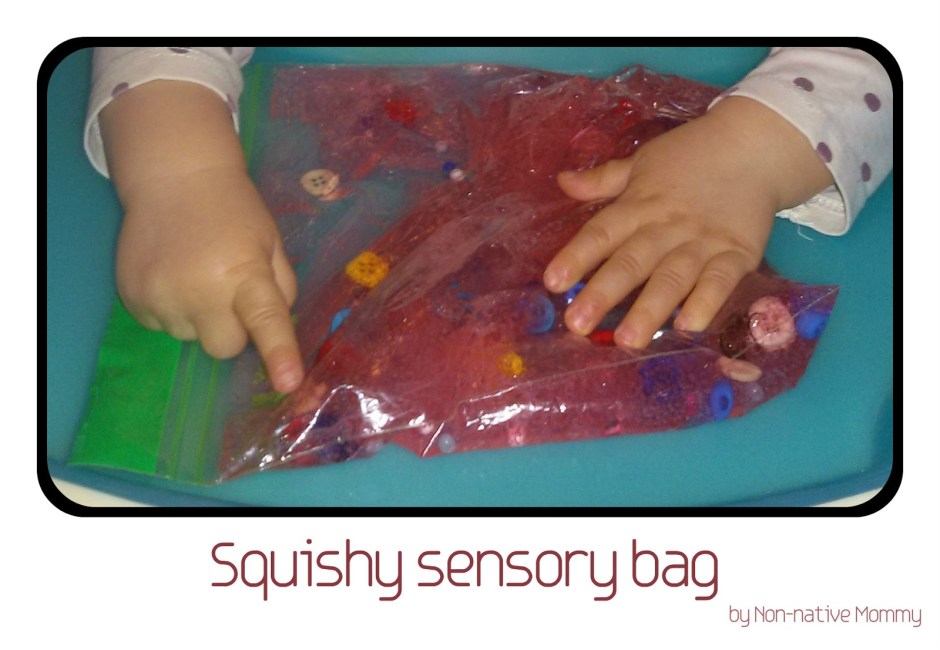
I filled up an IKEA zip lock bag with a little water and added hair gel. I threw in some buttons and beads and gave it to her. Before closing it, I pushed out the air and then I put wide cello tape on the zip lock.

She was busy with the squishy bag only for 5 minutes. Better than nothing.

She poked the buttons gently. I love the careful and focused movement of her tiny fingers.

Next she needed to taste it just like everything else.

When she got bored she tossed it down and checked when it was on the floor, pointing at it. A few times I gave it back to her. And everything started all over again.

The problem was that E. was more interested and didn’t want to eat. *sigh* I don’t really know what to do with this…

Either L. might have made a hole on the bag with her 2 teeth or the hair gel was extremely bad quality as I could smell it 5 steps away from the high chair. After few days it ended in the rubbish bin.

Bushy tailed squirrel

We’ve been collecting a lot of autumn leaves and fruit so it would have been a pity to let them go waste. I found a really nice squirrel template online so the idea came: we should decorate the squirrel’s tail with these dry autumn goodies.

What you need:PICT0006

  • bushy-tailed squirrel template
  • glue
  • shredded leaves (other flat autumn fruit like Norway maple fruit)
  • brown crayon or coloured pencil
  • 1 googly eye
  • a black or brown pom-pom

How to make it:

The dry leaves we shredded and the Norway maple’s paired samara fruit was used as it was found. You can prepare it before hand but you can do it with your little one.

PICT0013

  1. I prepared a squirrel as an example
  2. E. coloured the body of the squirrel
  3. She glued on the googly eye and the pom-pom nose
    PICT0017
  4. She glued on the samara fruit first
  5. She glued the rest of the tail and sprinkled the dry leaf flakes on the glue
  6. She swept off the excessPICT0024

Artwork is done 🙂

Laundry basket baby toy

Wow! I’ve just found some old photos in which E was making a toy for Baby Sis out of some ribbons, the laundry basket and some other toys. Kids’ creativity knows not bounds.

20161123_174834

As there are some  birthdays in October and November to celebrate ribbons are out of the box and I can hardly put them away until the end of December. E. took some of them and started to tie them on the laundry basket which was laid sideways. She put some toys in and baby Sis was more than pleased.

20161123_173605

20161123_173628

20161123_173635

20161123_174828

After having lost interest in the hanging ribbons L. started to use the basket as baby walker.

She was getting familiar with word like hanging, ribbons, in, out, pull, push.
I was so happy and grateful for this activity. First of all, the kids play together, second, I didn’t have to do anything to entertain them, third, they practised their English.

Crafty Mommy workshop 2. – winter edition

The winter workshop took place in the middle of November, before Thanksgiving, so that we could cover some Thanksgiving crafts apart from Christmassy and winter activities.

The workshop aimed to help mums with winter fun ideas, whose kids are about 2-3 years old, but 4-5 year-old children would find them enjoyable too.

There were 4 major topics that we covered (and this time we managed to cover them all)

  1. Thanksgiving
  2. Santa/ St. Nicholas
  3. Christmas
  4. Winter
I’m not writing about the details only the ideas I shared. if you have any questions about the activities please do not hesitate to contact me either in the comment section or via email: nonnativemommy@gmail.com
This time I got some photos from the mums taking part in the workshop. Thanks!
 

Thanksgiving activities:

  • Cheerio corn

Santa:

  • Santa’s hat out of popsicle sticks


I made this free printable so just click and print it. Colour it with your child if you wish and glue a cotton ball on Santa’s beard every day until Christmas. As we celebrate on Christmas Eve there are only 23 places to stick the cotton balls on.

Christmas activities:

(I can’t find what we made so I have no picture of it. Here is a photo of the original source I’d found the idea at and you can go and have a look at it if you click on the link above)

  • Paper plate Christmas door wreath

Originally I planned it with pompoms but we prepared it with pasta. I would have gone for a red base but E.’s choice was orange.

  • Pine cone ornament
I prepared this colour matching activity that you can download on the link above. You just need some coloured buttons, pom poms or M&Ms to place on the printed buttons of the Gingerbread men. A simple colour matching task.
The last figure is left empty to draw coloured buttons of your child’s choice or use it as a play dough mat if you want to take further on this activity.
 
Other winter crafts
  •  Cotton pad snowmanpict00023_jpg
  • Decorating mittens
    (We did mot finally make this activity but here is the link where you can see the details) UPDATE: We made the mittens (among other activities) after reading the lovely book The Mitten by Jan Brett
  • Popsicle snowflakeddf2e-pict0206


Mummy lantern

This Halloween was quiet. E. wasn’t so excited about it this year and Baby Sis is too little to understand it at all. The party we wanted to throw had to be cancelled as some families got ill some other went away for the long weekend.

Therefore a calm and peaceful (not at all frightening) family fun took place on the 31st.

E. and Daddy went to buy a pumpkin in the morning and after decorating our living room with some Halloween decor …

… Daddy carved the pumpkin. (We made it lit up with led tea light inside as last year due to the flame the pumpkin got cooked on the inside and rotted away quite quickly. Not to mention the fact that led tea lights are more baby-friendly). E. drew the eyes and the nose of this year’s jack-o-lantern.

Then came a little crafting. Mummy lanterns. (The original idea came from last year’s Halloween party at our Helen Doron school).

At first I wanted to make only 2 mummies, but E. had something different on mind. She wanted a mummy family.

What you need:

  • 4 baby food jars (2 little and 2 bigger)
  • 4 (led) tea lights
  • gauze rolls (cheap at the chemist’s)
  • 4 pairs of googly eyes
  • glue
  • cello tape

How to make them:

  1. Wash the label off the jars
  2. Fix the end of the gauze on the jar with a little cello tape
  3. Wrap the gauze around the jar (make one or two layers only or the tea light won’t be seen through)
  4. Fix the gauze with cello tape when finished with the wrapping
  5. Glue the eyes on
  6. Add the tea lights
Mummy family with pet spider 💀👻

Of course, we didn’t miss out on a Halloween party altogether as in our Helen Doron school a spooky-crafty fun Halloween was organised for the kids on 29th and we were invited.

The party was just as fantastic as the last year’s. Here come the pictures:

E. dressed as a (pretty) ghost
Baby Pumpkin with her gourd

Healthy snacks were served: Jack-o-tangerine, Frankenstein fruit mix and ghost popcorn

Dark and scary room with some English activities was on again:

Crafty part: painting a gourd with glow-in-the-dark paint (we missed that as we were a little late) and Halloween card (see bellow)

Plus a bit of colouring


This Halloween was much more quiet and relaxed as in the previous years. But to be honest, life’s hard enough with two small kids, and without the hassle of a home party (preparation, decoration, snack making, throwing the party itself, then the cleaning up) it was pleasant and peaceful for me too.