I do not want to brag, but yes… a little I do. E. is so interested in the letters and the ABC that, I do not exaggerate if I say, within a year or two she’ll be reading. In this blog post I would like to collect some fun activities we’ve been doing with the ABC.
The very first favourite. E. was watching this video her mouth agape in amazement when she was 8-10 months old.
Phonics Song 2
The traditional one is always the best (Upper- and lowercase)
She could watch it all the time. Sometimes she wants to watch them all day (if I let her).
– Magnetic alphabet
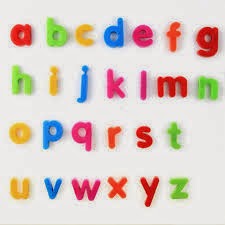
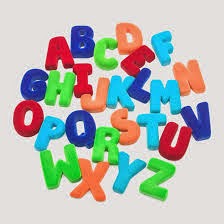
I bought the first set of magnetic alphabet when E. was about 18 months old. She loved them at once.
First it was just one pack of upper case letters. We used it on the fridge, but the letters always fell under it. So I had a magnetic word game at home (for adults, the letters are too tiny for little children) and I started to use one of its steel boards (You can also use a steel tray or a magnetic whiteboard)

Then I bought another pack of both upper- and lower case letters later when we started making up words at about the age of 20-22 months. (Frankly, we don’t really use the lower case letter yet – age 2,5 years)
At the very beginning we just put together the alphabet from A to Z. We sang the ABC song and/or the phonic song while arranging the letters.
 |
| Adding the missing letters to the alphabet with Daddy |
I told her words starting with certain letters, like E. for her name or D for daddy, M for mummy, A. is for our nanny’s name etc. As time passed I added some more words, such as E. is for elephant, egg, or A is for apple, ant and so on, not just names. I always tried to include things that she knew or she was really interested at that time. Within a few days she was the one who said the words: – B is for ball and bubble.

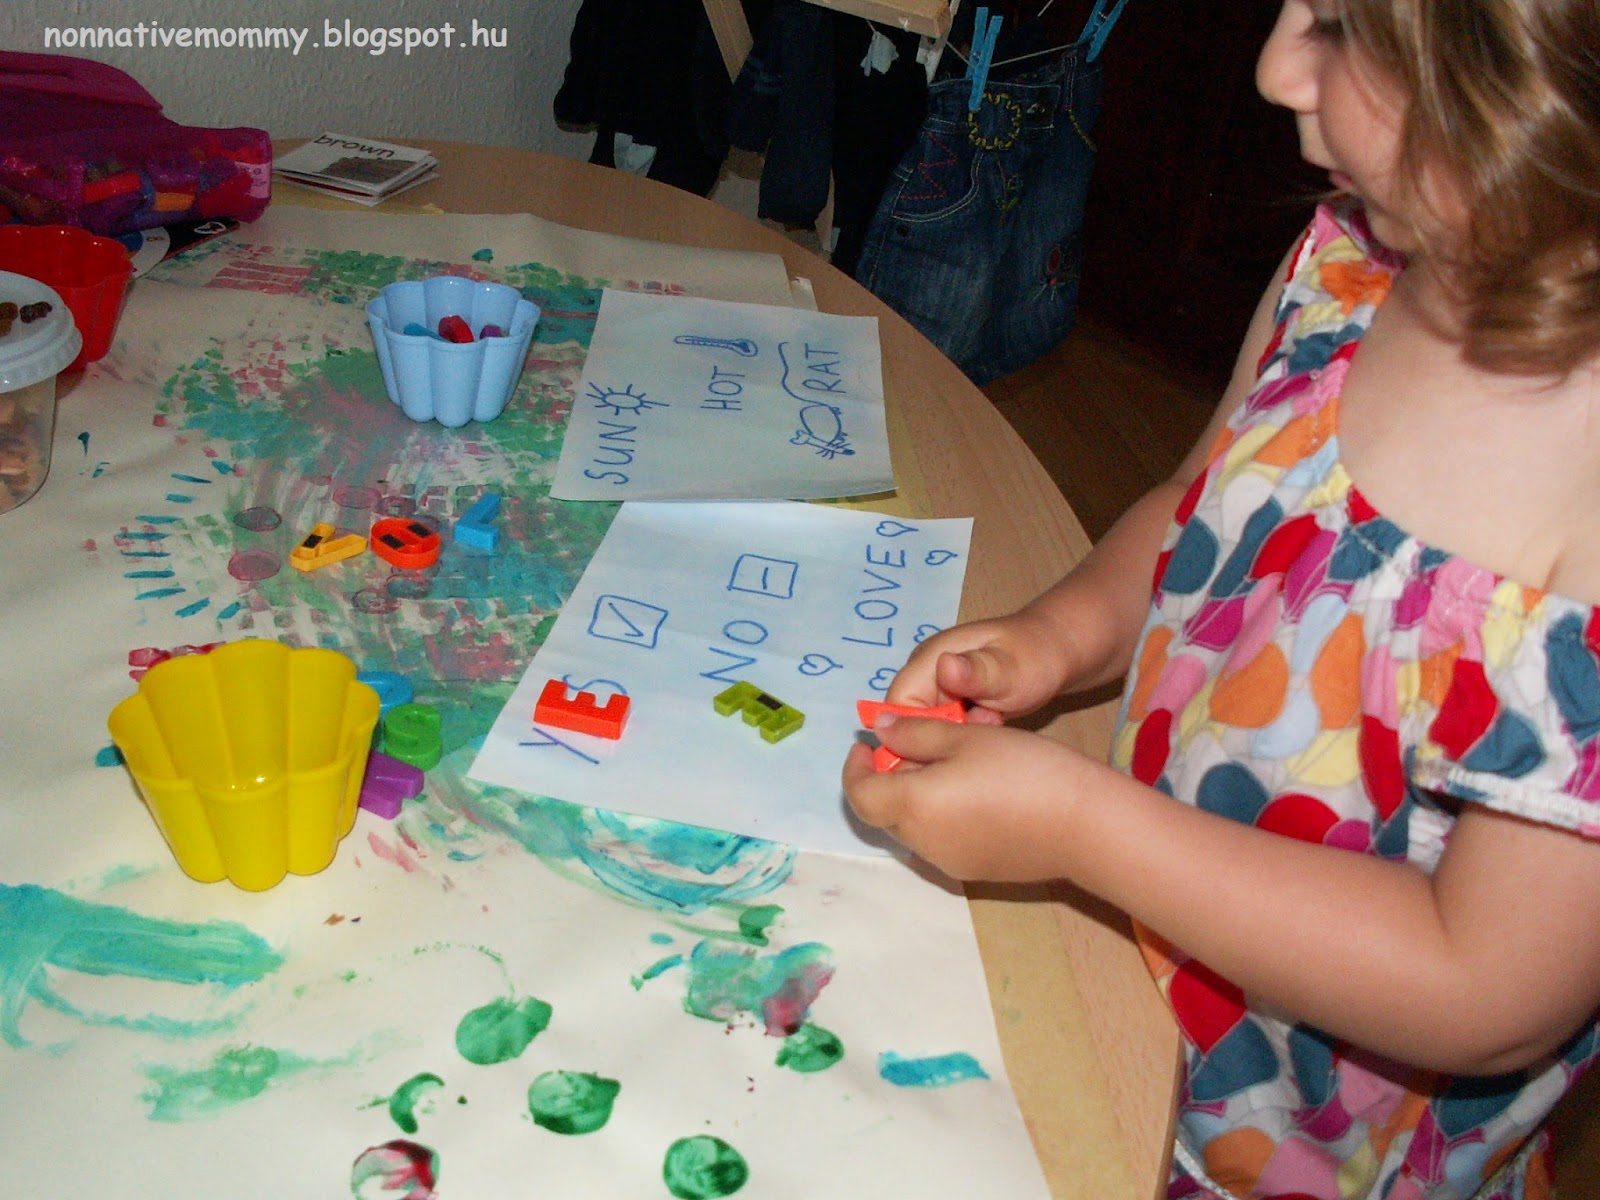
Next, we made up short words she was already familiar with.
Daddy, Mummy, M. (our dog), dog, cat, yes, no, hat, rat, egg, bat and so on. I have no intention to teach her how to read. She is the one who, from time to time, comes to me with the letters to play with. She’ll work it out by herself.
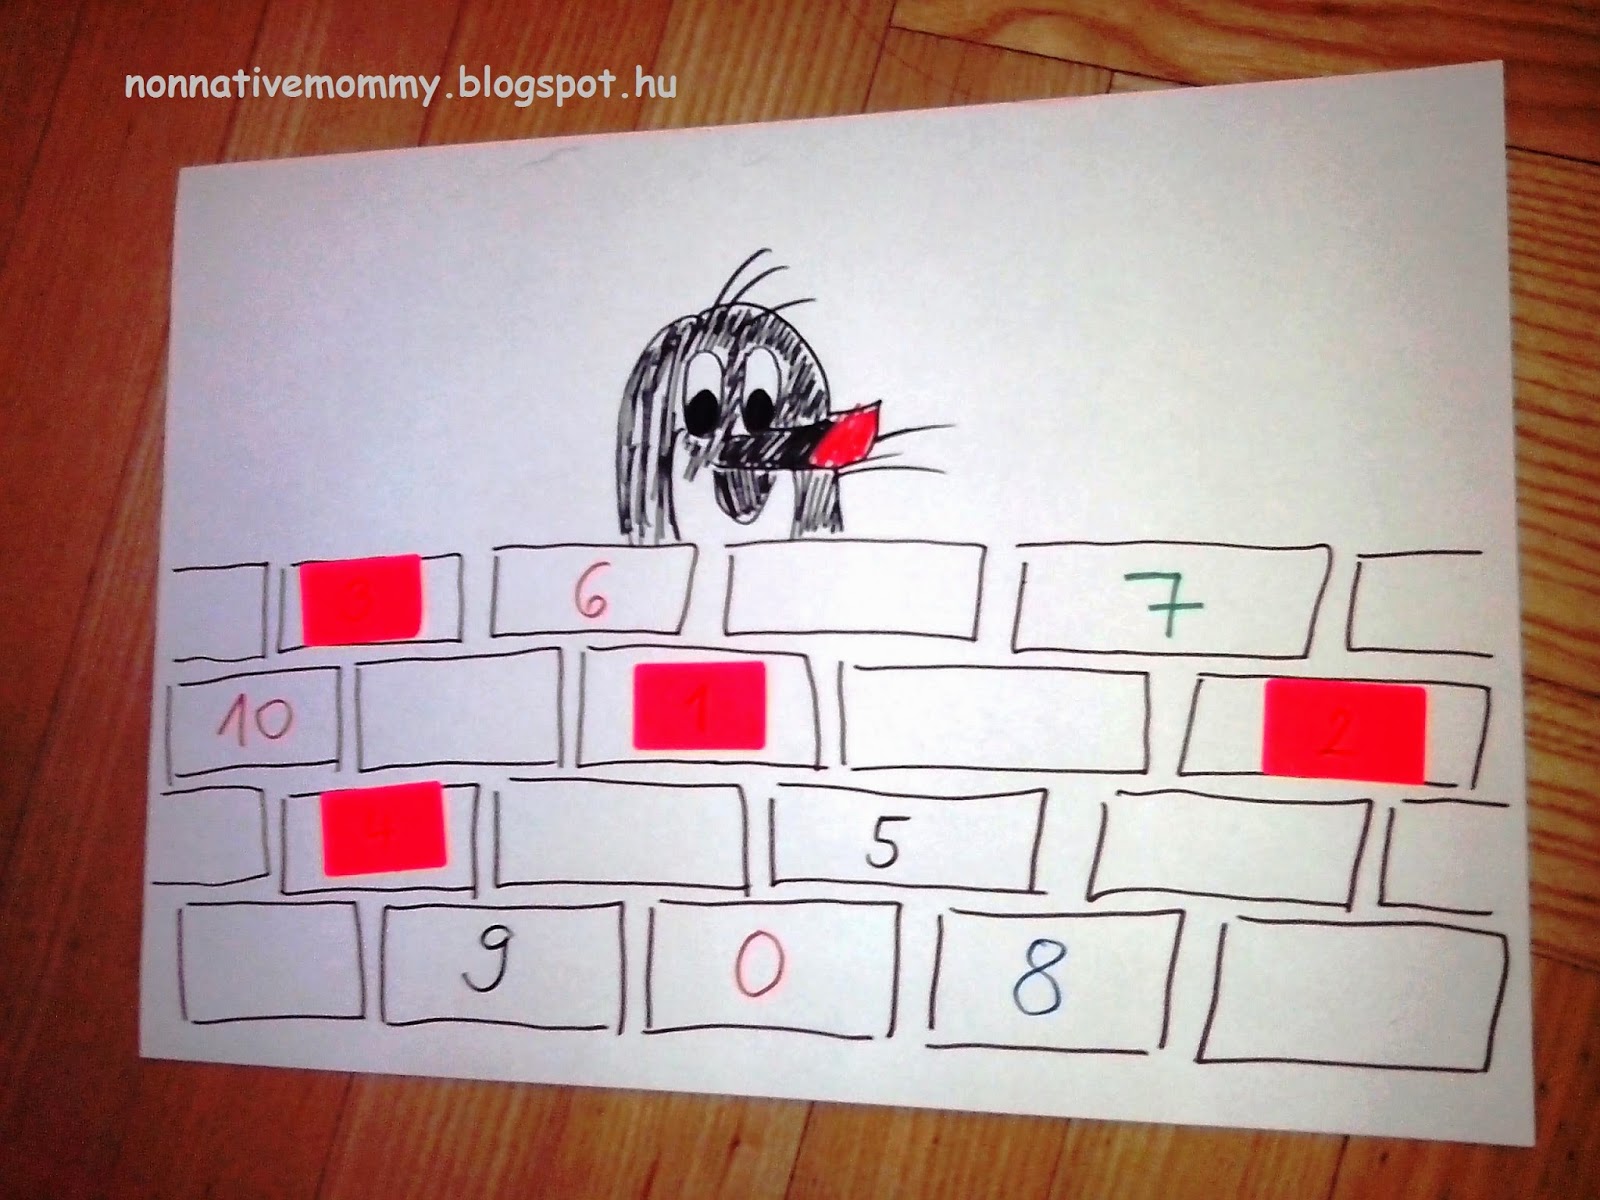
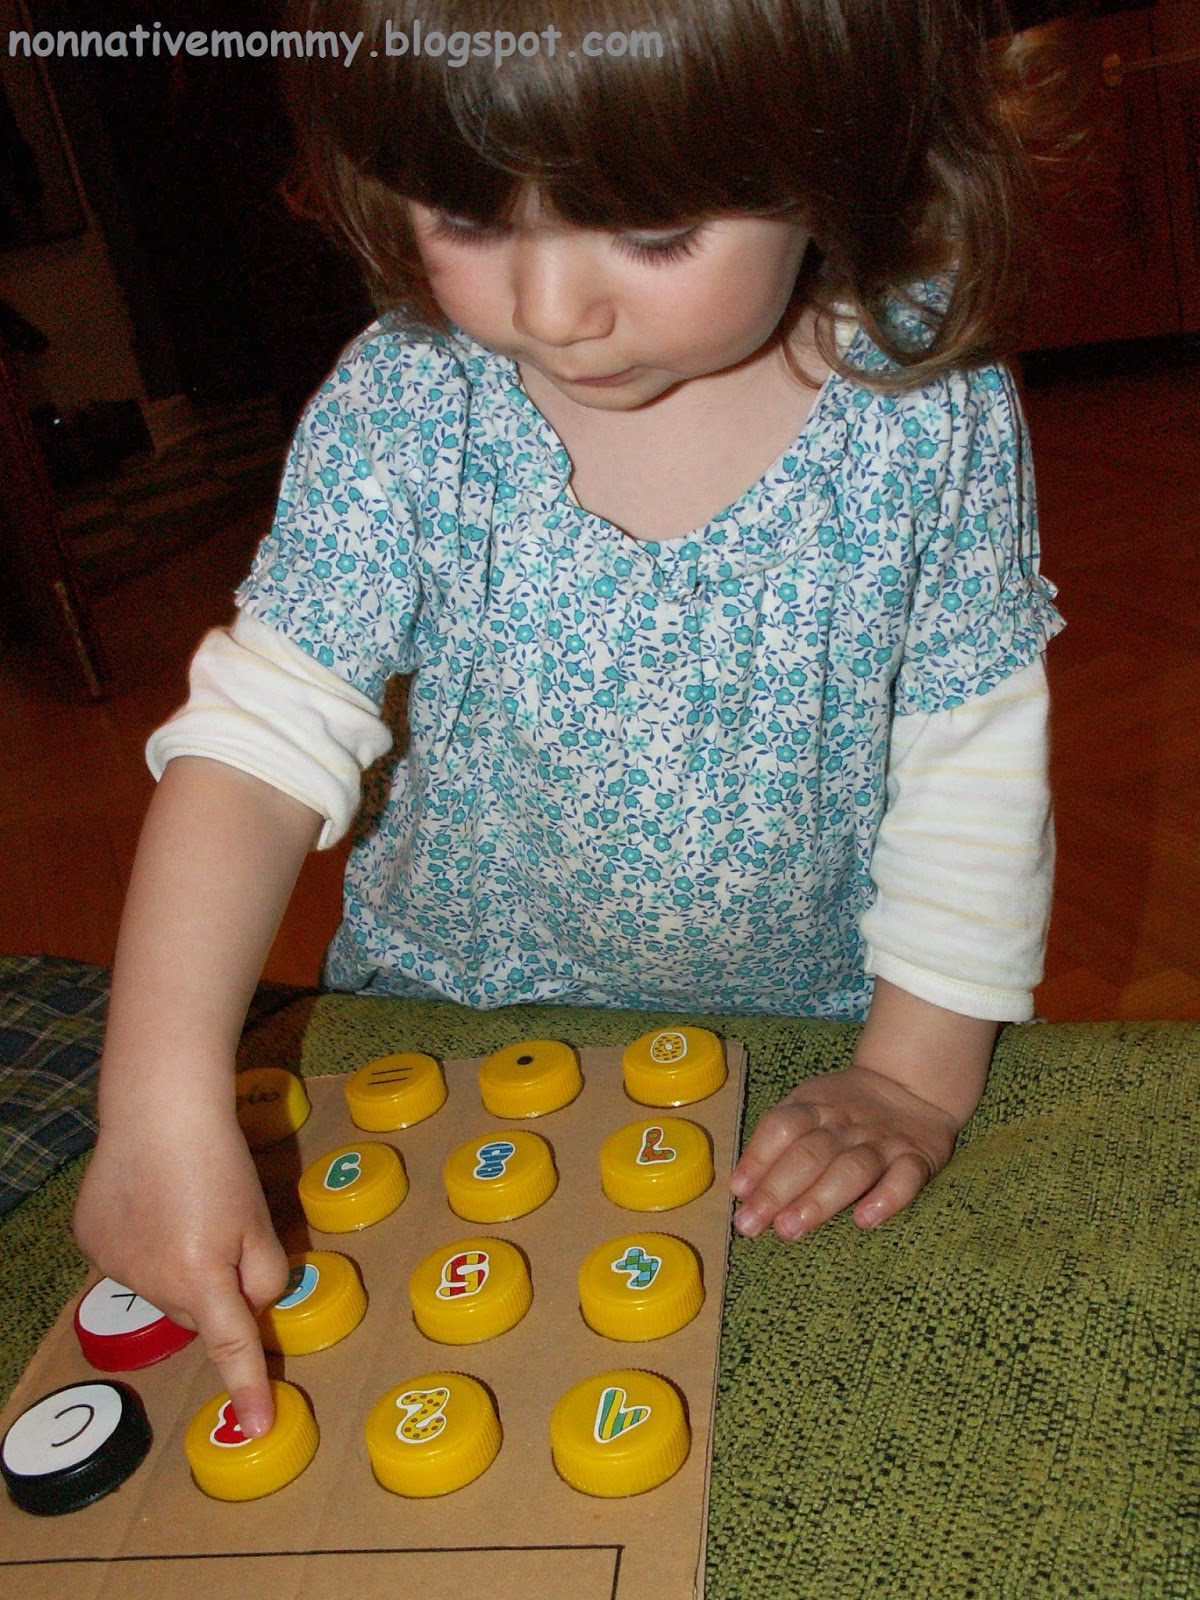
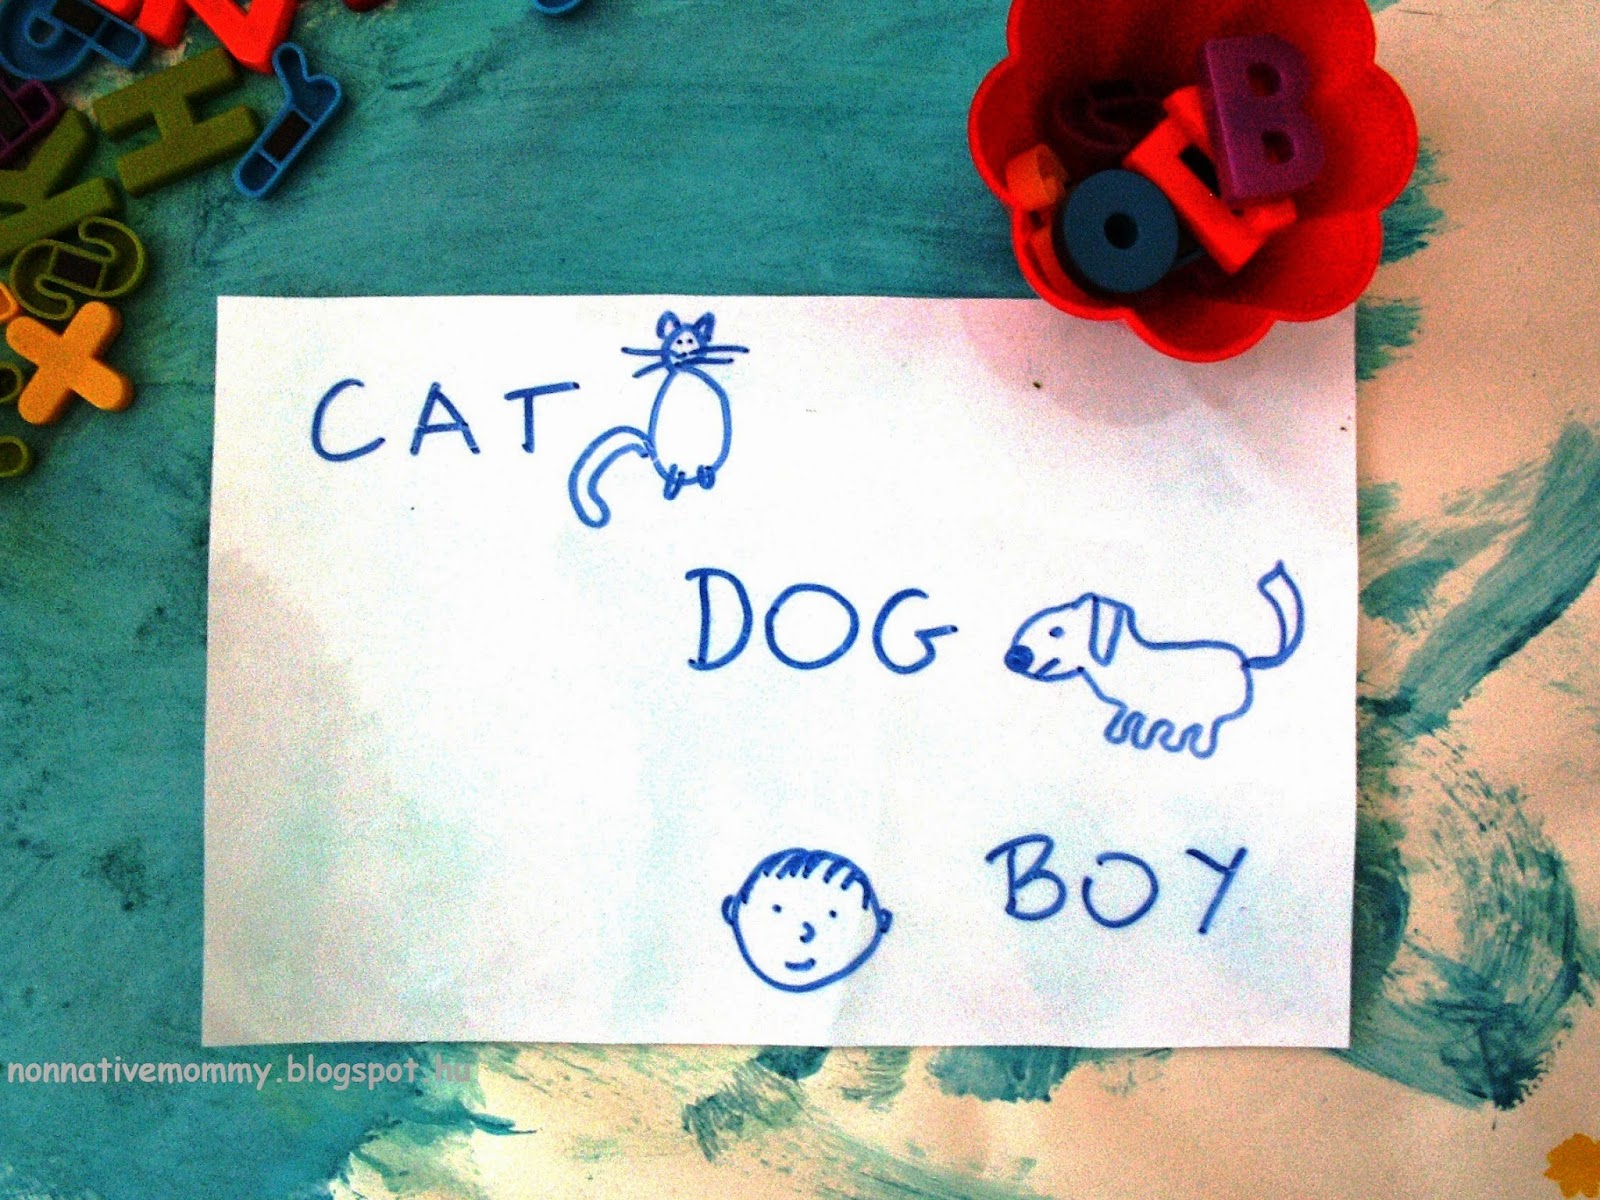
– Matching game with the magnetic letters
What you need:
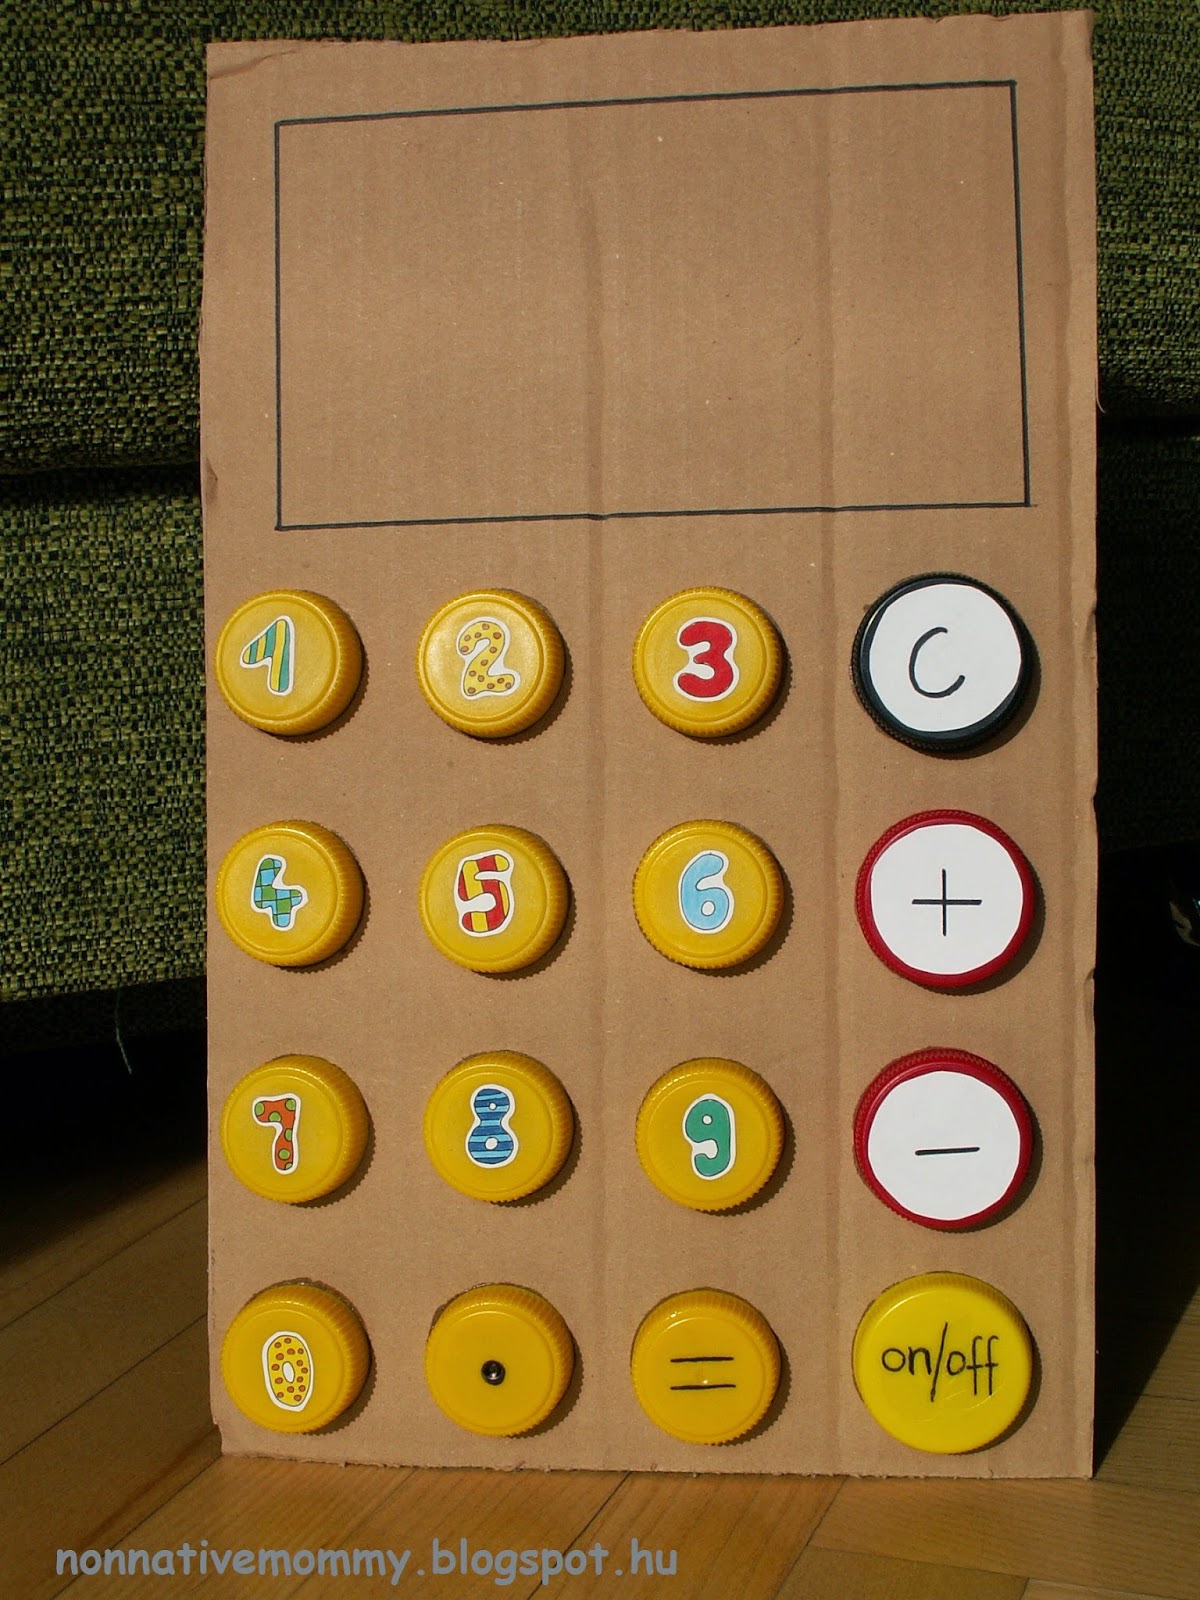
- letters (magnetic, felt, play dough, cut out from cardboard, drawn on bottle tops)
- plastic surface (e.g.: whiteboard, but I used an A/4 sheet that I spoiled while laminating.
- markers (not permanent!!!)
- sponge or tissues to wipe the surface if you want to reuse it
E. came and emptied the container.
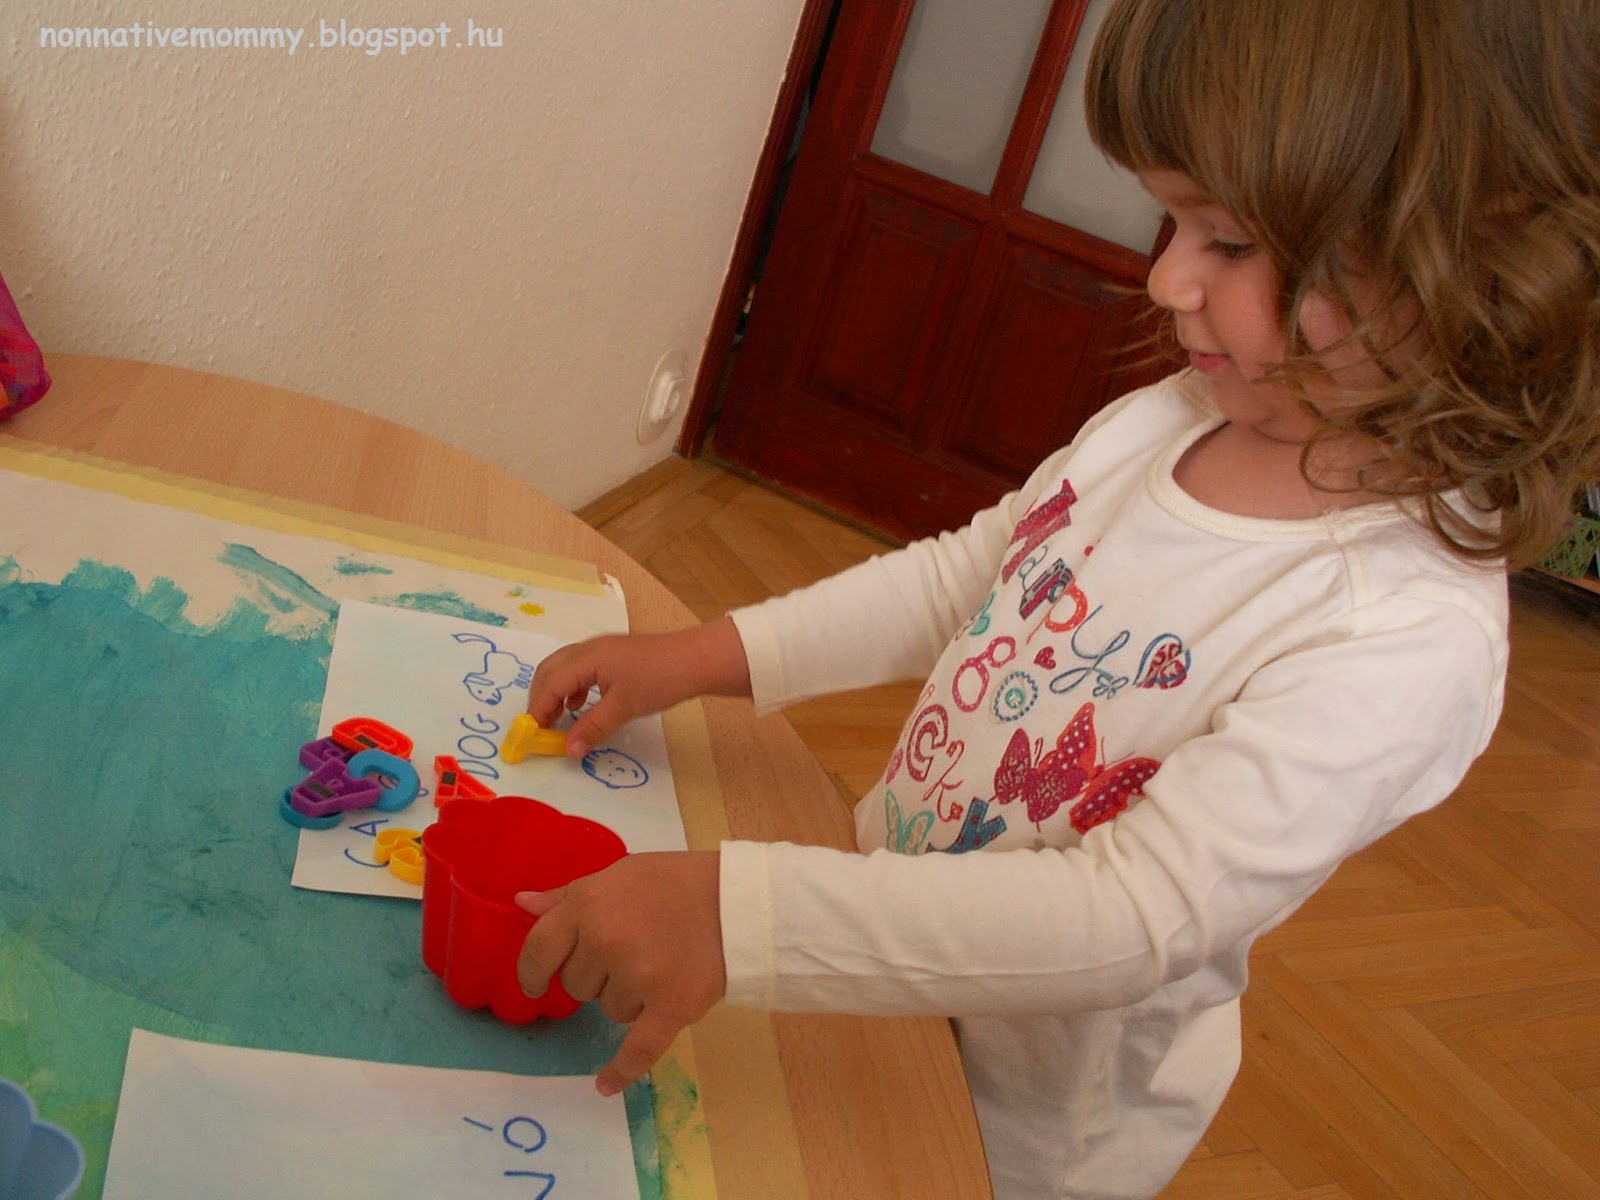


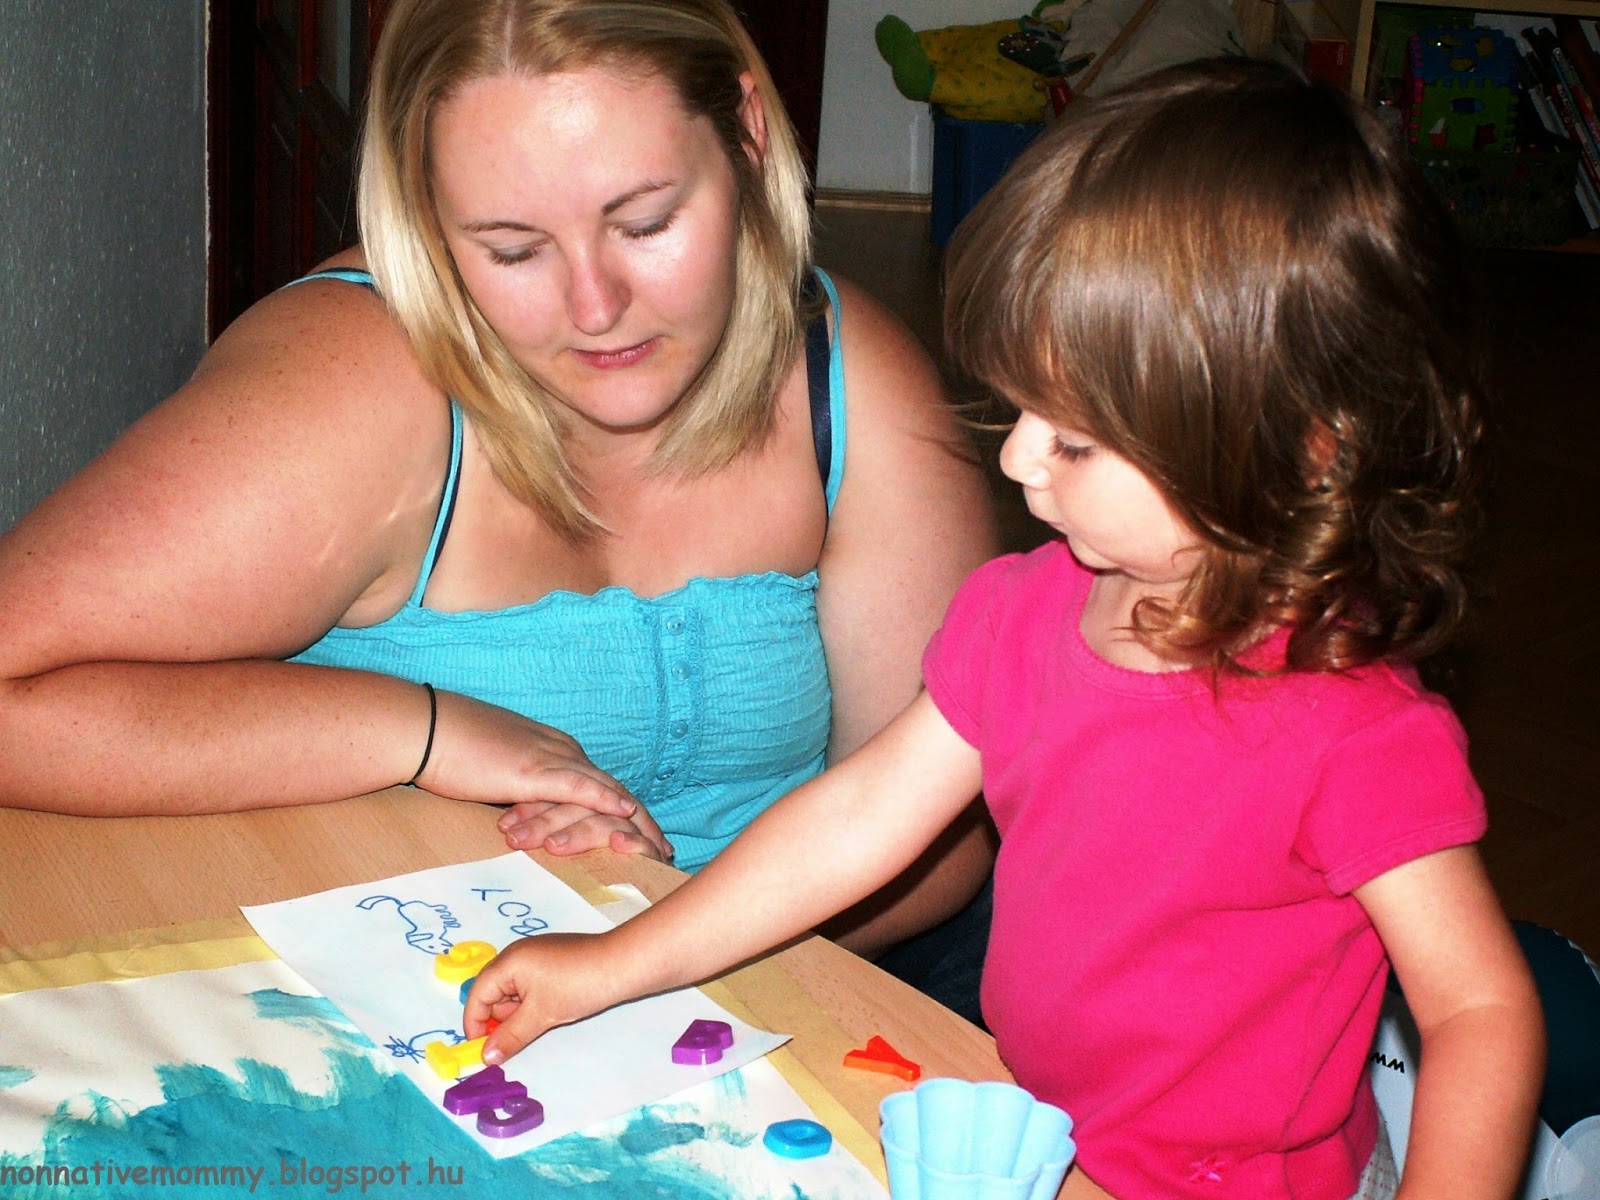
 |
| She had to start with her letter, E. |
It was summer time we last did this activity, and now sometimes she “reads” letters on her clothes or, some book’s title.
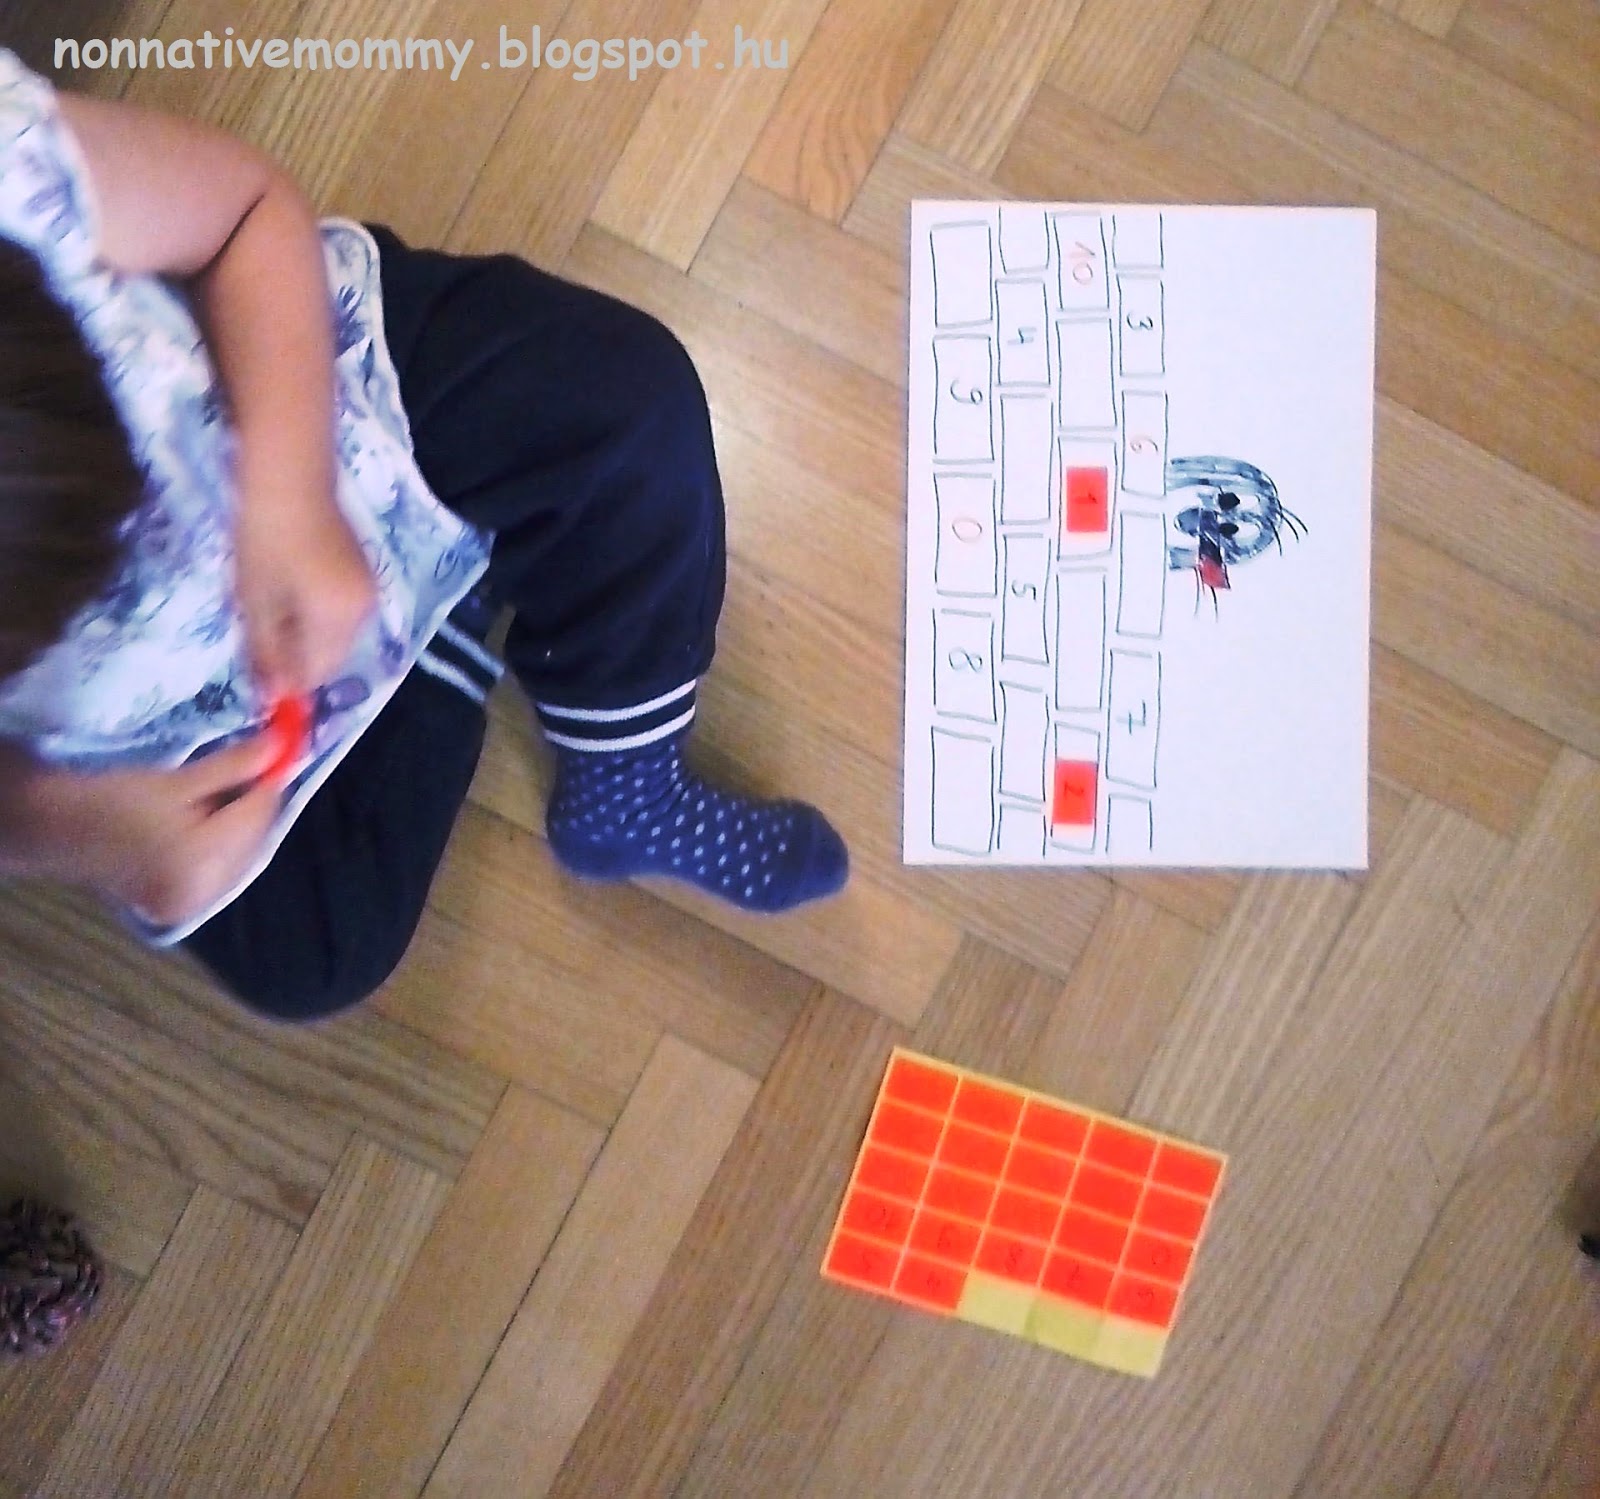
– Search for the letters – sensory bin (autumn)
What you need:
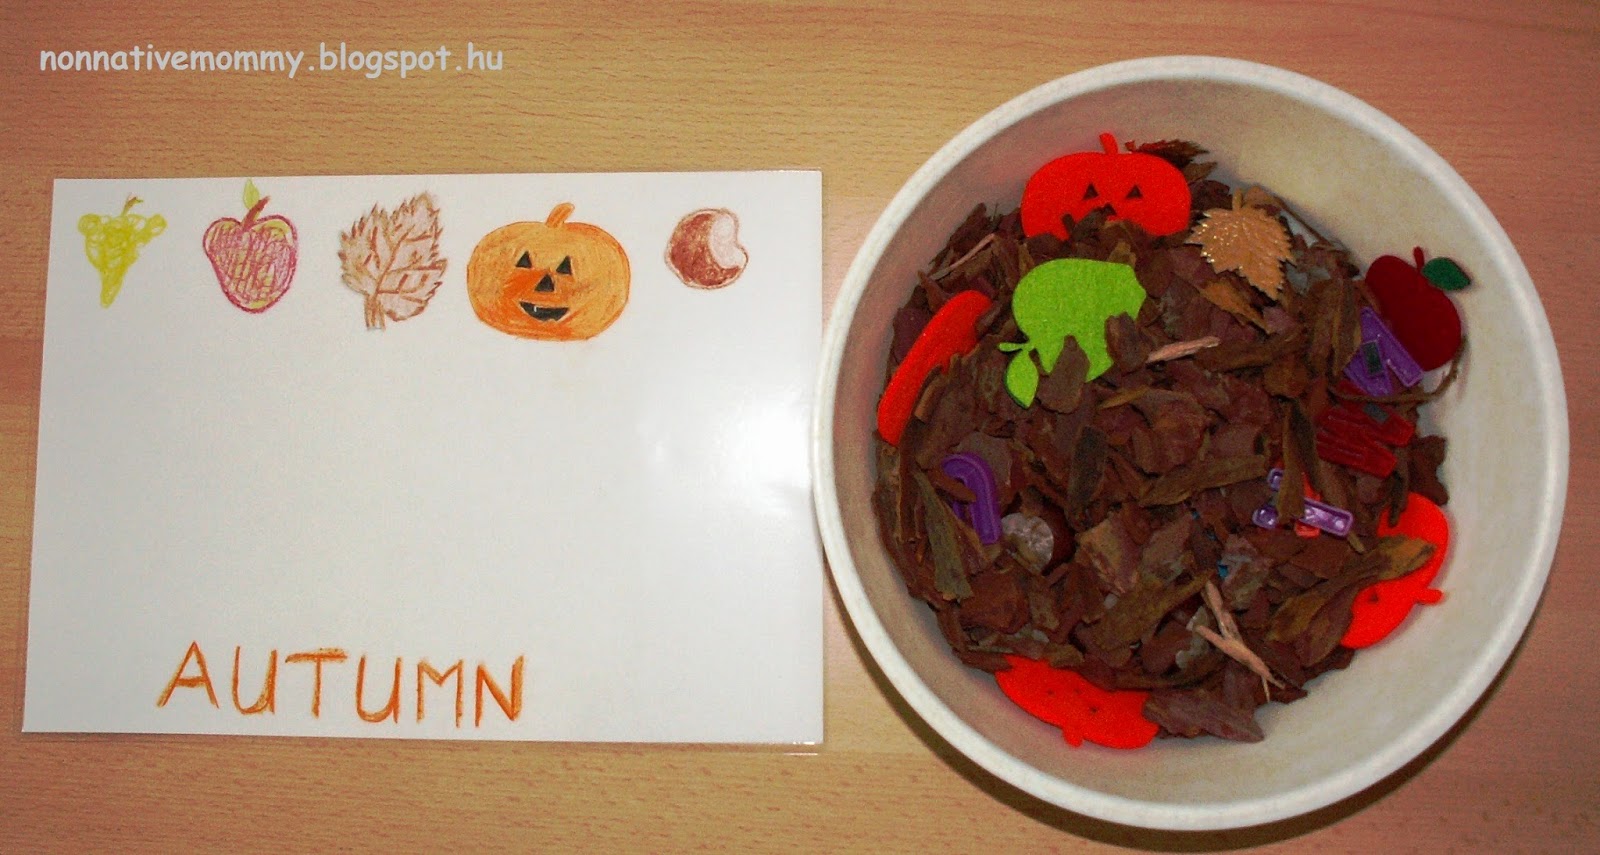
- a container
- bark (you can buy it in a packet at animal stores)
- small object connected to autumn in some ways (berries, grapes, apples, pears, twigs, conkers, pumpkins, leaves etc. What I did was I chose 1 bunch of grapes made of plastic, 2 apples made of felt, 3 golden leaves, 4 pumpkins made of felt, 5 real conkers.)
- letters (wooden, foam, felt, magnetic, whatever) of A-U-T-U-M-N
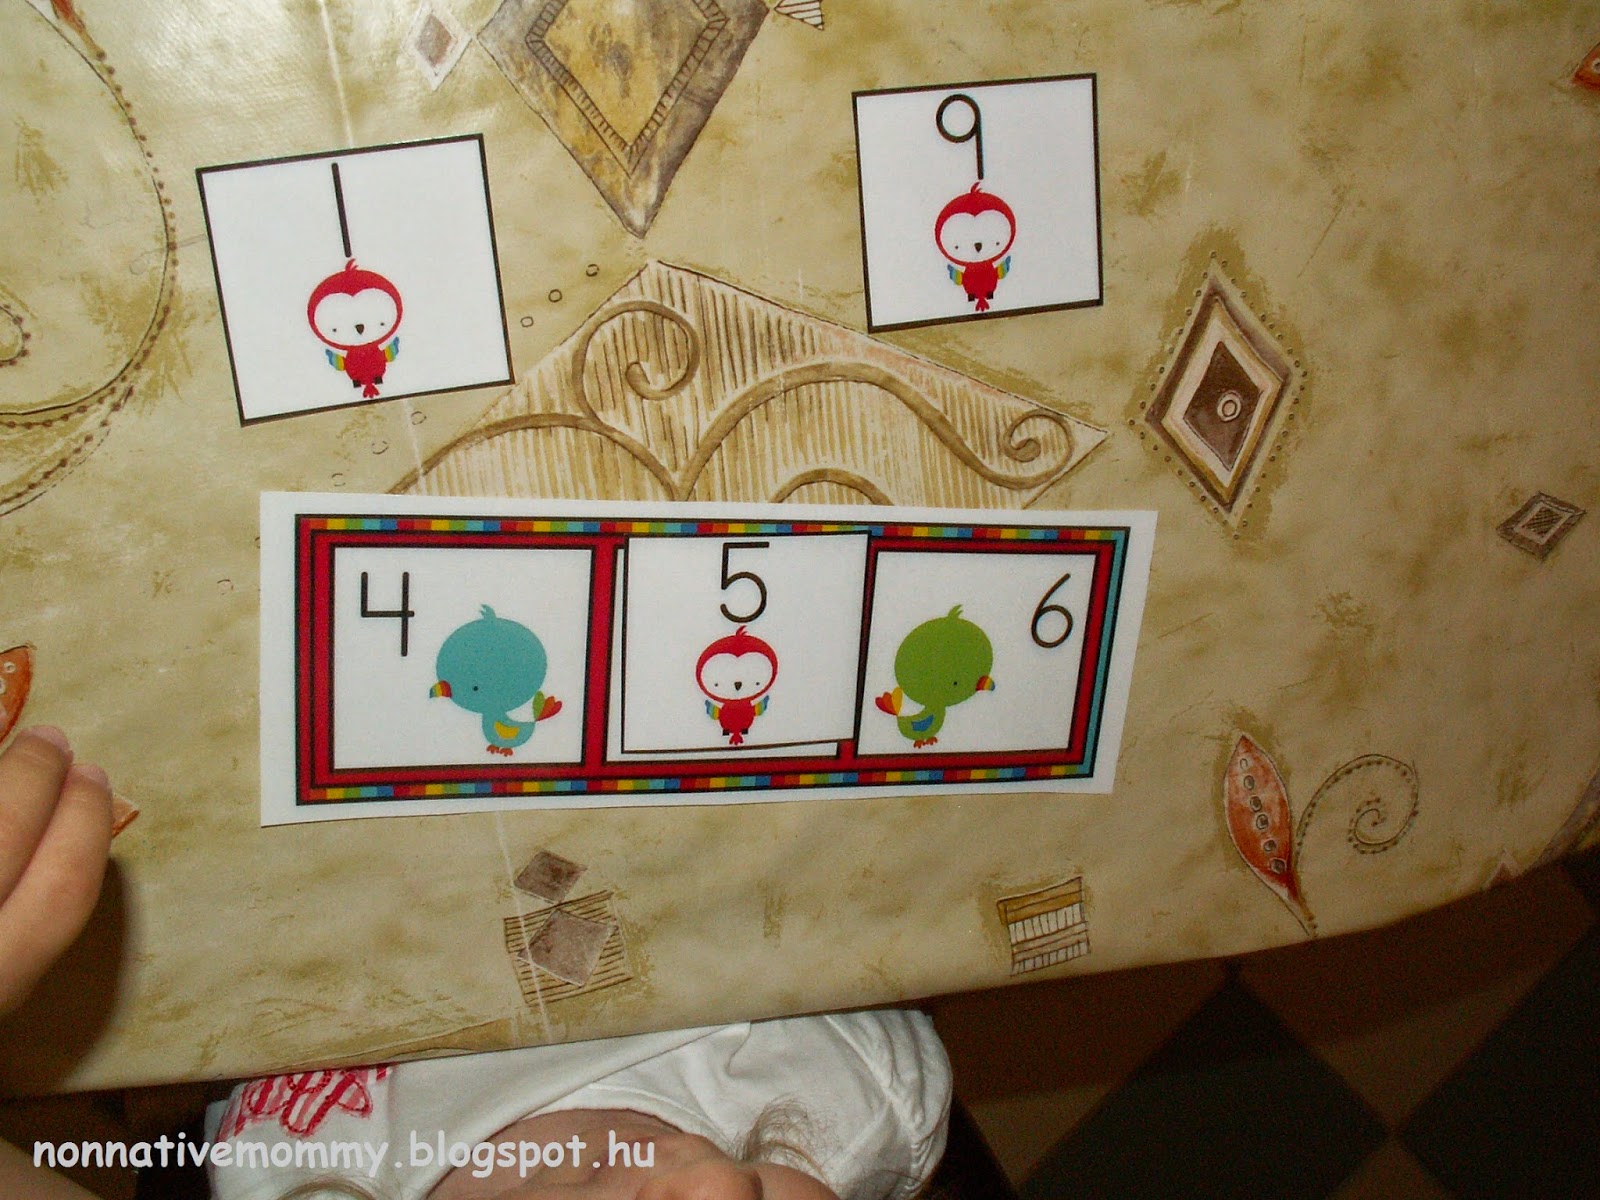
- a sheet of the object and the letters of autumn shown
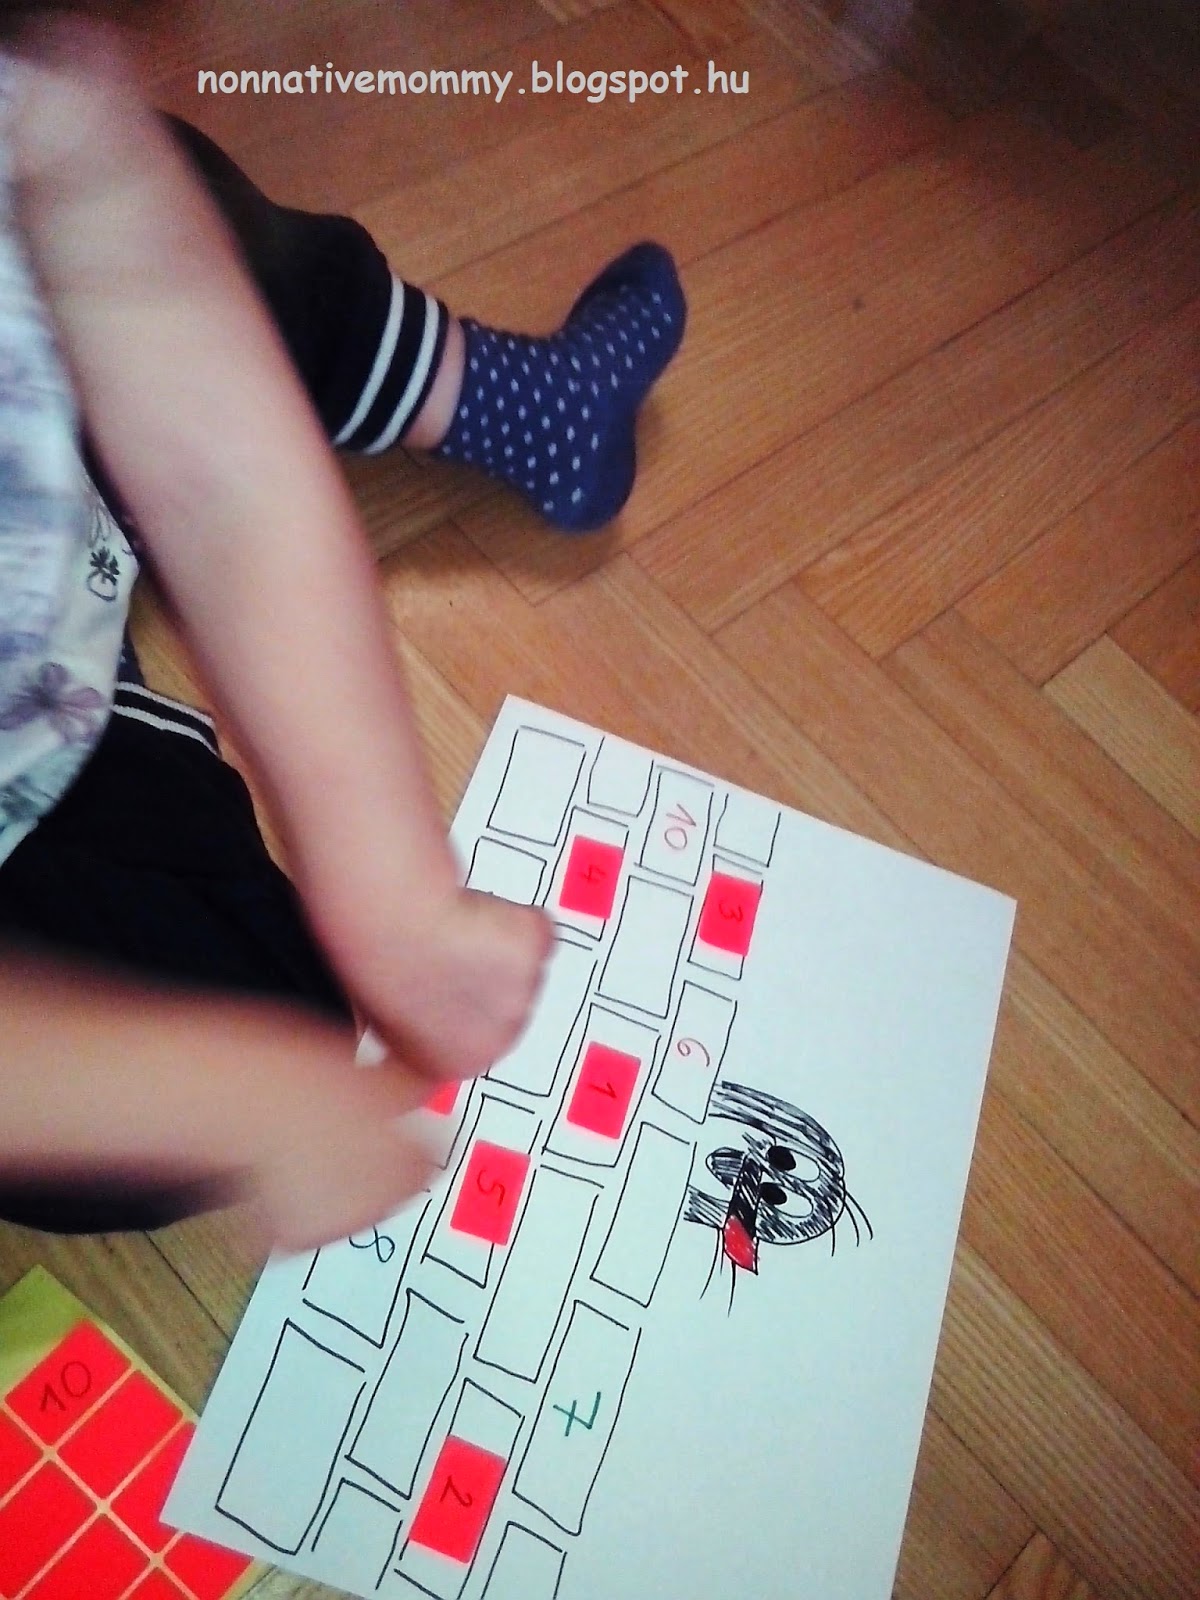
And the search can begin.


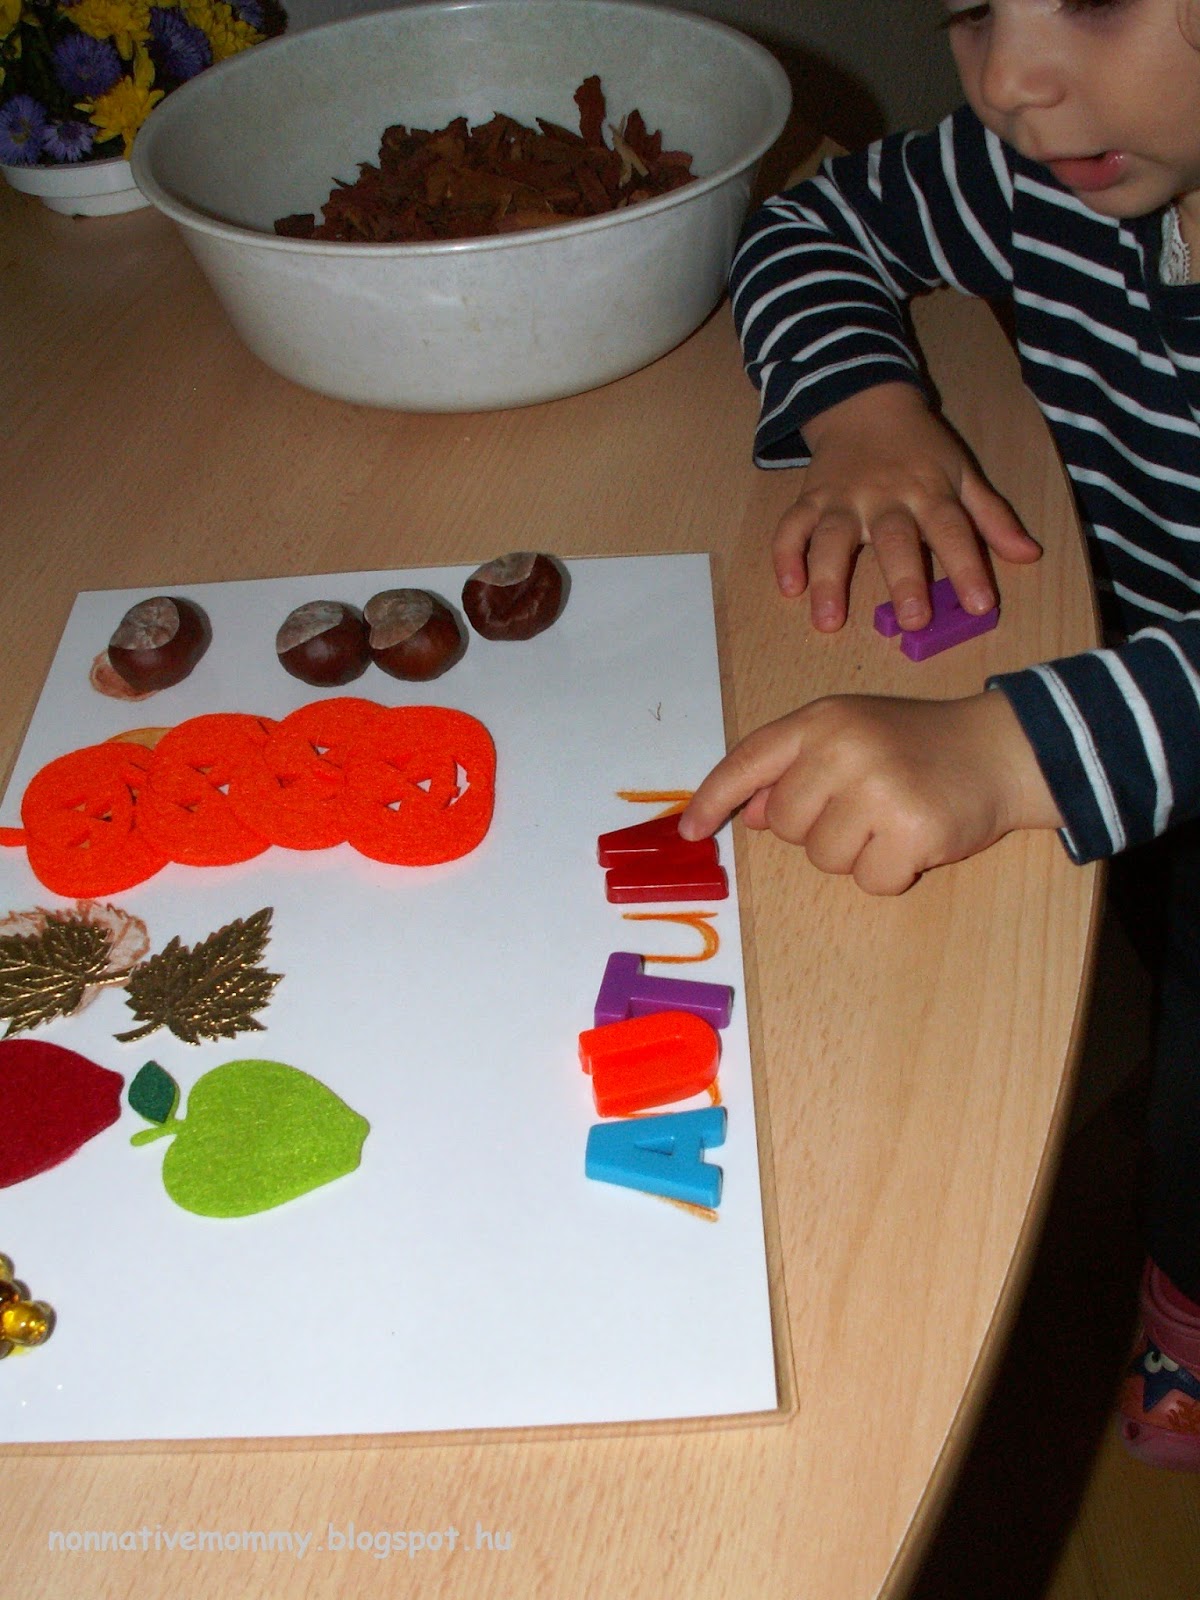
This activity gives you and your child plenty of opportunity to talk about not only the letters, but also colours, autumn fruit, trees, leaves and berries, and in this case numbers too.
I still have several activities, but I’ll need to come back with them in another post. Try them, enjoy them and let me know how they worked out.