Halloween stormed in 2018

After the spider costume last year I was really looking forward to what E. comes up with this year. As she’s been into a new topic: weather, she wanted to be something weather-related. And what else can be more frightening than a …..

.

.

.

tornado.

Challenge accepted. Again we just needed a black set (sweater and leggings). I found some old, white tulle curtain leftover. I cut a piece and sewed it on the sweater in a zig-zag and some more tulle down on one leg all around.

20181027_073804

I created little pockets so we could fill it up with pillow filling (I actually opened an Ikea pillow and used the filling of it) and some objects the wind could pick up while swirling around.

The full-dress rehearsal was at the drama class, but we didn’t add the filling as yet, just the objects.

20181027_112043

Later on, we added a little grey to the filling with a marker and tucked it in the tulle together with some plastic toys (spiders, cows, cacti). Some clouds on the face and some more tulle in the hair and it was all done.

20181031_175742

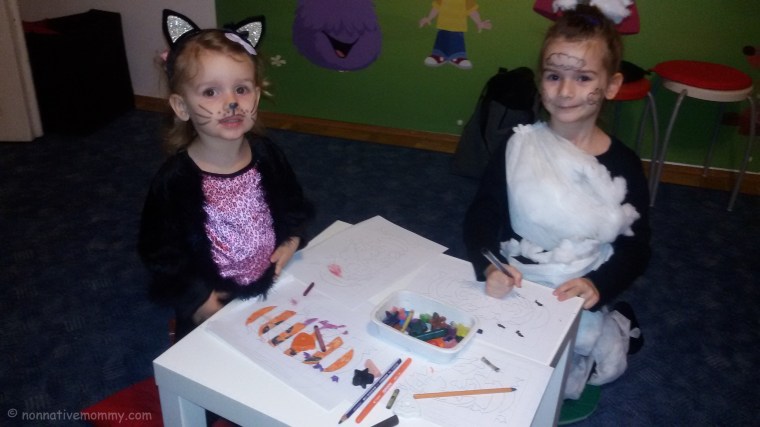
Little L. wanted to be a black cat. I bought her these cute cat ears, we added a sock tail to her one-piece cat costume, drew some whiskers on her chubby face and she was ready to purr.

20181031_162812

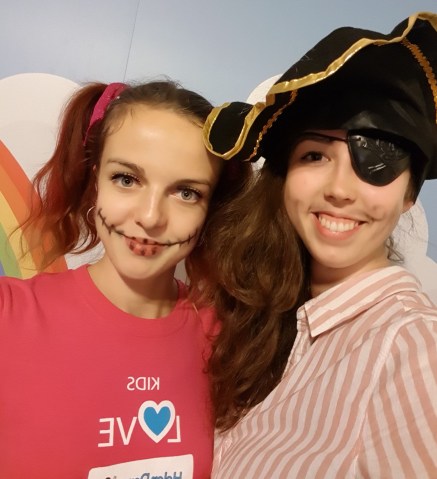
I myself dressed up as a were-wolf. I even bought gloves with claws but I left them at home before the party at the Helen Doron school.

Still, we were quite a sight on the bus on the way to the school. Haha!

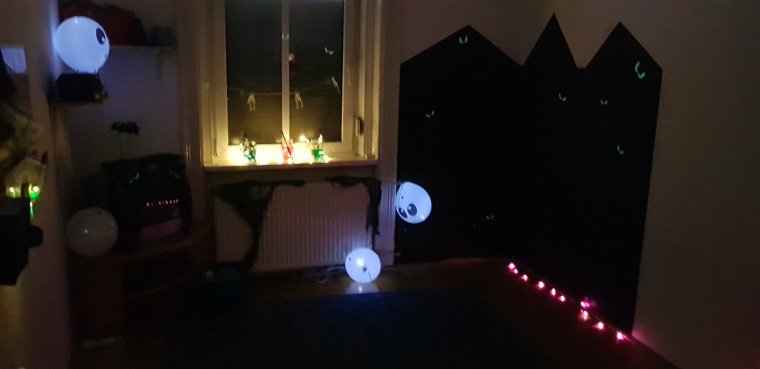
At the Helen Doron School the usual unbelievable scariness welcomed us. Spooky decorations,
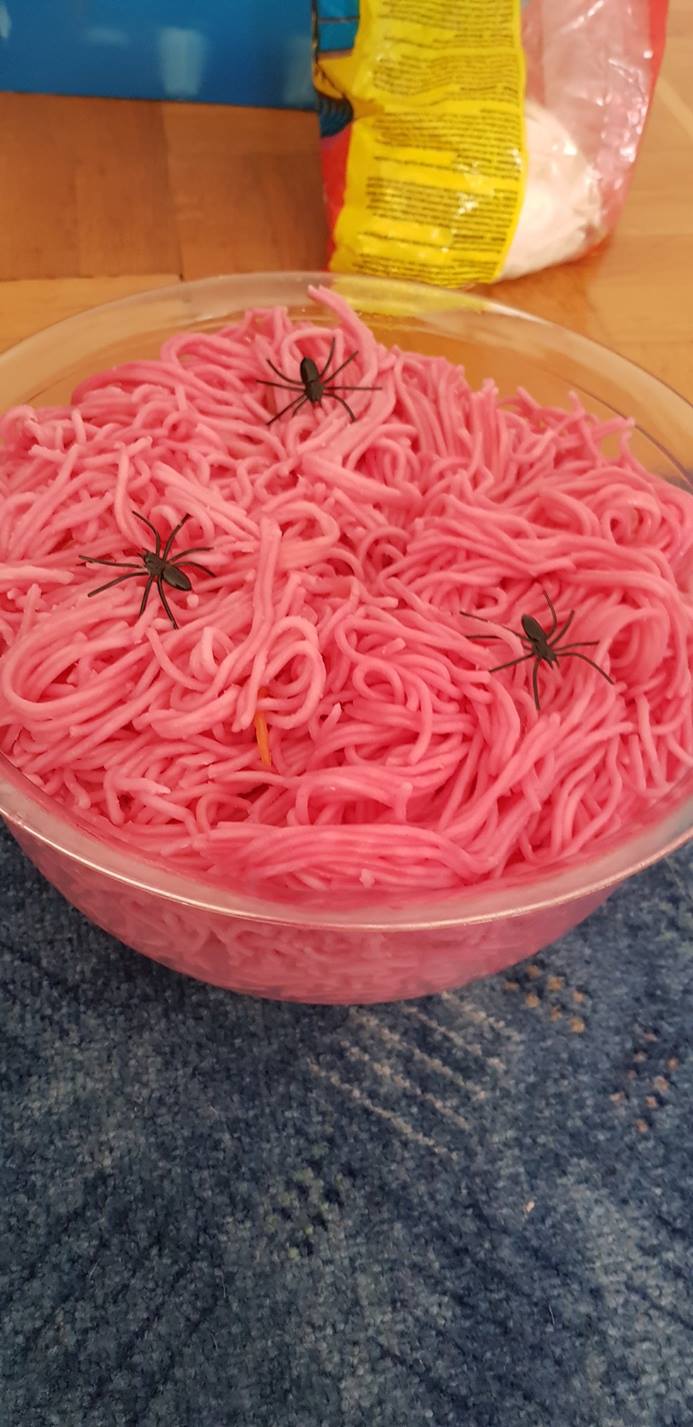
45237207_1836061579775638_7174821461574549504_o.jpg

Halloween treats,

45363187_1836065533108576_6240258632622014464_o.jpg
edible earth with worms

and games,

craft session,

20181031_172519

in one word: FUN!

I’d like to thank the teachers who always put their hearts in these parties, plus their dress-up ideas are magnificent.

45294652_1836067836441679_1167918220439453696_o.jpg

45329700_1836063386442124_6473050150737543168_o


45256742_1836068026441660_3441912513849982976_o

Pumpkin decoration

This year I wanted an easier pumpkin decoration than carving as my little one (almost 3) would love to work with the knife to crave and cut, however, I wouldn’t want her to.

As the girls love tattoos I though it would be great to apply some tattoos on pumpkins. Finding spooky spider tattoos for pumpkins in the Flying Tiger shop was real lucky.

DSC04782

The girls started the decoration with washing and drying their own pumpkins.

DSC04787.JPG

Then the decoration could start. We applied the tattoos and used a permanent marker to draw it scary face. While doing so we were singing Halloween songs like: Pumpkin pumpkin let’s give you some eyes or Can you make a happy face?

DSC04801DSC04797

In the tattoo set there were some shiny crystal-like stickers and silver/black paint pens. Of course, we needed to try them all.

DSC04831

DSC04830

Finally, E. found her pumpkin a little too over decorated but I loved her drawings and creative patterns. Her pumpkin even said Hello 🙂 it was a great crafty Halloween activity that both my 6- and almost 3-year-old could actively take part in.

Felt hand-tree

Autumn’s all about colours. This colour-matching activity has stuck into my mind and I’ve been planning to make it for years. Very easy even if you can’t really sew like me.

What you need:

  • coloured felt (brown, red, orange, yellow, green
  • buttons (of the same colours)
  • thread and needle
  • scissors
  • marker

How you can create it:

  1. First draw your hand around on the brown felt sheet and cut it out. This will be the tree
  2. Sew the button on the finger tips and thumb
  3. Draw a simple leaf on different coloured felt and cut them out. You can decorate them with the marker (draw the veins)
  4. Fold the leaves half vertically and cut a hole in the middle.

How to play:

Give your child the leaves and the tree-hand. Their task is to button the leaves up on the tree branches. They need to match the right leaf to the right button.

DSC04759

This activity is great for kindergarteners who need practice doing up their buttons a lot.


In the meantime you can identify colours, talk about movements how to push the button through the hole.

Little L had a harder time at the beginning and needed some help with the first 2 leaves. But after that she did it all by herself.

They can take off the leaves and sing Autumn leaves are falling down.

Have a colourful autumn!

DSC04775

Clouds

Autumn has arrived and the weather has changed. E. is busy with identifying different forms of clouds and predicting the weather. Little L. started to get interested in the weather board that we haven’t used for several months. So our new topic for the time being is weather.

E. has been reading 3 new weather related books lately:

51FKaMyV5dL._SX373_BO1,204,203,200_

Clouds have had a great effect on her. She’s been examining the clouds as soon as we get outside.

I saw an excellent activity concerning clouds on pinayhomeschooler.com and I’ve been waiting to do it with E. The time has come.

I took out some cotton balls, pillow filler, some gray and black markers. We needed a blue surface/background serving as the sky.

DSC04697_

I chose it to be light blue felt sheets (except for mine as we had only 2 and Little L wanted to join in. So mine is a black construction paper sheet.)

DSC04692

We had a look at the book Clouds by Anne Rockwell and checked the clouds from the top layer downward and made them out of the cotton balls or the pillow filler (The latter is not the best option for making it grey but much better for the fluffy, thin clouds)

Little L. lost interest quite quickly after the 2nd type of clouds and started to play with the cotton balls, then went to the toy kitchen. When she started to feel bored I asked her to got and play with Daddy as she began destroying our clouds. She said: – I’m not playing with you. – sulkily and added: – I go play with Daddy.

E. was reading the descriptions from the book (you can watch a video of her reading out loud) and we made the clouds accordingly (pulled them out to make them long if they were stratus clouds and make them round and puffy if they were cumulus clouds.)

DSC04702

For me it was extremely challenging as I had not had any memories of cloud types from my studies and I couldn’t make a difference among the many kinds of clouds. Even when we finished I wasn’t able tell which is which apart from 2 or 3. Well. E could…

At the very end of this activity E. collected all the cotton balls and pillow filler and played the so-called “cotton ball bag” game. She was throwing the bag of cotton balls into the air and either her or Little L. caught it. They laughed lot.


Apple core

Autumn is here and the girls are always asking for painting activities. At this time of the year apples are in focus so

apples+autumn=… see the craft result below.

DSC04677.JPG

What we used:

  • small paper plates
  • scissors
  • paint (red, green, yellow)
  • paintbrushes
  • glue
  • real dried apple seeds (or a black/brown marker to draw some)

Preparation:

Before the girls started to make the core of their apples I prepared one for them to see what to do. I drew on the paper plates an American football shapes that they needed to cut off.

DSC04669

They put on their aprons after having taken off their T-shirts plus L even took off her socks. I didn’t really get why.

E. (6) was great with the cutting. Little L (2.5) had difficulty in cutting along the curved line so she just simply cut the paper plate half. Well done Sweetie! 🙂 Cutting is a new skill she’s been practising a lot recently. Although cutting straight went really well, she was quite disappointed.

I took out a new paper plate and did the cutting for her.

Then came the painting. We discussed what colour an apple could be. They come up with colours red, green and yellow. L. chose red: – This is red (she was pointing at her apron) so I choose red.
E. chose green: – I choose green because my favourite apple is green apple.

DSC04673

Hence we didn’t use any yellow.

After having painted the skin, I showed them the real apple seeds that I’d saved from the many apples they’d eaten. Little L eats only a few fruit, her favourite is the apple.

I showed them how to glue the seeds on. Next it was their turn to add the apple seeds in the middle of the core.

After this activity we went on to eat some apple snacks. While I was peeling and cutting the apple half Little L. had a chance to have a look at a real apple core with the seeds inside. E. wasn’t interested as she knows it too well. She wanted to grow an apple tree which we did not try this time. But we never know what the future might bring.