Our first dental project III. – 4 more activities

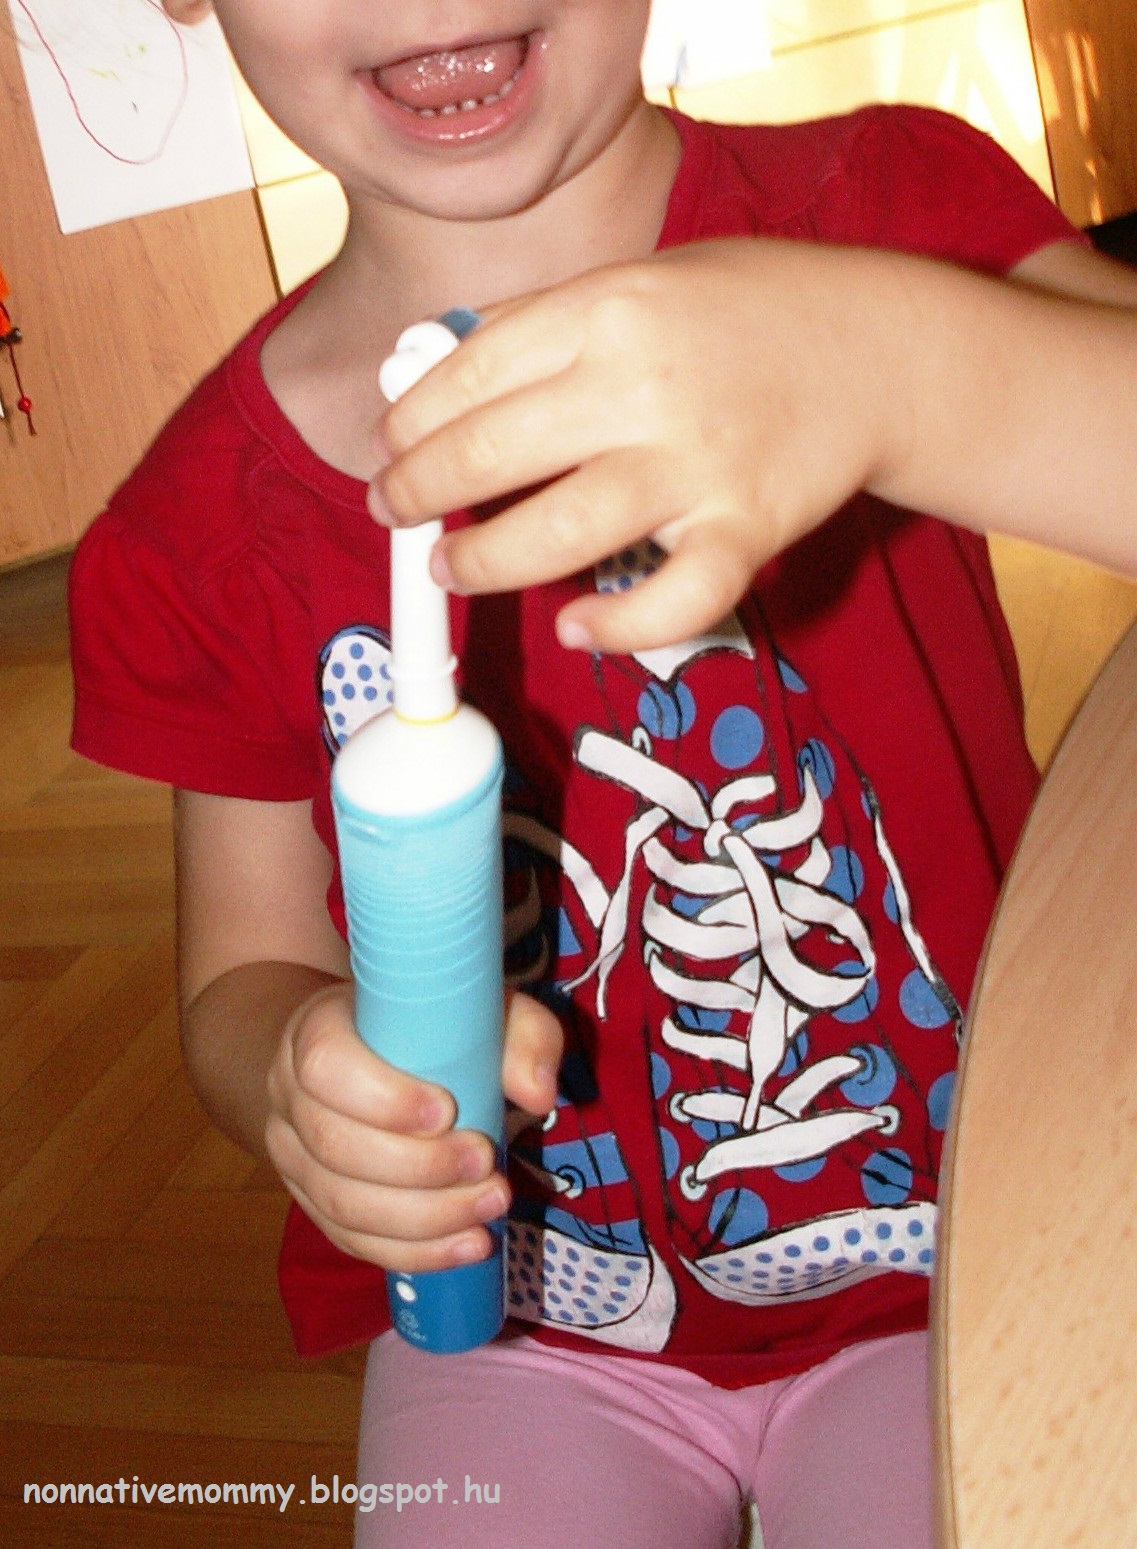
As a part of our dental project we did some more tooth crafts, experiments and had a fascinating insight into the structure of a tooth combined with some letter recognition. Here they come:
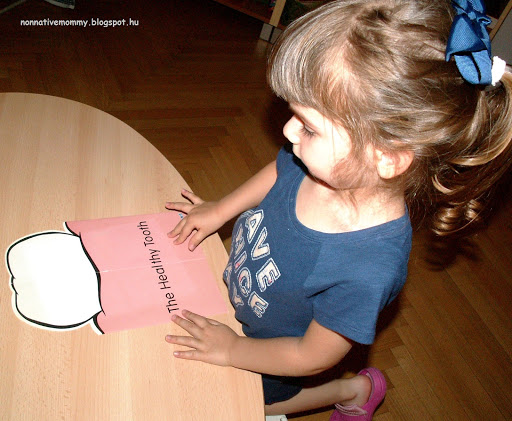
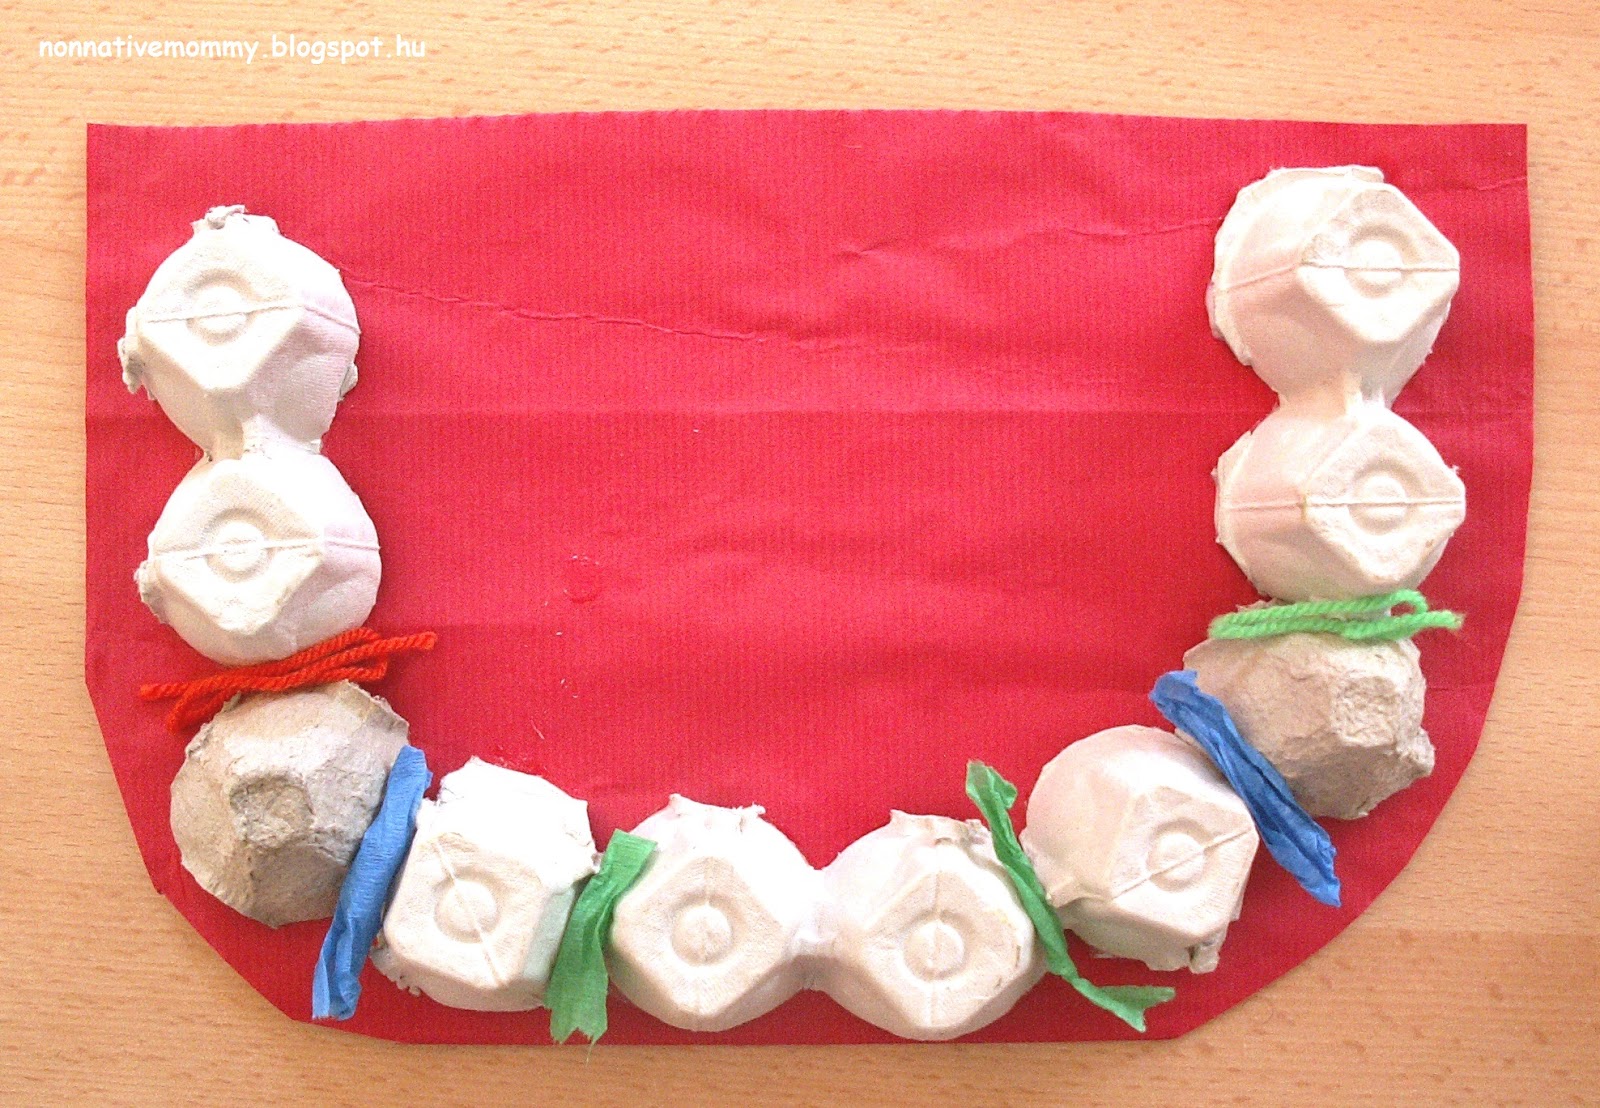
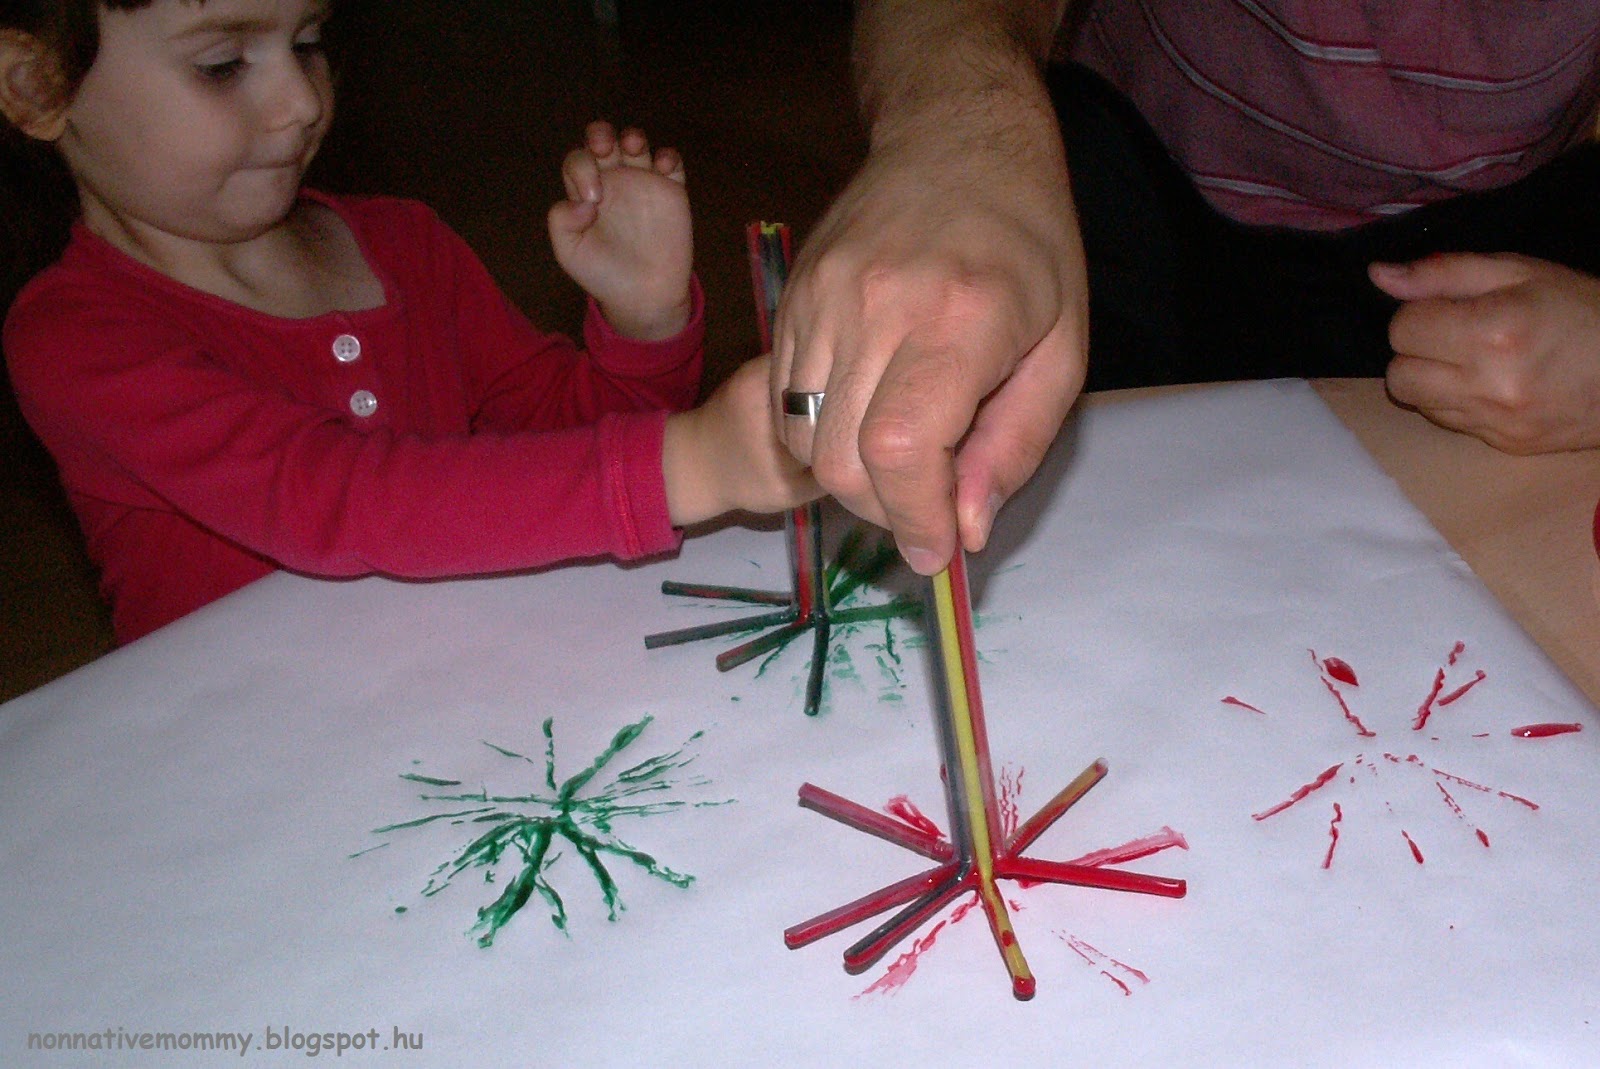
Stick the teeth

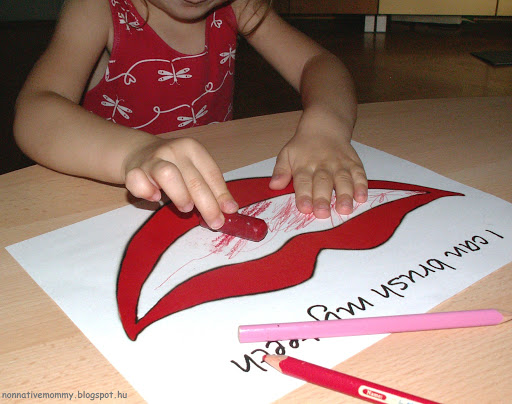
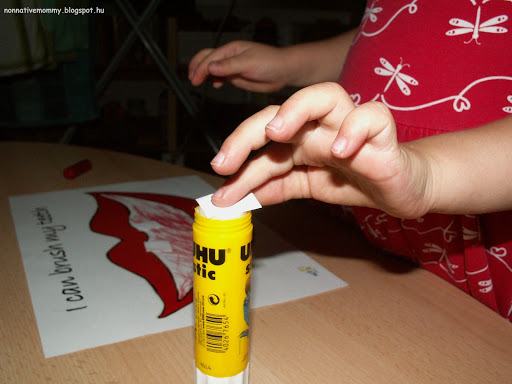
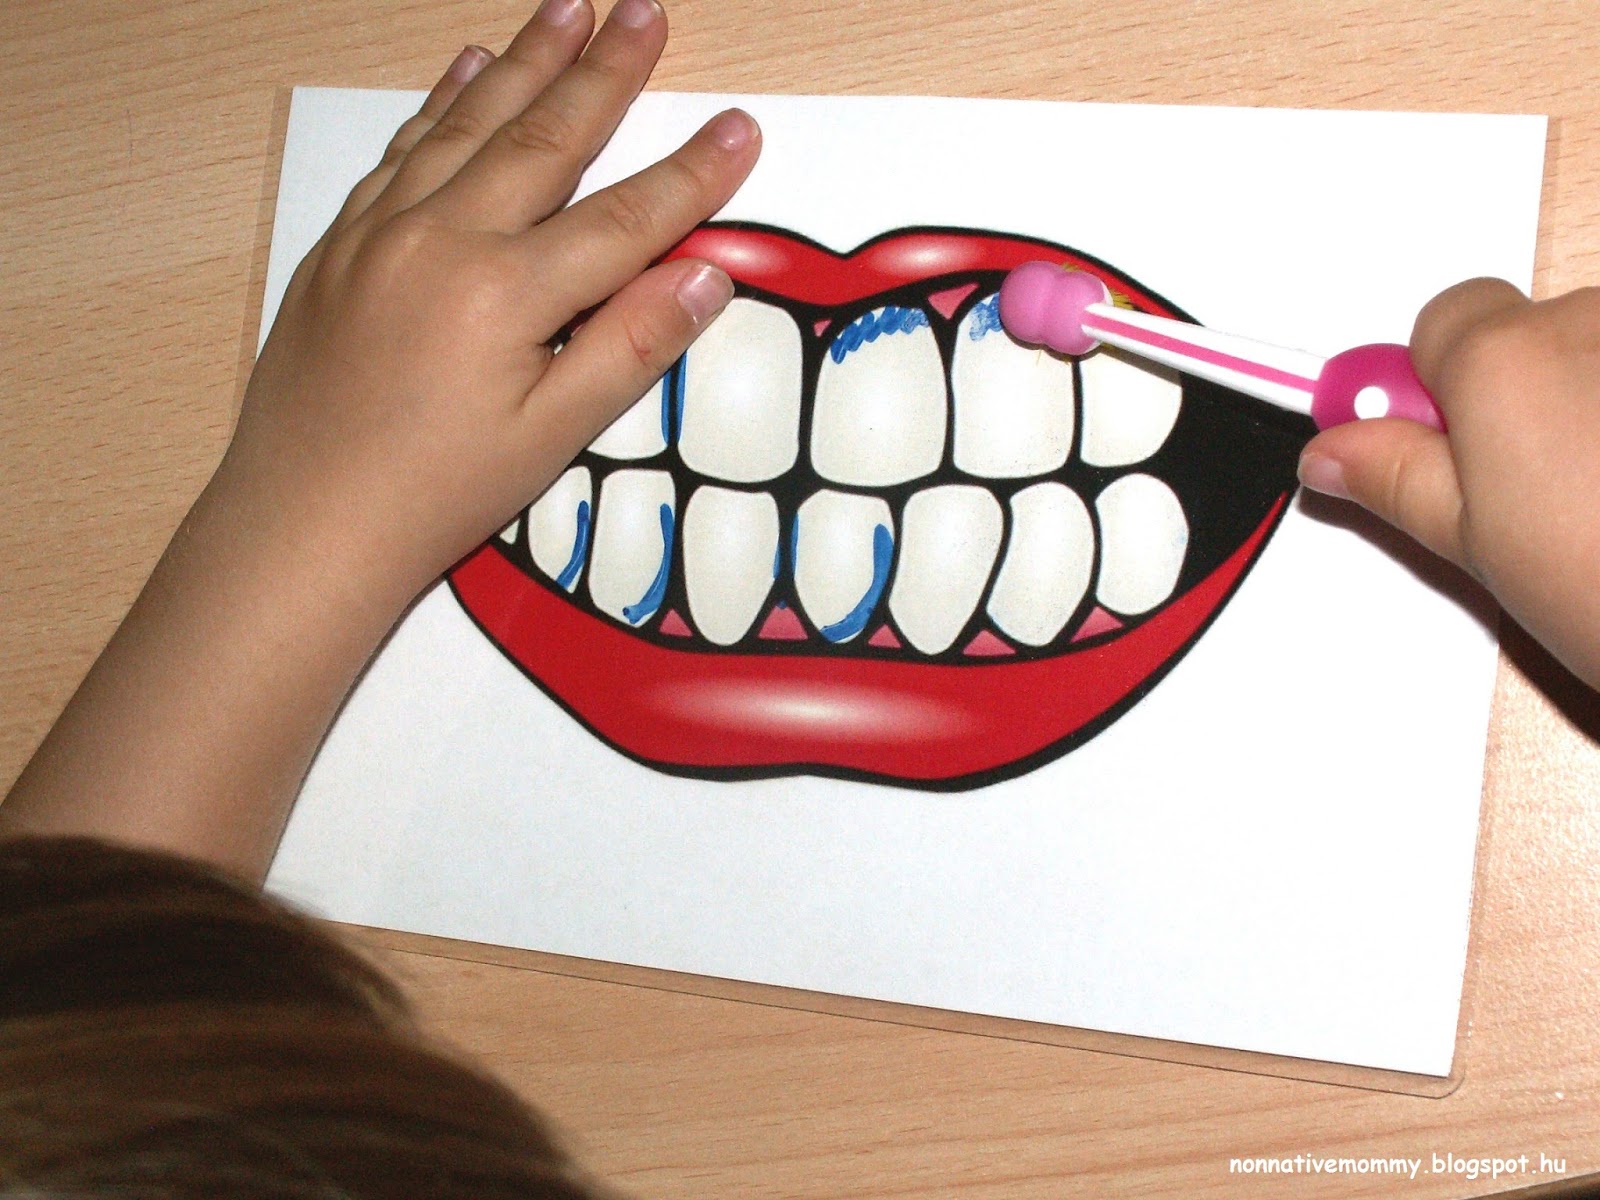
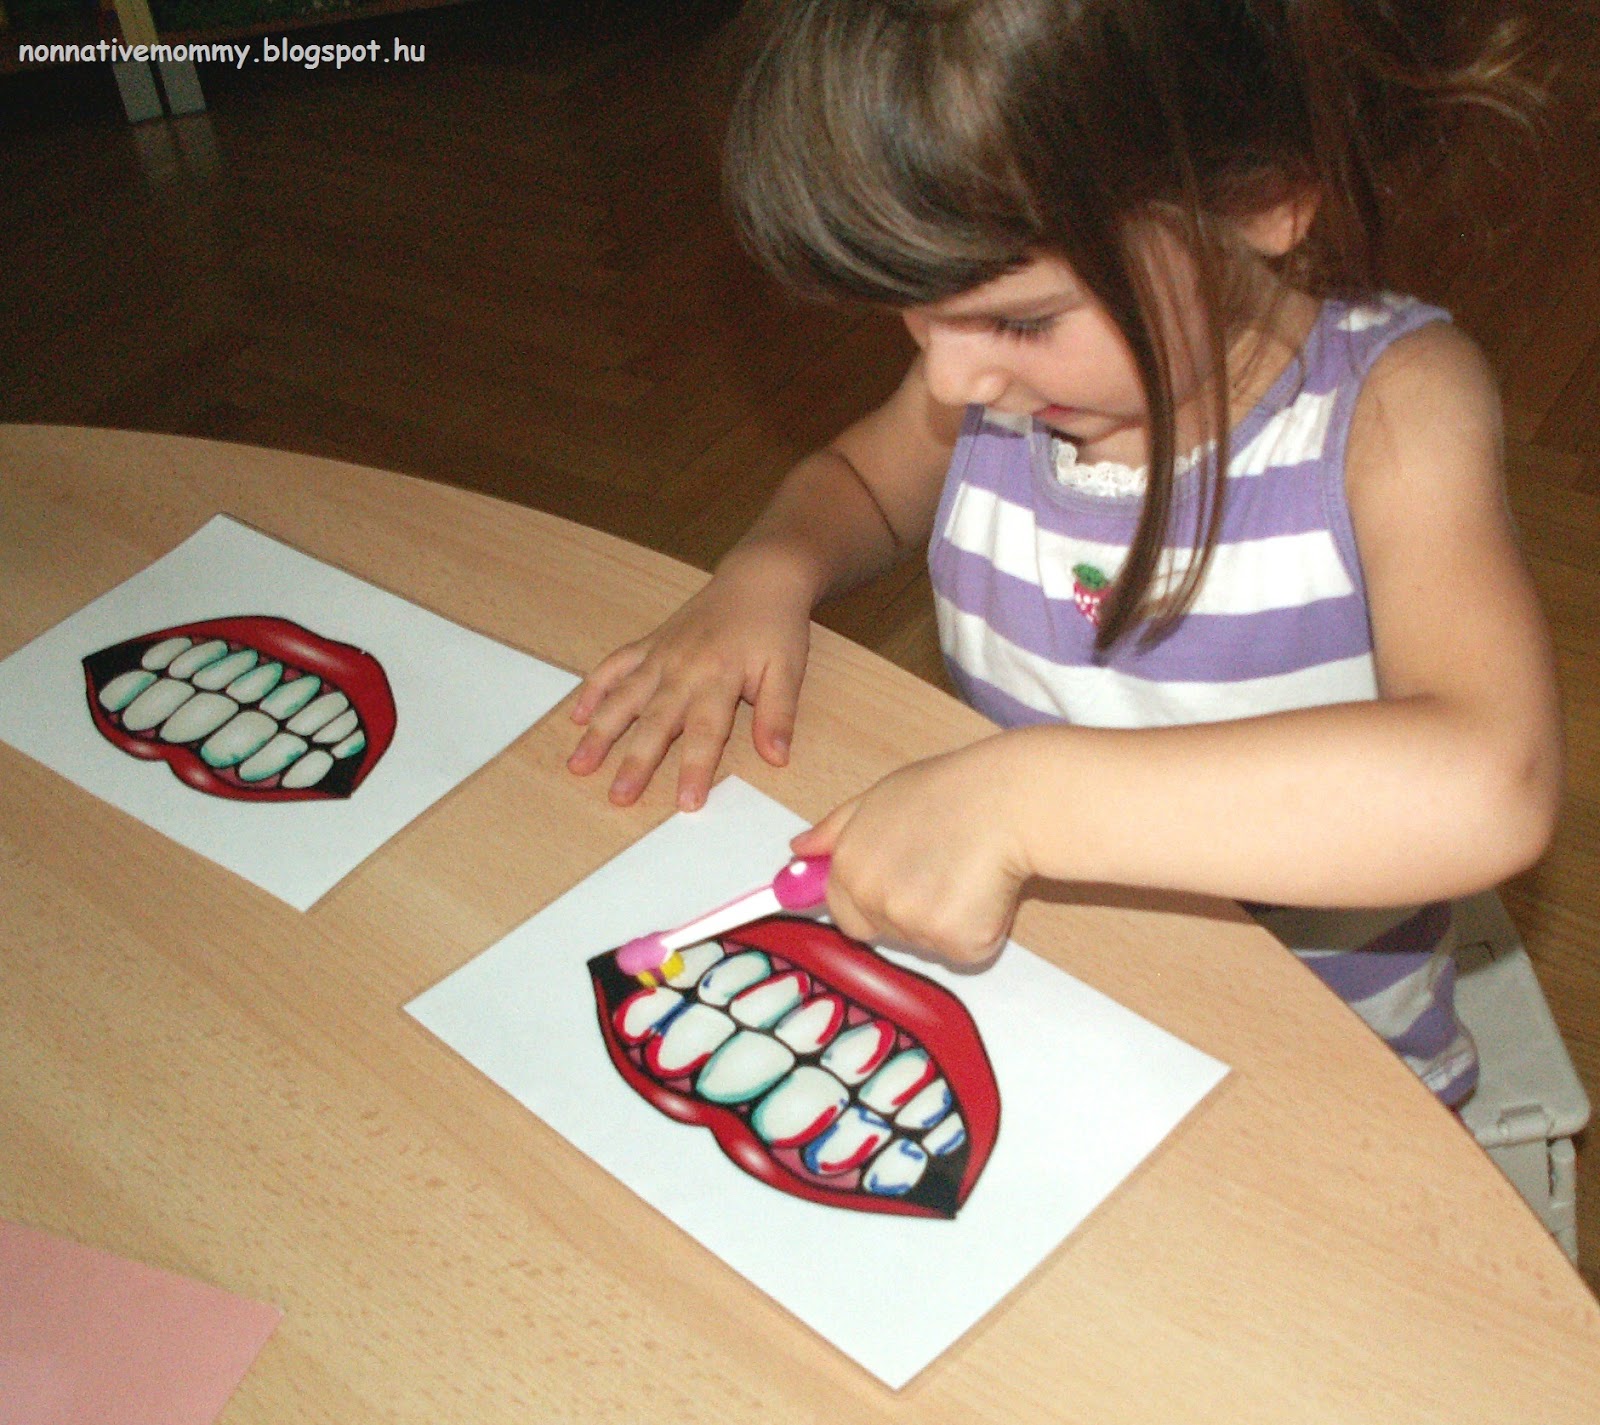
I enlarged and printed this mouth without teeth from the net, the cut out small pieces of rectangles for teeth. I also provided E. with some pink, red and claret coloured pencils and crayons to colour the inside of the mouth. Of course, there was glue for her to start the sticking of the teeth

Colouring:

Gluing:
Sticking:
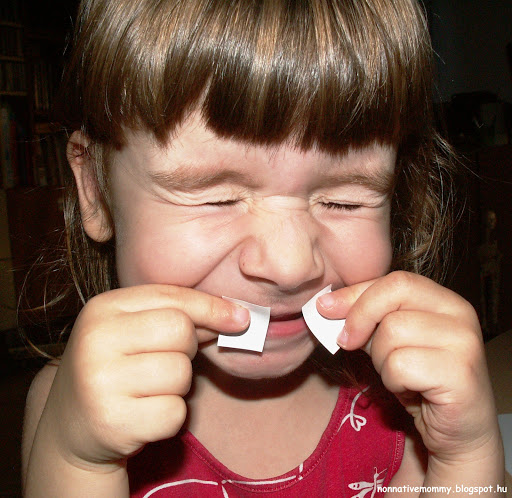
A little bit of fooling around: – Look, Mommy, I’m a rabbit.

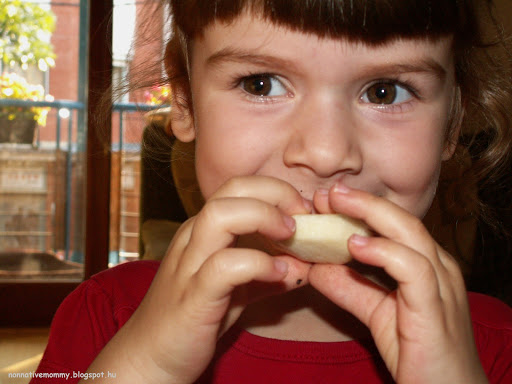
Eating oreo and apple

To show E. what happens to her teeth when she eats sweets I “made” her eat an Oreo biscuit. First, she thought I was kidding when I offered her a chocolate biscuit before dinner. She asked with hesitation: – Can I eat it?


After she’d eaten it I took a photo of her teeth and she could have a look in the mirror how they looked.
I guess she won’t forget the meaning of disgusting.
yuckie
Then I served her with a few slices of apple and told her to “clean” her teeth. She didn’t understand what I meant. Still, she enjoyed the experiment so much she ate up the apple slices without any questions. 
munch, munch
She was more than happy after looking into the mirror again.
They are white again.
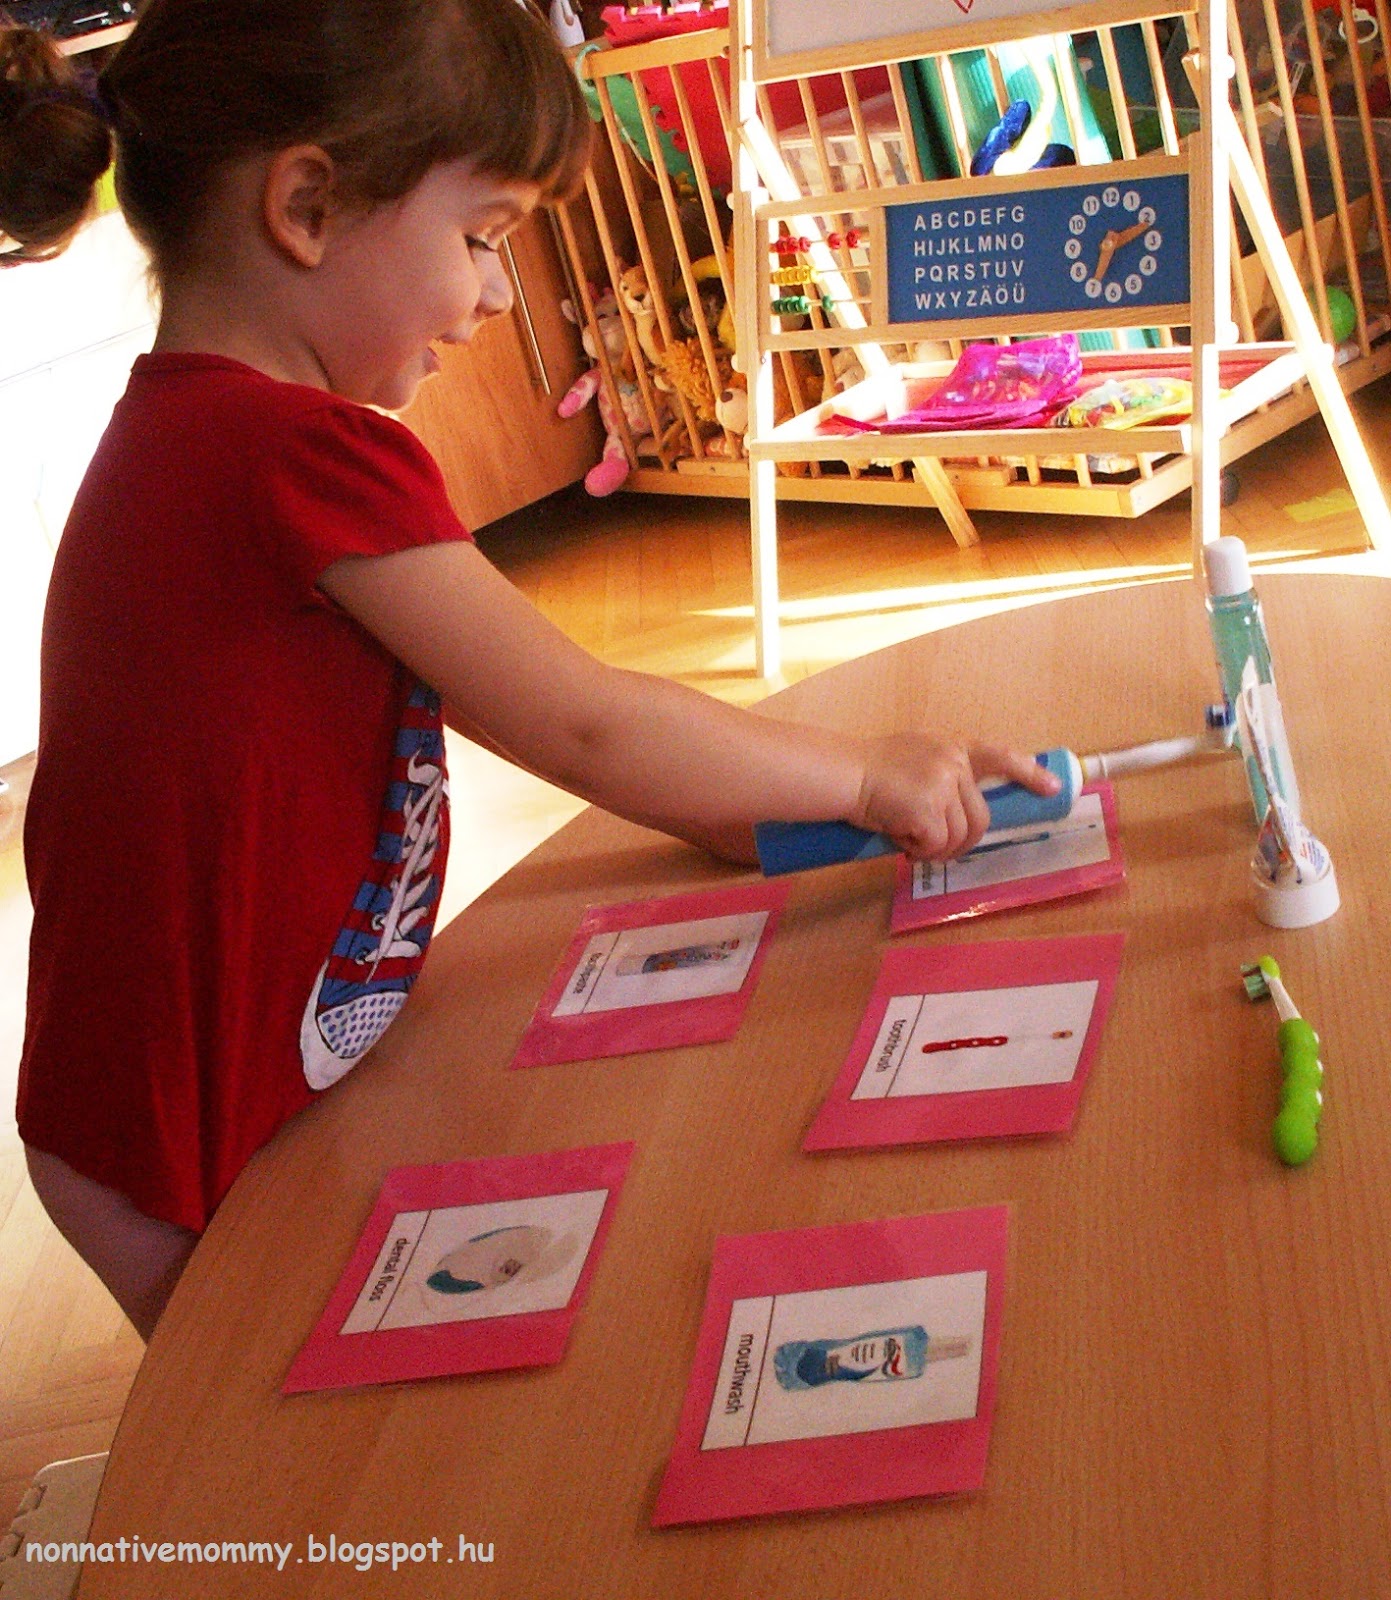
We talked about healthy and unhealthy food (I have another activity in mind connected to this topic), how food is stuck on our teeth and the importance of eating food good for our teeth and, of course, why it is necessary to brush our teeth.
 

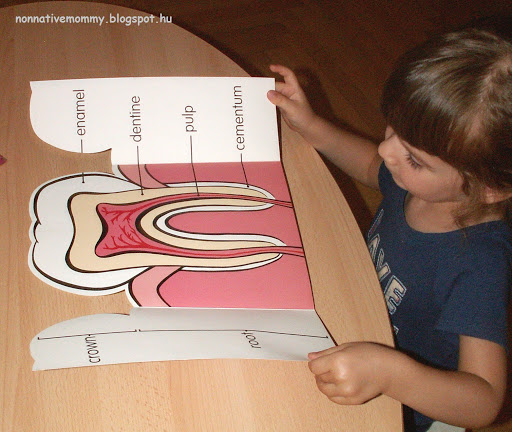
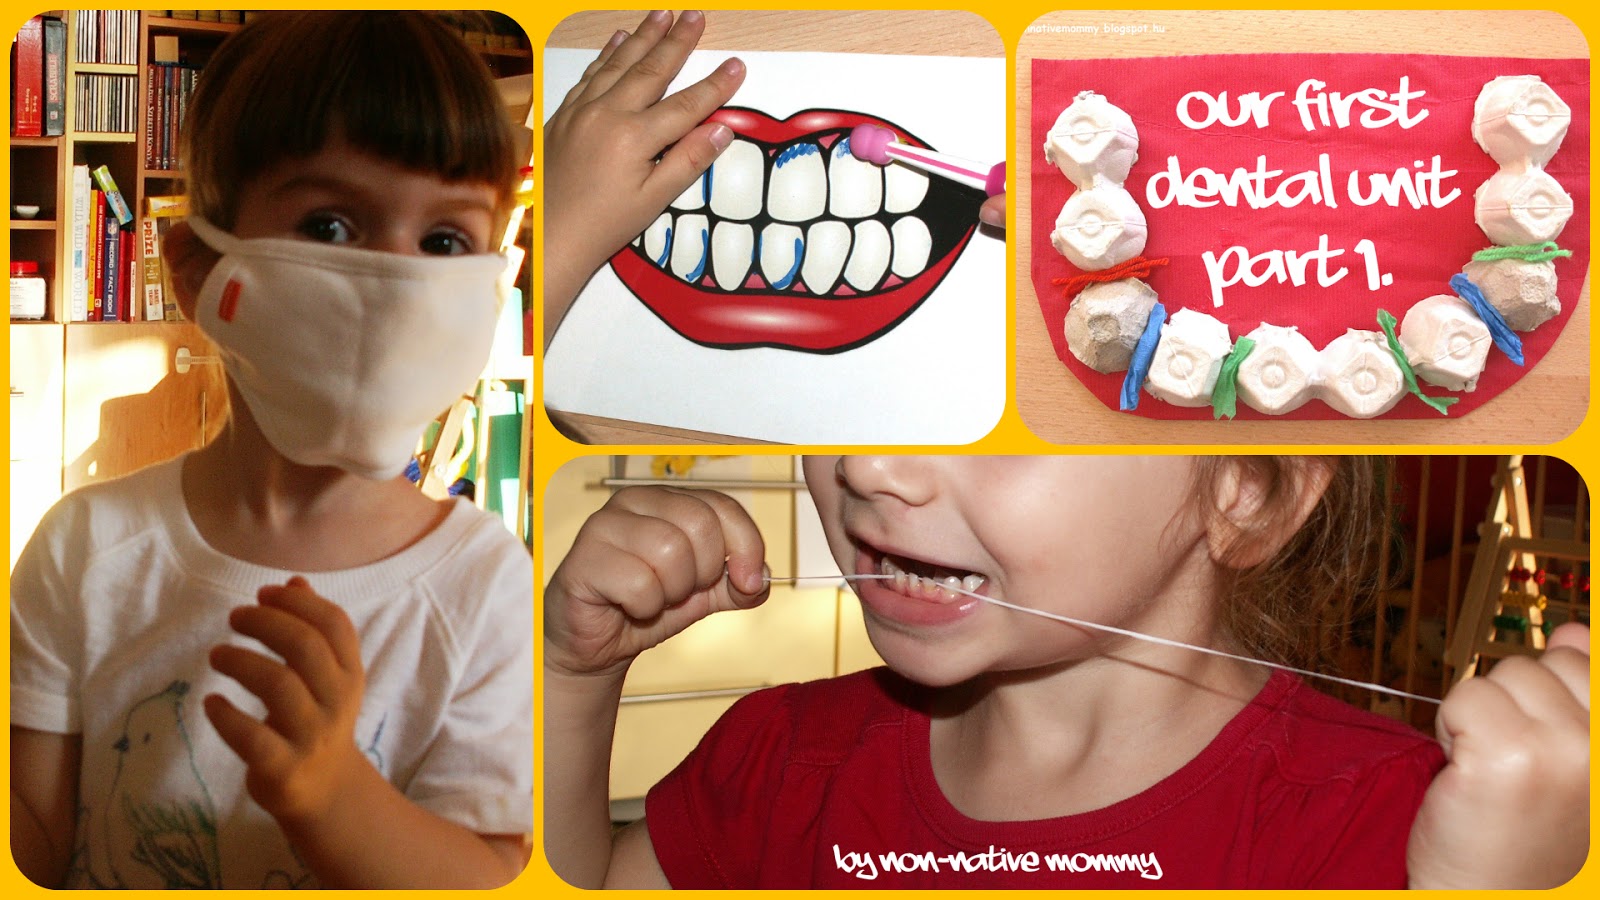
The inside of a tooth

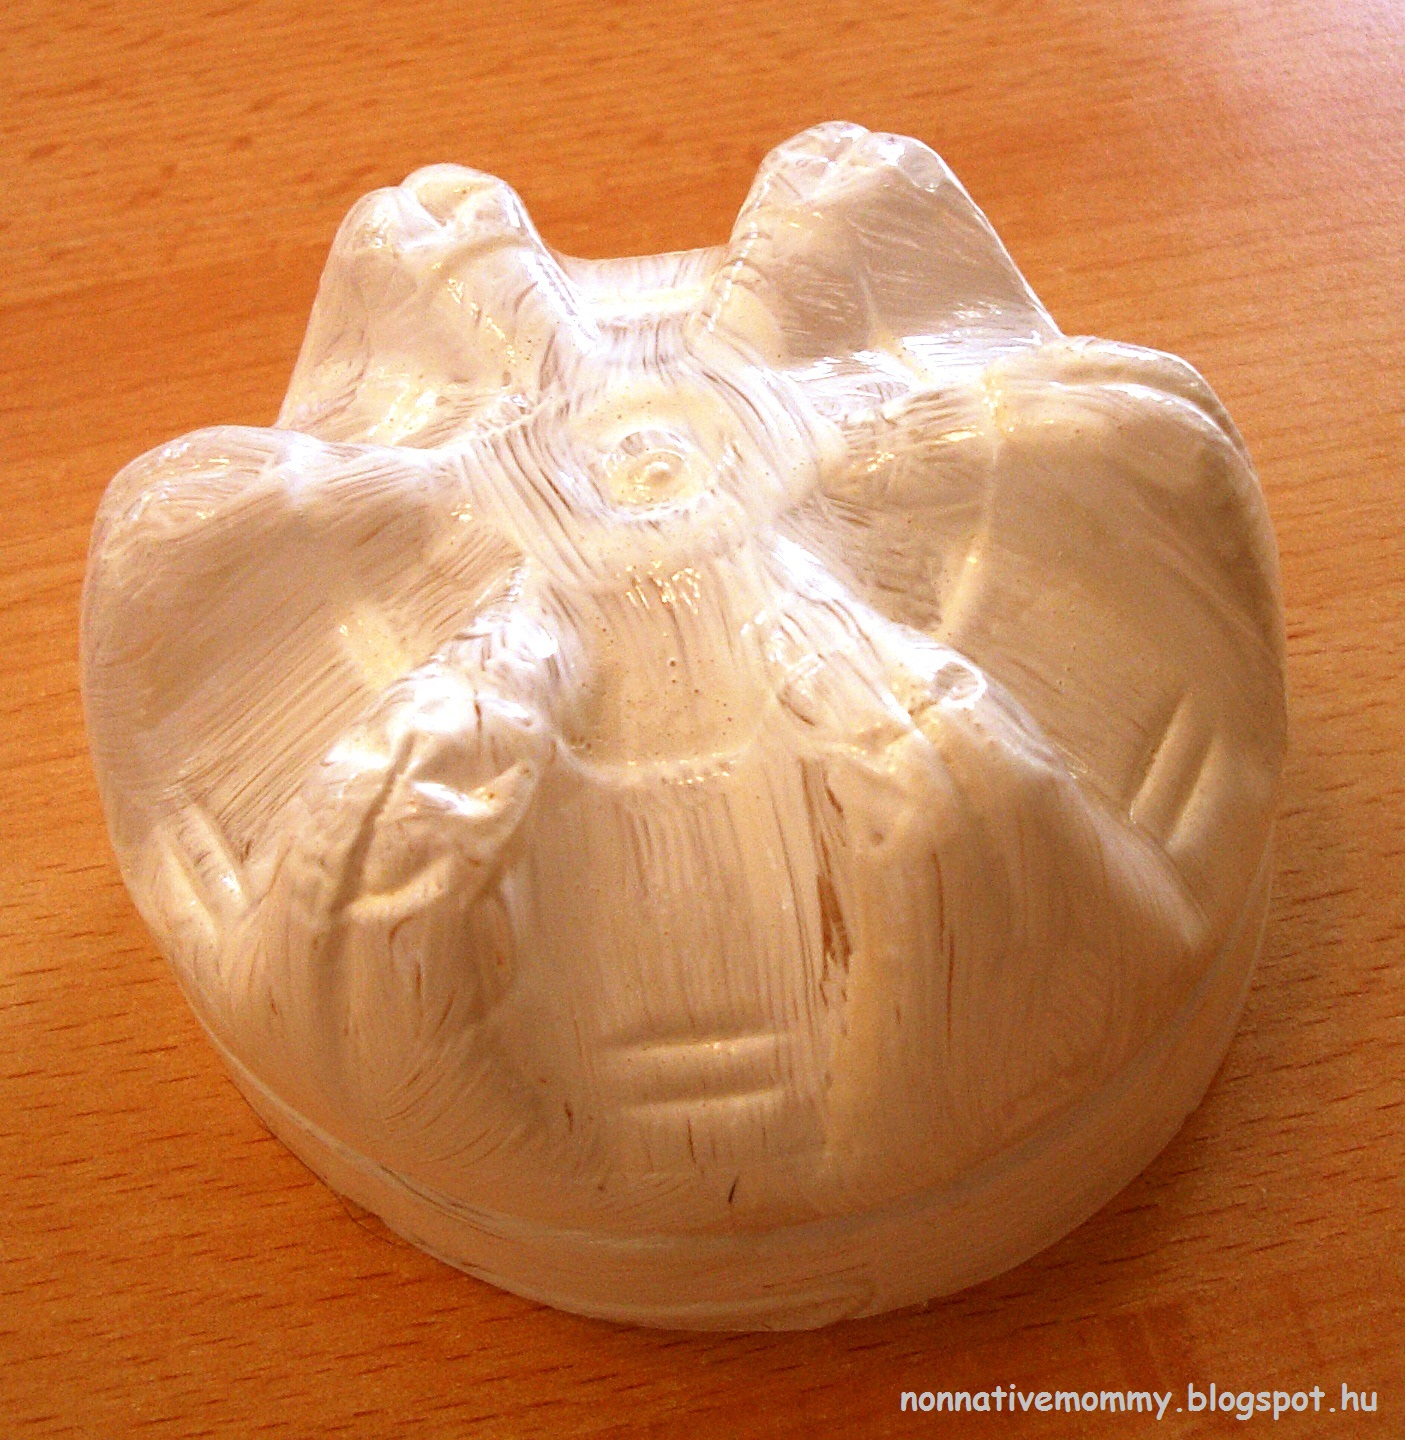
I brought this huge tooth with flaps to open from Ireland. I thought I could use it teaching kids. Although I’ve been teaching quite a lot of children, none of them was at such a level that I could use this fantastic material with them. But the time came when I could have a great use of it.
On the back
The other side with the flaps

Opening the flaps you can examine the inside of the tooth

You can make your own lift-the-flap tooth

We were talking about it both in English and at another time in Hungarian. E. also examined her own tooth crowns and how they sit in her gum. A funny conversation:

M.: – You see how pink your gum is?
E.:- Yes, but why not… purple?
M.: – Because it would mean your gum is ill.
E.: – But mine is beautiful and healthy.
M.: – Sure it is. You take good care of your gum and teeth.

At another time when she wanted to look at the “big tooth” again, I flipped the side flaps back so she couldn’t see them names and I “tested” her a little. I asked her to show me the gum, the dentine, the enamel and the pulp with the blood vessels. She remembered them all. In the book (I’ve already written about in an earlier post), Izgő-mozgó fogaim, she saw funny-looking bacteria chewing themselves through the enamel to the dentine. She remembered this picture and said:

– Mommy, in the book the bad bacteria goed (sic!) into the dentine to eat it.


I think now she’s aware of the fact how important it is to clean our teeth. To be honest, she rarely refused to brush her teeth. Sometimes, when she is tired in the evening or in a bad mood, she asks me to do do it.
– Mommy, you do it, but gently, please.
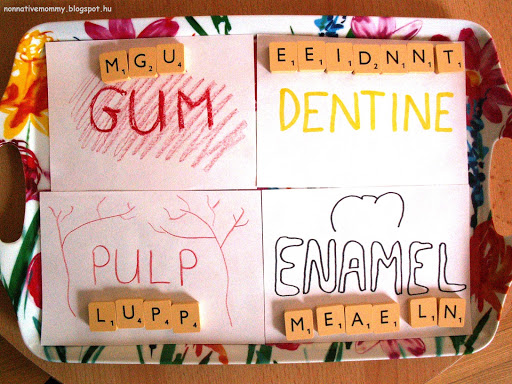
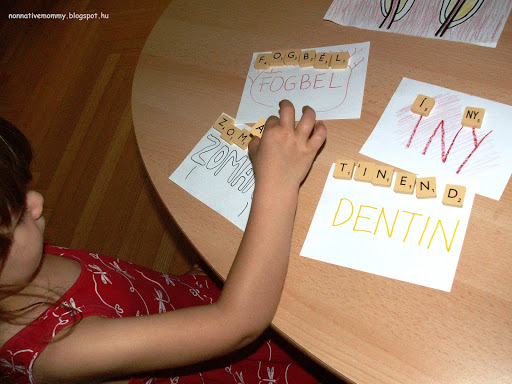
Letter recognition

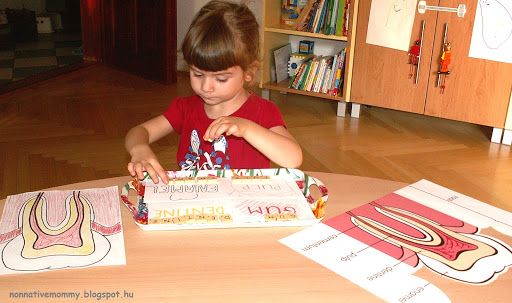
As she was really interested and amazed by the task above I thought a bit of letter recognition wouldn’t hurt. I made 4 cards and added some Scrabble letter cubes to them.

Busy buddy at work – concentration on maximum
I also drew a tooth on which she could identify the different parts after finishing a word.
pulp

She needed to recognise the letters and put them in order. I expected her to ask for help or first I thought we should do this activity together but she did it all on her own… 3-4 times, actually. Then I decided to do the same in Hungarian as well.

Much to my surprise, she noticed that dentine (in English) and dentin (in Hungarian) are the same except for the last letter E. She told me this comparison once at dinnertime. Then we had to list a few words that are similar or the same in English and Hungarian. Mind you, we never compare the two languages, it happened in her head totally by herself.

Our dental project hasn’t finished yet, though we’ll take a break (to spend more time with E.’s new craze/hobby/interest i.e. chess).

But I’ll come back with a compelling science experiment, which still belongs to our dental unit.

Our first dental project 2. with free printable

E. turned 3 in May so we needed to show her teeth to a dentist. Just a general check-up. How lucky we have a dentistry next door! Visiting the dentist gave me the idea to take a closer look at teeth as a whole project.

1. Flashcards – matching real objects and cards

One afternoon on the way home from the nursery E. asked: – Mommy, did you make a task for me?

I did. This is what was waiting for her:

I prepared some flashcards with everyday objects related to dental health.

Electric toothbrush

She needed to match the objects with the pictures. While she was doing the matching and she didn’t know a tool I named it for her. (Much to my surprise, she remembered dental floss. Once she was watching me flossing)

Then she experienced how to use some of them. (Of course, she knows how to open a toothpaste tube or how to brush with a toothbrush)

Flossing

A new word learnt: vibrating

*scream* Mommy! It’s funny… and ticklish

Smelling the mouthwash

We don’t drink it, just spit it out

I asked her to help me pack back all the tools on the bathroom shelf. She refused….

You can find a free printable of the dental health flashcards at the end of this blog post. The printable also includes some dental tools which can be found in a dentistry, such as a mouth mirror, a saliva ejector, explorer etc.

2. Brush, brush, brush

I searched for an image of a mouth (lips and teeth) online, next I printed and  laminated it (well, actually 4). With dry erase markers of different colours I created some plaque and germs on the teeth. Earlier I’d save E.’s old toothbrush and she used it to remove the plaque from the teeth. She enjoyed this activity so much for the first time that she’s already done it 4 times since then.

The reason why she is smiling in the next photo is 1. she loves brushing 2. she named the mouth after one of her kindergarten mates and she made up a story around it:

This is L. and she ate M&Ms and now her teeth are dirty. I’ll brush her teeth clean.

Later on, I had to name which little girl or boy’s teeth she needed to brush and what they’d eaten.

Source of this activity: It’s spooky. I’ve found it on pinterest, but now as I’ve just wanted to link the site and it’s gone 😦

3. Egg carton teeth

I took the idea from Sense of Wonder Mom’s Let’s play dentist blog post.

She didn’t describe it in details how to prepare the egg carton teeth so I can share how I made it.

What you need:

  • a sheet of red construction paper or cardboard
  • an egg box (made of paper and not plastic)
  • scissors
  • glue and or cello-tape
  • coloured crepe paper pieces and/or yarn
  • a white yarn piece
  • toothbrush

How to make it:

  • cut A/4 sized red construction paper and curve two corners – this will be the gum and the tongue
  • cut out the dimples (where you otherwise place the eggs) of the egg box (I cut 10 dimples out of 2 different egg boxes as I was creating only the lower jaw but if you’ve got a lot more time than me you can make the upper jaw too then you’ll need 20 i.e 2 egg boxes)
  • stick the dimples onto the red sheet in a semi-circle (first I tried cello-tape, then fast-drying liquid glue. The latter worked better. I glued the sides of the egg box dimples and placed them on the paper. To make sure they are firmly stuck on the sheet I put two thicker books on the top. It took 10-12 minutes to dry perfectly.
  • wedge the crepe paper pieces and yarn pieces in between the “teeth”

First, E. brushed the sides and the top and I raised her attention to the leftover food pieces between the teeth.

Then she started flossing:

Look, I can take it out

We also talked about what happens when you do not brush properly. A cavity appears on the tooth and you need the dentist to fill it in.

So we played dentist:

  • I gave her a mask to put on to protect her against the germs
    – Mommy, why do you need a mask?
    – To keep the germs away from your mouth and from the doctor’s mouth
  • I took Daddy’s electric screwdriver that magically turned into a dental drill (unfortunately the battery of it was flat. It would have been fun to drill the tooth)
  • I gave her bits of tissue paper to fill in the cavity.

Little Dentist is ready to work

Drilling the cavity

filling the hole

She drilled and filled in two teeth then she got annoyed with the mask…

4. Brushing movement on a big molar

I made a big molar out of a plastic bottle. I cut off the bottom of it and painted it white. I provided E. with her old toothbrush and she started to brush it. (The idea comes from the same link above)

I told (and showed) her how to brush

  • the sides back and forth
  • the top with a circular movement (round and round)
  • the inside with a sweeping movement (sweep sweep)

Round and round, back and forth, sweep-sweep

She enjoyed these tasks a lot. So much she wanted to do them several times.

– Mommy, can I brush the teeth again?

– Draw some germs on the teeth.

– I want to floss.

We were dealing with these activities for a week. She was so fascinated by them I made some more. Come back later to check them out.

Does your little one like brushing their teeth?

Here you can download the flashcards (just click on the picture below):

Our first dental project I. – videos, books, apps

As we have visited the dentist with E. I looked up some videos, book and apps on dental health beforehand. This post is an appetiser before I share with you some real fun dental health activities.

English videos

Brush, brush, brush by KidsTV123

Brush your Teeth by Busy Beaver
The VERY favourite one!!!! Brush your teeth by Topsi Smile TV


Brush your teeth by StoryBots (we just couldn’t leave this out 🙂 )
A Peppa pig episode: Peppa and the Dentist
Two videos in Hungarian:
Fogmosó dal by Kerekmese
Bori a fogorvosnál (11 minute short story about what happens at the dentist’s)

Now the books we’ve been reading about teeth and going to the dentist:
Here is a video in which a lady reads out Show me your smile. The quality is not the best but it gives you an idea.
Another book we are looking at is Izgő-mozgó fogaim published by Manó könyvek.
It’s a great book with flaps to open, teeth to move and learn a lot about teeth, like parts of a tooth, baby teeth vs permanent teeth, how teeth grow, when and why they fall out, what happens at the dentist etc. It also has some interactive pages where you can pull a tooth out or glue a picture of yourself with no, one or 20 teeth. The book goes with a little tooth box for the first fallen-out teeth.

I read this book to E. both in English and Hungarian.

This is the book she took with her when we visited the dentist:

Apps for android

It’s not just about teeth but all kinds of health problems (broken bones, rash, fever, weak eyes etc). The player needs to heal the kids by taking them to the right department.

E.’s favourite is the dental department where one has to remove plaque, clean the teeth with a brush, drill them and kill germs, plus, at the end the player can choose coloured braces as well. E.’s favourite  part is killing the germs in the mouth. The other departments also means a lot a fun. You can take X-ray photos of broken bones, or you can injections or examine blood in a laboratory.

Just like the previous one you need to heal children with all kinds of health problems. Still, this also has a dental department. This game is a little bit more disgusting for me – not for E. (the germs has to be pulled out of the ear or off the teeth and they are not as funny looking as in the other game). What E. likes the most in this game is when you heal a child, funny animal balloons are floating down from the top that you can pop.
We’ve tried some other games too, but either E. didn’t like it or they were a little scary/disgusting for a 3-year-old.

I hope you could find some ideas to watch, read or play with your kid. Let me know if you could add any more to this list. Thanks for popping in.

Number games

I’d like to show you some (4) number games E. likes playing any time, any place. These activities cover number recognition, counting, colour matching and fine motor skills as well up to number 10. A little bit of skip counting is also involved.

1. Counting Caterpillar

As we are great fan of Eric Carle’s The Very Hungry Caterpillar, when I found this Counting Caterpillar Busy Bag I was more than delighted. The printable is free.

I’ve changed the pom-poms into small coloured stones. The reason for this change was I found the pom-poms too slippery on the laminated sheets.

So what I did:

  • I printed the caterpillars from the site above

First, she put the cards in order from 1 to 10

  • I laminated the cards
  • I prepared the colourful stones in a little bowl

Then she started to put the little stones on the body of the caterpillars. She paid close attention to the right colours. Pinching up the little stones really helps the hand muscles to strengthen.

She was saying the numbers out loud while placing the counters

Sometimes she asked me to do it in turns.

I’ll put on the last one.

2. Apple counting

This activity is a part of the fruit unit among the various great free printables from Welcome to Mommyhood. (You can find the printables at the bottom of the blog post and the apple tree activity is on page 12. This printable is also free of charge)

3. Ice-cream counting fun

With the summertime here we just couldn’t avoid some ice-cream activities this summer either.

The FREE printable of this Ice-cream counting activity can be found on one of my favourite educational resource pages: The Measured Mom.

Just go to the page above and print the ice-cream and number cards (laminate them for durability – optional) and the counting can begin.

Counting the candies on the ice-cream

placing the right number on the cone

You can finish this activity with licking some ice-cream.

4. Count the coloured sticks

Colours have always been E.’s favourite. So we started matching colours quite early, when she was 13-14 months old. This activity involves colour sorting and counting as well. A year ago I made these coloured paper rolls for sorting colourful objects.

First, I put number 1, 2, 3 and 4 in front of each paper rolls and E. needed to put the exact number of coloured sticks in the right place. Then came the idea of skip counting:

If you liked these games, check out my earlier posts about numbers:

If you still want some more, have a look at my 123-number games collection on pinterest.

August 20th – another Hungarian national holiday

As we have just returned from our holiday from the mountains, I haven’t had time to prepare something special for today. 20 August is the 2nd biggest national holiday in Hungary. (I’ve already collected some activities for the first most important one i.e. 15th March).

We also call 20 August Saint Stephen’s Day or the commemoration of the Foundation of Hungary as a state or “the day of the new bread”. If you’re interested in the background of this Hungarian holiday, please check the links.

So quickly I put together some fun crafts connected to our modest celebration after having unpacked our suitcases and started the washing machine.

On the way home sitting in the car, E. could see the Hungarian flag everywhere. She got quite excited  and pointed at all of them shouting: Hungary… so we made this flag out of crepe paper (red, white and green) and a piece of wooden skewer. You need some glue and that’s all.

What you need are in the pic:

  • crepe paper strips (red, white, green or the colours of your country’s flag)
  • skrewers
  • glue

Place one piece of crepe paper under the skewer and add some glue

Then roll the crepe paper on the skewer

Repeat it with the other colours one below the other. Let it dry for a few minutes

Éljen a magyar föld! – shouted E. swaying the flags

The easier the craft is the more fun you’ll have afterwards.

As we celebrate 20 August with massive fireworks over the River Danube at night, I thought we could create our own fireworks at home. We are not going to watch it in person as it is always extremely crowded and the weather has rather been capricious lately.

I’ve taken some ideas from 4th July celebrations. Check out the pinterest board on the topic.
This exact fireworks straw paint is more than fun to make.

On the link above you can find the detailed description, but here it is in short:

  • stretch and bend 7 straws and cello-tape them together (I made 2 sets)
  • prepare red and green paint in  two plates
  • provide a white sheet
The painting can start. Your child needs to dip the straws into the paint and make prints with both colours.
Even Daddy had fun 🙂

Our own fireworks at home
Did you celebrate 20 August somehow? Let me know what you did together with your little one in the comments.