This post should have appeared in May the latest when we finished our flower projects. Well, there are tons of flowers around us during the summer time so it’s never too late to have a closer look at them.
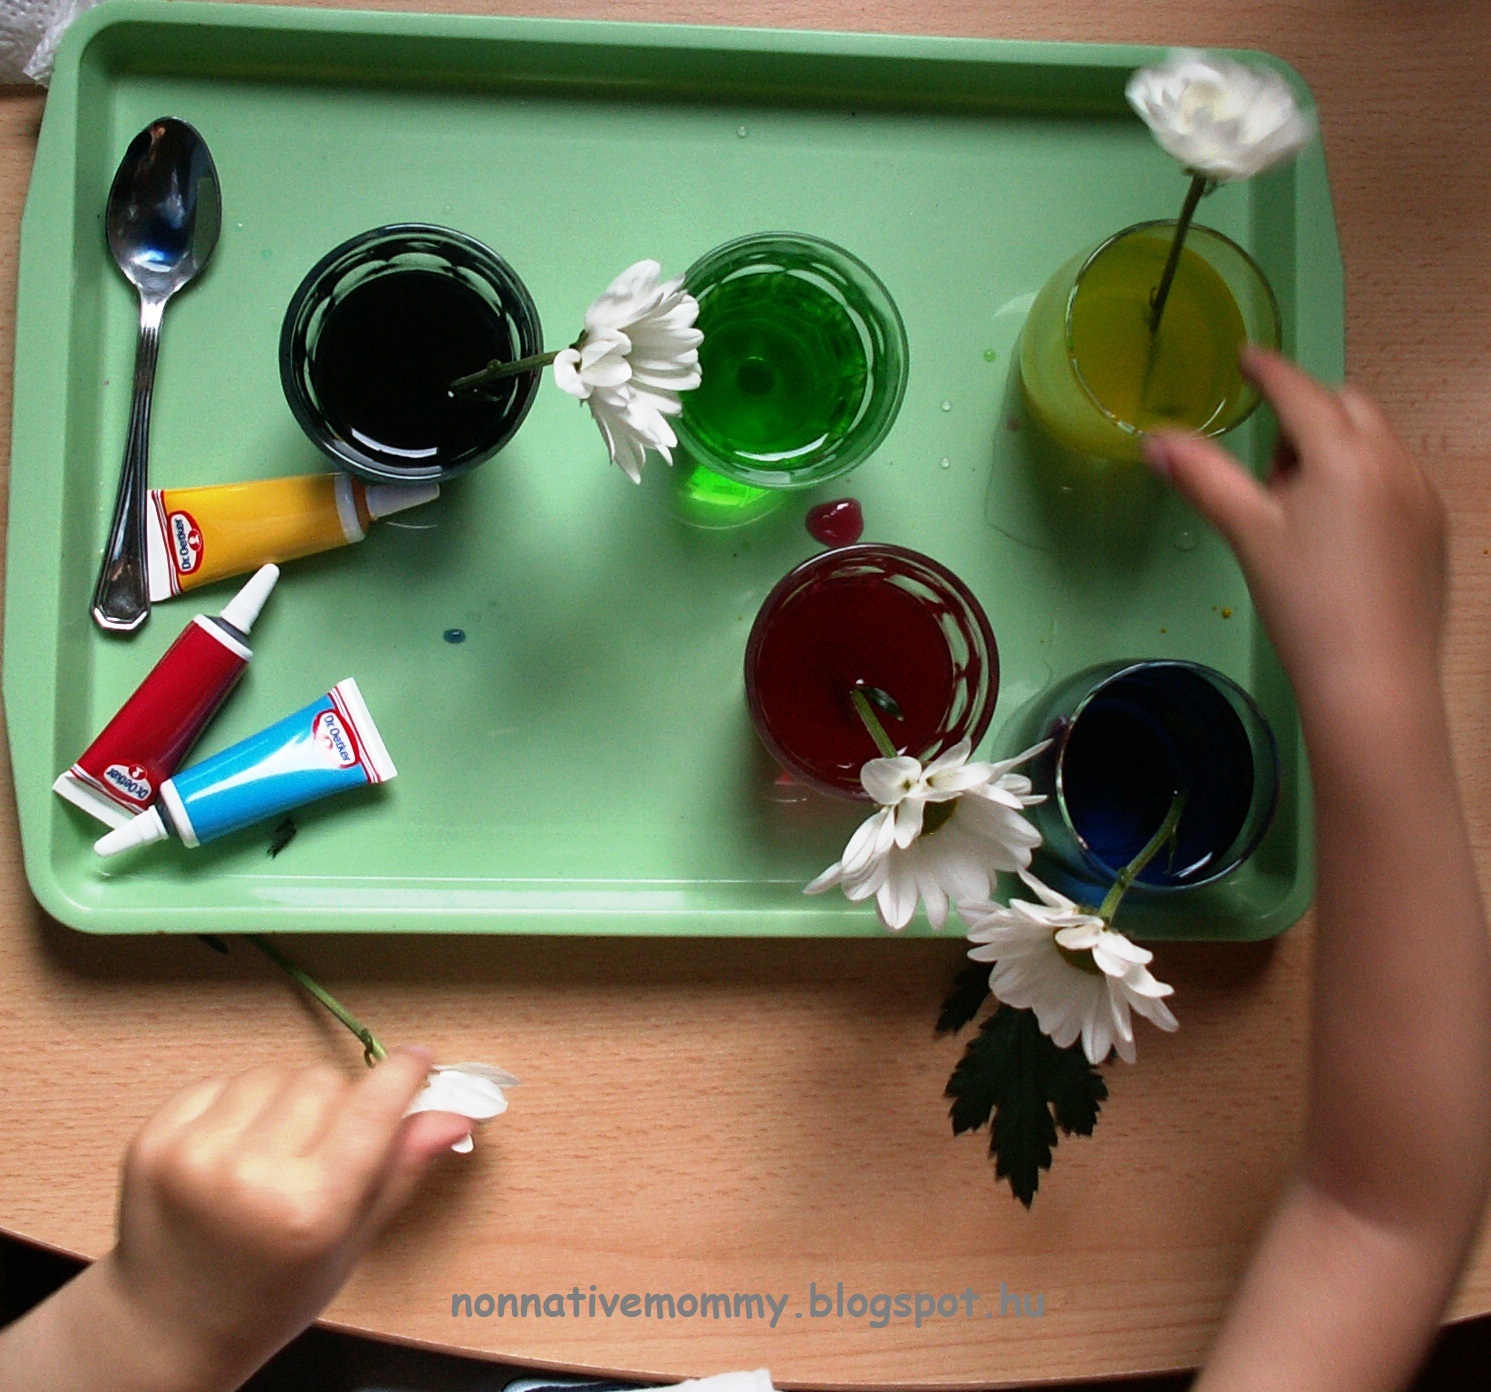
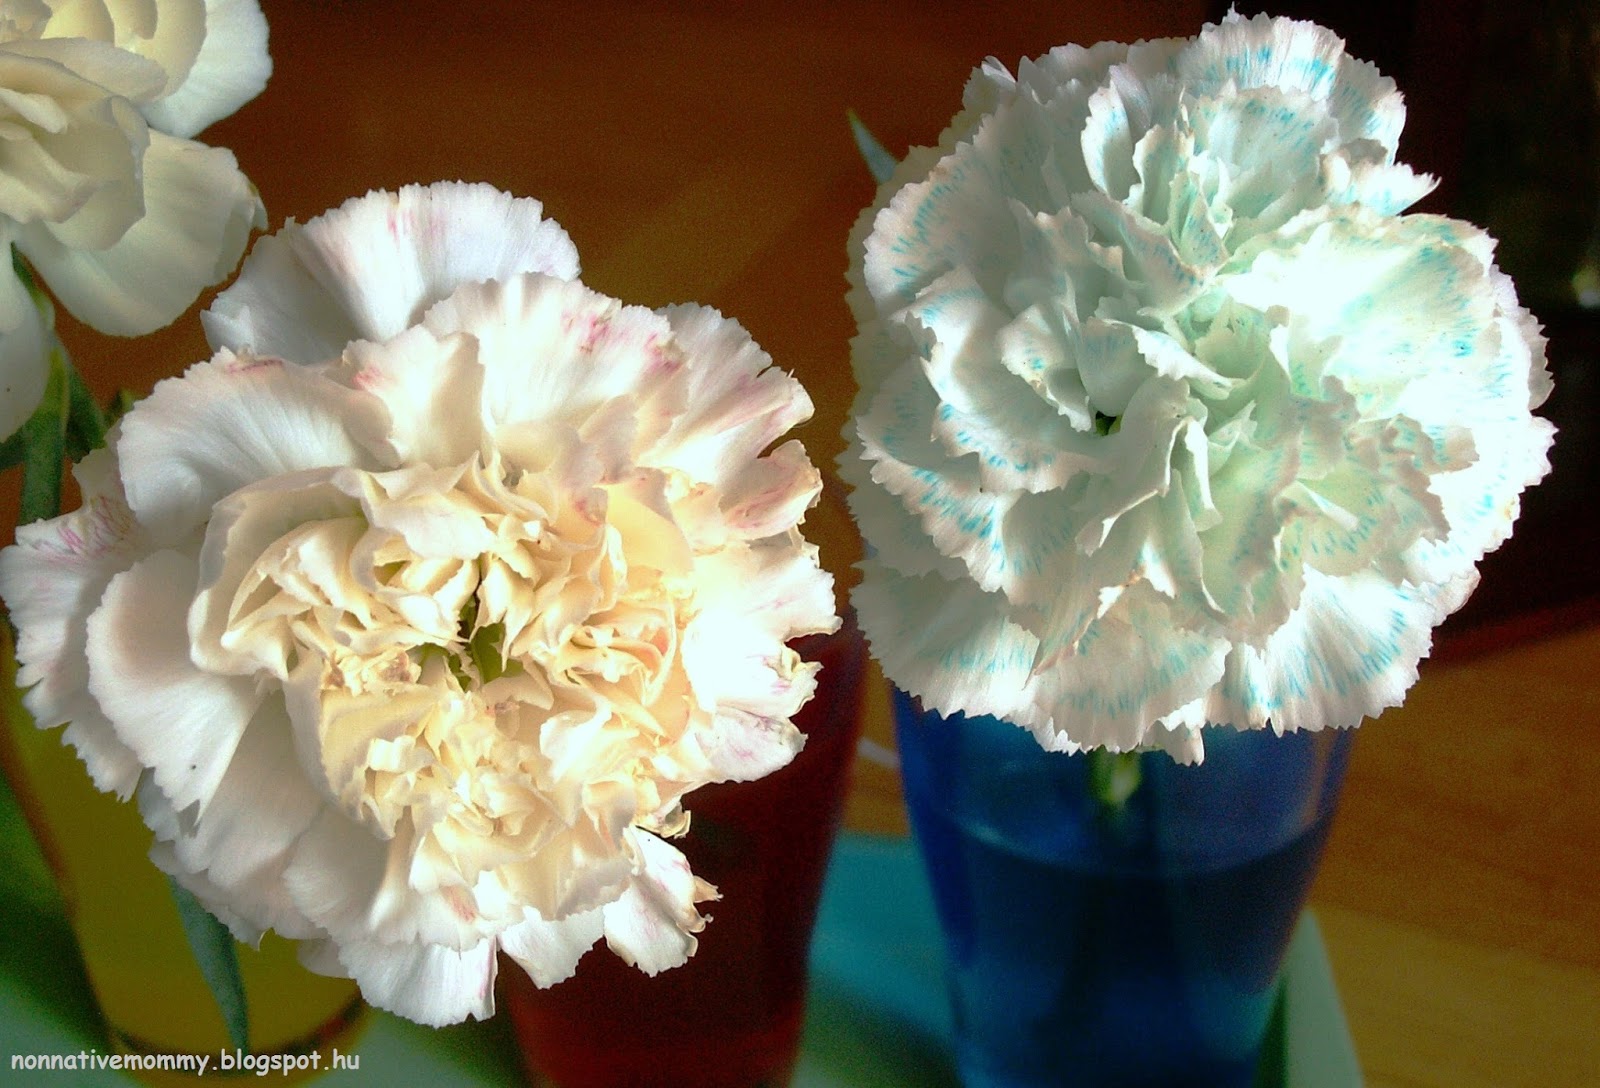
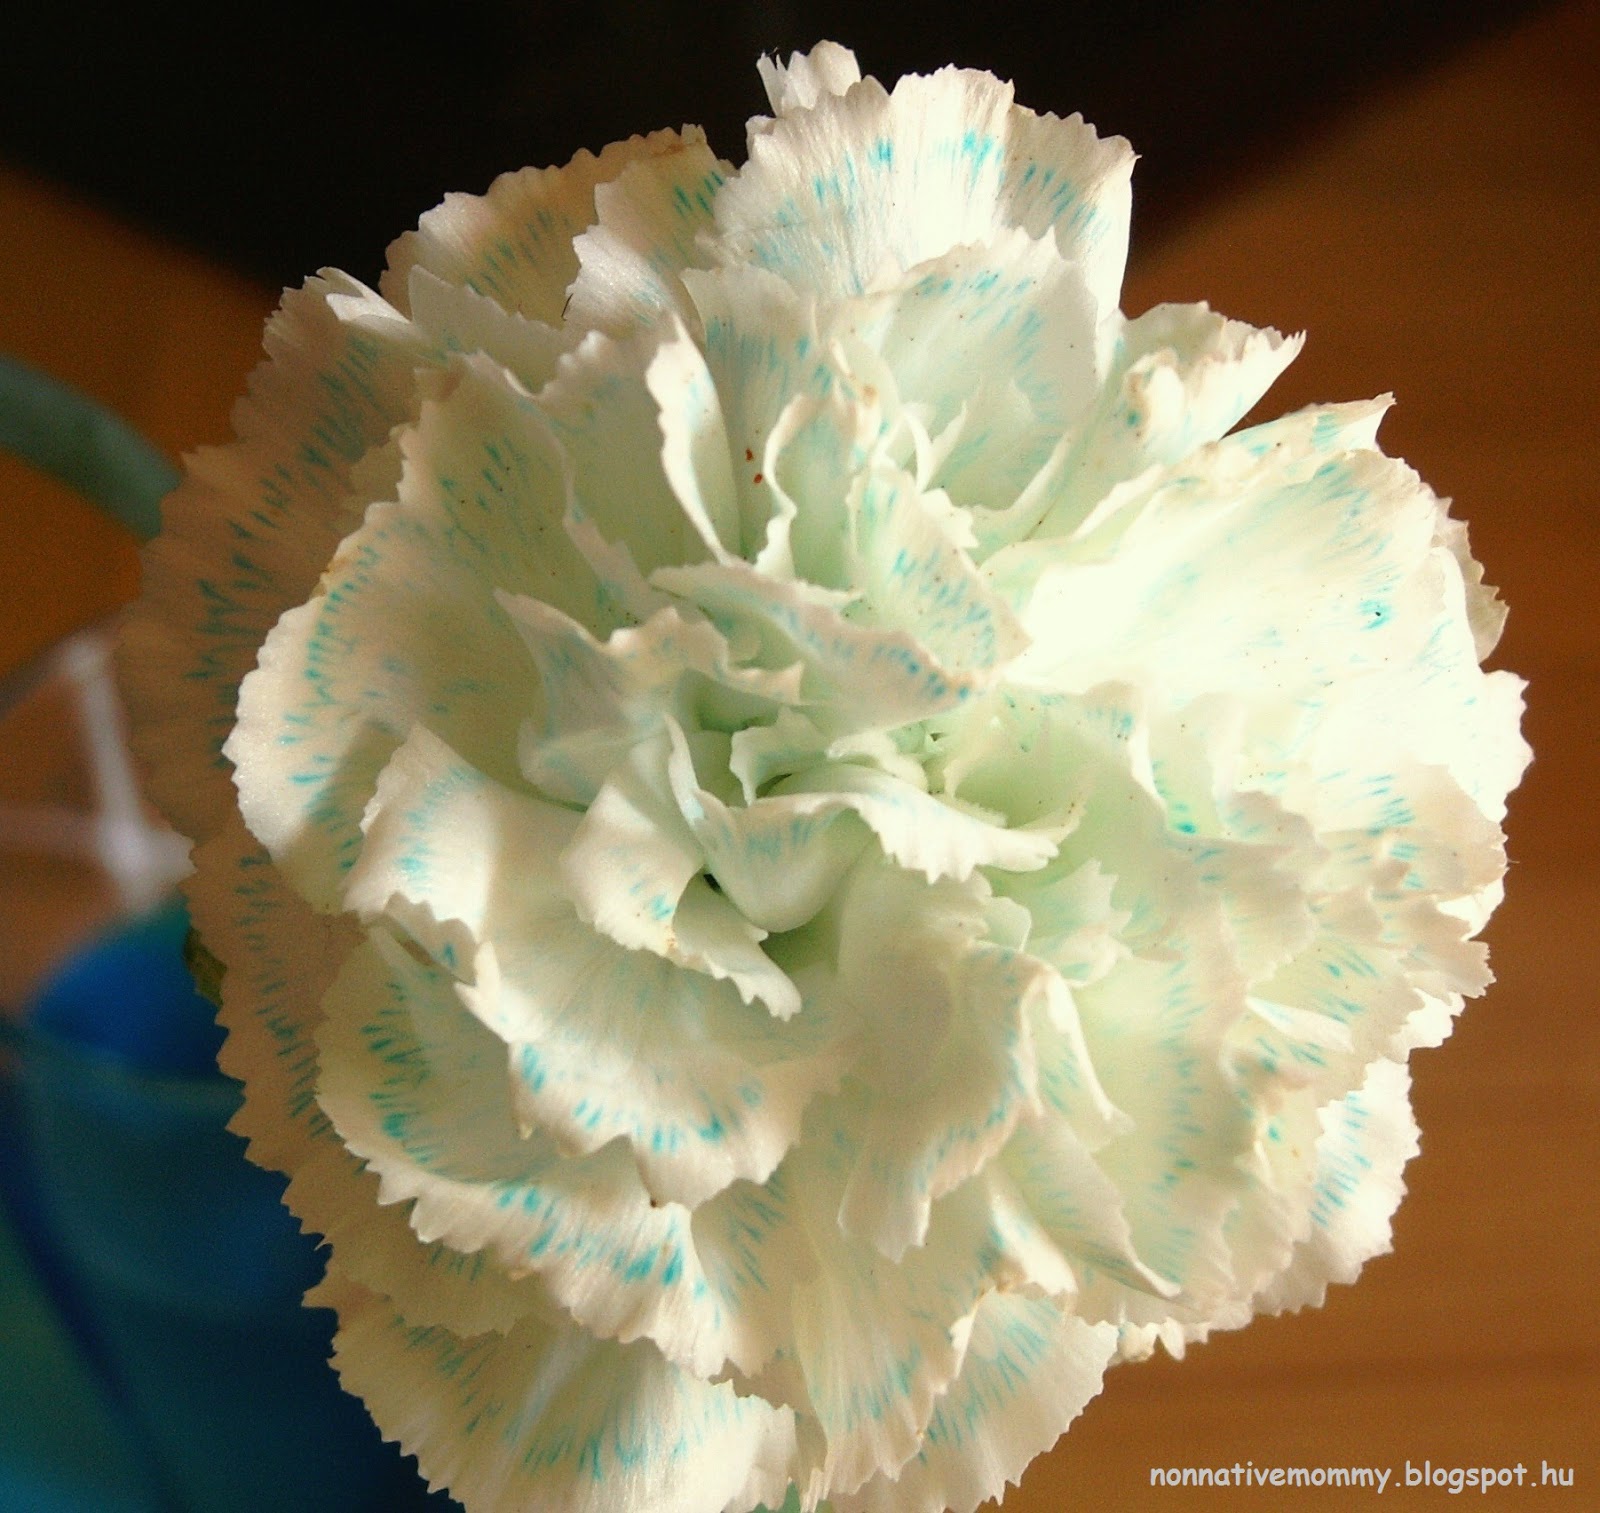
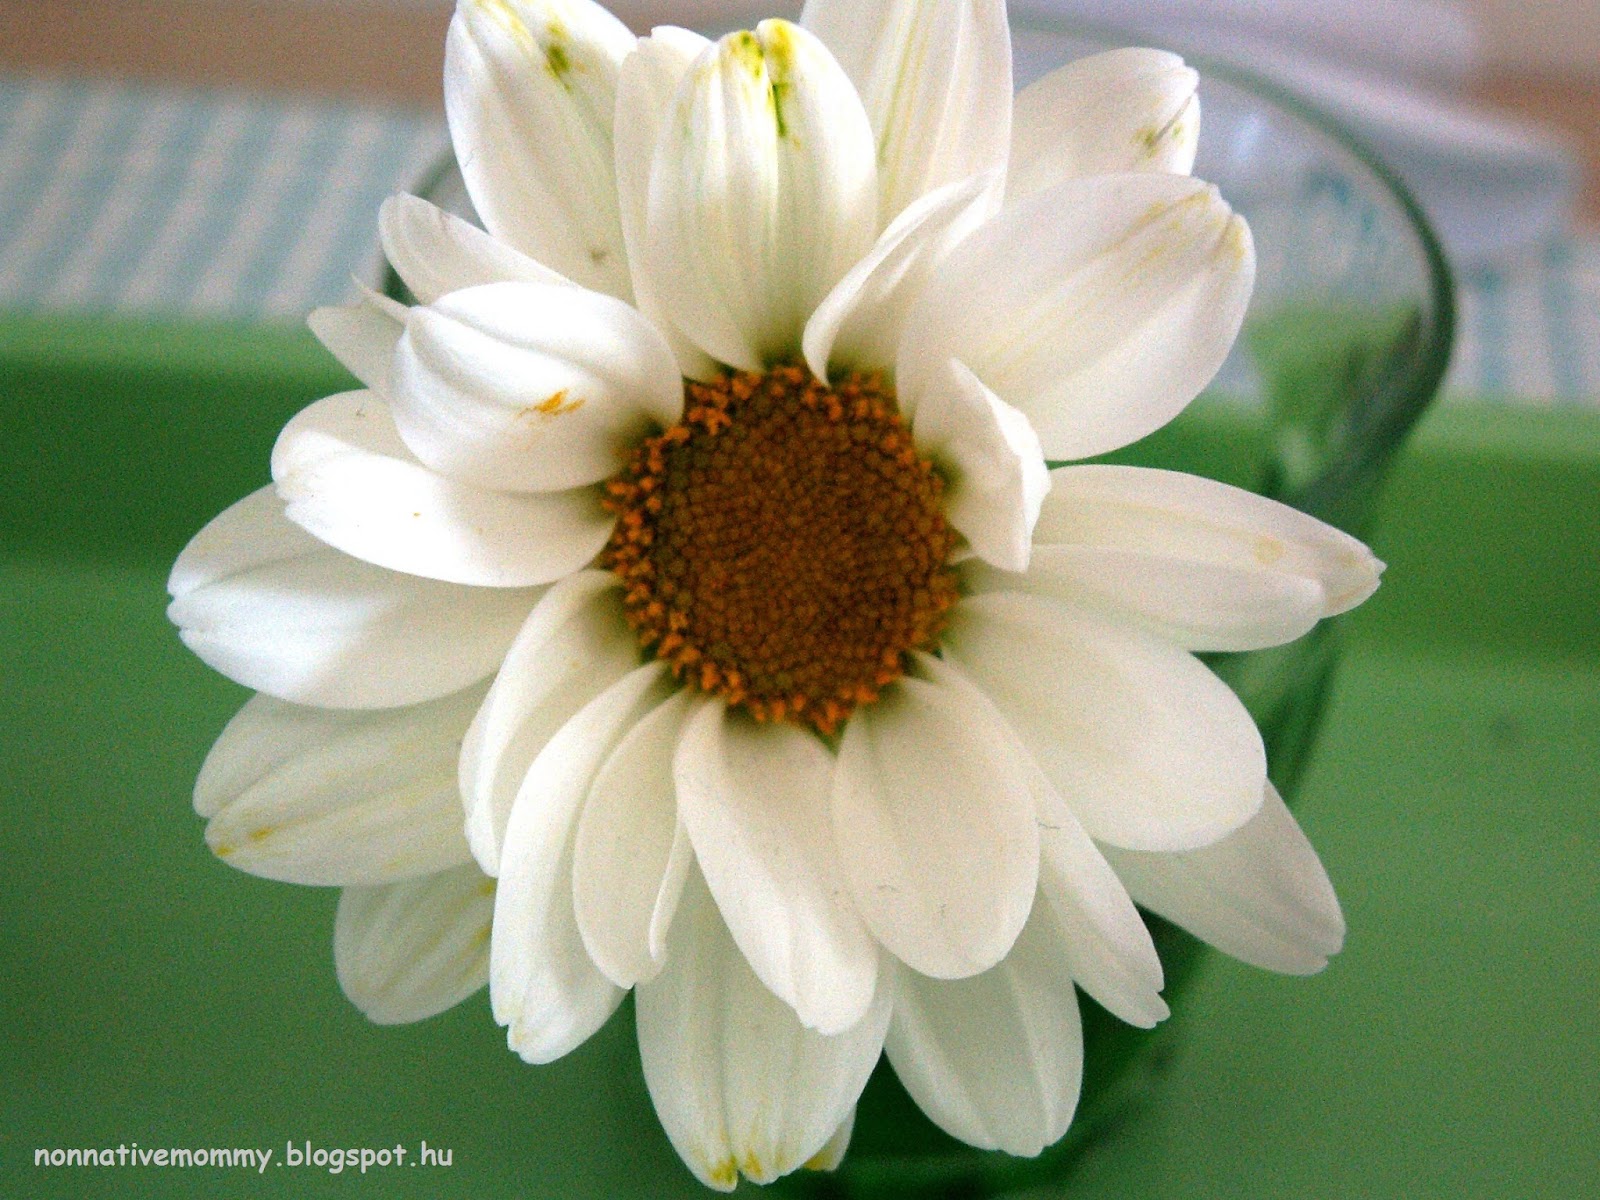
Now I’d like to share 2 of our flower activities with you (later, in another post I’ll write about some science experiment involving flowers)
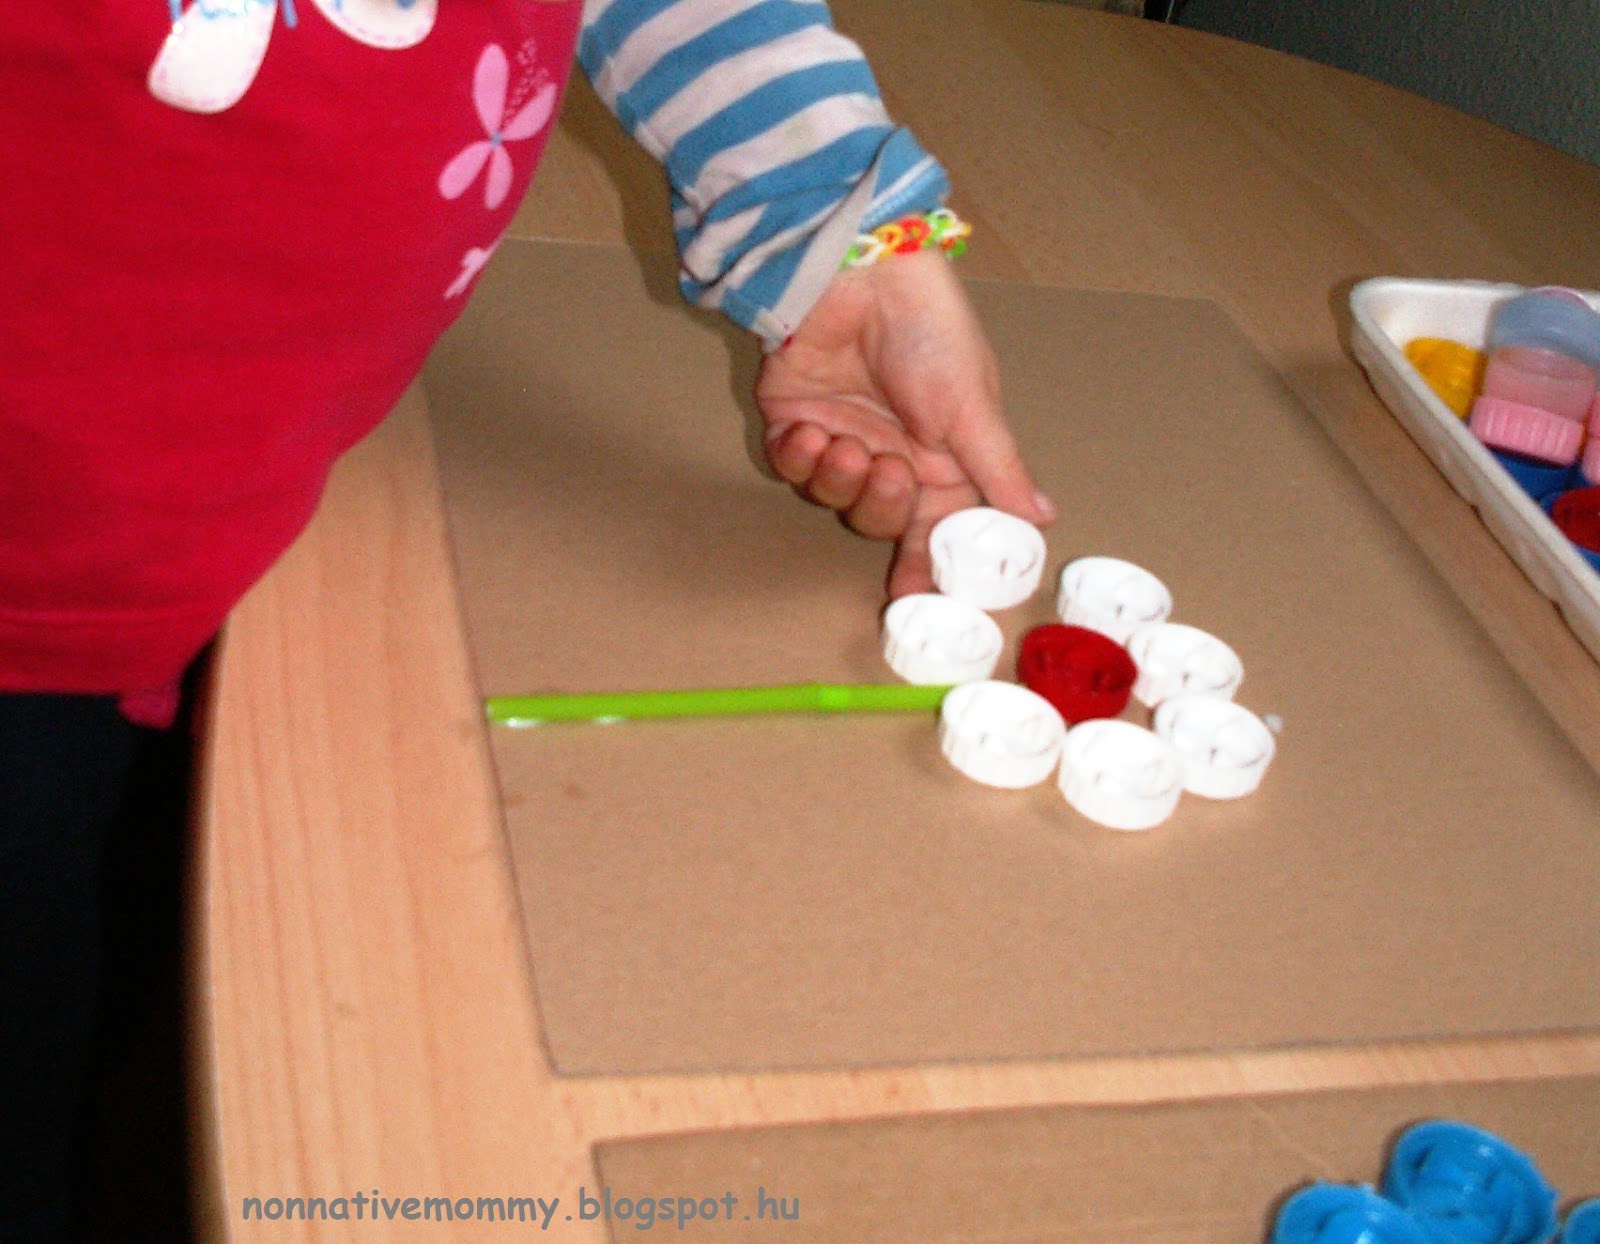
1. Bottle cap flowers
I’ve been collecting bottle tops for a long time and I’ve only had one or two good ways to use them, like the bottle cap calculator or the colour matching and size sorting activities. (I know, I know there are a number of great ideas out there how to use bottle tops creatively)
What you need:

- bottle caps of different colours
- green straws
- glue
- cardboard
- scissors (optional – not in the picture)
How to make it:
Show and explain your child the different (basic) parts of a flower. E. had already known these parts so she named them as I put together a flower.
 |
| we didn’t go under the ground so no roots |
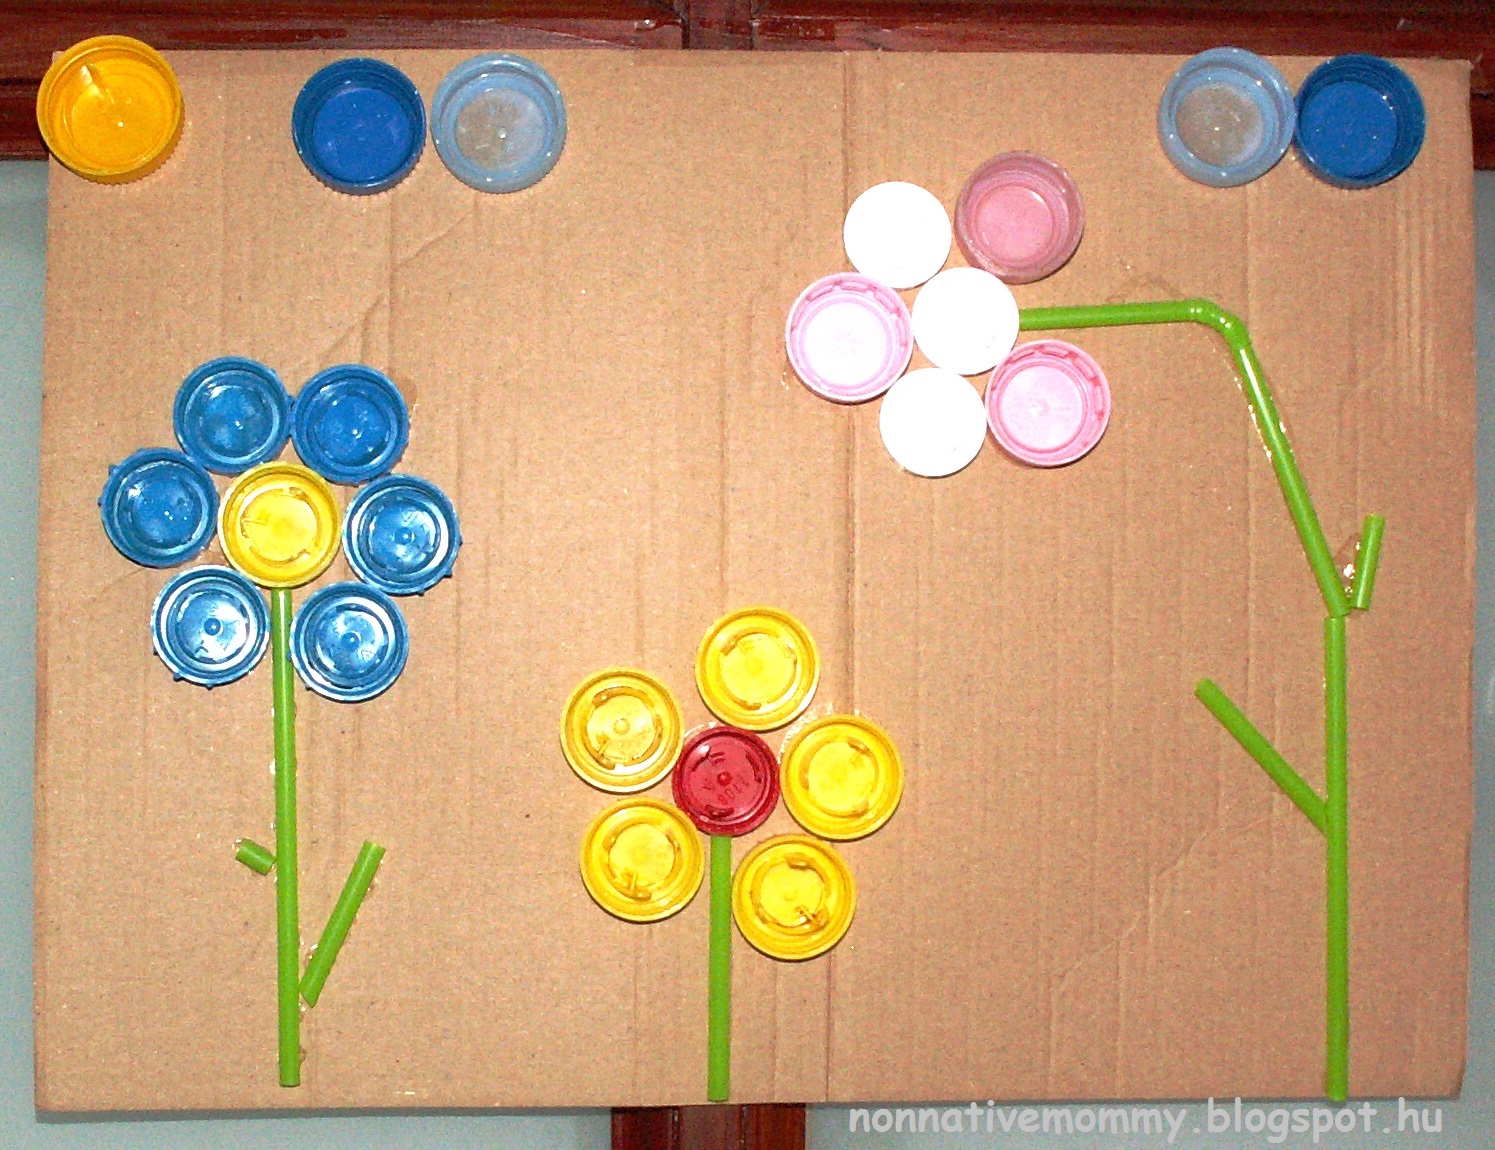
Then we both started to work on our flowers. We were talking about what colour petals we chose or if our stem was long or short, if the flower had leaves or not.
E. used the scissors herself to cut the stems.

 |
| E.’s pic |
Although not in our pictures, we also mentioned that a seed (Can you see in E.’ picture the tiny seed on the ground on the left side? It was totally her idea) should go to the ground and with the help of water and sunshine it grows into a flower (hence the watering can on E.’s picture and the sun in mine)
 |
| Mommy’s pic |
This is just the first step on parts of a flower. We’ll expand the topic later on. I’m planning to prepare some flashcards and worksheets on more detailed explanation on flower parts.
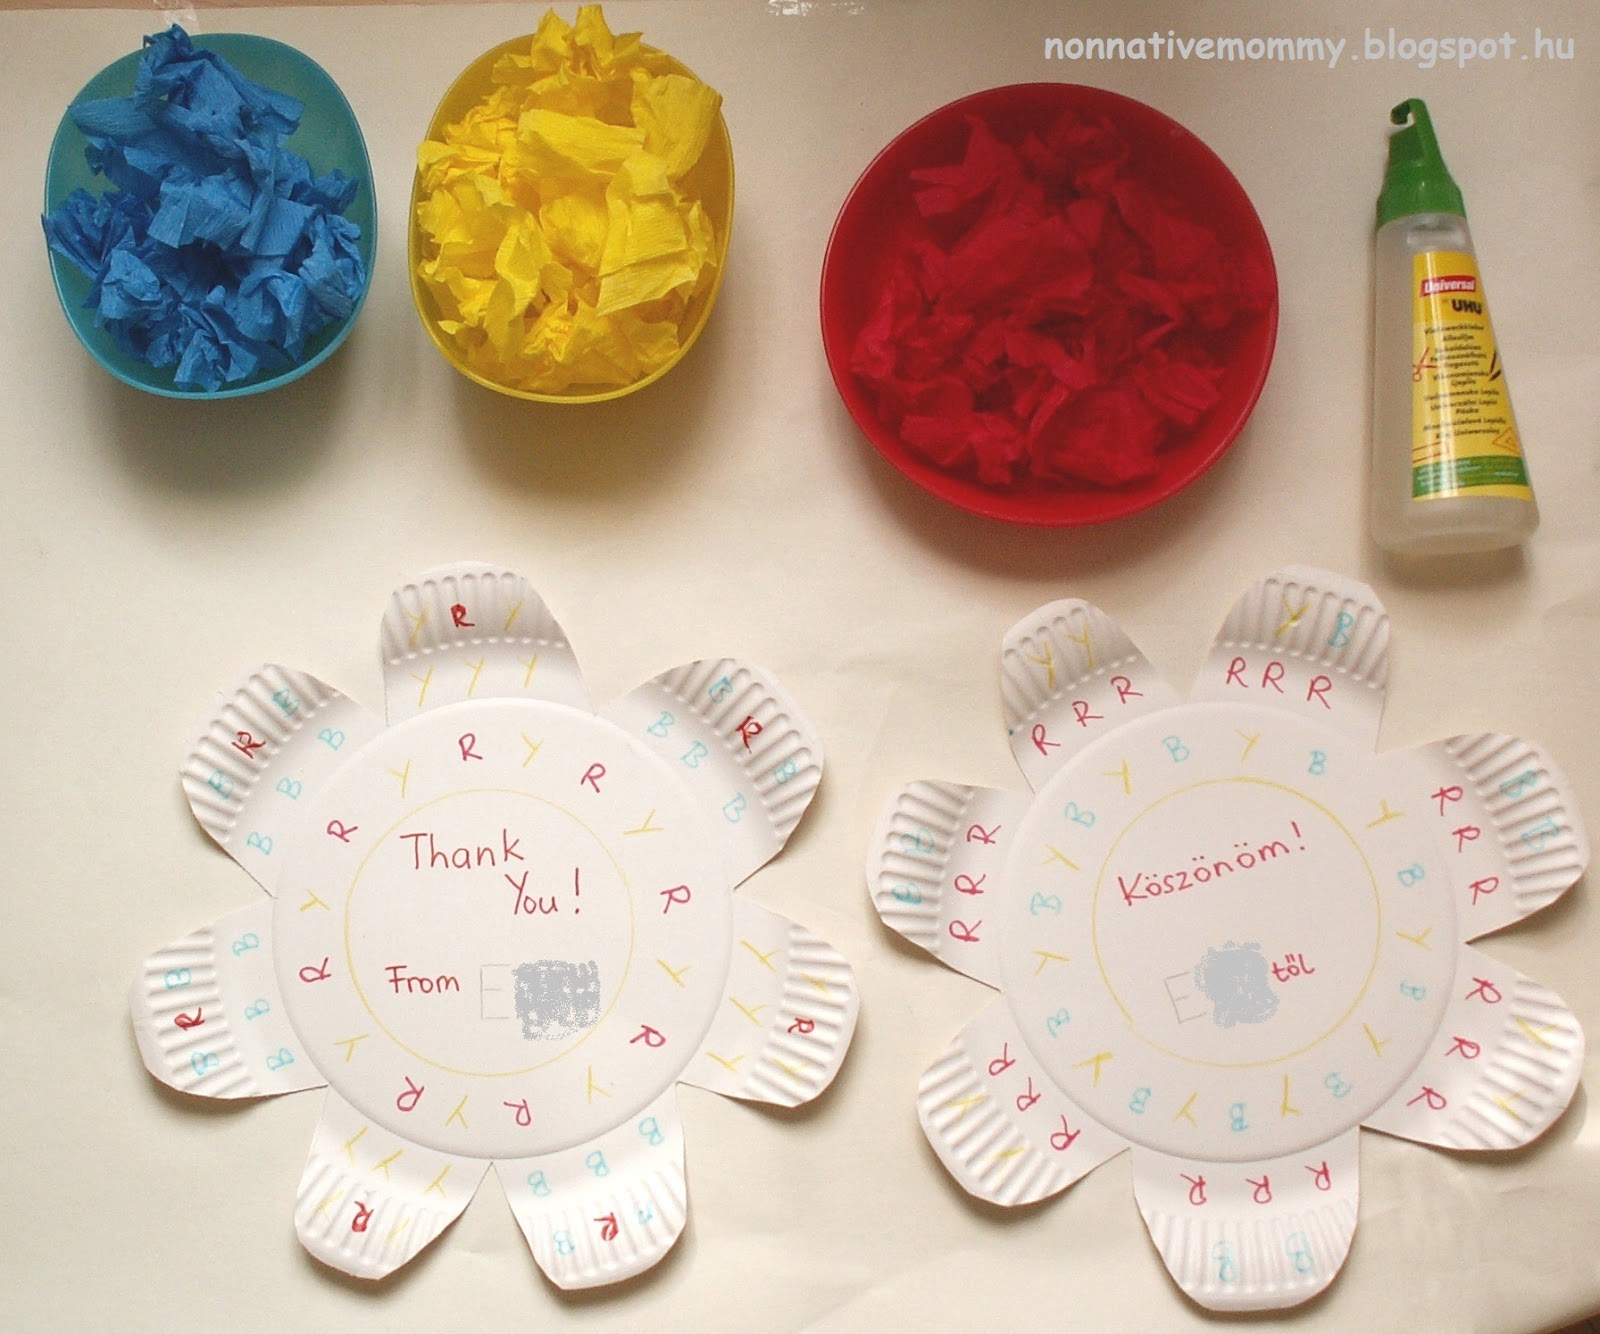
2. Paper plate flower – a goodbye present
E. has said goodbye to her crèche teachers and started kindergarten in July. We prepared these paper plate flowers as part of her goodbye presents. (You can find the original idea through the link)
What you need:

- paper plates (we used 3 for 3 flowers)
- crepe paper of different colours
- Popsicle sticks
- green paint
- glue
- cello-tape (optional)
- markers
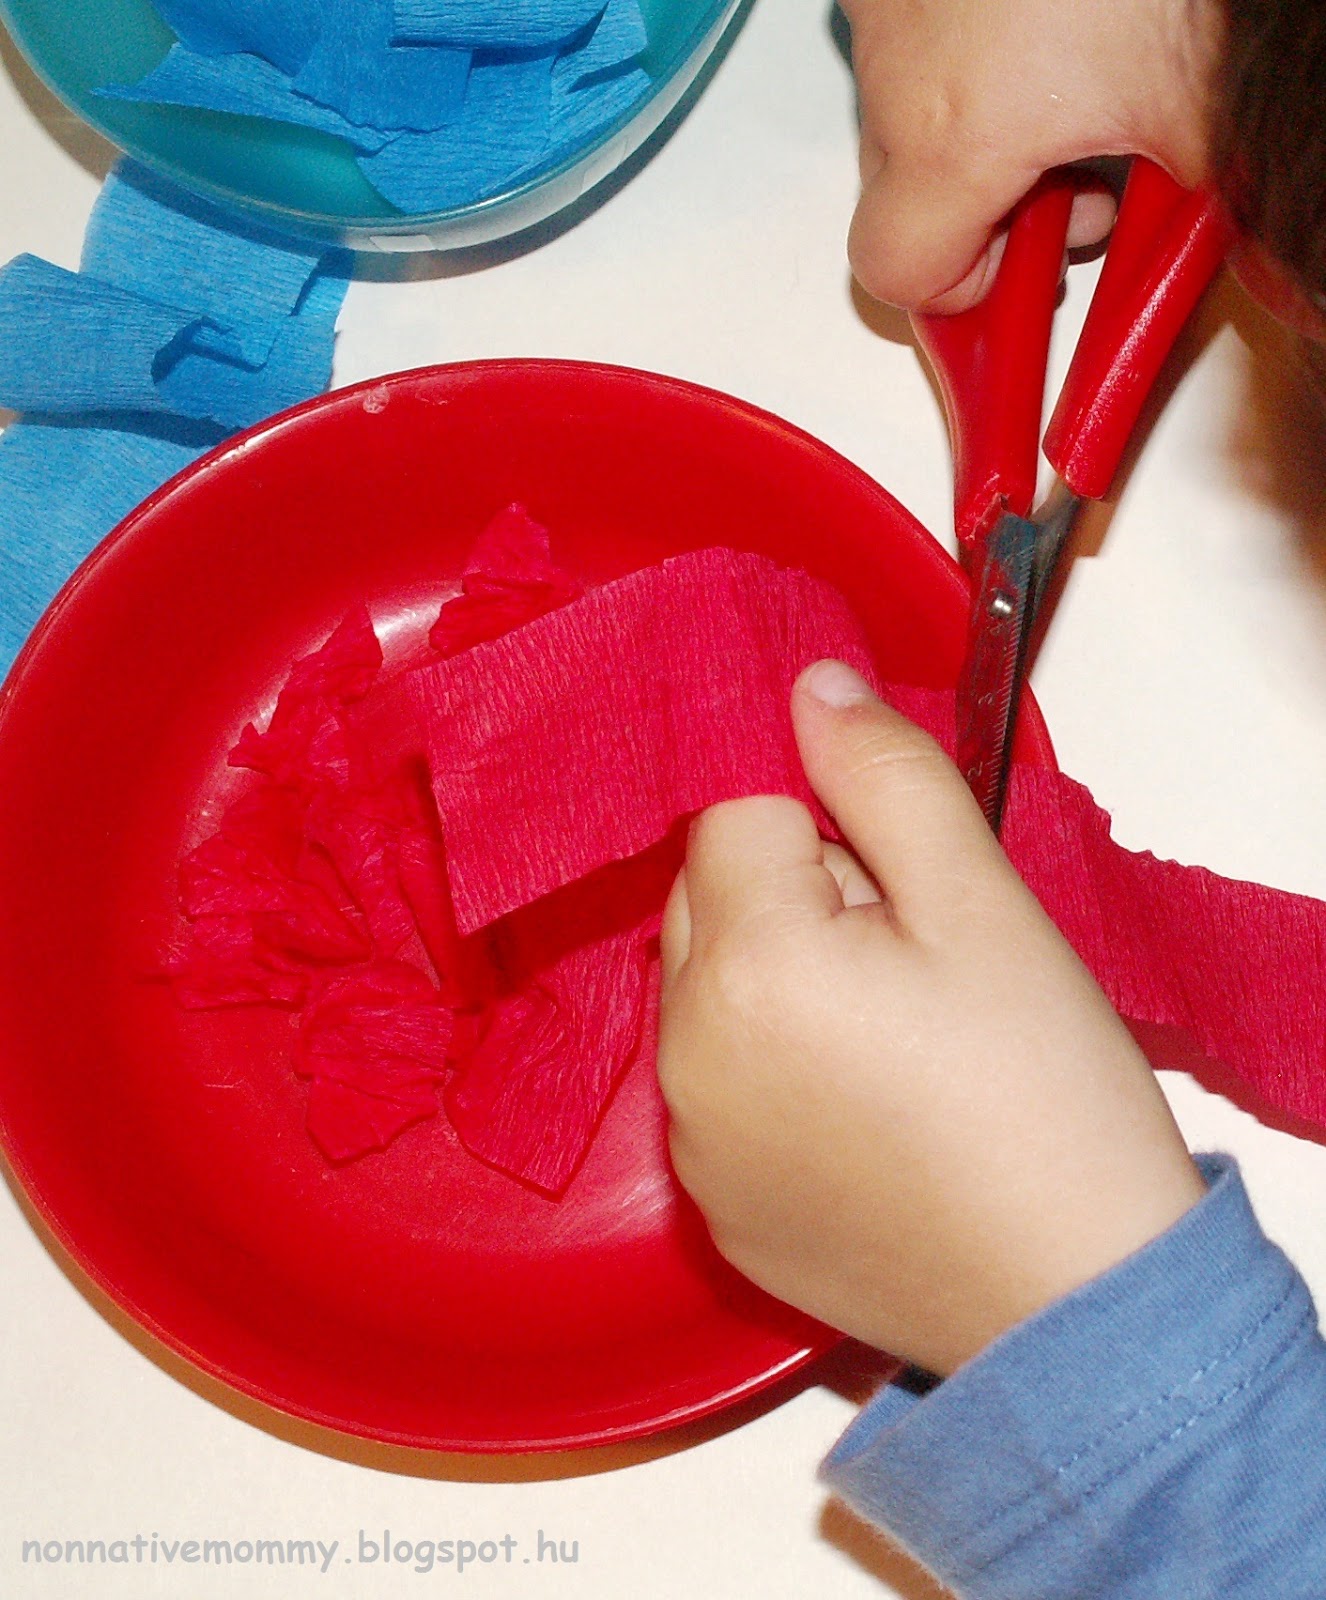 |
| Cutting practice |
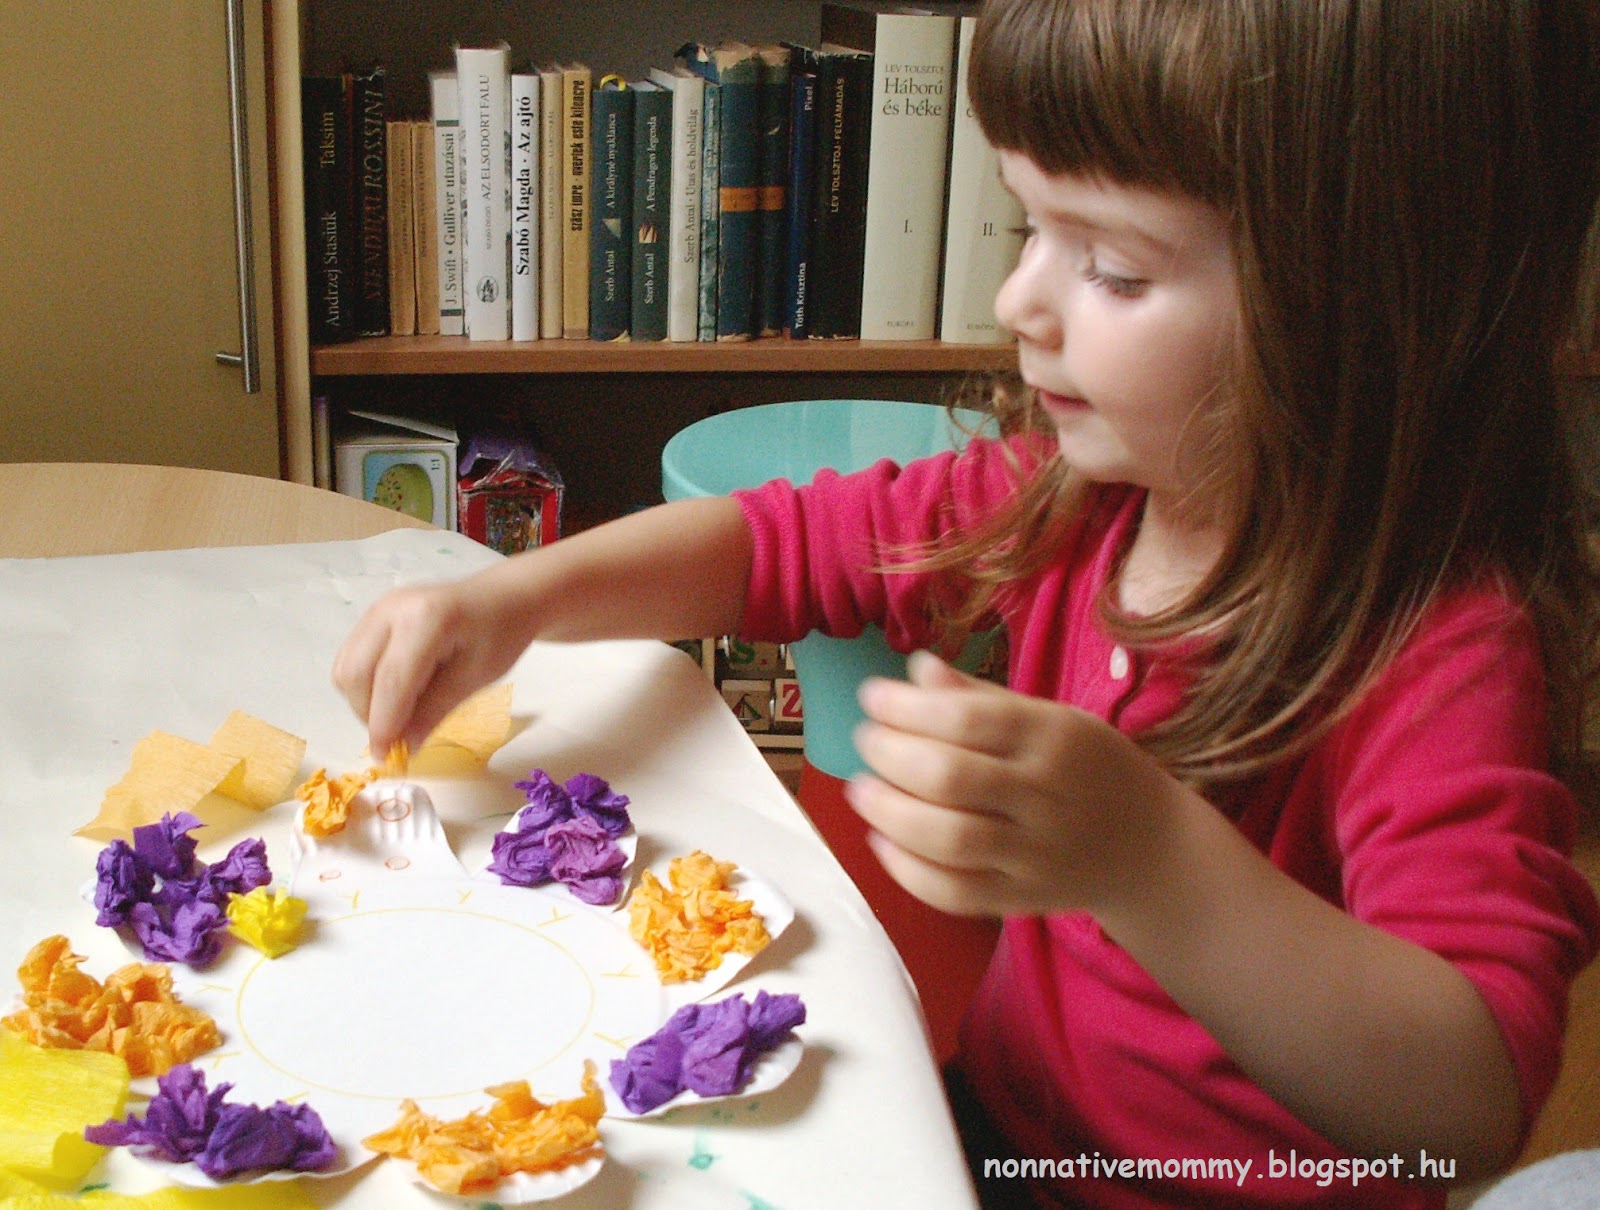 |
| Pinching the crepe pieces |
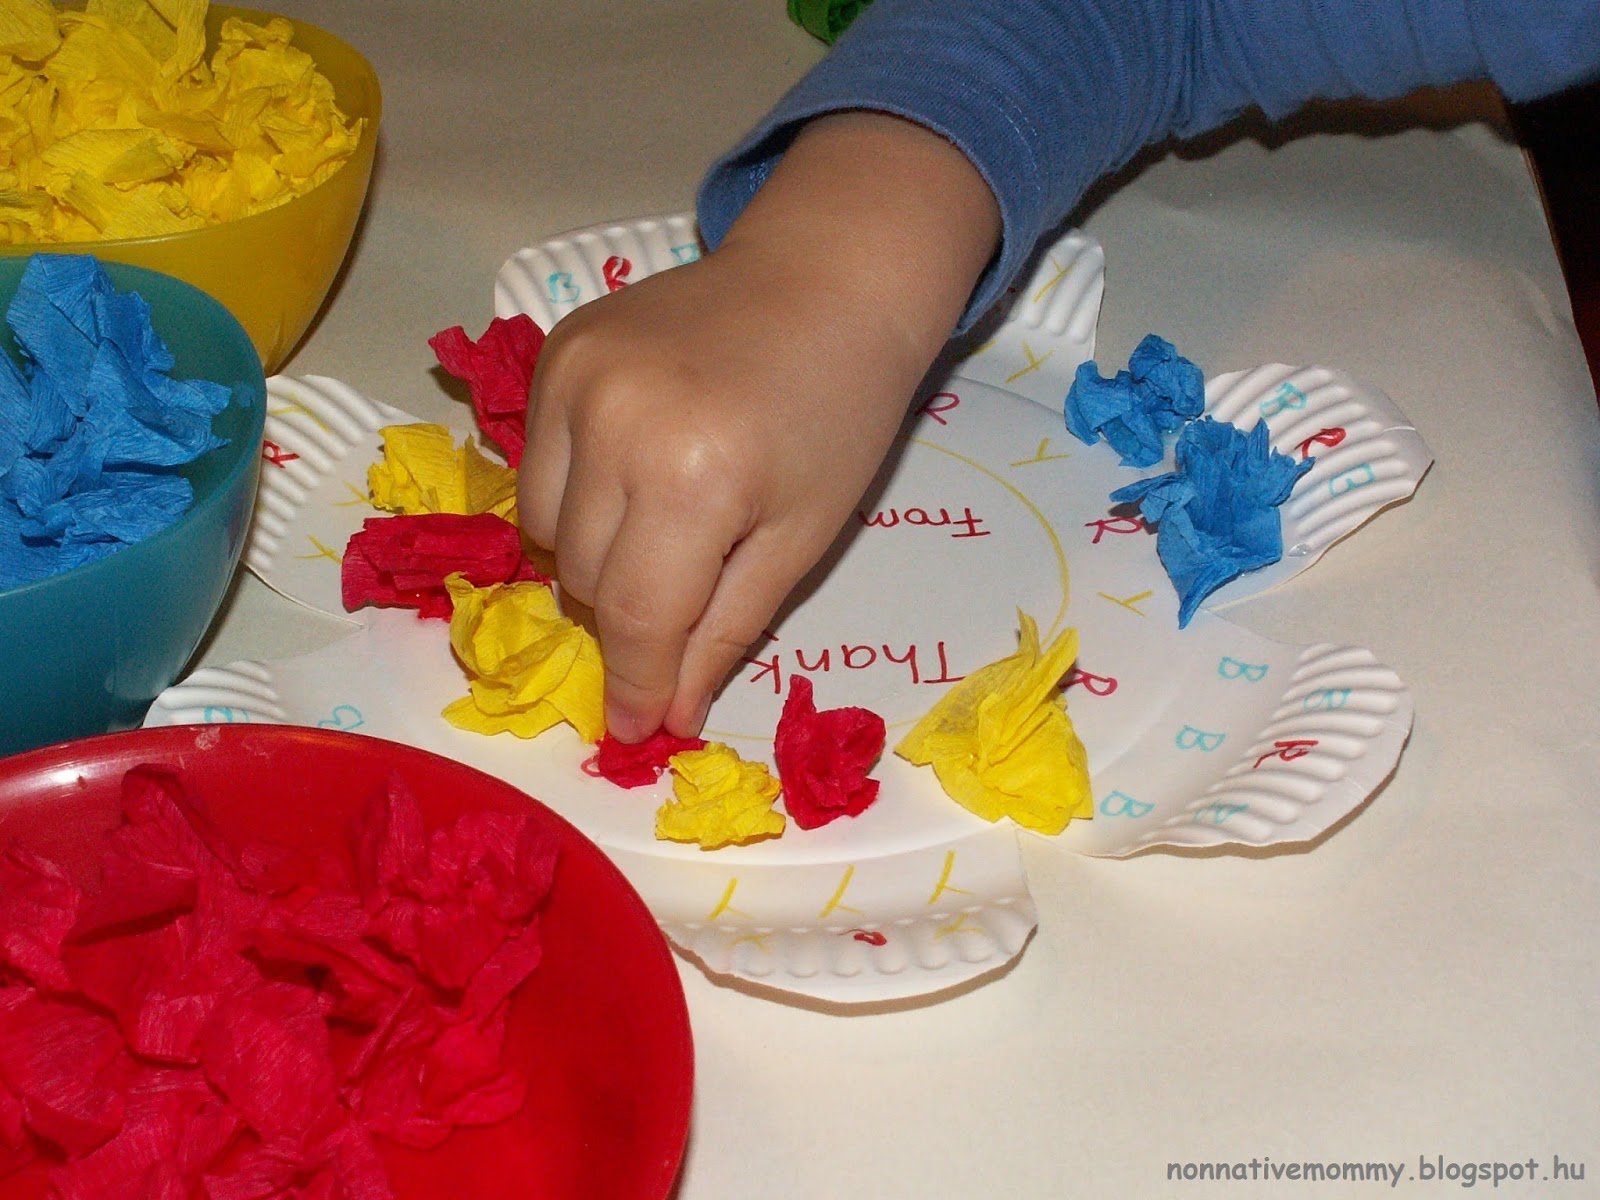
 |
| just a dab of glue |
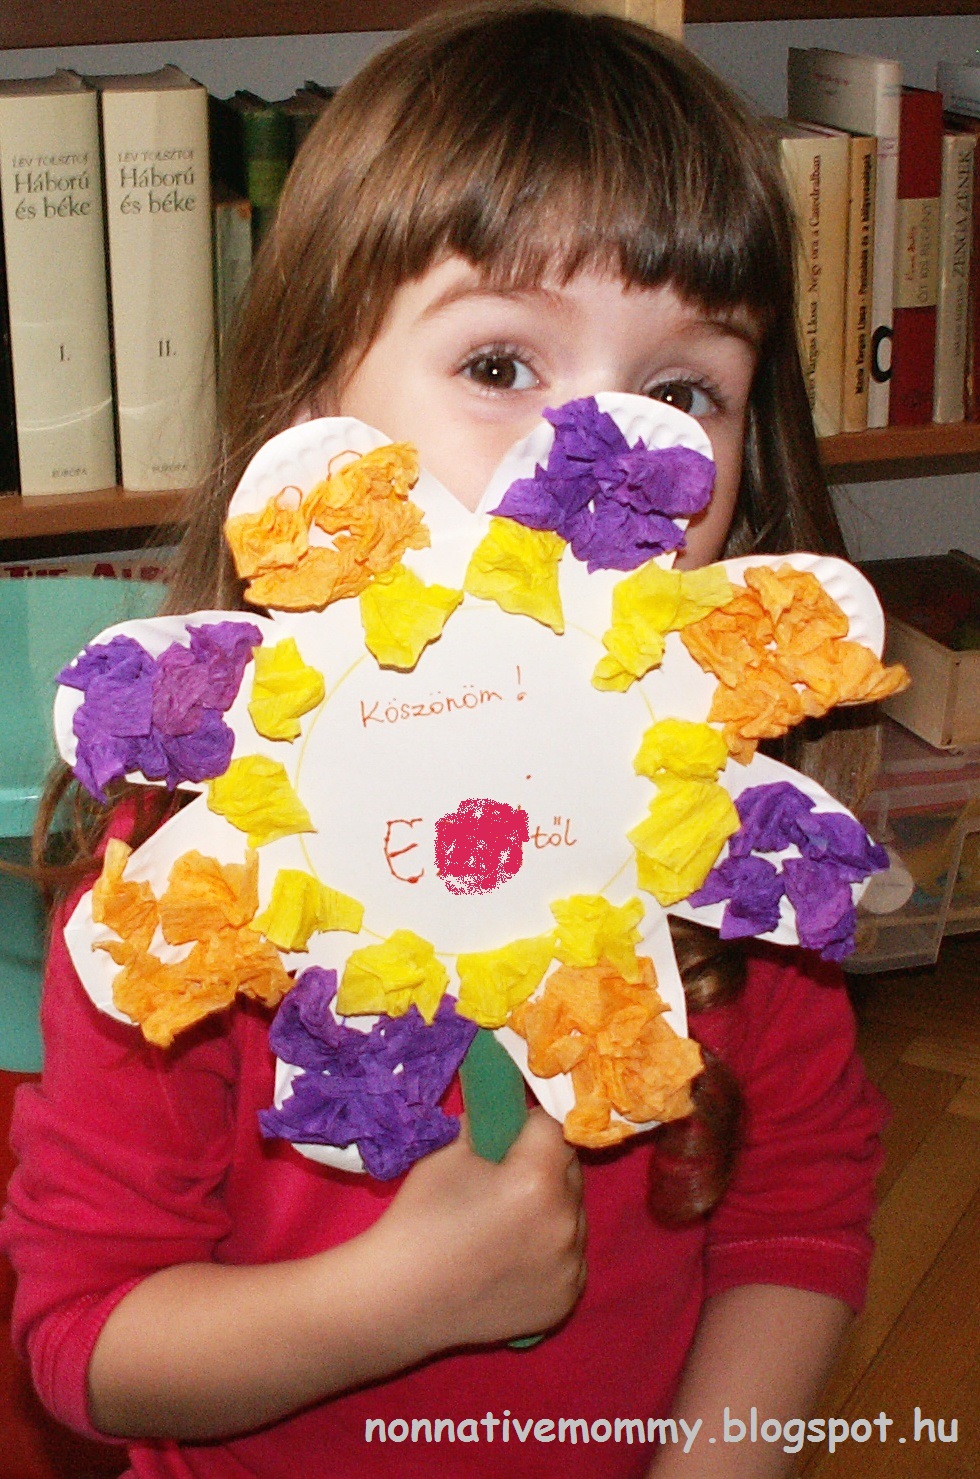
 |
| A goodbye flower for Ms B. |
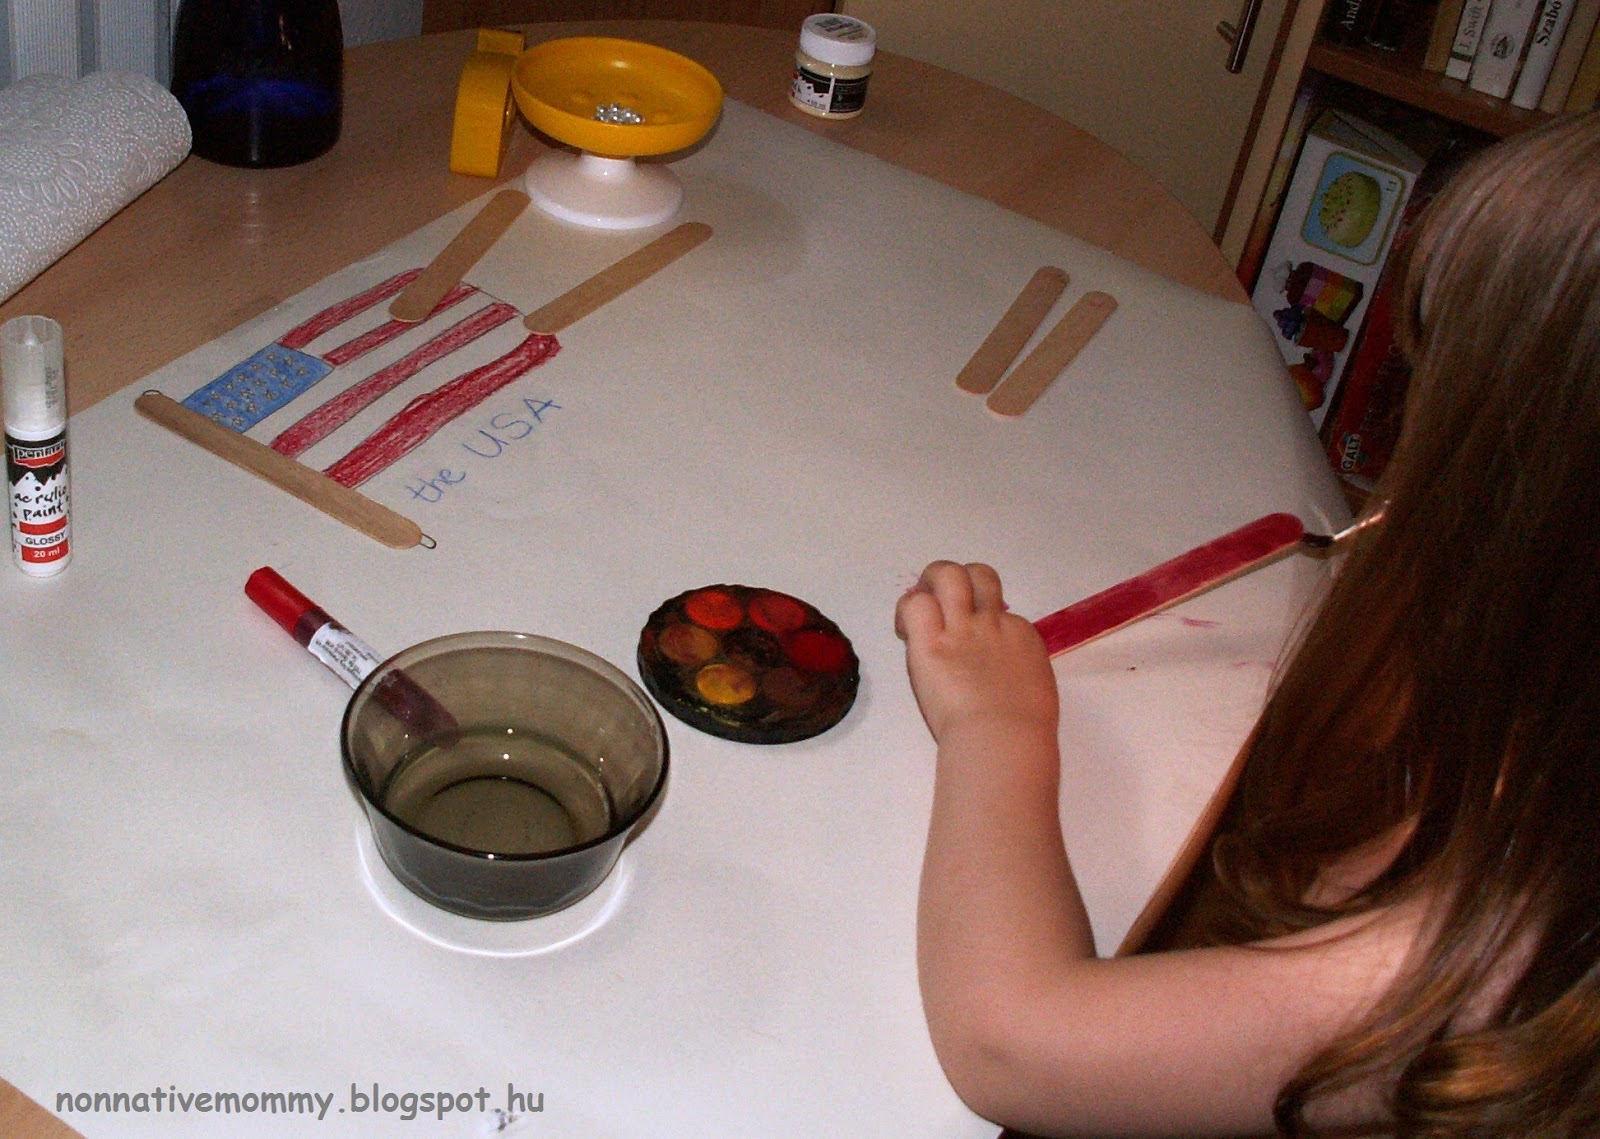
Finally, we painted the popsicle sticks and glued them on the back of the flowers. (I fixed them with cello-tape just to be on the safe side.)
We did this projects in two goes as it was tiring and long-winding.
E. was still enthusiastic, even at the second round.
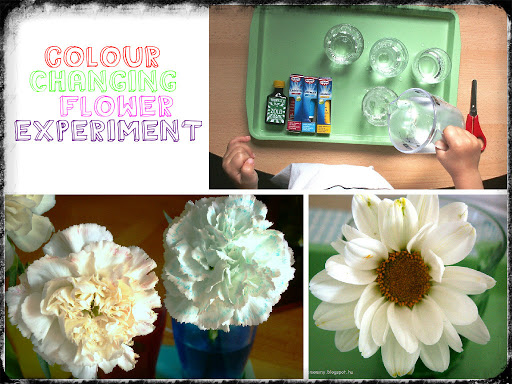
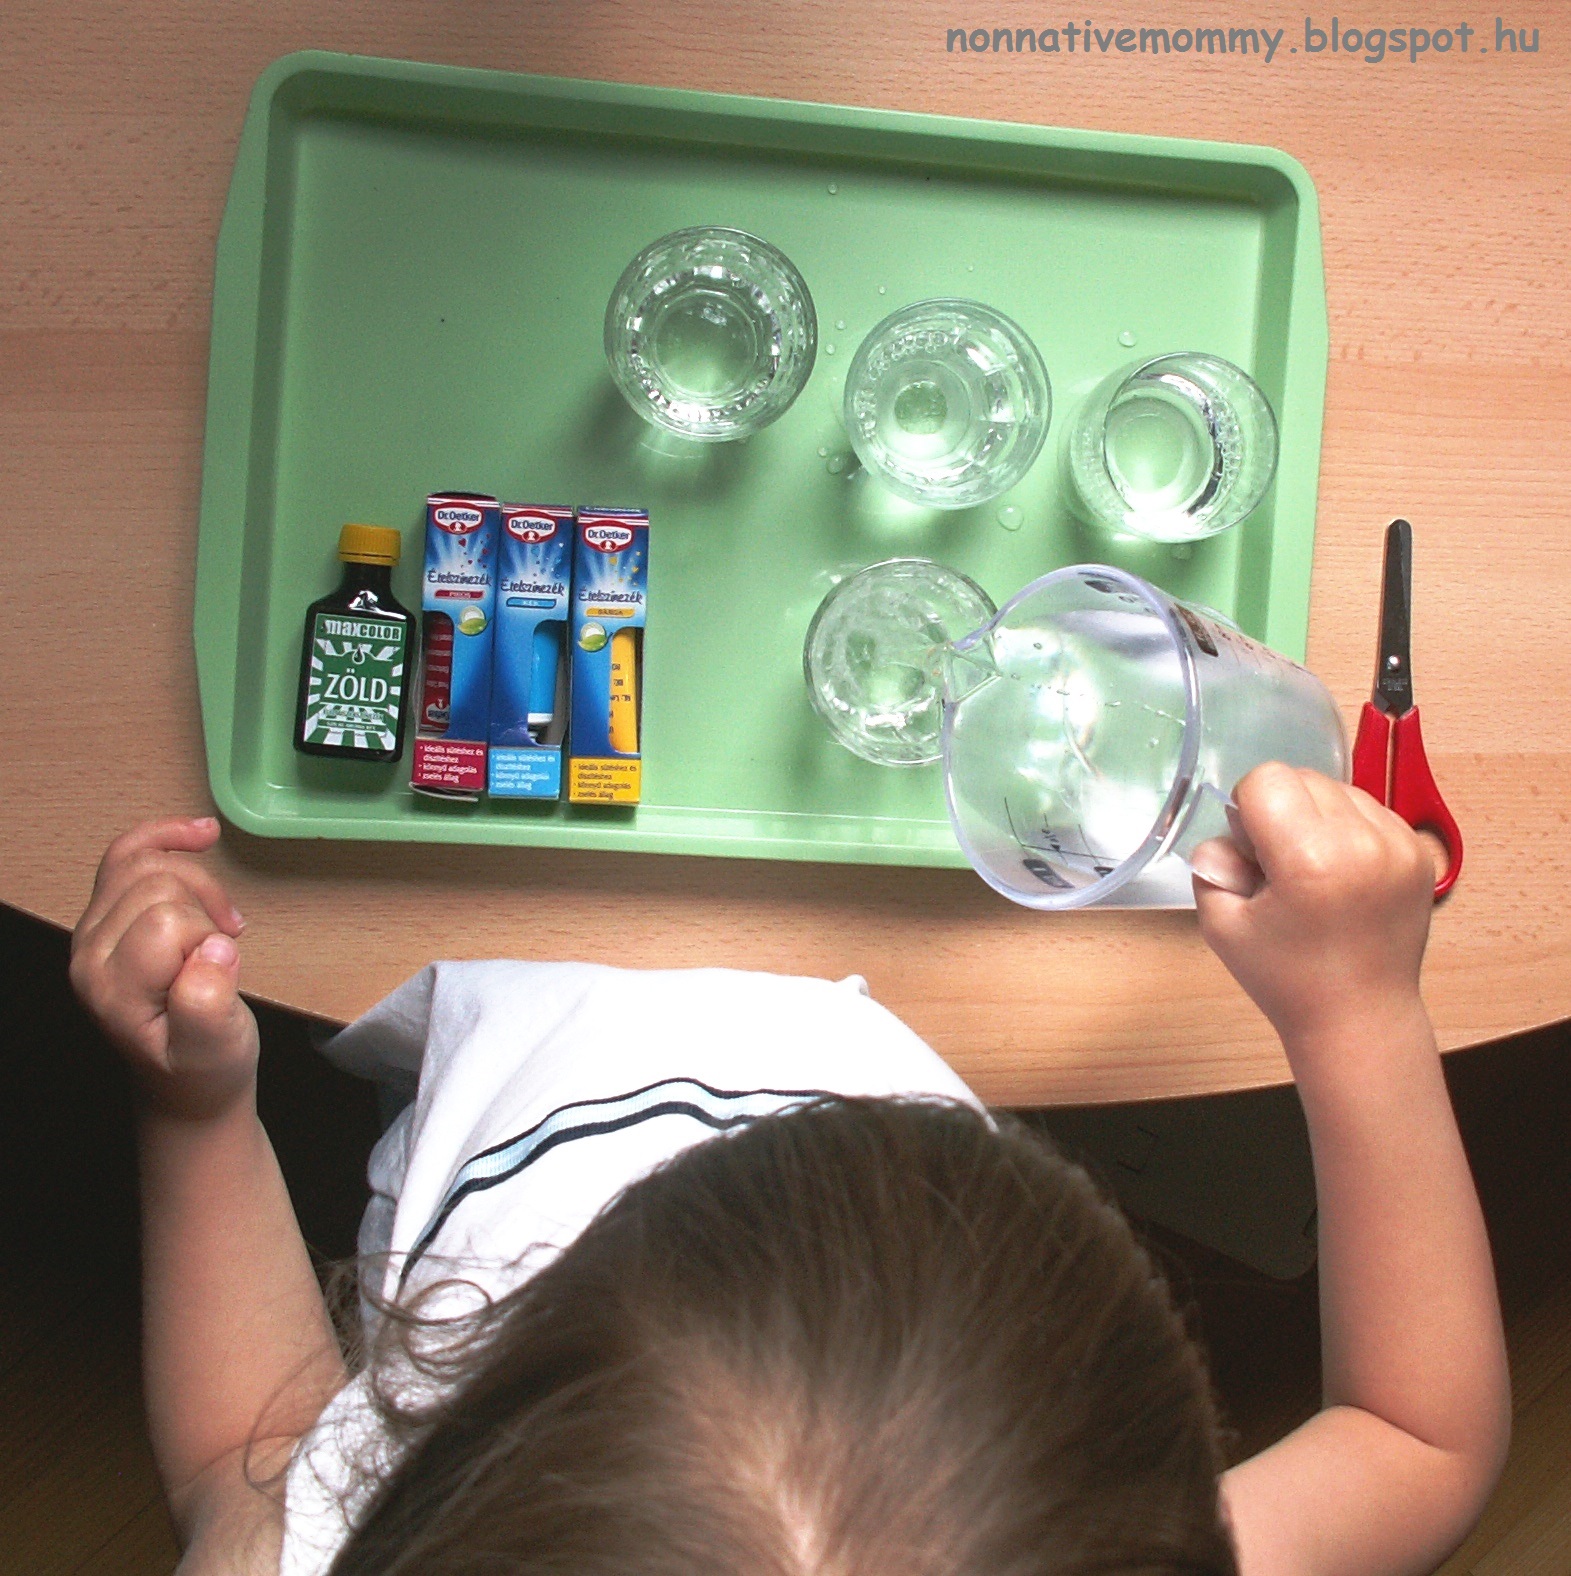
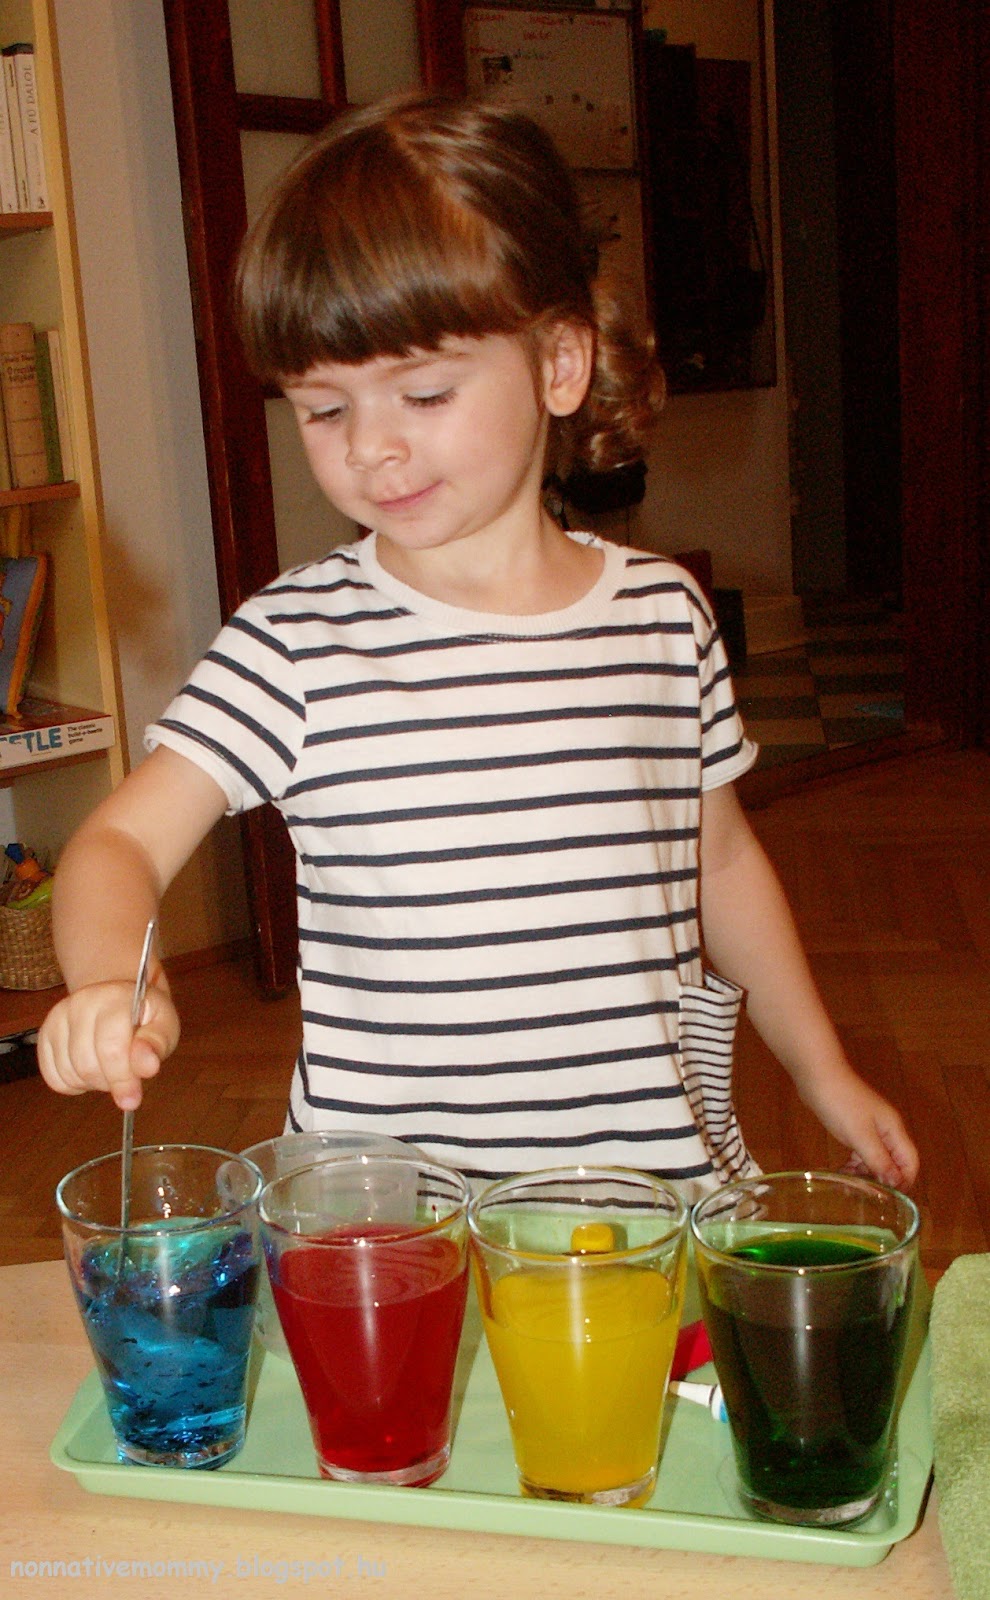
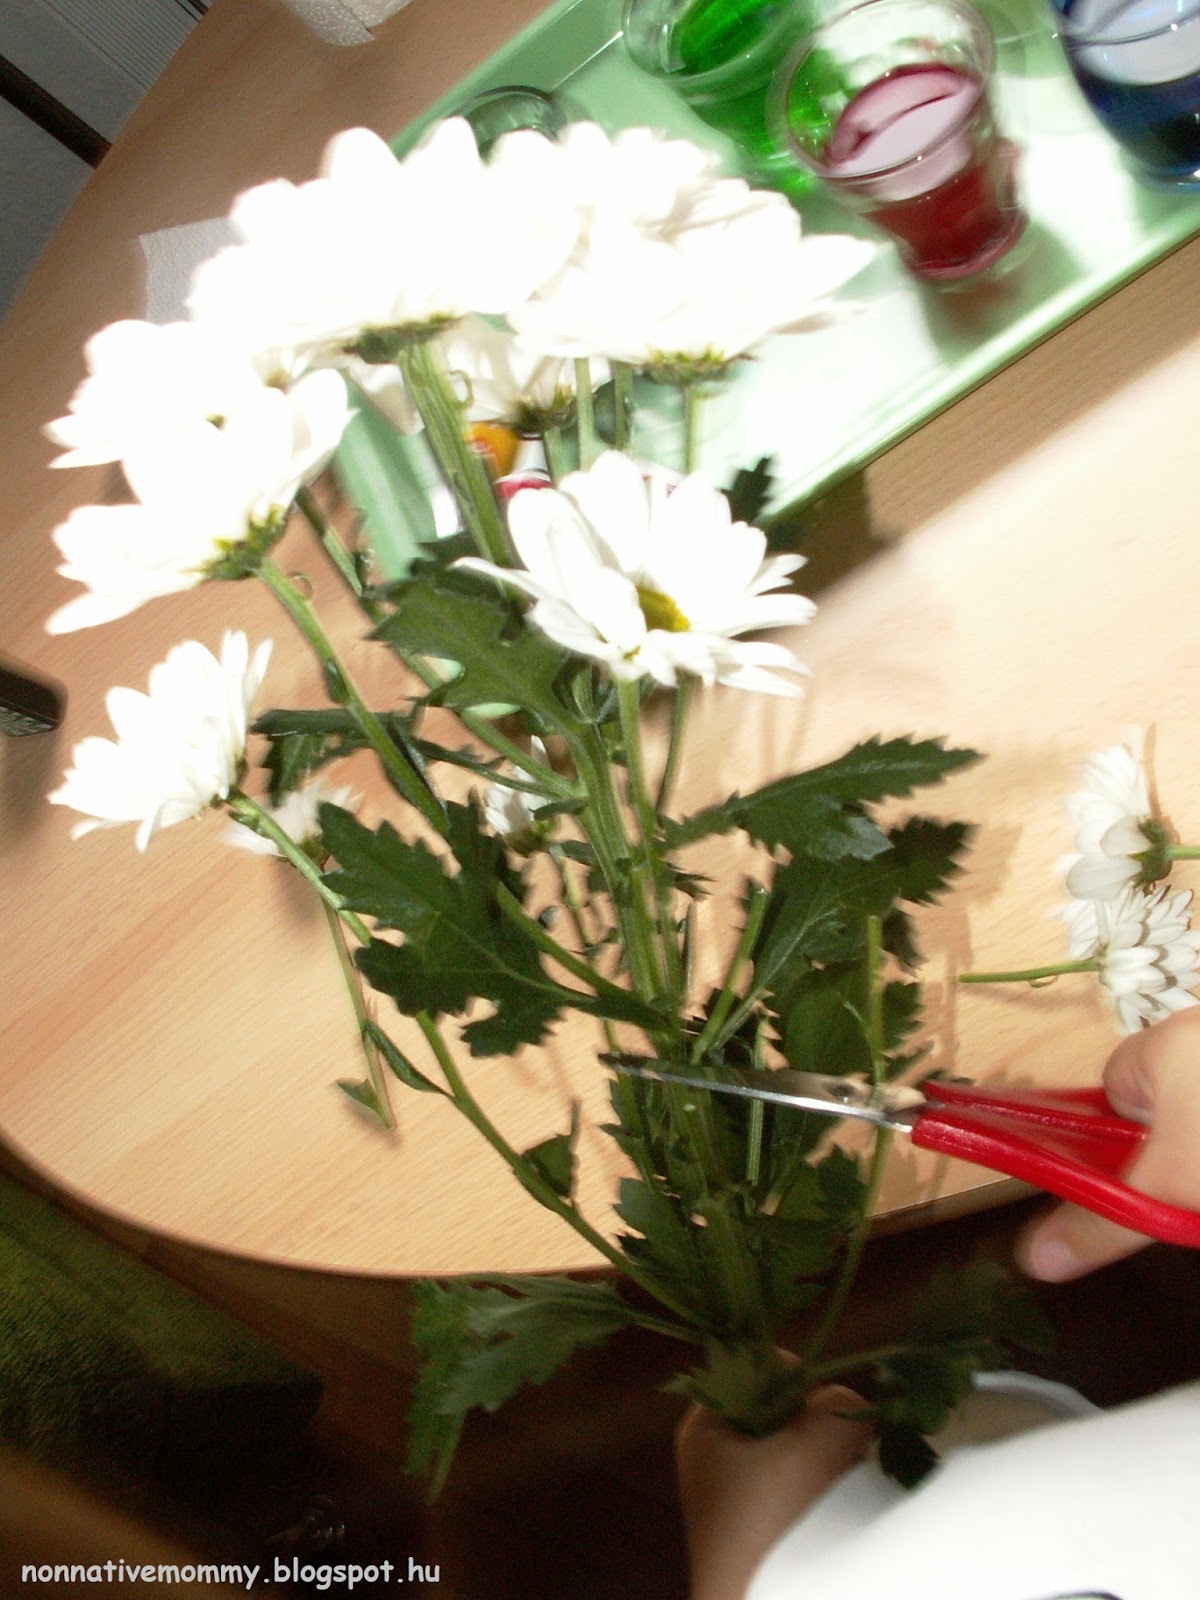
To be continued…. with a flower science experiment. Stay tuned!