Halloween party 2017

Our Helen Doron school organised a Halloween party at the weekend before Halloween. As a whole family we were invited.

Little L. grew into E.’s old skeleton costume. E. wanted to become a spider (she’s been into creepy-crawlies recently, which is clearly the influence of her new kindergarten friends). I made her spider costume out of things we found at home. E. also helped a lot make it. Daddy borrowed a wizard‘s cape, and I made myself into a witch (this was the easiest after having put the skeleton PJs on Little L.).

We fooled around at home a bit in our costumes and headed to our Helen Doron School party.

20171027_173410

As usual, there were some yummie and scary treats,

…a spooky room, where the kids could touch a BRAIN!


20171028_171915

Our teachers read our minds and dressed up as E. and L.:


There was a crafty session as well. Little L couldn’t really take part in it, I made her haunted castle, but E. did her best.

22904903_1434930419888758_3017870453313678995_o.jpg

We also made some slime, without which Halloween could be unimaginable. Thank Goodness (and Helen Doron Teachers), we didn’t have to do it at home.

20171028_181029

We had fun … again and again. Thanks a million!

And I wonder what costume E. can challenge me with next year.

20171031_140633


Cotton bud skeleton reloaded

The cotton bud skeleton was also an old craft we did with 2-and-a-half-year-old E. She needed a lot of help at that time, but now, when we created it again she did everything all by herself.

She did the cutting of the cotton bud sticks, did the gluing and she even cut the big blue construction paper half perfectly straight (without a helping line).

Everything started with the huge skeleton puzzle we put together. We added white bottle tops as joints.

20171023_164553

And then came the cotton bud skeletons. We left L. out of this project as she still likes to put tiny things in her mouth.

So here is how we made the dancing skeletons. Of course, we revised the different bones in our body. Make sure you notice the doble bones in the lower arm, and the lower leg. e. was very accurate to make it right as on the skeleton pyjamas they’re just single bones, which is WRONG.

20171025_103710
cutting
20171025_104022
sticking

And here are our skeletons. The dancing bones.

20171025_104138

Shape witch reloaded

As I was going through the old Halloween blog posts I found the shape witch activity which was so much fun even when E. was only 2 and a half years old. I told her all about it and she got really excited. She wanted to make the shape witch again.

So be it. I though we could involve little L. as well since she’s almost 2 and she loves shapes.

With 2 kids craft projects are challenging indeed hence I prepared the activity by the time our new nanny, N. came to us for a session with E.

20171024_165751

I pre-cut the shapes and presented them on a tray. I left some for E. to cut if she wished and she did, of course. She loves cutting.

20171024_170141

Both kids enjoyed the witch building from shapes.

20171024_170357 (2)

L. was fascinated by the glue so after having finished with the witch we stayed a little longer to glue on some shapes randomly. We were practising both shapes and colours, not to mention how well this pushing motion helps to strengthen hand muscles.

20171024_171159

And here are the final results:

20171024_191346
Little L.’s creation
20171024_191342
E.’s witch is on the left, N.’s witch is on the right


5 little pumpkins

We have tons of Halloween activities , decorations and tiny figures to play with but I wanted to make something new to the girls. As E. loves the rhyme/song 5 little pumpkins I decided to make something in connection with it.:

5-Little-Pumpkins

What you need:

  • 9 popsicle sticks
  • 5 felt pumpkins or jack-o-lanterns
  • glue
  • marker
  • self-adhesive Velcro (or small wooden clothes pegs – this would have been too difficult for little L. to handle so I went for the Velcro to fix the pumpkins on the popsicle sticks)

20171023_152110.jpg

How to make it:

  1. I put 5 popsicle sticks next to each other vertically
  2. I glued 2 popsicle sticks on them horizontally
  3. I repeated step 2 on the other side then let it dry for an hour
  4. I put the Velcro on the back of the pumpkins and on the top of the 5 popsicle stick (it’s better to put the rough part of the Velcro on the sticks and the soft ones on the pumpkins)
  5. I drew Jack-o-lantern faces on the pumpkins
  6. (optional) I wrote the title of the poem on the gate
20171023_153032
E.’s favourite doggie dressed as a pumpkin

The fun could begin. Both girls enjoyed playing with it. E. was chanting the rhyme. L. was taking the pumpkins off and putting them back on, plus she counted them from 1 to 5.

20171023_153138

20171023_153041


While L. was sitting on the potty and we were playing with the pumpkins on the gate L. was trying to say the poem with me 🙂 A few word she got right like: late,  care, fun, run, lights, pumpkin

E. replaced the pumpkins with some felt bats.

20171023_153347_.jpg

There’s more fun to come with the pumpkins on the gate… I’m sure.


Mummy lantern

This Halloween was quiet. E. wasn’t so excited about it this year and Baby Sis is too little to understand it at all. The party we wanted to throw had to be cancelled as some families got ill some other went away for the long weekend.

Therefore a calm and peaceful (not at all frightening) family fun took place on the 31st.

E. and Daddy went to buy a pumpkin in the morning and after decorating our living room with some Halloween decor …

… Daddy carved the pumpkin. (We made it lit up with led tea light inside as last year due to the flame the pumpkin got cooked on the inside and rotted away quite quickly. Not to mention the fact that led tea lights are more baby-friendly). E. drew the eyes and the nose of this year’s jack-o-lantern.

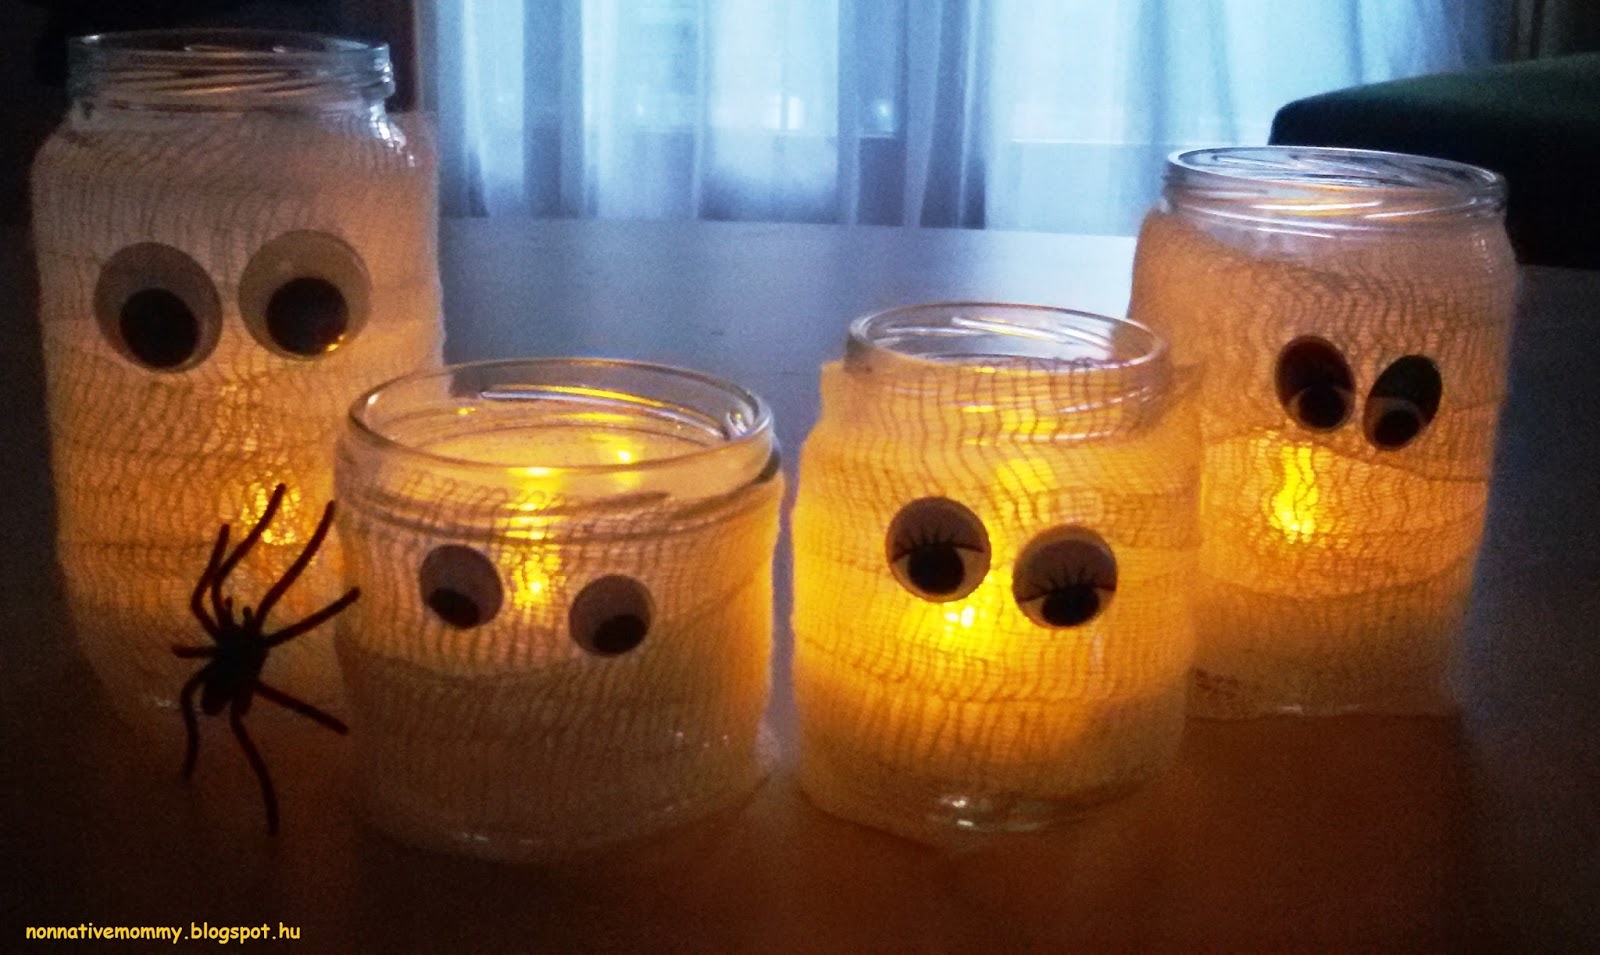
Then came a little crafting. Mummy lanterns. (The original idea came from last year’s Halloween party at our Helen Doron school).

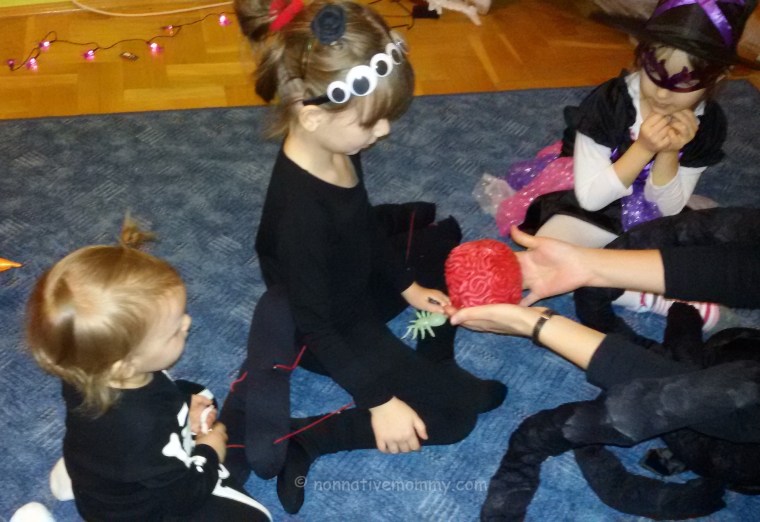
At first I wanted to make only 2 mummies, but E. had something different on mind. She wanted a mummy family.

What you need:

  • 4 baby food jars (2 little and 2 bigger)
  • 4 (led) tea lights
  • gauze rolls (cheap at the chemist’s)
  • 4 pairs of googly eyes
  • glue
  • cello tape

How to make them:

  1. Wash the label off the jars
  2. Fix the end of the gauze on the jar with a little cello tape
  3. Wrap the gauze around the jar (make one or two layers only or the tea light won’t be seen through)
  4. Fix the gauze with cello tape when finished with the wrapping
  5. Glue the eyes on
  6. Add the tea lights
Mummy family with pet spider 💀👻

Of course, we didn’t miss out on a Halloween party altogether as in our Helen Doron school a spooky-crafty fun Halloween was organised for the kids on 29th and we were invited.

The party was just as fantastic as the last year’s. Here come the pictures:

E. dressed as a (pretty) ghost
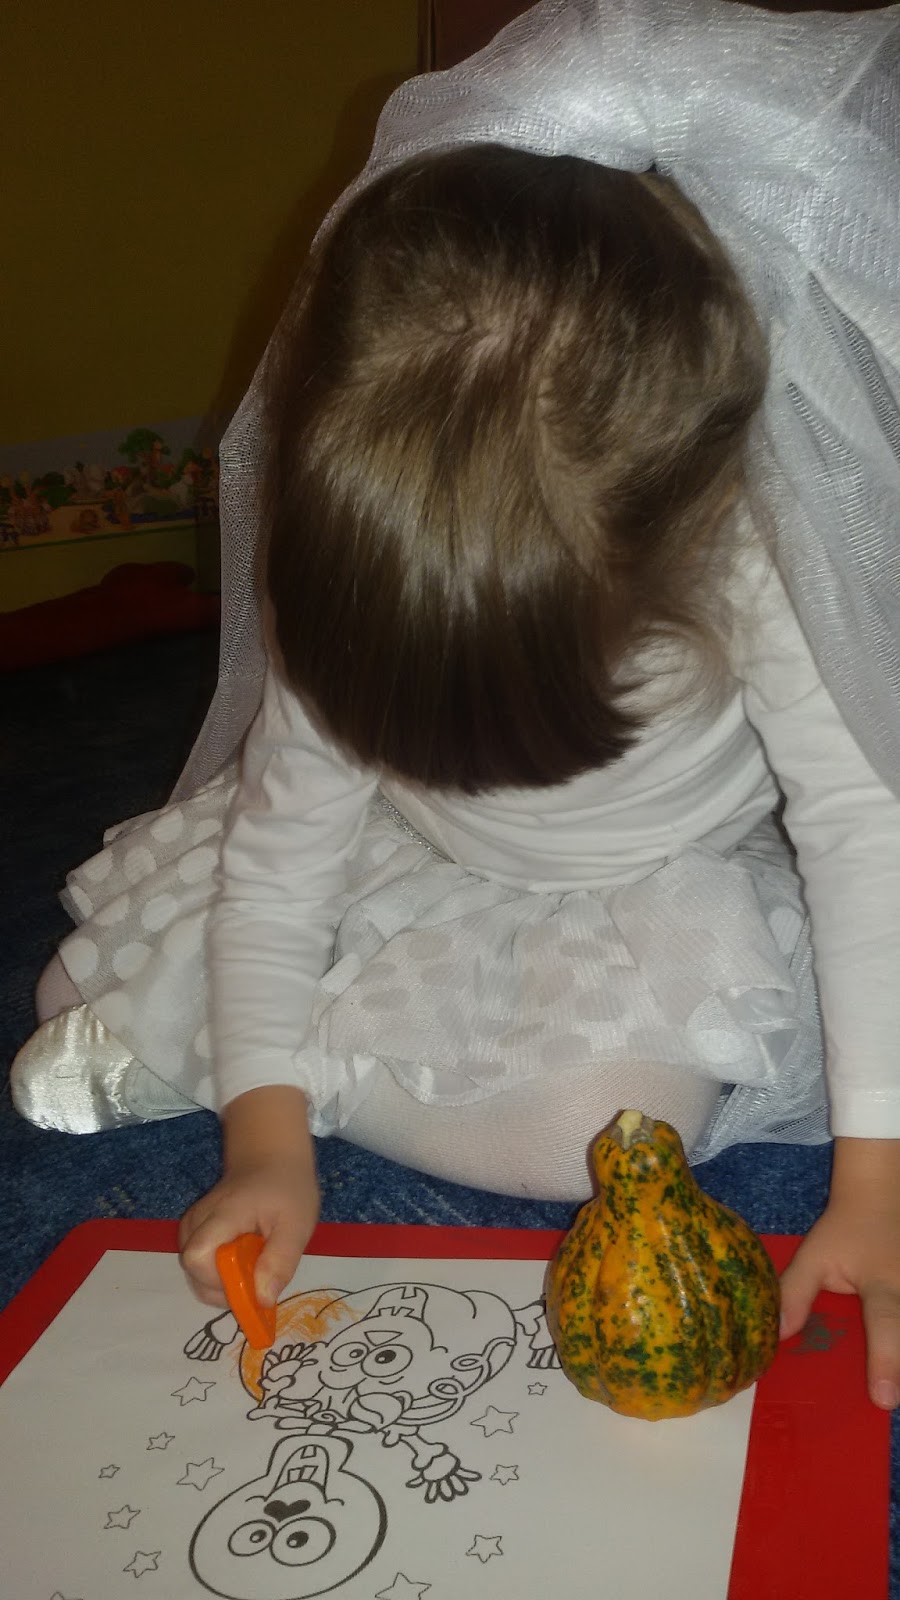
Baby Pumpkin with her gourd

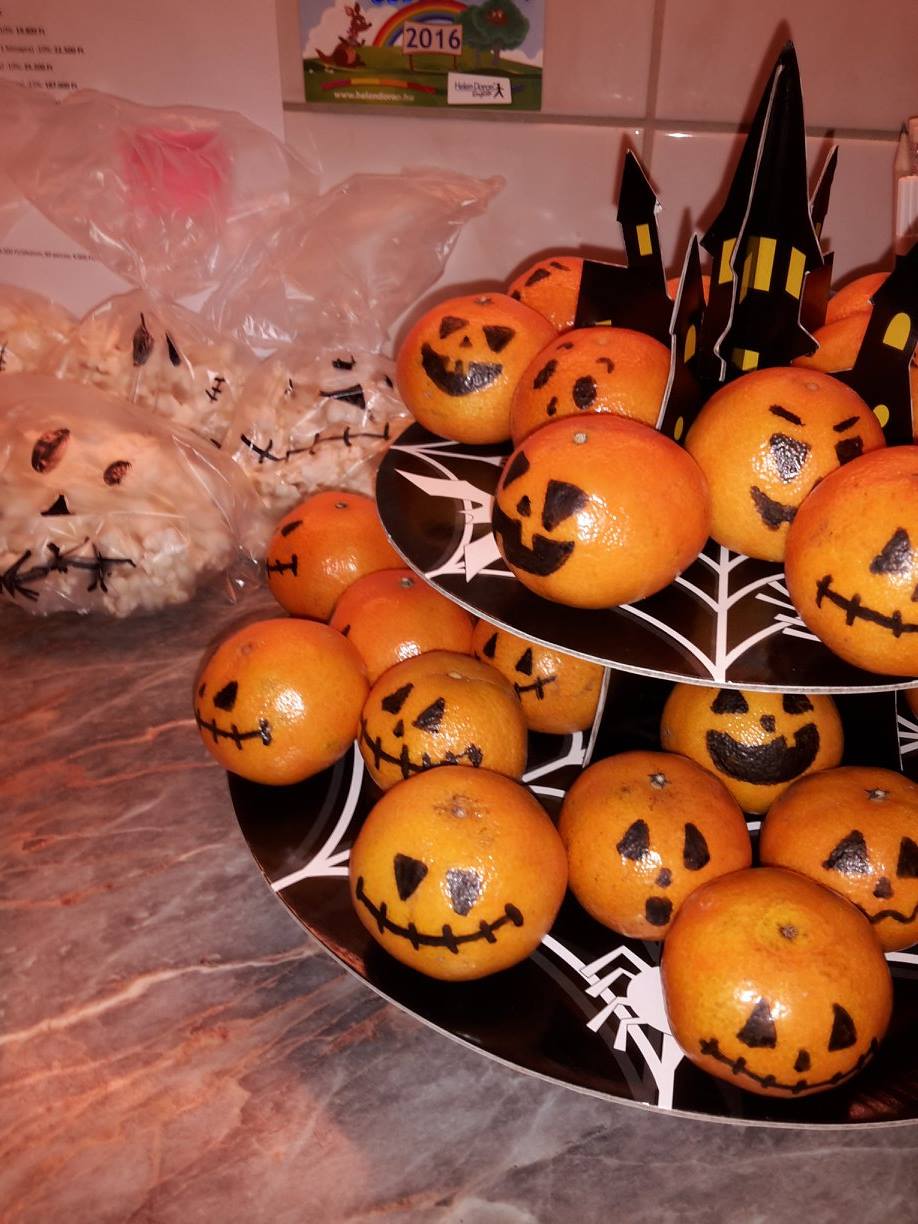
Healthy snacks were served: Jack-o-tangerine, Frankenstein fruit mix and ghost popcorn

Dark and scary room with some English activities was on again:

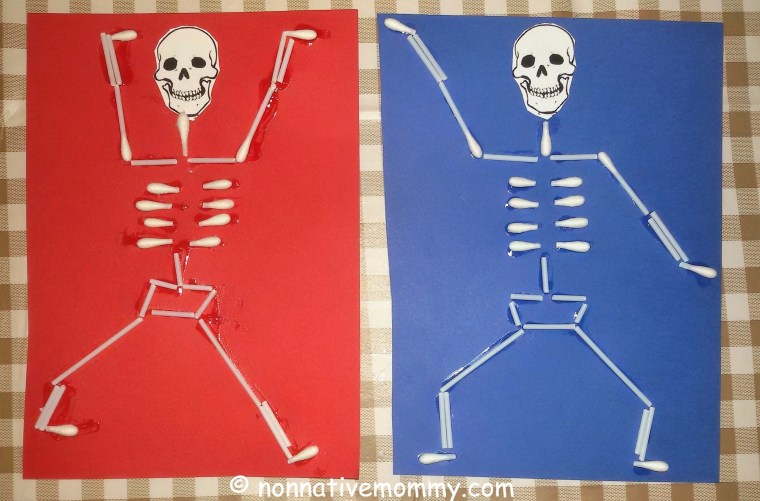
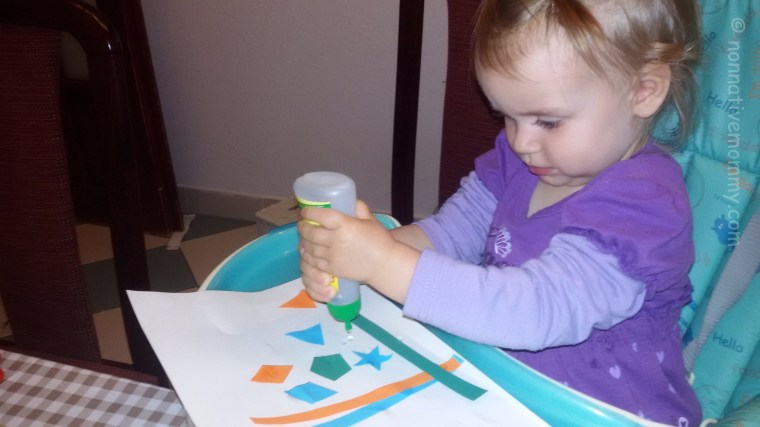
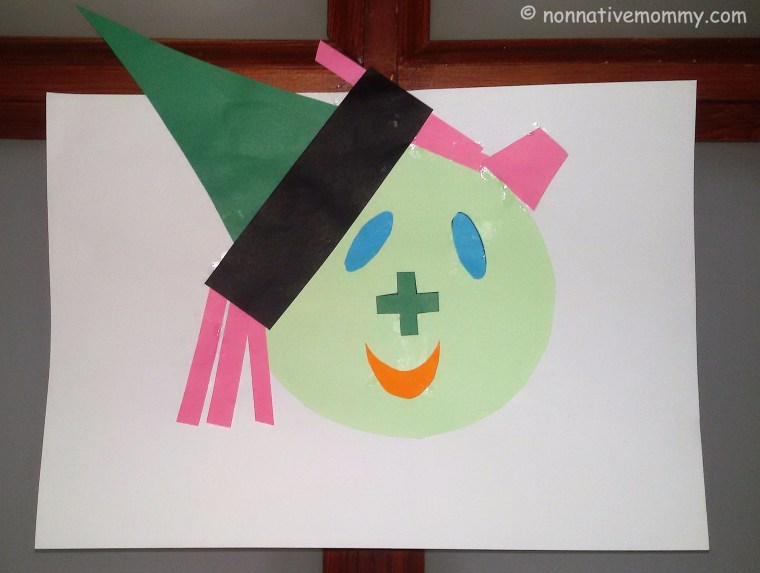
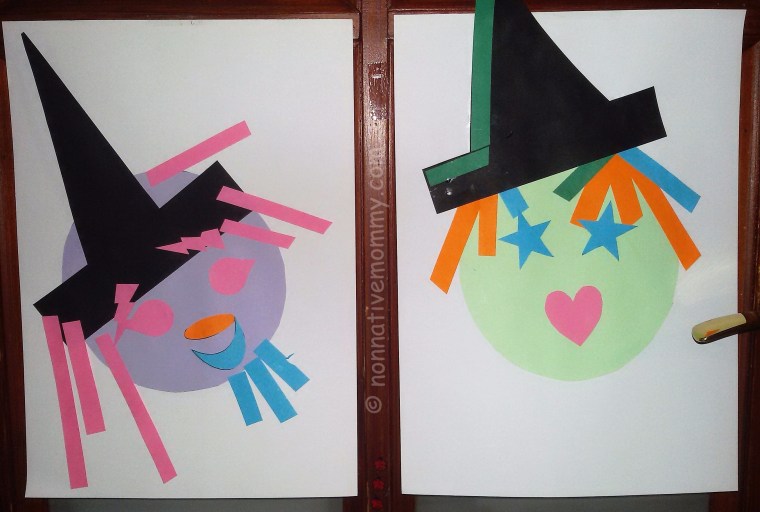
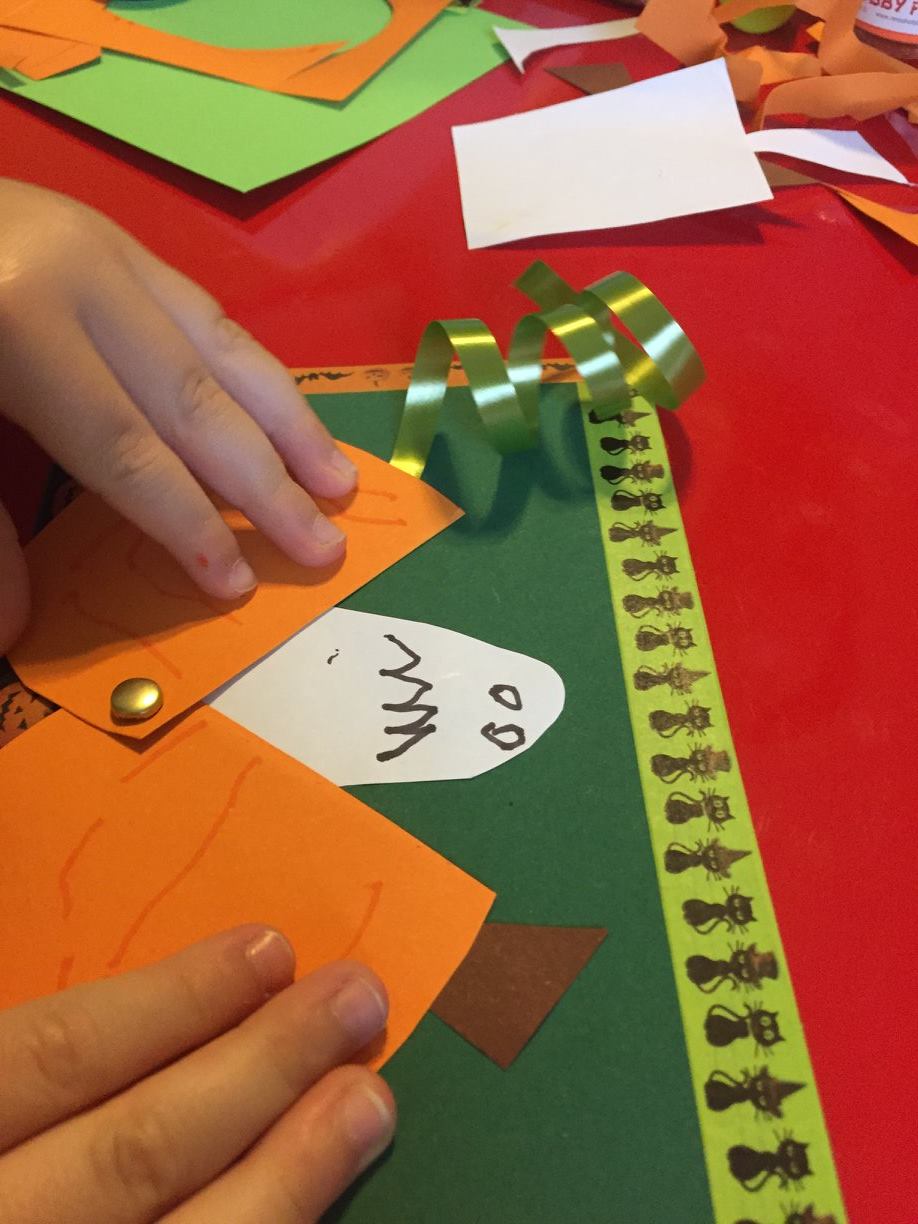
Crafty part: painting a gourd with glow-in-the-dark paint (we missed that as we were a little late) and Halloween card (see bellow)

Plus a bit of colouring


This Halloween was much more quiet and relaxed as in the previous years. But to be honest, life’s hard enough with two small kids, and without the hassle of a home party (preparation, decoration, snack making, throwing the party itself, then the cleaning up) it was pleasant and peaceful for me too.