Thanksgiving Turkey Craft

Big Life Journal is a site I regularly follow and also signed up for ttheir newsletters. It promotes mindfulness and growth mindset for kids and teens but there are a great deal of wonderful advice for parents to parent more consciously and more positively.

I found this cute turkey printable in my inbox the other day and immediately printed the black and white version. (Little L. is into colouring now.) Unfortunately, I cannot link the printable as it’s available only for those who are signed up for the newsletter. In the picture below your can see what parts it has.

So we started with the colouring, checking a real turkey picture for the body but then the girls just used their imagination and their favourite autumn colours to make the feathers. On the feathers we wrote what we love having in our lives, what we are grateful for. (In the meantime we talked about the body parts of a turkey, and colours, special colours like maroon.)

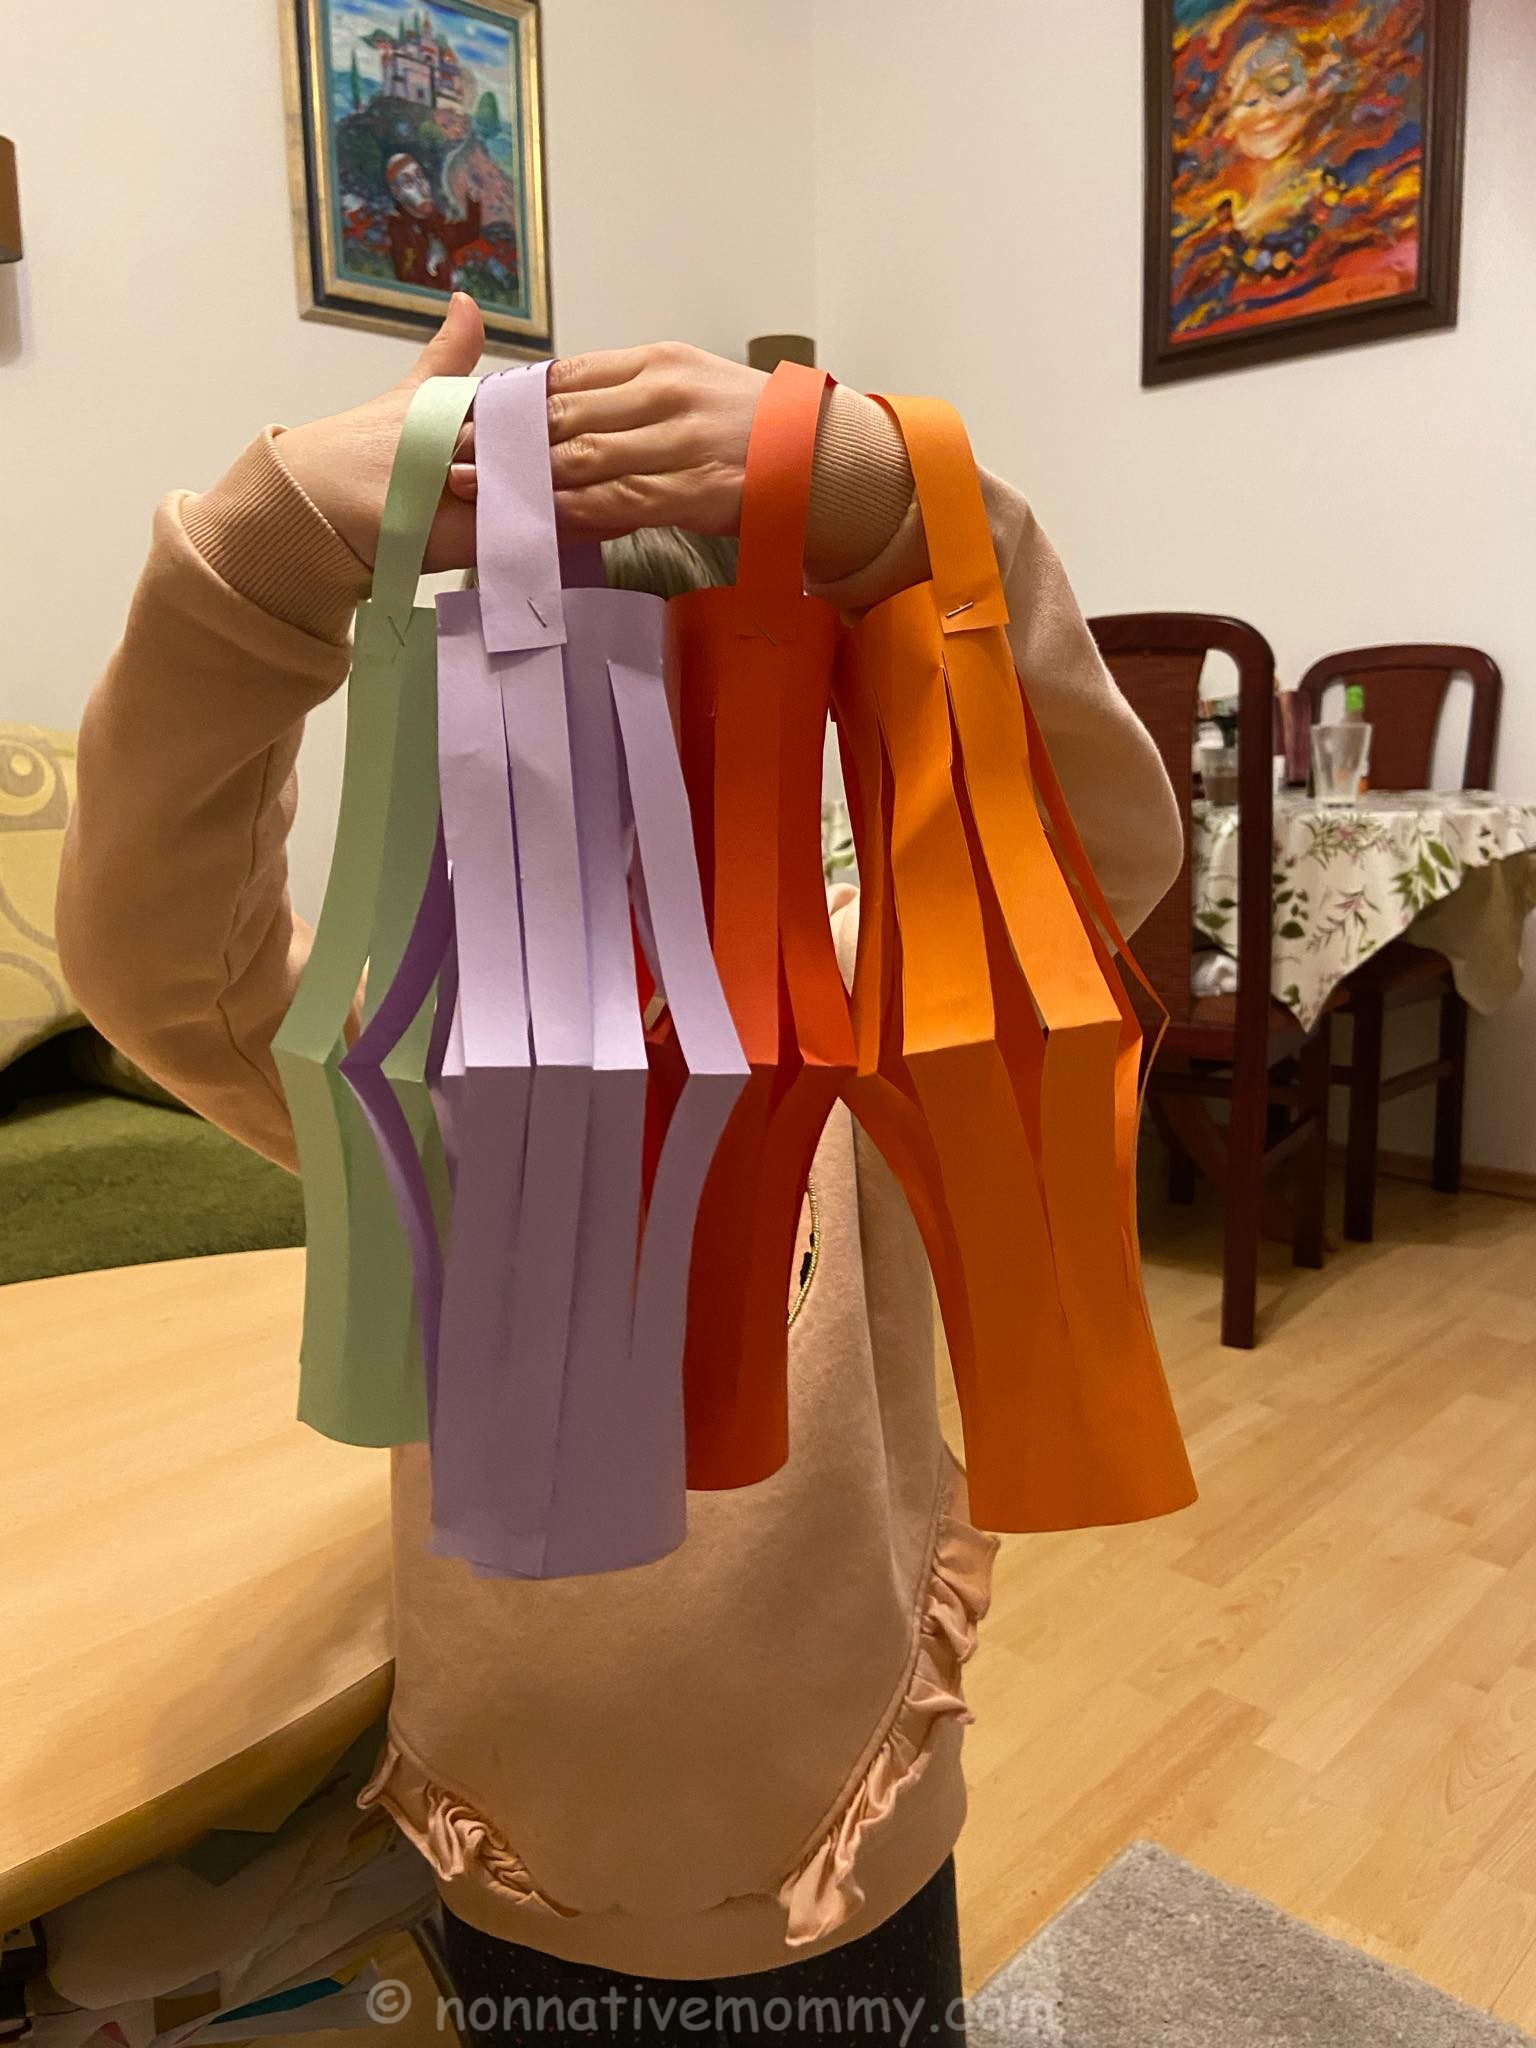
Then came the cutting and sticking together. It took quite a while because of the colouring, but there is a coloured version of it too – we do not have a colour printer, unfortunately.) Here are the final results:

While putting our turkeys together we chatted/thought a lot about what we are thankful for, what lovely things and great people are in our lives. For a long time we haven’t had any fun, creative, holiday-related activities in English with the girls, just everyday conversations. However, now it was a great time to spend together in English in a productive way.

Happy Thanksgiving, Everyone!

Haunted Castle

There was a craze online about haunted castles made out of toilet paper tubes right before Halloween. I got carried away with the idea and I planned and prepared to do it with the kids. Well, Mommy plans it and the kids think differently.

At the beginning E. and L. were interested and helped me paint the base green (a piece of cardboard box) and the tubes black. (We used a big paper towel tube and 6 toilet paper tubes, but you can make it bigger if you use more). Between the ground floor and the 1st floor towers I cut some black cardboard piece (It came with some socks and thank goodness I save everything ’cause it’ll be good for something)

The weather was kind to us and we could sit outside to do the messy work.

Then we needed to wait until the paint dried, so we went to have lunch and after that the girls got crazy. Therefore I needed to finish most of the castle by myself.

I drew a big door in the middle at the bottom, some windows, some bricks and a climbing rose. I cut the door and a window open so we could place led tealight in them but I’d found only pumpkin-shaped tealights which couldn’t fit in the window only through the door.

I used a hot gluegun to stick all the parts together.

Anyways, finally I added the rooftop. As I had no black cardboard the kids (who joined me towards the end) chose orange. I cut out a circle and formed a cone out of it. Then the kids placed the little fun details around and into the castle: black cats, bats, ghosts, pumpkins and jack-o-lanterns to make it even spookier.

The castle served as a great place to role-play some spooky stories with the props. Mainly Little L enjoyed and played with it in English adding more characters like skeletons and spiders.

I suppose I’ll save it for next year so we can have some more spoky fun with it.

Happy Halloween!

Dreamcatcher

The girls have a bad dream every now and then, but lately more often. So I looked up easy dreamcatcher ideas on pinterest and we made them to chase nightmares away. Not to mention, it serves as a great craft activity for the crafts class for school (schools have been closed due to the corona virus pandemic, so we’re all at home)

20200320_105028-ink

(Warning! It’s not so easy, there are easier ideas on the pinterest link above)

What you need:

  • popsicle sticks (coloured or plain)
  • hot glue gun
  • thread of different colours
  • feathers
  • beads
  • scissors

How we made it:

First, I prepared my own dreamcatcher to show it to the girls. As soon as they saw it they got excited, though E was a little hesitant to make it at the beginning.

We needed a circle to begin with, but I didn’t want to use a paper plate. I can’t cut a neat hole out of the middle, that’s why I decided on the popsicle sticks.

20200319_160344-ink

Both chose a colour and put together the frame, which is in real a pentagon. To make it easier for them to create the frame I pre-drew a pentagon (When I made the sample dreamcatcher after having glued the sticks together, I drew around it.)

While we were waiting for the hot glue gun to work, I was talking about the dreamcatcher.

They immediately realised the web, and the bead spider. I told them that the nightmares are stuck on the web and the imaginary spider eats it. They really enjoyed this idea.

But of course, the question is: What happens to the good dreams? I showed the hanging feathers and beads. The light feathers direct the good dreams to reach the sleepers.

I was a little worried about the hot glue gun because of my curious 4-year old, but she and her elder sister too, handled it with care.

So, we glued the sticks together (they needed help) and started the webbing.

I advised the to choose a thread colour that contrasts well with their frame. So they did. And of course, the spider bead was crucial.

E. tied her own thread at one corner of the frame, I did this for Little L. and we fixed it with the glue.

While threading you need to make sure that the thread is tight. Poor L. was a little light handed and had to start it again, but she didn’t give it up.

Towards the end of the webbing we thread the bead on and also fixed it with the glue (you can simple put a knot before and after the thread, but gluing was easier and the kids really enjoyed that I let them use the hot glue gun.

The next step was choosing the feathers and beads for the hanging decorations. The bead I’d chosen had too little holes, so we picked pony beads.

20200319_165553-ink20200319_164947-ink

They threaded the beads of their choice and I helped them both tie up the feathers and beads on the frame.

Little L. was close to give it up towards the end when the thread was falling into many thin threads (plus she didn’t sleep in the afternoon) but finally, she hung in there and finished it with my help.

The results are beautiful. The girls showed them to the camera real proudly. We’ll put them into practice tonight.


Chinese New Year

This year the festivities of the Chinese New Year started on the 25 January and I decided to talk about it with the girls through some crafts.

20200126_113825

Originally, I was planning to make some printables concerning Chinese New Year (which is also called Lunar New Year) but I had no time so I picked 2 crafts that seemed fun.

Whirling Dragon

The whirling dragon is very decorative and fun to make although my kids didn’t seem to last until the end of the project as it takes quite a while.

What you need:

  • paper plate
  • red paint and paintbrushes
  • coloured markers/pencils
  • scissors
  • glue
  • string
  • stapler
  • dragon template from the Red Ted Art blog (it’s free)

You can follow instructions from the link above.

We painted the paper plates in two goes as one side needed to dry first, then we could go on with the other one. Well, the kids lost interest after the painting and a lot of waiting. (We dried them on the radiator)

20200125_190424

I printed the templates and the got excited again so we coloured them together. At this point we checked the lucky colours of the Chinese New Year Festival to bring good luck to our home with the dragons. These were red, yellow, green, blue and white.

Again, they had enough of colouring, so I needed to cut out the pieces. This took even me a lot of time.

20200125_185110

They returned for the stapling and a little bit of sticking. Little L. glued on the tail and legs then ran away. E. helped with the stapling but wasn’t in the mood to glue so I finished them off.

After having hung them in our hallway they admired the dragons, but all in all they were not as fascinated by it as I thought they would be.

20200126_113755

Still, we talked a lot about the traditions, the animal zodiacs and the festivities in Asian countries.

20200126_111710

Chinese Lanterns

I was searching for some Chinese New Year crafts for the kids while our English speaking nanny, N, was here and playing with E and L. I made a prototype of this lantern, which raised the kids’ attention and wanted to make the lanterns immediately.

20200121_172657

We took out some coloured paper and followed the simple instructions:

LanternBlog

We drew lines along which the kids could cut a staight line. Little L cut like a pro. E needed to be reminded of the correct position of her arm.

20200121_172556

We used a stapler to fix the lanterns insted of sticky tape.

Both E. and L. enjoyed cutting and stapling, what’s more, they loved how wobbly the lanterns became.

83322178_794876501018933_3961563428786536448_n

We displayed out creations in the hallway.

20200121_175352

A very easy craft that you do not have to prepare beforehand.

While working on the lanterns, the kids started to sing a German song that E. had learnt in school for the St Martin’s Day lantern celebration and, of course, Little L knows perfectly well.

By the way, Chinese New Year celebrations are ended with the Lantern Festival on the 15th day of the firs lunar month.

46538567404_7734e6db7c_b

We also metioned the Chinese zodiacs and identified who is which animal in our family:

  • E. is a dragon just like her father
  • Little L is a sheep
  • myself is a horse

2020 is the Rat’s year.

We might do some zodiac crafts so stay tuned.

Happy Chinese New Year