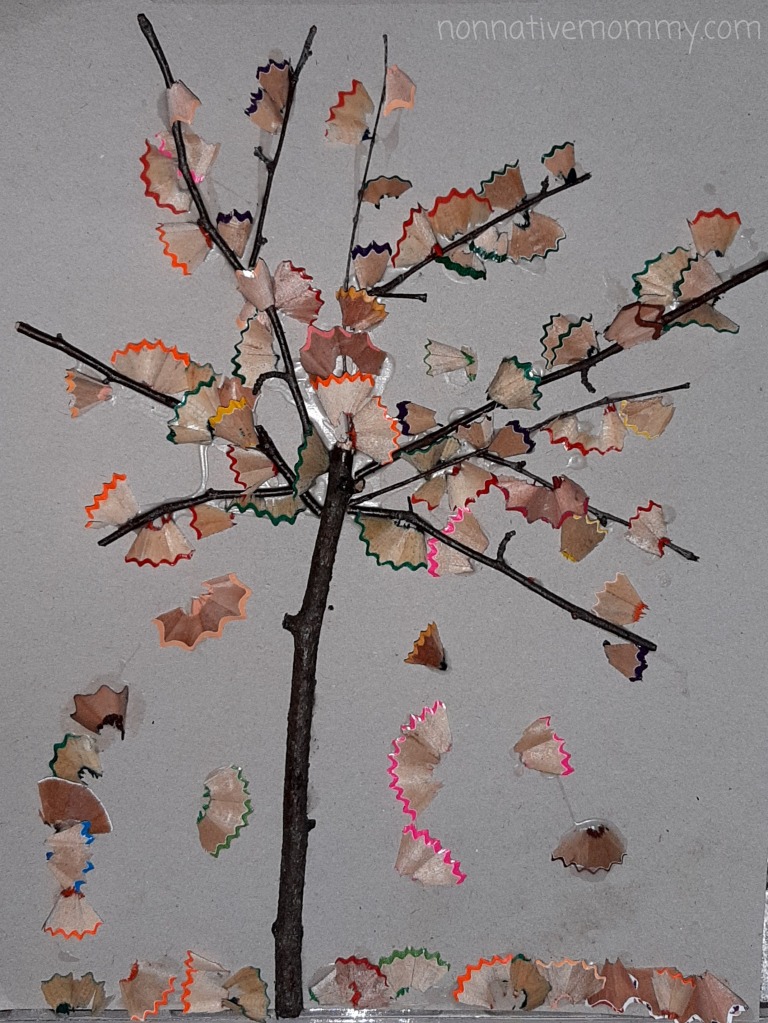
Pencil shaving tree

While sharpening a pencil. some pretty shavings fall off. We started to collect them to do something with them and the time has arrived to use them in an autumn atr project.

The kids collect branches and twings wherever we go, what’s more, our garden is full of them after a storm or stronger wind. So all you need is:

  • pencil shavings
  • twings and small branches
  • glue
  • paper (cardboard is the best if you want o display the final product)

Arrange your twigs as a tree on your sheet of paper and then glue them on. You might want to wait until the glue drys but you can start gluing on the pencil shavings as if they were the leaves on the tree.
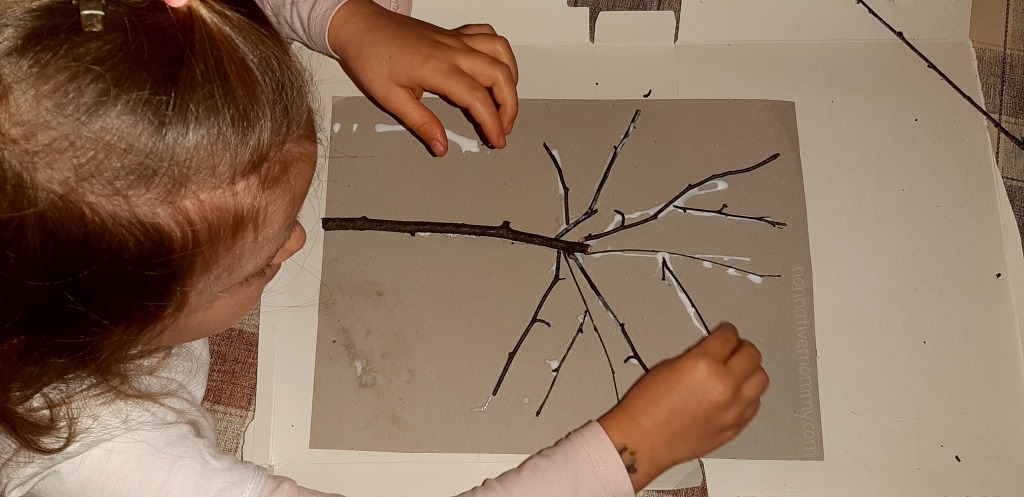
I made a tree beforehand to show it to the kids. Little L got interested, but E. didn’t. So a few days later we made Little L’s tree too.

My tree was made at the beginning of autumn, but hers was made when the trees were losing their leaves. You can see some leaves are falling down, there are quite a lot on the ground and the banches are getting bare.

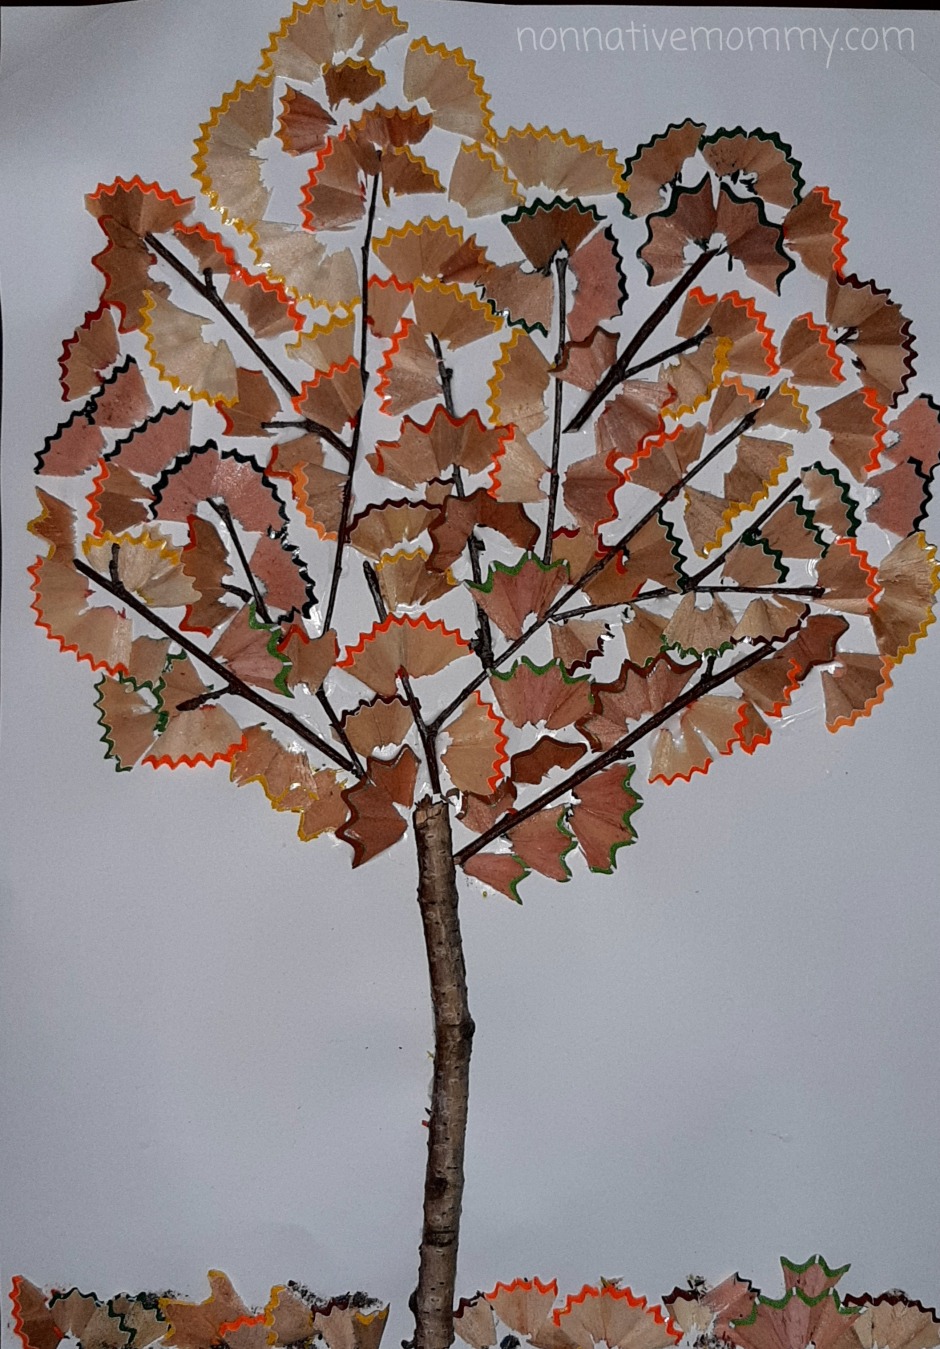
Leaf sihlouette crayon craft

The colours of autumn are magnificent and I wanted to bring them inside the house. Little L rather stayed outside with Daddy but E. and I sat down to create some beautiful autumn trees with a special technique.

First I folded and cut out leaf shapes, then E. added colours onto the edges with crayons.

After having drawn a trunk and some bare branches we placed the leaf temples on the sheet randomly and smudged the colours onto the paper with our fingertips. (Advice: use a different finger -or thumb- with every colour or you’ll mix them.)

It’s not an easy task and the crayon colour is not so vivid after the smudging. However, the result is pretty.

We were talking about what special colours could be seen on leaves after the chlorophyll dispaears from them. So on E’s tree there are some pink, purple and blue ones too.

We clearly had some fun time just the two of us, which happens very rarely nowadays, so this art project was special mum-and-daughter time.

Mosaic chalk picture

I saw a great post on facebook in which a parent used painter’s tape to make geometric shapes on their wooden fence, then the child coloured the shapes with chalk of different colours. Finally, they removed the tape and a beautiful piece of artwork remained on the fence.

I loved it but we haven’t got a wooden fence we could use, so I racked my brain quite hard to find a solution. Our garden is mostly grassy and outside the fence the ground is covered with driveway tile. So, I decided to think in small and made the first pattern on the narrow pavement that runs around the house.

20200328_104935

The kids got interested and got closer asking what I was doing. I didn’t say anything just started to colour. Of course, they joined in. Both of them scratched their fingers on the pavement as they were colouring with the smaller chalk pieces.

20200328_105038

Little L. gave it up. We had to put a plaster on her finger, and she was off to ride her bike instead. But E. stayed with me after her boo-boo was treated.

20200328_105643

What’s more, she made her own mosaic chalk picture.

She was generous enough to let her little sister peel off the tape, which they found extremely satisfying.

20200328_105339
E. peeled off the tape in case of the first picture

20200328_110954_Moment_
L. could peel in the second round

The two pictures turned out beautifully.

20200328_105355
My design

20200328_111103
E.’s design

Give it a try! It’s a simple and amazing artistic experience outside in the fresh air. In case of bad weather, you can try to do it on black construction paper or even cardboard and using markers instead of chalk.

Have fun!