More flashcards – clothes, dogs, birds and more

I coloured the clothes flashcards, but that was the end. I’m not going to colour more cards… I’ve had enough. So I asked D. to have them printed on the way home from work. And here they are!
I just needed to laminate and cut them up. It was easy-peasy. What’s more, they look more professional 😉

So here are some ideas what to do with the clothes cards:

  1. just show them one by one saying their name
  2. show the real items and match them with the card (once I lay down and E. put the clothes cards -the items I was wearing- on me. It was a little chill-out time for me 🙂 this is why I have no picture of this activity)
  3. group them according colour, sex or where we put them on (upper-body/lower-body, feet etc.)
  4. put together matching outfits: white and red hat, red jumper, blue jeans and red boots or orange blouse, yellow skirt and brown sandals (she got some weird combinations too: bra, slippers, tights).
  5. select the ones you can wear in the swimming pool, or what daddy wears at work, what we wear when it rains etc. – kind of situational usage of clothing

I was fed up saying “It’s a doggy” while we were walking in the street and saw different breeds of dogs. It must be strange for a child to see a Westie and a Bernese Mountain dog and hear that Mommy calls both of them a dog.

And what we do with the doggie cards:

  1. just show them one by one and say their names
  2. identify the size, colour and length of their fur
  3. group them according to colour, having a tail or not, met them in our area or not
  4. give them dog names (we have the picture of our dog, M. and at Grandma’s place she’s got a plush dog called Bobby, and a sleeping toy called Morzsi, so after naming all the dogs we know we give the other dogs different names. We’ve got a lot of Bobbies, some Georges – after Peppa Pig’s brother etc.)
  5. pat and stroke (E. picks few dogs and pat them or stroke them, nowadays she started to kiss everybody and everything, so the dogs cannot miss her kisses)

Bird cards: – we haven’t used them, but I plan the following activities:

  1. just show them one by one saying their name
  2. identify the colours on them
  3. listen to the sounds they make on youtube (I put together a playlist on youtube with the sounds of the birds – She loved the sound of jays so much she laughed out loud)
Bird cards in autumn light

    Household appliances:

    I cannot add anything new to the activities we do with these cards. Sometimes E. takes the washing machine card to our washing machine and throws it inside. 🙂

    Insects:

    The ‘nice’, not too disgusting insects

    I have made some more cards in the topics we already had as well as new ones. E. loves them but gets bored of them quickly (she knows all the dogs and clothes already…) so we have baby objects, furniture, vehicles and famous building flashcards too. If I have time I’ll take photos of them too. However, we do the same things with them. And there are more to come: tools, kitchen utensils, geographical features, famous people, paintings – just to mention some which are on my mind.

      New flashcards – flags

      I have created another pack of flashcards: the European flags. The pack is not full yet, but quite a lot is done. First, I just wanted to check if E. is interested in them or not. As they are very colourful, she loved them at first sight.


      I tried to concentrate on countries which are neighbouring countries of Hungary, or I have some information about, or we have already been to etc. I, myself, coloured them AGAIN. (I hope baby Jesus will bring me a colour printer for Christmas). To make the flashcards more durable I laminated them (that was the easier part).

      Activities  you can do with flags:

      1. just have a look and say the name of the country
      2. name the colours on the flag
      3. say if the stripes are vertical or horizontal (E. loves long words)
      4. tell your child the capital
      5. talk about the country if you know it (in our case for instance: Ireland, Mommy lived there for a year a long time ago, the U.K. – this is where A. (our native nanny) comes from, Turkey – this is where Mommy and Daddy were on their honeymoon, Hungary –  we live in Hungary etc.
      6. show two flags and ask: which one is … ? and your child can pick the right one (E. likes this activity not only with cards, but also with soft toys, building blocks, flowers or coloured pencils…. whatever)
      7. turn down three cards and let your child turn them up one by one, then say the name of the country (and the capital or the colours – combination of 1.-2.-4.)
      8. spread all the cards on the floor and tell your child to choose his or her favourite one (maximum three – E. would give me all the cards 🙂 )
      9. pick the flags with the same colours and group them (redwhite: Switzerland, Poland and Austria, bluewhitered: the Czech Republic, France, the Netherlands, Russia, Croatia, Slovakia, Slovenia, redwhitegreen: Italy, Hungary, Bulgaria, blackyellowred: Germany, Belgium)
      10. if you make 2 sets you can play a memory game (I had neither time, nor energy to make two sets)

      More flags are on the way:

      • I want to make England, Scotland, Wales and Northern Ireland
      • I cannot leave out the USA and Australia as they are among the most important English speaking countries
      • Countries of Asia, Africa and South America  are coming too

      I wish a day would be about 36-38 hours long…

      Home-made tools for language practice – Peek-a-boo house

      This idea came from the “lift-the-flap” books, like Spot goes to the farm by Eric Hill. E. likes peeping to see what’s behind a door, a bush or a gate. Also, I saw this technique to be used at the Helen Doron lesson to practice new/old vocabulary. So why not make my own?

      The basis is cardboard and I decorated it with orange and green paper, as well as red and yellow craft foam sheets (“dekorgumi”). The door and windows are laminated and glued on the surface. The sky is made from coloured paper and the green grass is painted.

      (E. has already torn the clouds partly, so I strengthen them with Cellotape). I hide animals, people, babies, pieces of furniture etc. behind the flaps. Whatever works.

      It’s a good idea to stick the house on the floor or on the wall as while the kids are fidgeting with it, it moves a lot and makes it more difficult to open the flaps and easier to tear off a window.

      E.’s favourites are the sun and the butterfly. She picks them and walks around with them in her hands. When I changed the pictures she was surprised at the change. Now she’s found the box of pictures and not surpised any more. She tries to change the pictures herself.

      Home-made tools for language practice I.- Flashcards

      As a language teacher I used a lot of card activities with my students to explain, identify, show or play things with them. It worked even with adults, but it’s a hit with kids. They are colourful, fun to look at, nice to chew them or fold them (well, at least from E.’s point of view).

      You can find a lot of ready-made flashcards on the net, for example, here. You just print them and can start using them. You can also find videos showing flashcards. I found them rather disappointing. A lot of them have strange visuals, or they use the American variation of the word I wouldn’t use. But the most horrible experience is when the words are pronounce by a machine. It’s scary. Plus, I don’t want to make E. sit in front of the computer a lot.

      I decided to make my own cards; it’s more personal in this way, and sometimes E. could see when I prepared them, and became even more interested. And we can take with us if we want.

      Of course I’ve read a lot about the method which was developed by Glen Doman and his flashcards, but I found it too much pressure on me. So I took it easy 🙂

      What I do is similar to the Doman technique, but maybe not so thorough. I make flashcards about the topics E. is interested in. And the way I show them to her is not so systematic and not so fast. I’m not changing the cards so often as we play a lot with them and it’s not only about showing her the cards.

      So here is an example. When she was 8 months old, I was just showing her the cards and say what she could see in the picture. Later, on I mooed when the cow turned up and also showed the MAKATON sign for the cow. Then when she was around 10-11 months old I started to add extra information as well (“The cow gives us milk” – and showed the picture, showed the signs for cow and milk). When E. became 1 year old we started to name the colours as well (“Look – the cow is white and brown. It gives us milk” – I showed the signs – What colour is the milk? – and I answered: – “White”. Now, at the age of 14 months, E. answers “white” and she moos as soon as she hears the word “cow”.)

      Sometimes I tell her a story or connect the cards to something that happened to us, or anything connected to real life. She loves those cards the most which she experienced in her own life (E.g.: body parts are great as she can identify them on me or on herself, what’s more, the cards make her interactive; she asks D. to show his belly button. Among the flowers she adores the dandelion clock as we blew a lot of them when they bloomed in the park, but there are the fruits she can touch and taste like a banana or an apple).

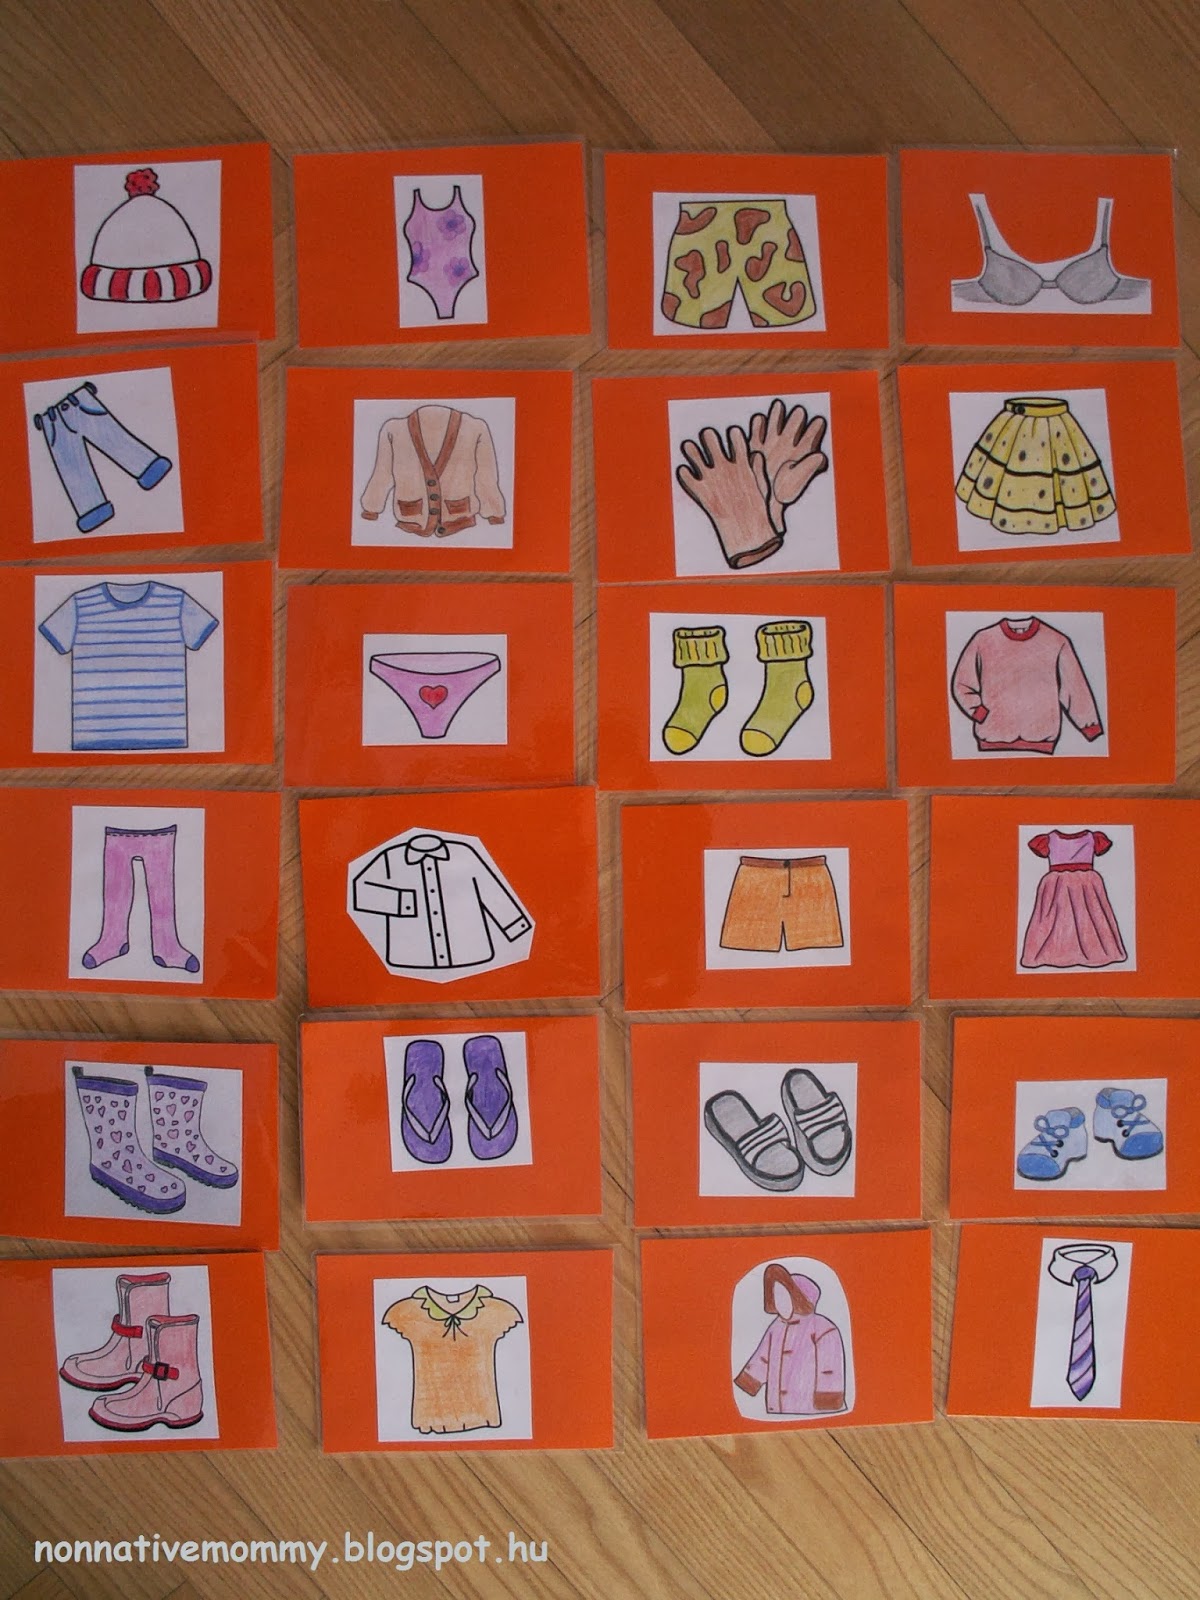
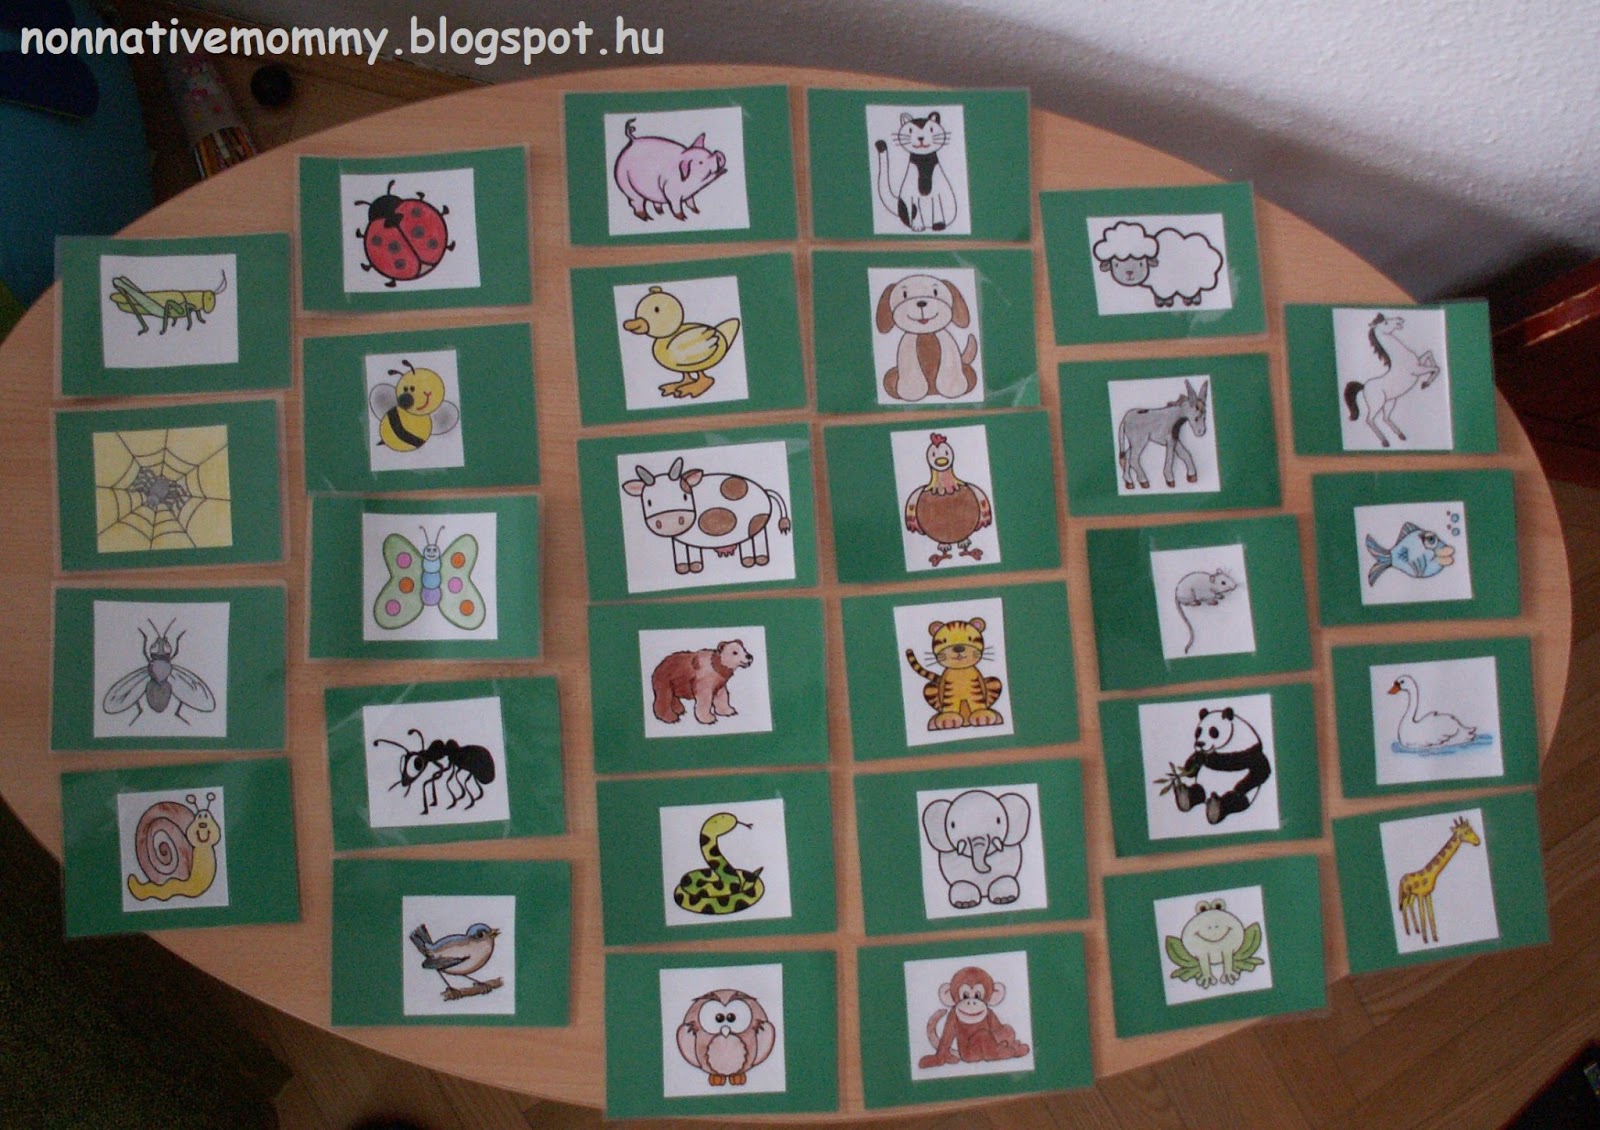
      I started with animals. As we don’t have a colour printer I found some colouring pages on the net and selected some basic (later some more) animals, printed them and coloured them myself. (Quite time-consuming). Luckily I got a laminator from D. for Christmas, so I glued the coloured animals on colour paper and laminated each. It was a great idea as at the beginning E. chewed, folded and threw them away, so they really needed to be tough. Different topics have different background colours.
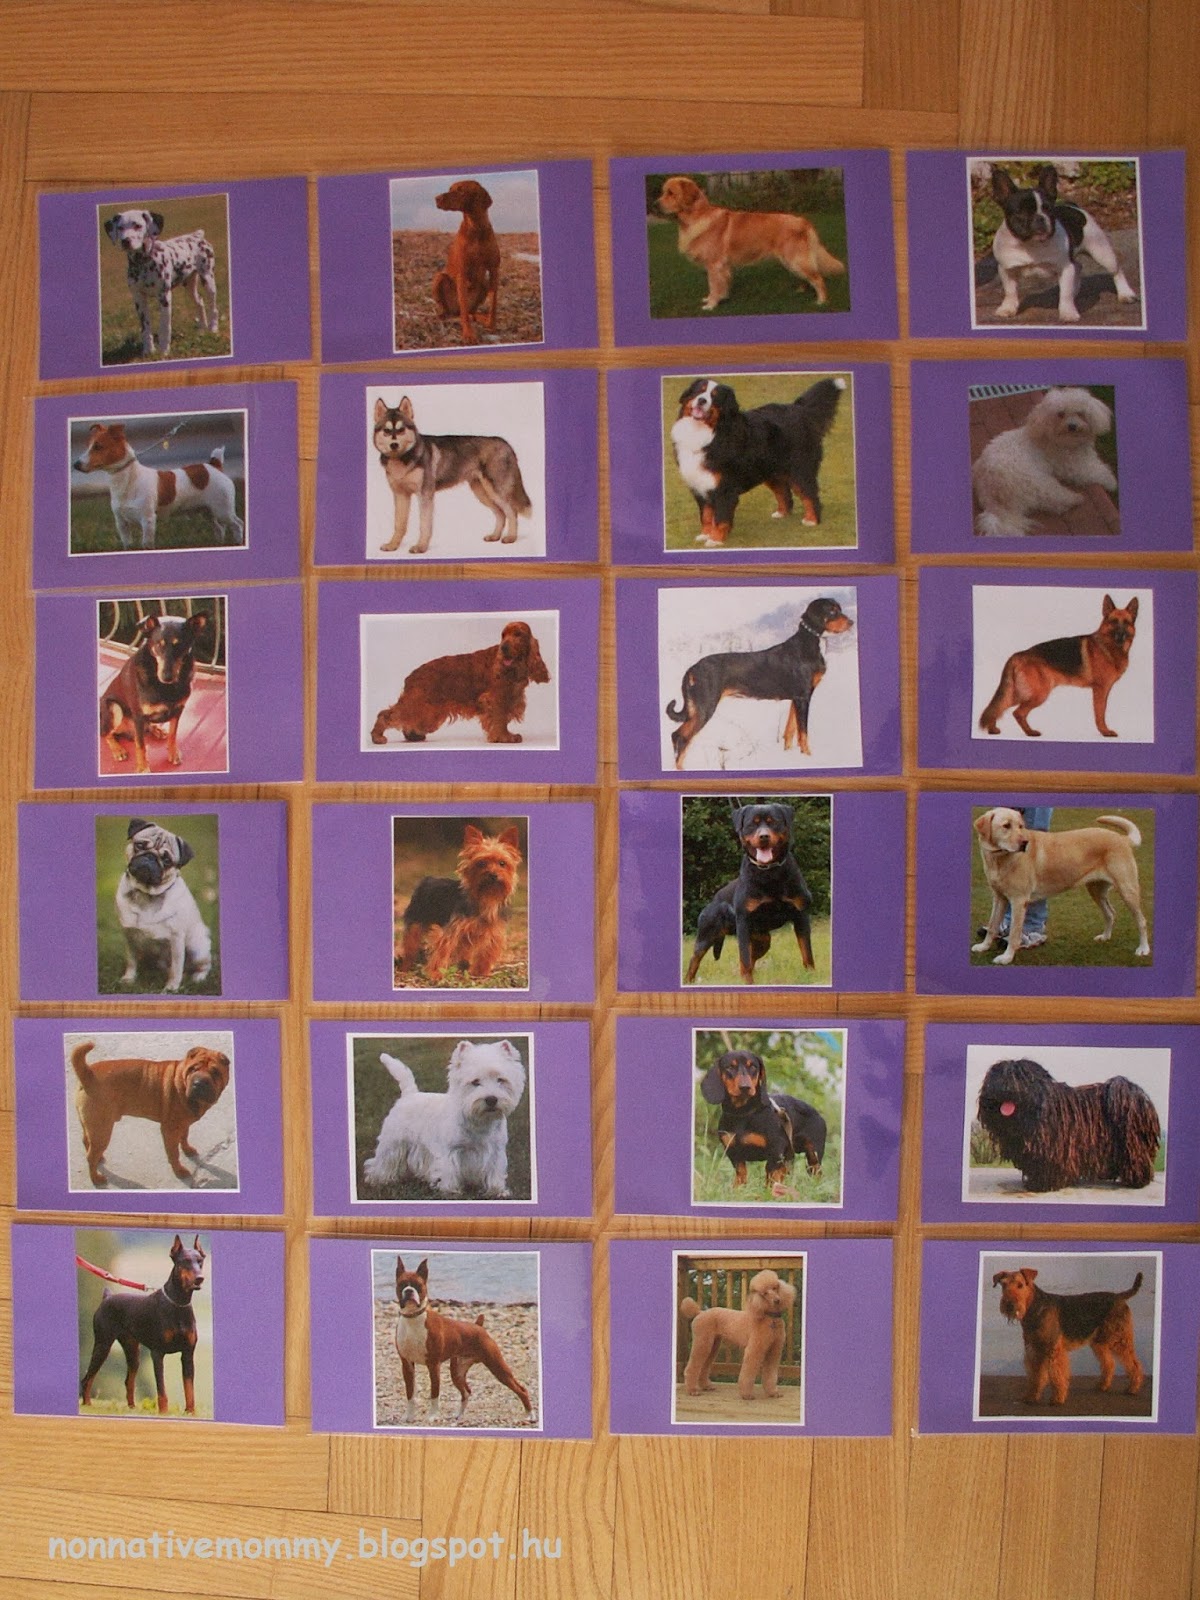
      Animals
      I thought at that time I won’t make other cards but animals since she wanted nothing else but animals. We made noises that the animals made, named their colours, stated what they like eating, where they live, or sang a song about them etc.
      Then she got a basket of soft vegetables (from IKEA) and I was “forced” to make some vegetable cards. (We play matching games with the soft vegetables and the cards). The same thing happened when we bought the wooden fruit box.
      Fruit and vegetables

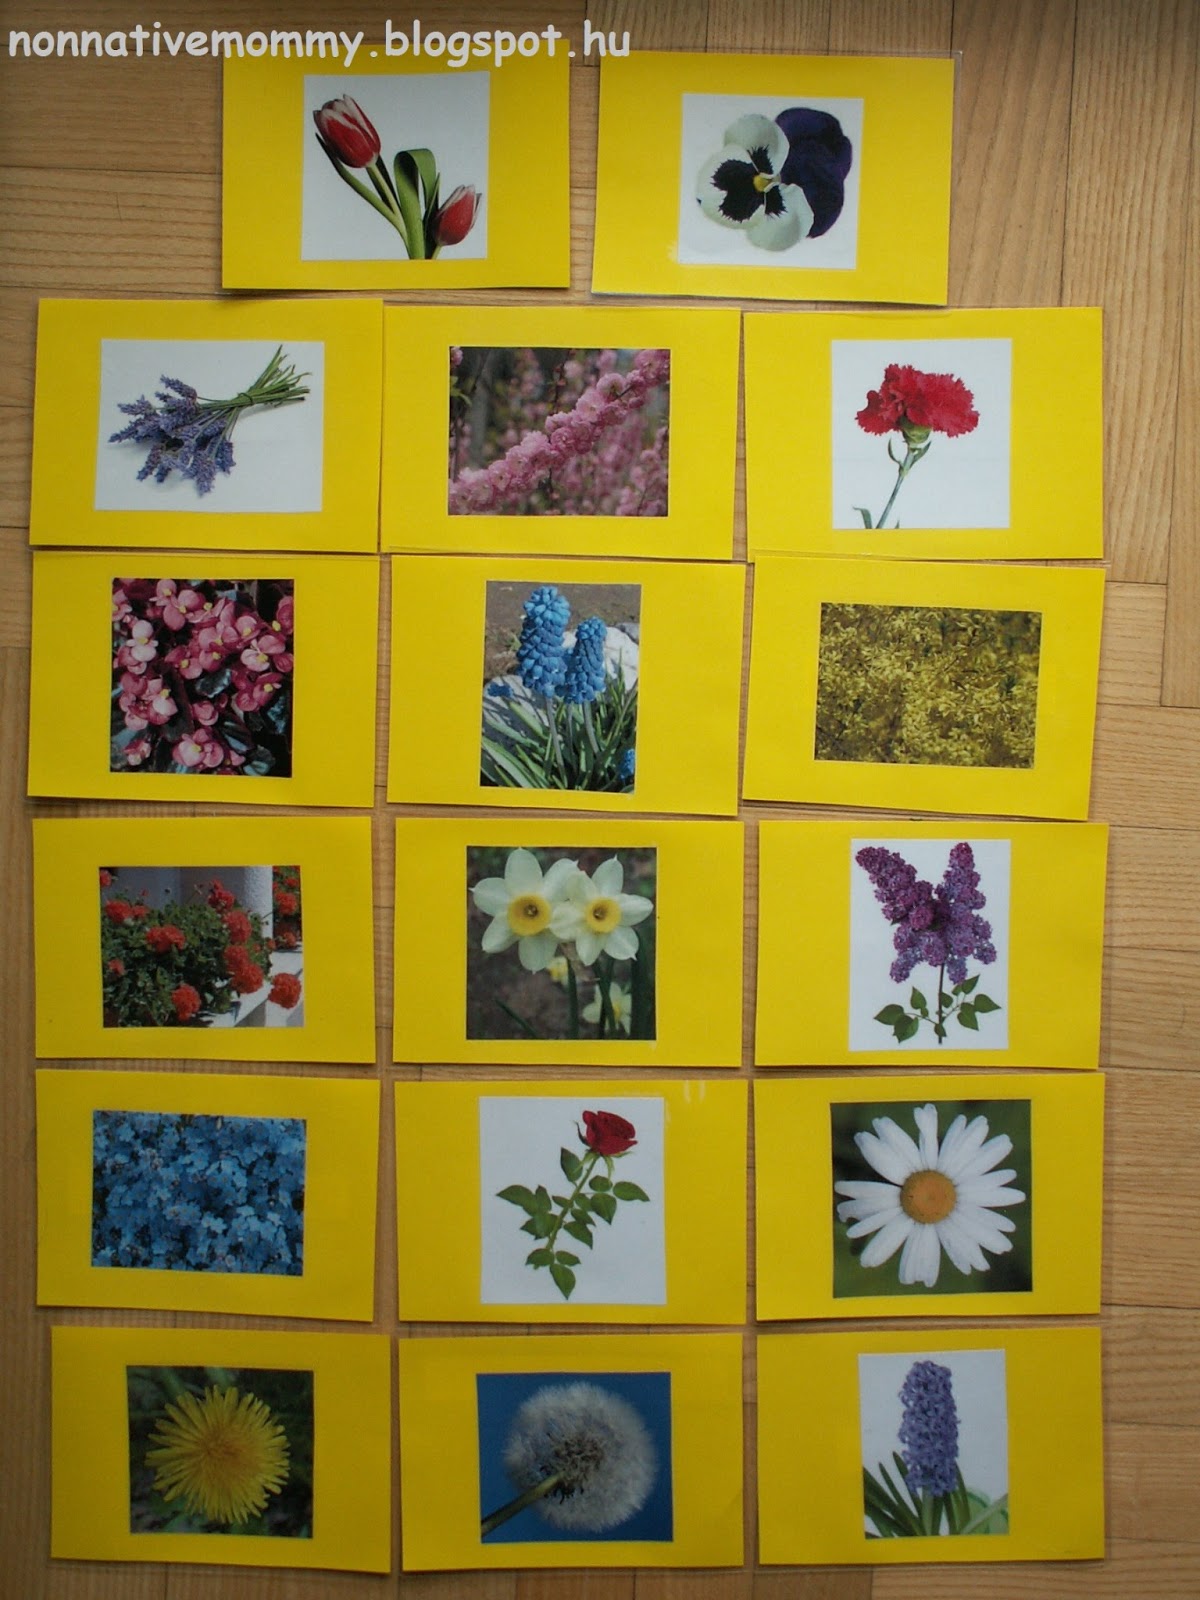
      While we were walking in the park I realised we needed some flower cards, too. I just haven’t had the energy and willpower to make tree cards, but I will one day. The flower cards are more ‘professional’ as they are photos printed in colour.

      Flowers

      I don’t want E. to learn reading yet, so I didn’t bother making word cards connected to the pictures. Except for the flower cards. And the reason for it is that I have difficulty remembering the names of the flowers so it is also a learning process for me. The names are on the back. Sometimes she wants to look at the words, so I show her. But I’m NOT teaching her to read.

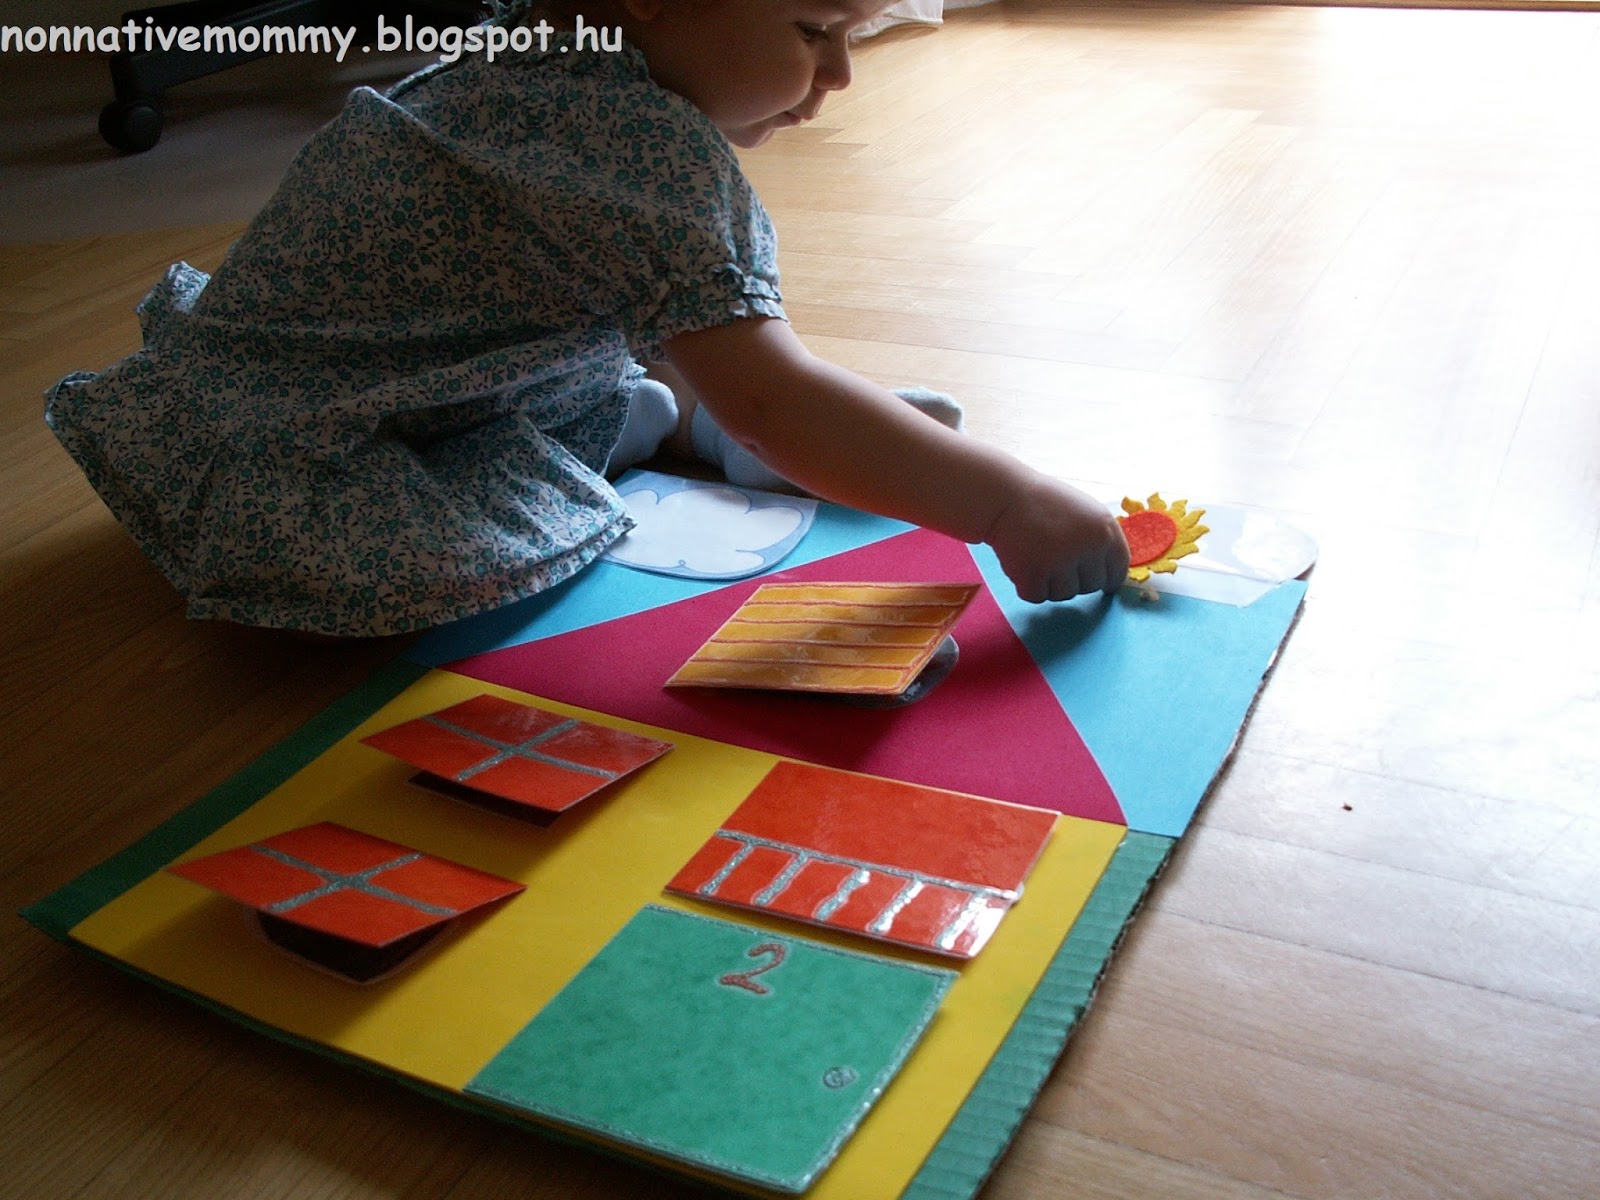
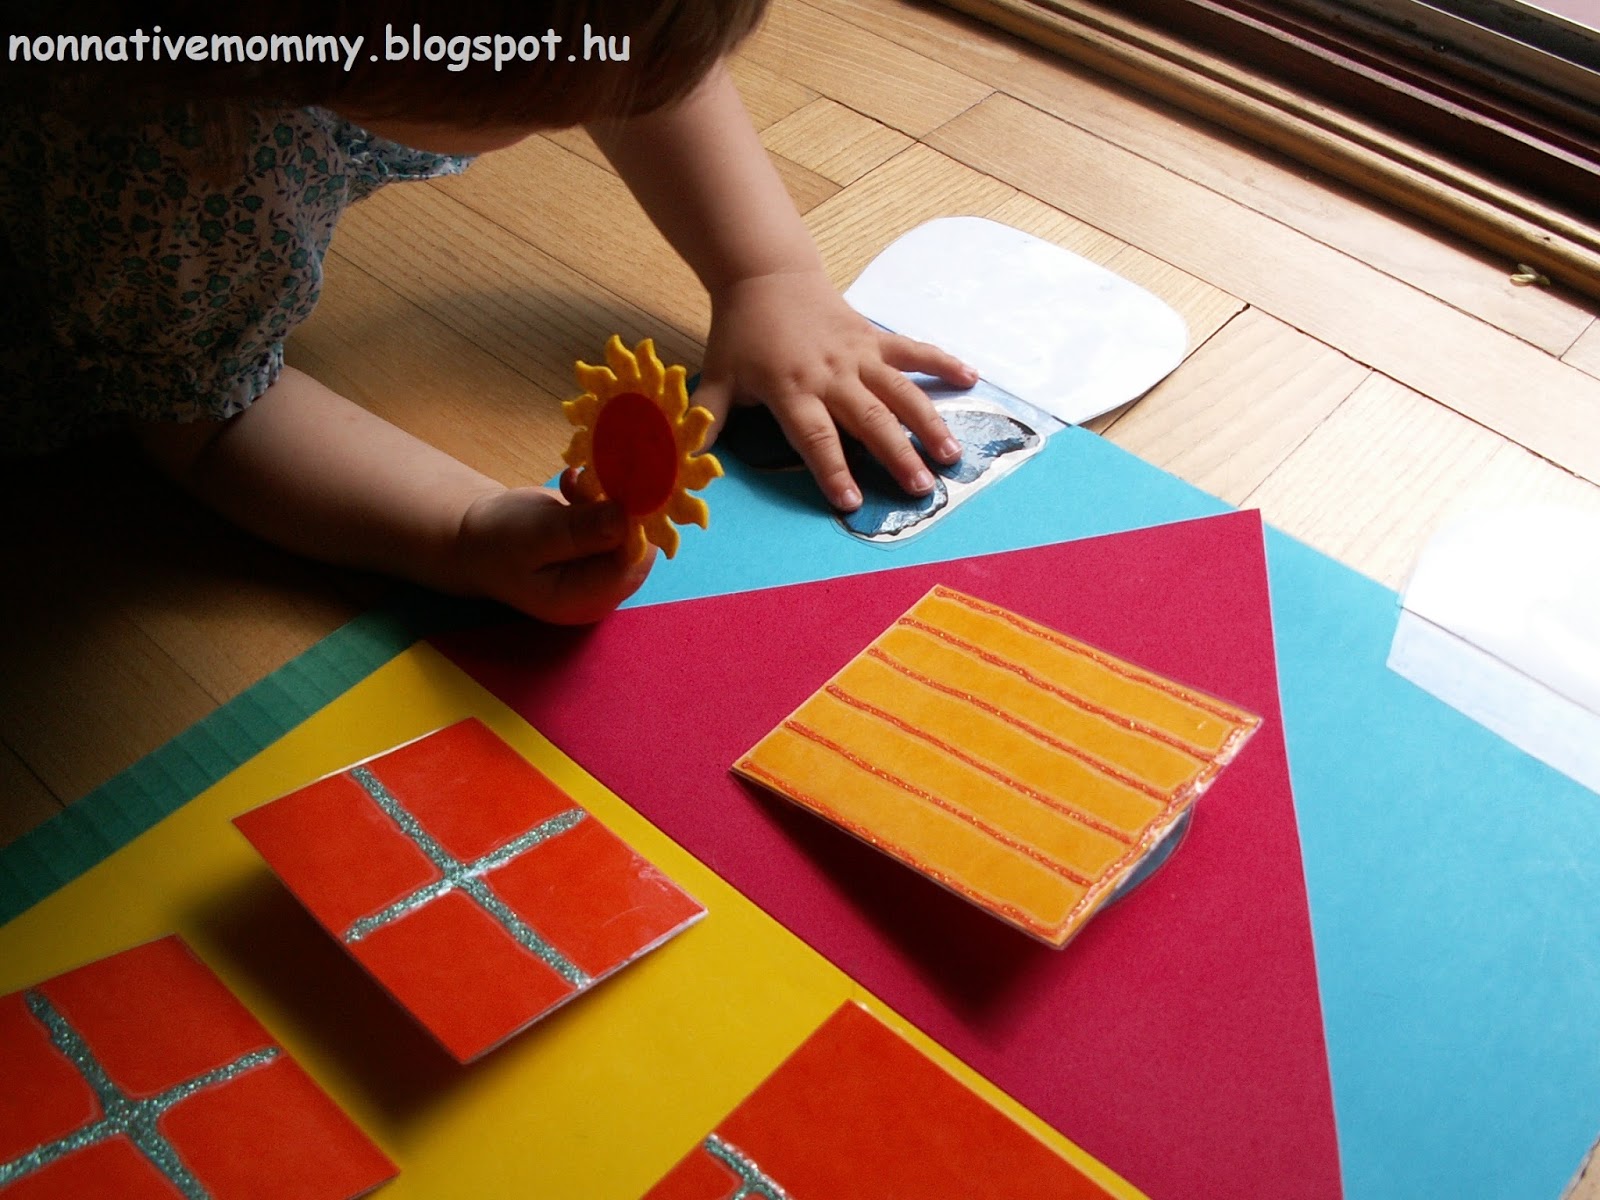
      Then the body parts came influenced by the Helen Doron songs and rhymes. At the moment we are looking at them when E. is sitting on the potty, as we can point at different body parts when she is half-naked (belly button is her favourite). After making the body part cards, the time came when a box was necessary for keeping the cards in one place (that is next to the potty most of the time). So long time ago I saw a pinterest post about how to make a box for kids out of a Vanish plastic bottle. I made it and the cards can fit in it well.

      Body parts

      I also made musical instruments, but she has just started to become interested in them. We are going to begin using them later on.

      Musical instruments

      Below you can see the present collection of our cards. They are far from being ready. I’m continuously making new cards to each group.
      Certainly there are more groups to come (everyday objects, furniture, baby stuff, means of transport, rooms, playground toys, tools, kitchen ware etc).

      The collection
      Let’s sum up what to play with cards?
      1. Show them and say the name of the thing in the card
      2. Matching cards and toys (toy animals, toy fruit or real ones can work well too)
      3. Grouping (body parts on the head or fruit and vegetables in 2 groups, or according to colours in case of flowers)

      4. Story telling (E.g.: chose few animals and vegetables and flowers, and build a story around them – the rabbit eats the carrot and hops into the field to smell flowers where he meets his best friend, the mouse, who is running away from the cat, because the mouse tried to drink the cat’s milk)

      5. Link the cards with sign language
      6. Face down (put out 3-4 cards facing down and the child can turn them one by one, then name/show/point at the thing on the card – sounds boring but E. loves this too)
      7. Sing a song (I put out some cards, e.g.: the lamb, the ladybird and the spider – I sing a song about one of the animals – Incy Wincy Spider and either E. picks up the card I’m singing about or we act out the song; the same with The Ladybird song or Ba-Ba Black Sheep song)
      8. Odd one out (I show 3 or 4 cards of the same kind, but one is different – 3 farm animals and a wild one, or 3 yellow flowers and one red etc. –  then I ask, for instance, “Is the pig a wild animal?” – “No, it’s not a wild animal.” “Is the horse a wild animal?” -“No, it’s not a wild animal.” “Is the cow a wild animal?” – “No, it’s not a wild animal.”-“Is the lion a wild animal?” – “Yes, it is!” So the pig, the horse and the cow are farm animals.)
      There must be much more games to play, just let your (and your child’s) imagination fly.

      Potty training

      Potty training gives us another chance to widen our vocabulary and we can make it fun (in English) for E. to sit on it.
      Potty place

      For her 1st birthday E. got a potty from I. Granny. I thought it was a little early to start, but as soon as she got hold of the potty, she sat on it swaying her legs with a wide smile on her face. So this was a sign she is open to sit on it at least. I assigned an area for the potty and made it into a fun place as you can see below.


      I was lucky as after a few goes she peed and after a week she also pooped into the potty. But it takes time to sit and wait for the outcome, so while she is sitting on the potty I’m next to her and entertain her both in English and Hungarian, depending on which day or which time period we are in.
      These toys and books can be played with when E. is sitting on the potty, so when she goes there to play, I put her on the potty. Then comes the potty song. The tune is the same as Twinkle, twinkle little star and the lyrics:

      Tinkle, tinkle little tot,
      Now you sit
      upon the pot
      Any second you will see
      Sprinkle, splash as you go pee
      Tinkle, tinkle little tot,
      Now you sit upon the pot
      (I found it on baba-angol.hu, but I couldn’t link it properly for some reasons)

      While E. is sitting on the potty we are looking at the books. Sometimes she points at a picture and I say the name, but nowadays if I ask: “Where’s the teddy?” or “What’s this?” She can point or tell me the thing I’m pointing at.

      The following words she can say from the books:

       
      English:                                       
      apple
      pear
      nana (banana)
      tick-tock (clock)
      teddy (plus showing the sign)
      ant
      baby
      ye (yellow)
      blue
      teeth
      head
      bread
      red
      ack (black)
      book (plus showing the sign)
      duck
      neigh (horse)
      mun (monkey)
      bib
      tree
      meow (cat)
      coocoo (pigeon)
      baa-baa (sheep)
      dod (dog)
      eat (plus showing the sign)
       
      Hungarian:
      eper

      inni

      még (shows her self-created sign)
      ebből (picking which bottle she wants to drink from)
      dinnye
      apa
      anya (said first on Father’s Day – ironically)
      Mana (our dog)
      éni (én is – me too)
      i-á (for the donkey)
      légy (fly- her favourite animal)
      hinta (and she starts swinging)
      kicsi (said only once)
      pá-pá (waving goodbye when we finish with the book)
      bé (béka – frog)
      She can point at several other pictures if I say their names. What we often play is that she chooses two or three pictures and she points at them one after the other and I say their names (or if it’s an animal I give the sound they make). She enjoys it a lot and points at the different pics faster and faster, then laughs out loud.
       
      Other activities:
       
      When we have finished with the books, we can look at flash cards (I change the flash cards – 5 at a time – every third or fourth day). We have a lot of animal cards, as E. is crazy about them, but I also made some fruit, vegetable and flower cards too. I’m in the process of making body parts, musical instruments and colour cards since she is starting to be more and more interested in them.

      Another great activity she loves playing is counting the clothes pegs. Actually, I saw the Helen Doron teacher using pegs during the lessons and E. liked it a lot. So I put five pegs of different colours in a plastic cup and we count them or I name the colours then E. repeats them. The same goes with the plastic bottle caps – in the name of recycling. Yellow is her favourite colour. It’s hard to take it away from her when we have finished. When D. is playing with E. on the potty, he shakes all the five caps in his big hands, then spread them on his palms and E. has to point at the colour D. is saying. It’s also quite enjoyable.
       
      Potty toys
      As you can see in the picture above, we have some musical instruments and a toy mobile phone, a FisherPrice Frog  which sings English songs if you push the flashing shape on his tummy and a peek-a-boo doggy. (The mobile and the frog are from a secondhand shop for half the price of the original) Well, I won’t go into details in connection with them. Use your imagination. 🙂
       
      You can put ANYTHING next to the potty to play with. These are just a few ideas. Our only rule is that she can play with these things when she is sitting on the potty (both in English and Hungarian). But, to be perfectly honest, she sits there happily even for 10-15 minutes if she is in the mood to play with these potty toys. Sometimes I can hardly make her leave the place.
       
      And a little extra: I believe in rewards. So if we find something in the potty after getting up, E. gets a sticker (you can see the plastic box in the top right corner with a lot of stickers on). In fact, she gets one sticker for pee-pee and two for poopy. Now she can (or at least tries to) stick them on by herself.
       
      The box is almost full of stickers 😀 I need to make another one from a 5-litre plastic bottle.